
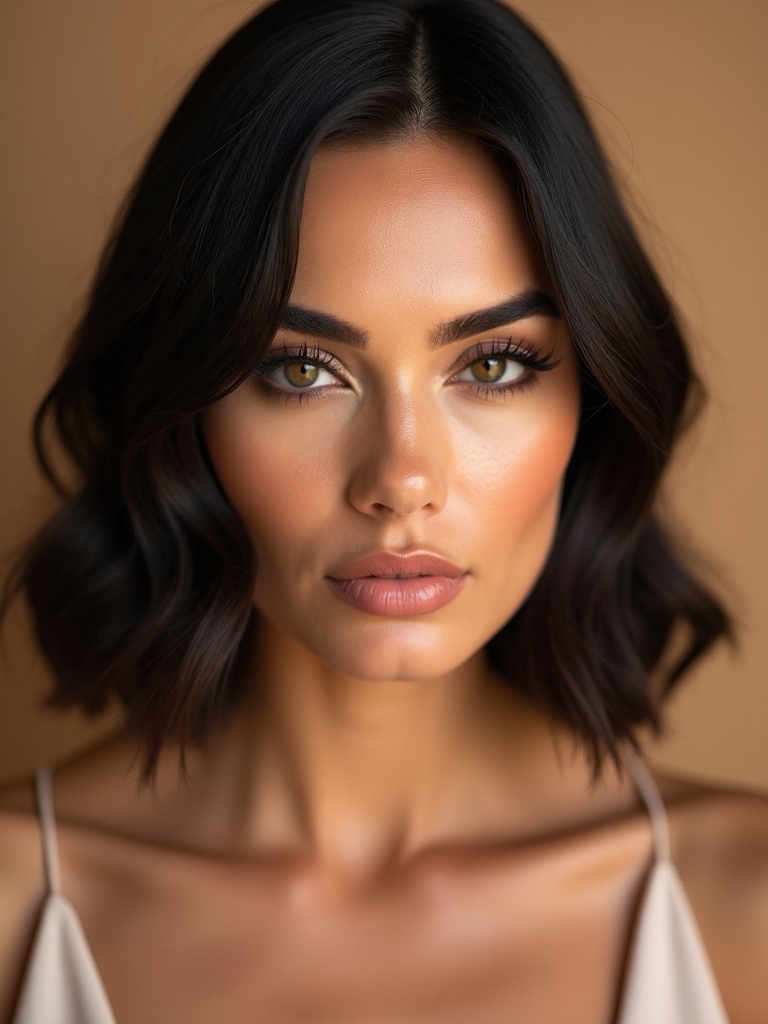
I’m all about makeup that looks like skin, not a mask, and I’ve got easy ideas to prove it. Think sheer skin tints, spot concealing, creamy blush, and feathered brows that frame without fuss.
Add a whisper of bronzer, tightlined lashes, and a soft highlight for that lit-from-within glow. I’ll show you how to prep, set lightly, and lock it in so it lasts. Ready for effortless radiance that actually fits your routine?
Sheer Skin Tints for a Fresh-Faced Base

How do you get that “your skin, but glowier” look without piling on product? I reach for a sheer skin tint. It evens tone, lets freckles peek through, and feels weightless.
I warm a pea-sized drop between fingers, press from center outward, then add a touch on cheeks and forehead. Choose a flexible shade, dewy or natural finish, and SPF if possible.
You’ll look rested, not masked. For an effortless finish, try pairing it with natural makeup to enhance features without heavy coverage.
Spot Concealing Over Full Coverage

With that fresh tint down, I keep the base light and only target what needs extra help.
I tap creamy concealer on redness, shadows, or blemishes, then blend edges so skin still looks like skin.
You’ll see instant polish without masking your glow.
1) Choose a precise brush or fingertip.
2) Match undertone; spot-correct, don’t paint.
3) Set lightly where needed to lock it.
Effortless looks often start with natural-looking coverage and simple techniques that enhance rather than hide.
Cream Blush for a Soft, Lived-In Flush

Let’s talk cream blush that looks like your own skin—starting with shades that complement your undertone and daily vibe.
I’ll show you easy application techniques (fingers, brush, or sponge) to melt color in exactly where you want it.
Then we’ll layer strategically so your flush lasts from morning coffee to evening plans without looking heavy.
Cream formulas often give a dewy finish that flatters many skin types and can be blended for sheer or buildable coverage — try lightweight textures with natural finish to keep the look fresh.
Choosing the Right Shades
Ever wonder why some blush shades melt into your skin while others sit on top? I look at undertone, depth, and finish to keep cream blush believable and soft.
Use this quick guide:
1) If your undertone is cool, choose rosy or berry.
2) If it’s warm, reach for peach or coral.
3) If it’s neutral, try muted pinks.
Match depth to your complexion; aim for skin-but-fresh. Embrace your beauty with effortless looks by focusing on natural makeup techniques that enhance rather than mask.
Application Techniques
Although cream blush can look effortless, the magic comes from placement and pressure. I tap a pea-size amount on the apples, then sweep upward toward temples for a lifted look.
I use my ring finger or a dense brush, pressing—never rubbing—to melt edges. I add a hint across the nose bridge for cohesion. If you overdo it, diffuse with clean fingertips. You’ve got this. The goal is a simple natural look that enhances your features with minimal effort and effortless application.
Layering for Longevity
Start small and build: I lay down a thin veil of cream blush on moisturized, slightly tacky skin, then set it with a whisper of translucent powder before tapping on a second sheer layer.
This sandwich approach locks in color without heaviness and keeps edges soft. Try this:
- Use fingertips, then bounce a sponge.
- Powder only the center.
- Add a final tap for symmetry.
Natural Light Makeup enhances how skin looks under daylight and helps products appear more seamless on the face, so consider adjusting application for diffused daylight to preserve a realistic, soft finish.
Feathered Brows With a Clear or Tinted Gel

Often, the easiest way to elevate a natural look is with feathered brows set in place with a clear or tinted gel.
I brush hairs up and slightly outward, then press the arch for lift.
Sparse areas? I choose a tinted gel; fuller brows? Clear works beautifully.
Short, upward strokes keep them soft, not stiff.
You’ll love the fresh, polished vibe—effortless, flattering, and totally wearable every day.
Embrace your beauty with natural makeup tips that enhance rather than mask your features.
Tightlined Lashes for Subtle Definition
Feathered brows set the tone, and now I take that polished vibe to the eyes with tightlining for whisper-soft definition. I press waterproof gel liner into the upper waterline, filling gaps so lashes look fuller—no heavy line, just quiet depth. If you’re sensitive, blink onto a clean cotton swab first.
1) Choose deep brown or black.
2) Lift lid gently; short strokes.
3) Seal with curl.
Tightlining can be especially effective when combined with feathered brows to create a cohesive, natural look.
Soft Brown Shadow for a Gentle Contour

While the liner quietly boosts lash density, I sweep a soft, neutral brown through the crease to sculpt without harsh edges.
I use a fluffy brush, blend in small circles, and keep the color slightly above the crease for lift. You can deepen the outer corner a touch, then soften the edges. The result feels polished, effortless, and wearable—like your eyes, only gentler and naturally defined.
For many Black women, choosing shades that complement warm undertones helps the look read as truly natural.
Curl Lashes and Add a Single Coat of Mascara

With that soft contour in place, I curl my lashes to open the eyes and keep everything looking fresh. I warm the curler, press gently at the base, then pulse upward for a soft lift. One coat of mascara adds definition without clumps or stiffness.
Try this simple routine:
1) Curl in three sections.
2) Wiggle mascara from roots.
3) Comb through to separate.
This approach helps create an effortless natural look that enhances features without heavy makeup.
Strategic Highlighter for a Natural Glow
I like to tap highlighter on the tops of cheekbones, brow bones, inner corners, and the bridge of the nose for a fresh, lit-from-within look.
I stick to subtle formulas—sheer liquids, balms, or fine creams—so the glow reads skin, not sparkle.
Then I blend with my fingers to melt the edges and keep everything soft and seamless.
Where to Place
Curious where highlighter actually belongs for that lit-from-within look? I focus on spots that naturally catch light and skip anything that reads sparkly all over. Think soft, strategic sheen that enhances your features and keeps skin looking fresh.
1) Cheekbone tops: blend toward temples.
2) Bridge of nose: a thin, subtle line.
3) Cupid’s bow and inner corners: tap lightly for lift and bright, awake eyes.
Subtle Formulas Only
Although shimmer can be tempting, I reach for subtle, skin-like formulas that melt in rather than sparkle on top. Sheer liquids, balmy sticks, and satin creams look believable, never glittery.
I scan labels for words like dewy, pearl, translucent, or soft-focus. I also choose champagne, rose, or soft gold tones that echo natural radiance.
With these gentle finishes, your glow reads fresh, healthy, and effortless—never overdone.
Blend With Fingers
Those softer formulas really shine when I warm them up with my fingertips and press them where light naturally hits. I tap cream highlighter along cheekbones, brow bones, and the Cupid’s bow, then diffuse edges for a seamless, skin-first glow.
Fingers give control, speed, and a believable finish.
- Pick sheer, dewy textures.
- Use ring finger for gentle pressure.
- Pat, don’t rub—then blend outward.
Lip Balm Stains for Effortless Color

Sweep on a lip balm stain, and you’ve got effortless color that looks fresh, feels comfy, and lasts.
I reach for sheer tints that enhance my lips’ tone, not hide it.
I swipe once for a subtle wash, twice for a weekend pop.
The balmy texture softens, never cakes.
Toss one in your bag, and reapply without a mirror.
You’ll look polished in seconds.
Monochrome Makeup With Cream Formulas

After a sheer tint on the lips, I keep the vibe going with monochrome makeup using creamy formulas. I tap the same rosy cream across cheeks and lids for seamless harmony, then blur edges with fingertips for a lived-in finish.
To nail it every time, I follow:
- Pick one undertone.
- Layer sheer-to-bold.
- Set selectively with translucent powder.
Diffused Eyeliner for a Smoky-but-Soft Look

Let’s soften your liner without losing definition—I’ll show you how to pick the right creamy kohl that glides and sets just enough.
I’ll walk you through gentle smudge techniques using a cotton swab, pencil brush, or fingertip for that smoky-but-soft edge.
Together, we’ll blend strategically so your eyes look enhanced, not heavy.
Choosing the Right Kohl
Dial in that soft-focus definition by picking a kohl that glides, smudges, and sets just enough. I look for creamy texture, gentle ingredients, and shades that flatter your undertone.
Waterproof isn’t mandatory; long-wear with comfort is. Try tightlining or a thin wing, then let the edges breathe.
- Choose cream-to-powder formulas
- Match depth to your lash color
- Prioritize ophthalmologist-tested options
Smudge Techniques and Tools
Ease into a smoky-but-soft liner by sketching a thin line, then gently blur it before it sets. I reach for a creamy pencil, then smudge with a fingertip, cotton swab, or small pencil brush.
Work in short strokes, keeping color close to lashes. Set with a touch of taupe shadow. Prefer gel? Apply, then diffuse edges. Finish by curling lashes for lift.
Skin-First Prep With Hydrating Primers

From the very first step, I treat skin like the star: a hydrating primer locks in moisture, smooths texture, and gives that fresh, lit-from-within base before any makeup touches down.
I press a pea-sized amount over skincare, focusing on areas that crease or look dull.
Try this simple flow:
- Cleanse and lightly moisturize.
- Apply hydrating primer evenly.
- Let it set, then layer lightweight coverage.
Sun-Kissed Warmth With Cream Bronzer

Let’s warm things up with cream bronzer that looks like sunshine on your skin. I’ll help you choose the right shade—just a touch deeper than your natural tone—and show you effortless blending so edges melt seamlessly.
Together, we’ll create soft warmth that enhances your features without looking heavy.
Choosing the Right Shade
While trends come and go, picking the right cream bronzer shade is simple: match the undertone first, then adjust depth.
I look at my chest, not my face, to decide. If you’re unsure, swatch in daylight and trust your gut.
Here’s my quick guide:
1) Cool undertone: taupe-leaning bronze
2) Neutral undertone: balanced caramel
3) Warm/olive undertone: golden or terracotta
Effortless Blending Techniques
With your undertone sorted, the magic happens in the blend.
I warm a pea-sized dab of cream bronzer between my fingers, then tap it where the sun kisses first: temples, cheekbones, and bridge of the nose. I blend upward in soft, circular motions with a damp sponge, edges diffused. I feather any excess onto the jawline, then press with fingertips for a seamless, sun-kissed finish.
Set Selectively With Lightweight Powder
Dial back shine without dulling your glow by setting only where it counts. I tap a featherlight powder where I crease or get oily, keeping skin fresh and skin-like.
Use a small brush, press—don’t swipe—and leave cheeks luminous.
- Target T-zone, under-eyes, smile lines.
- Choose translucent, finely milled, minimal talc.
- Apply sparingly, then reassess midday for touch-ups only where needed.
Finishing Sprays for a Melted-In Finish

Lock it all in and let everything meld by misting a fine finishing spray that fuses makeup with your skin.
I hold the bottle an arm’s length, close my eyes, and mist in an X, then a T.
Choose alcohol-free for comfort, dewy for glow, or matte to control shine.
Let it dry—don’t fan.
The result? Seamless, breathable, fresh skin that lasts.


