
I’m all about natural glam that looks polished yet effortless, and I’ve got simple tweaks that make skin glow without piling on product. Think sheer, dewy base, feathered brows, soft sculpting, and a touch of champagne light that catches every angle.
I’ll show you how to keep it cohesive—cheeks, lids, and lips in harmony—and make it last with smart, skin-first steps. Ready for the 17 ideas I swear by to look lit-from-within?
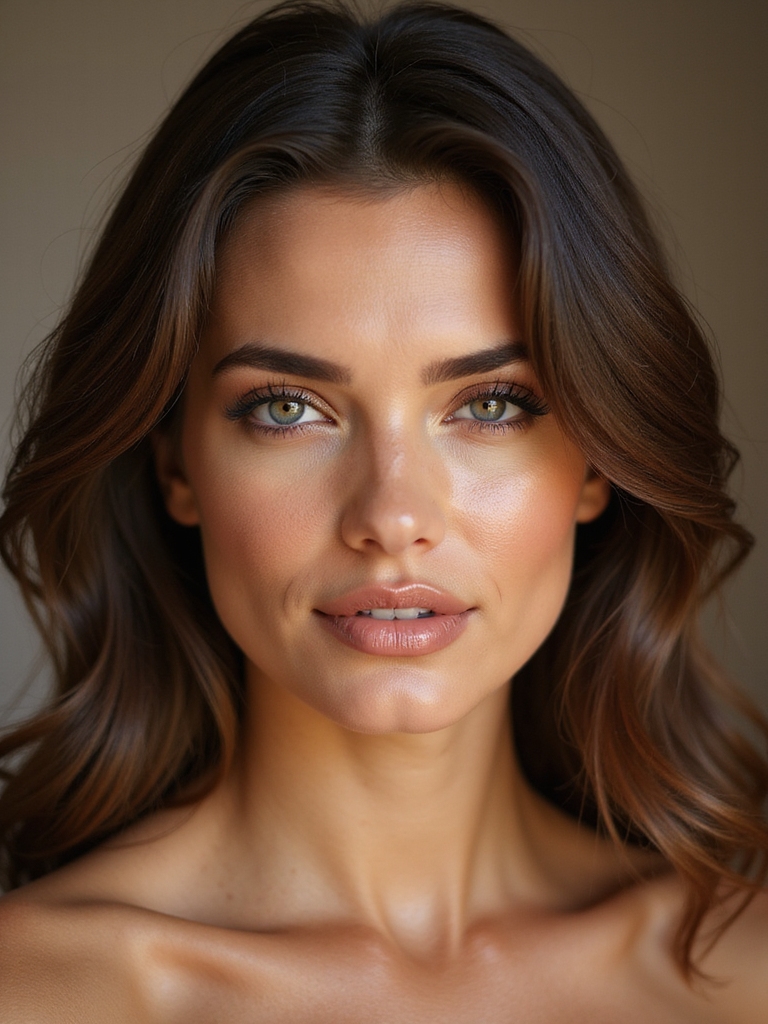
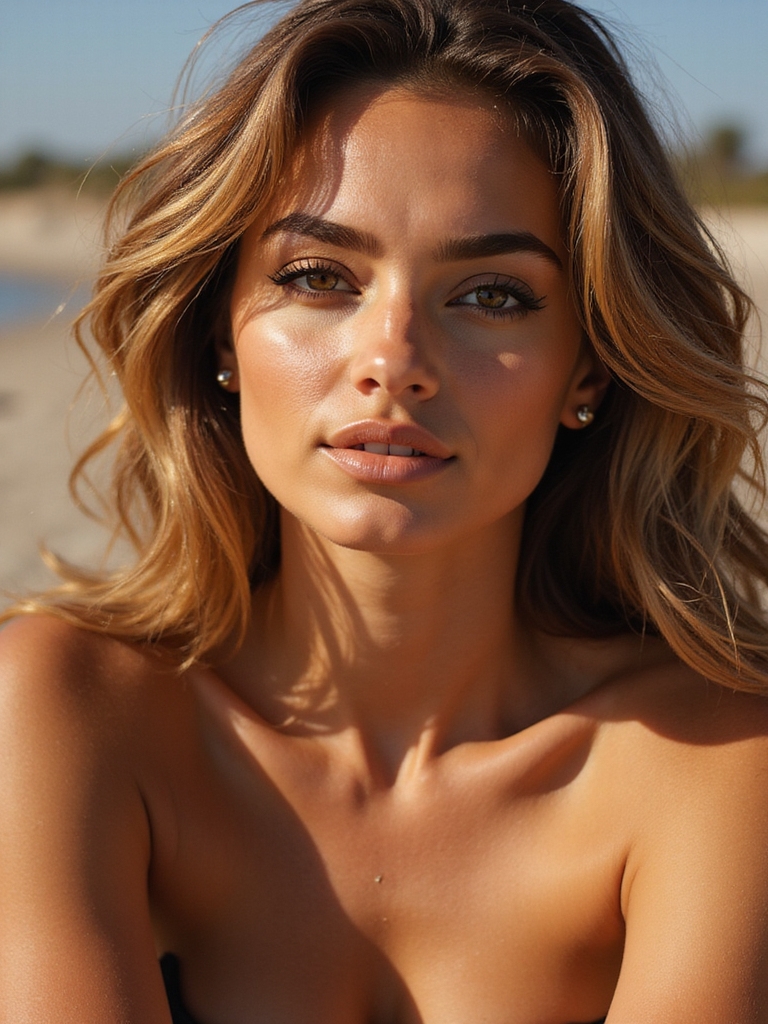
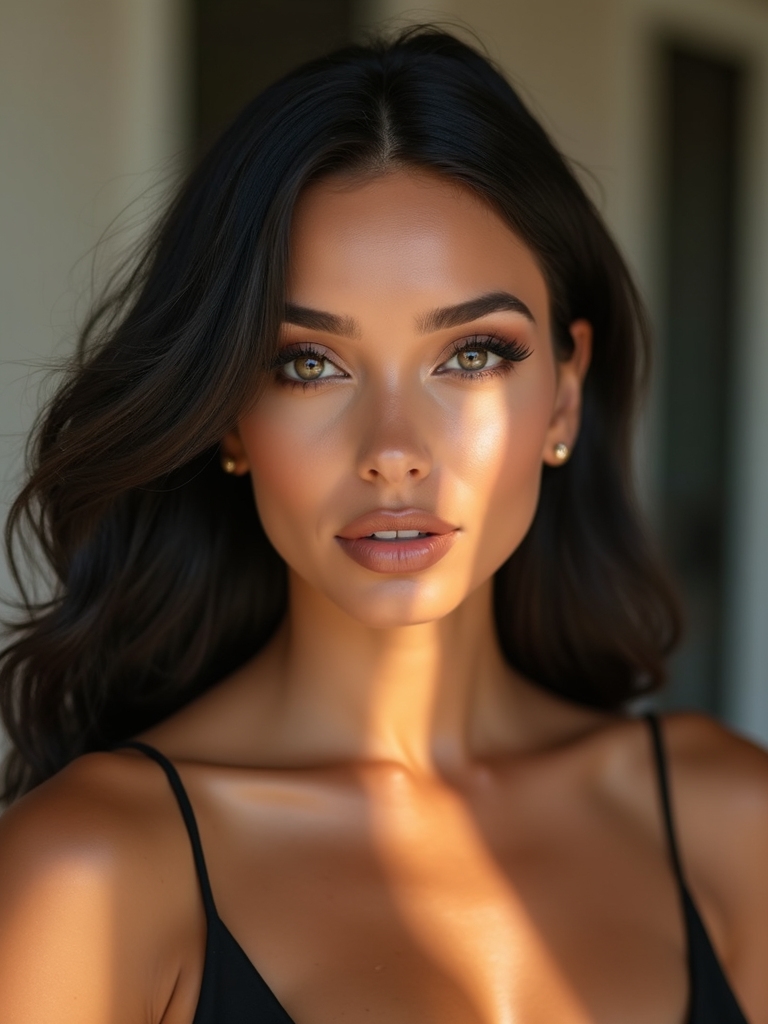
Lit-From-Within Skin With Sheer, Dewy Base
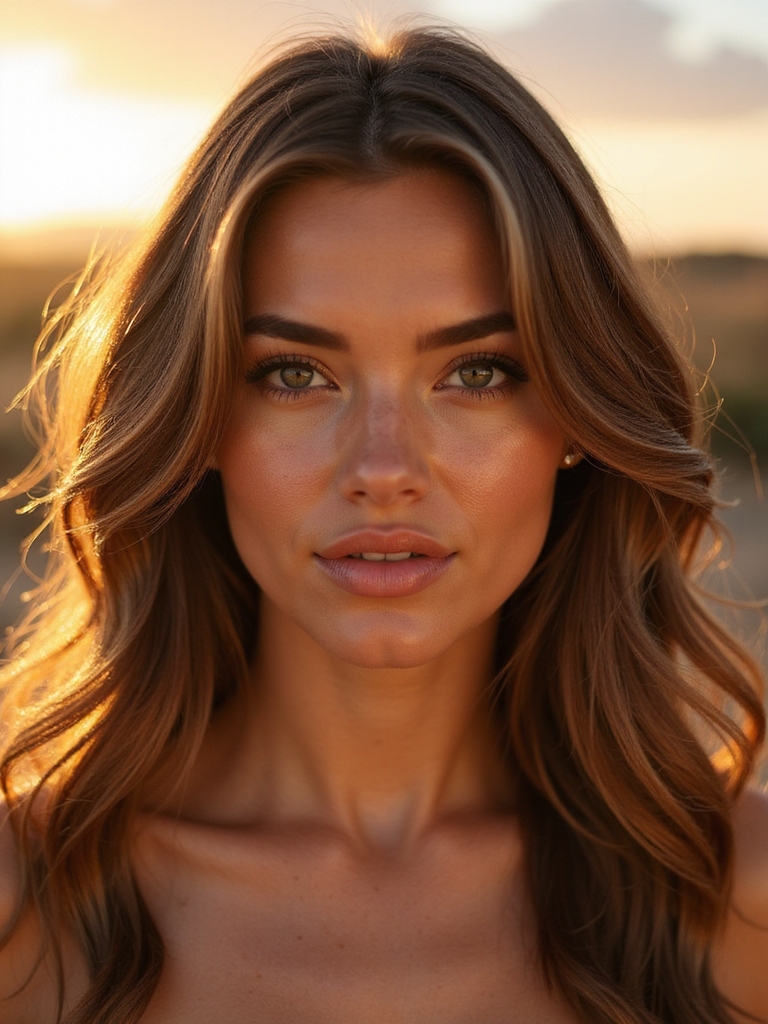
Radiance starts with skin that looks like you, just glowier.
I prep with a hydrating mist and lightweight moisturizer, then press a sheer, dewy skin tint where I want evenness. I spot-conceal only where needed, letting freckles breathe. I set the T-zone with a whisper of translucent powder.
A touch of cream blush and glossy balm finishes everything fresh, seamless, and luminous.
Natural makeup embraces your features with minimal steps and effortless techniques to enhance rather than mask.
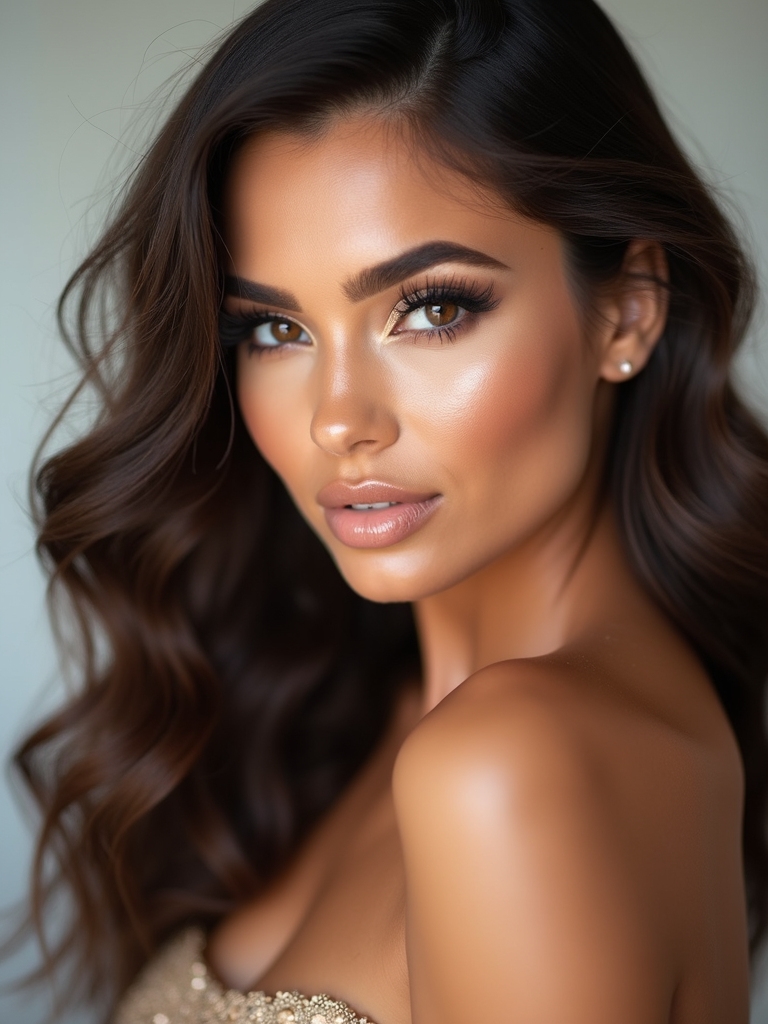
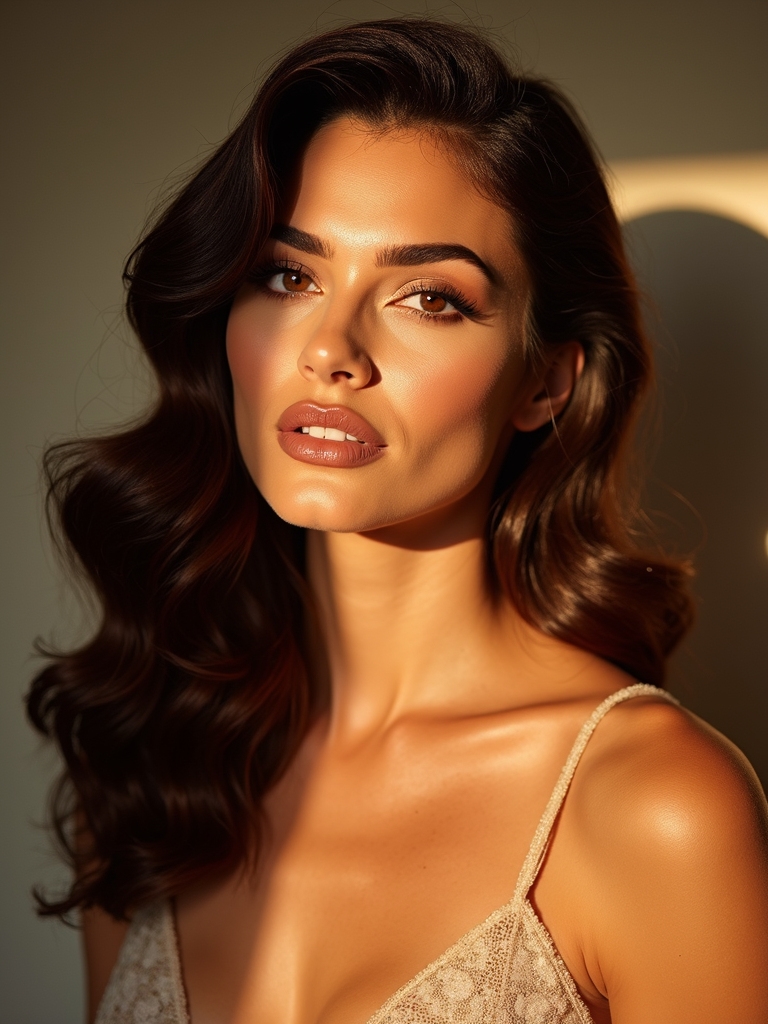
Soft Sculpting With Cream Contour and Highlight
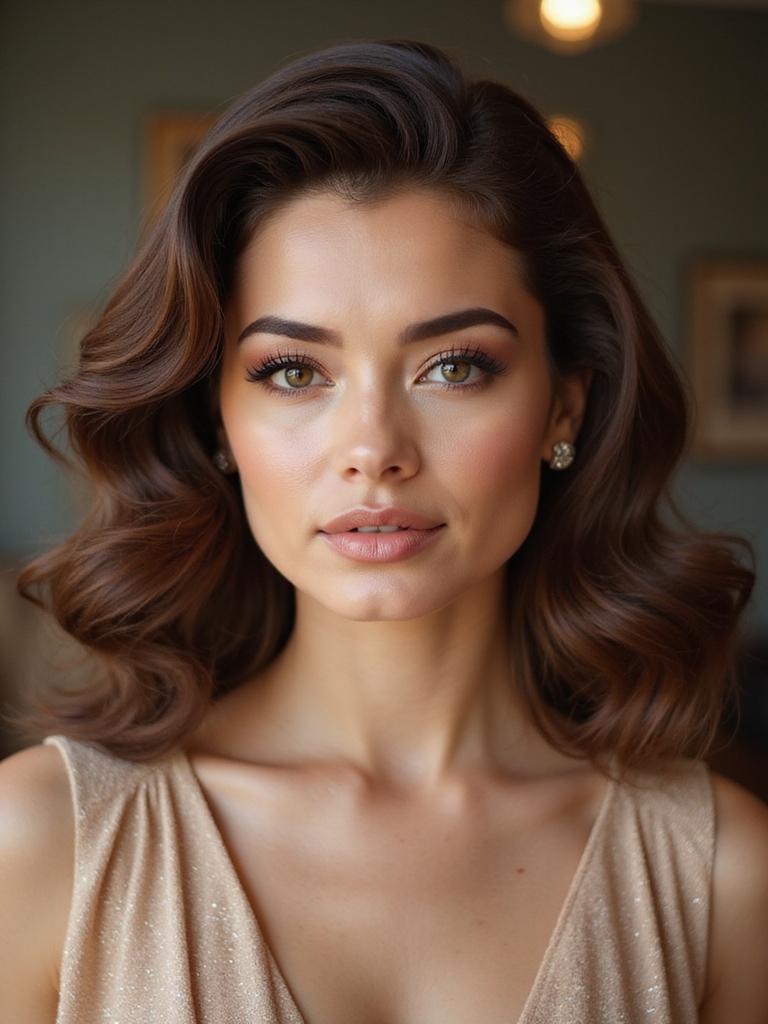
Let’s talk soft sculpting with creams—I pick contour and highlight shades that mimic natural shadow and light, not stark stripes.
I place contour where I want subtle structure and a soft-highlight where light naturally hits. Then I blend upward in feather-light strokes for a seamless lift that looks effortless and fresh.
I also focus on creating an overall natural glow by choosing products and application techniques that enhance skin rather than mask it.
Choosing the Right Shades
Although undertones set the stage, the real magic happens when we match cream contour and highlight to your skin’s depth and temperature.
I pick a contour one to two shades deeper, leaning neutral-cool for believable shadow. For highlight, I choose one to two shades lighter with a soft satin finish. Warm skin loves golden tones; cool skin favors rosy-beige.
I swatch in daylight and trust your natural flush. I also focus on creating effortless natural makeup that enhances features without overpowering them.
Blending for Seamless Lift
Because placement is only half the story, I blend upward to lift and melt everything into skin.
I tap cream contour under cheekbones, along temples, then push color toward hairline. With a damp sponge, I bounce, never drag. I brighten high points with a thin veil of cream highlight. Edges fade, structure stays.
You’ll see lift, not lines—soft, sculpted, naturally radiant. Natural eye makeup often focuses on soft, seamless blending to enhance features without heavy lines.
Feathered Brows for a Fluffy, Natural Frame
Let’s give your brows a soft, fluffy frame that still looks natural. I’ll show you how I shape and lightly trim for balance, then use precise strokes to keep every hair where it belongs.
With the right brow gel techniques—brushing up, setting the arch, and smoothing the tail—you’ll get that effortless, feathered finish. A minimal, simple natural approach helps maintain a fresh, everyday look without heavy product buildup.
Shaping and Trimming
Start by coaxing your brows into their natural shape, then refine only what disrupts that soft, airy look.
I map the start, arch, and tail with a pencil, then tweeze stray hairs under the arch and between brows.
I trim only tips that peek beyond the line, scissors angled upward.
Work slowly, mirror back, and stop early. Soft edges keep the brow fluffy, never overdone. A light touch and subtle blending create an effortless finish that complements everyday beauty.
Brow Gel Techniques
With the shape softly defined, I lock in that airy look with brow gel to lift and feather.
I brush hairs upward, then softly angle the tails to frame your eyes without harshness.
I choose clear for clean fluff or tinted for gentle fullness.
Small strokes keep it believable and long-wearing.
- Work in upward strokes
- Press and set with fingertip
- Fill gaps with tinted gel
- Comb through to soften
Natural light enhances this approach by highlighting texture and creating a radiant glow that complements feathered brows.
Neutral Wash of Color on the Lids
Often, a neutral wash of color on the lids is all it takes to look polished without trying.
I reach for soft taupe, beige, or warm almond and sweep it across the lid with a fluffy brush.
I blend edges so it looks seamless, not heavy.
This effortless veil brightens eyes, adds depth, and pairs with defined brows and mascara for instant, everyday elegance.
Natural Makeup embraces minimal products and techniques to enhance features with a fresh, subtle finish, and is especially favored for enhancing natural beauty.
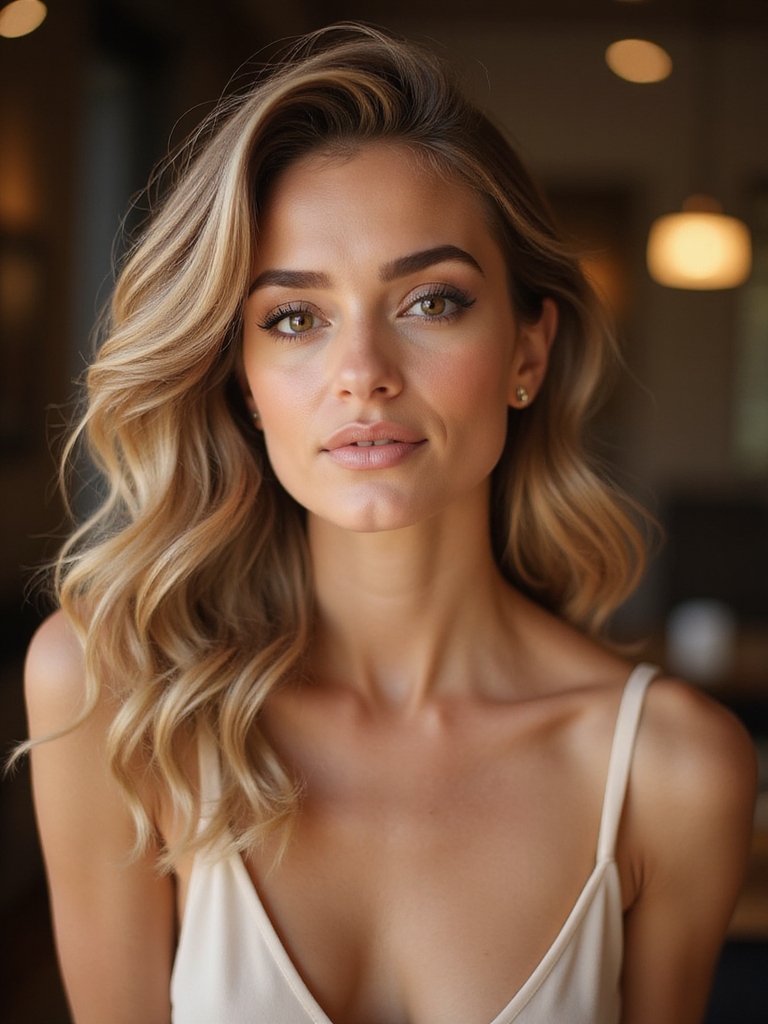
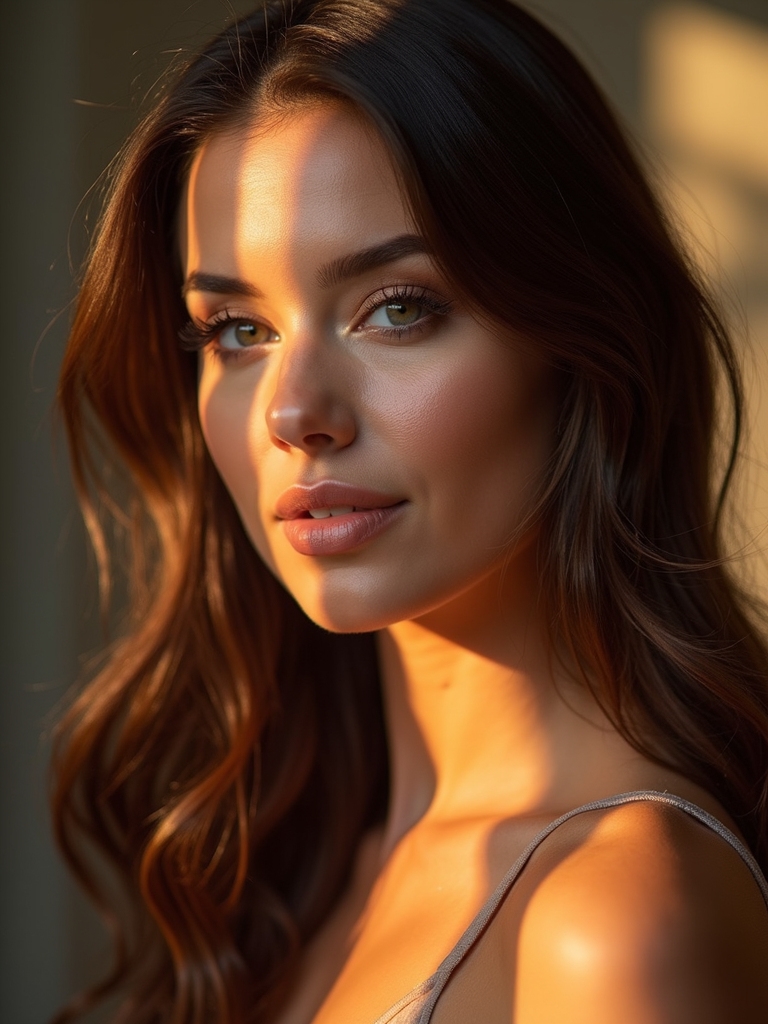
Subtle Shimmer Shadow for a Candlelit Glow
When I want that soft, candlelit glow, I tap a subtle shimmer shadow across the mobile lid and let the light do the lifting.
I keep it sheer, then press a touch on the center and inner corner for instant brightness. Choose champagne, rose, or soft gold—whatever flatters your undertone. Blend edges so it reads skin-first, sparkle-second.
- Use fingertip warmth
- Sheer, buildable layers
- Cream or satin formulas
- Set only where needed
For a natural finish that enhances melanin-rich skin, focus on products and techniques tailored for Black women’s skin.
Tightlined Lashes for Invisible Definition

Let’s give your lashes that “is she wearing liner?” magic with tightlining. I’ll show you how to choose the right formula—think ultra-creamy, waterproof pencils or gels that won’t irritate—and the best shades for seamless depth.
Then we’ll lock it in with long-wear waterline tips so your definition stays crisp from coffee to cocktails. For an effortless finish that still reads polished, aim for products and techniques that create an effortless natural look.
Choosing the Right Liner
Sweep subtle definition right into your lash line by tightlining—my go-to trick for eyes that look naturally fuller without visible makeup.
For the liner, I think creamy, budge-resistant formulas glide, set, and stay discreet. Choose shades that mimic shadow between lashes, not a harsh line. I keep application clean and precise to protect the natural vibe.
- Soft black for depth
- Dark brown for warmth
- Gel pencil for control
- Micro-brush liquid for precision
Long-Wear Waterline Tips
Although it looks invisible, tightlining the waterline takes a few smart steps to last all day.
I gently blot the waterline, then run a waterproof gel pencil between lashes, working from outer to inner corner. I set it with a matching shadow on a flat brush. I avoid heavy creams nearby, curl after lining, and tuck a cotton swab for midday touch-ups. Clean, defined, undetectable.
Fluttery Mascara With a Clean, Clump-Free Finish
When I want lashes that look airy and defined, I start by curling and then combing through clean lashes so every coat glides on evenly.
I wiggle a lengthening formula from root to tip, letting each layer dry briefly to prevent clumps. I keep the tips light for a fluttery finish and focus on outer corners for lift.
- Use a skinny, tapered wand
- Remove excess on the tube’s rim
- Separate with a clean spoolie
- Waterproof just on lower lashes
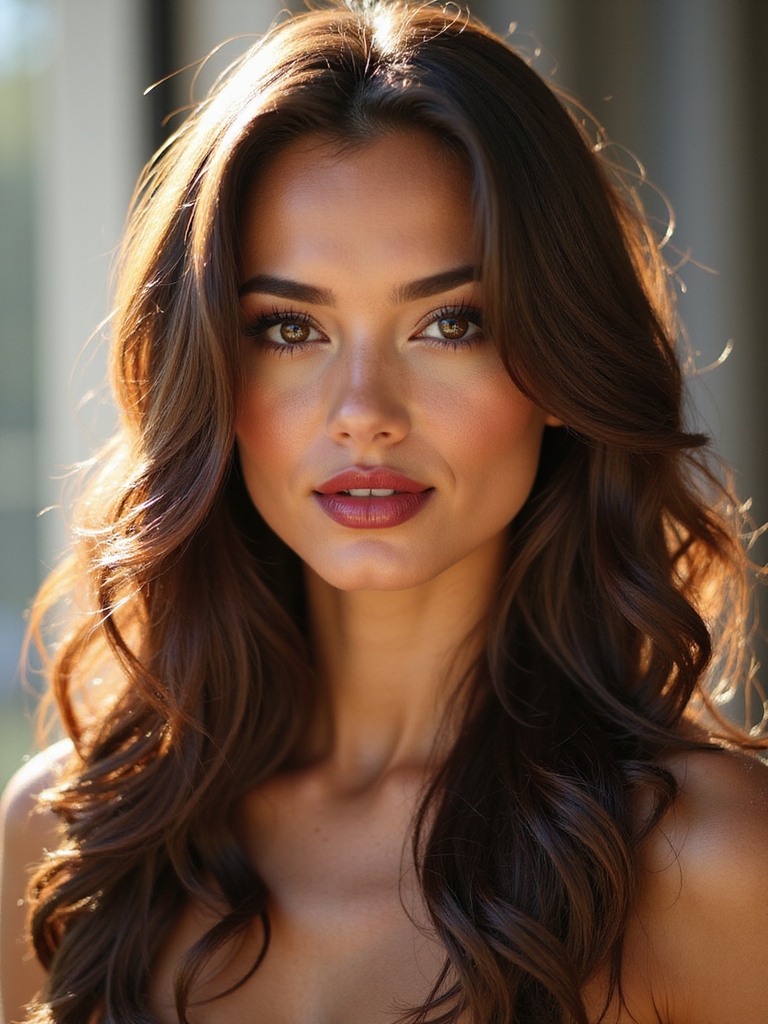
Monochrome Blush on Cheeks, Eyes, and Lips
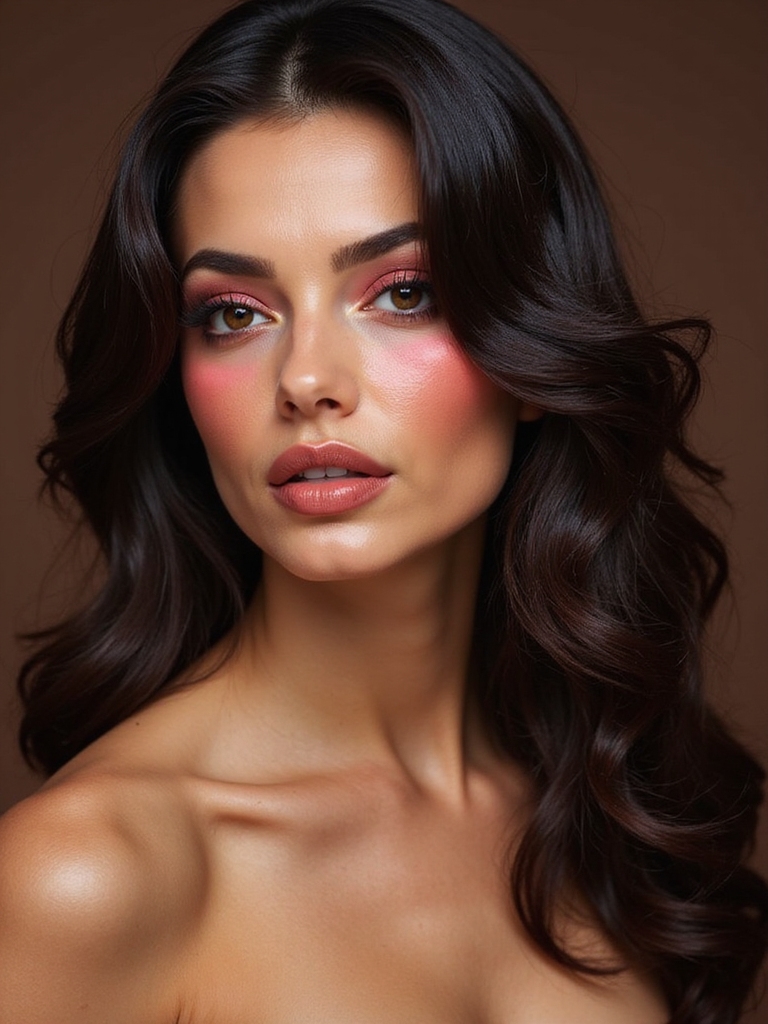
Let’s try a monochrome blush look that flatters your undertone—think peachy corals for warm, rosy mauves for cool, and soft neutrals for olive.
I’ll help you choose between cream for a dewy melt and powder for a longer-wearing veil.
Then we’ll place and blend the same shade on cheeks, lids, and lips for an effortless, pulled-together glow.
Choosing Flattering Shades
Ever wonder why a monochrome blush look feels so polished? I choose shades that echo my natural lip and cheek flush, then carry that tone to eyes for harmony.
Think undertone first, depth second, and finish with a whisper of glow. Here’s how I pick winners fast:
- Soft peach for warm undertones
- Rosy mauve for cool undertones
- Neutral beige-rose for balanced tones
- Toasted apricot for deeper warmth
Cream vs. Powder Textures
With your shade sorted, texture sets the mood. I reach for creams when I want dewy, skin-like monochrome color that melts across cheeks, lids, and lips.
Powders give soft-focus polish, extra longevity, and a velvety finish. Oily or hot days? Powder wins. Dry or dull skin? Cream sings. You can even layer: cream for glow, powder to subtly set and refine the tone.
Application and Blending Tips
Although monochrome sounds simple, placement and blending make it seamless. I start with blush on cheeks, then echo it on lids and lips. I sheer out edges with a damp sponge, keeping the center richer. You’ll look polished, not matchy.
- Tap cream first, set with a whisper of powder.
- Use one brush; wipe between steps.
- Blend upward, not wide.
- Finish with clear balm.
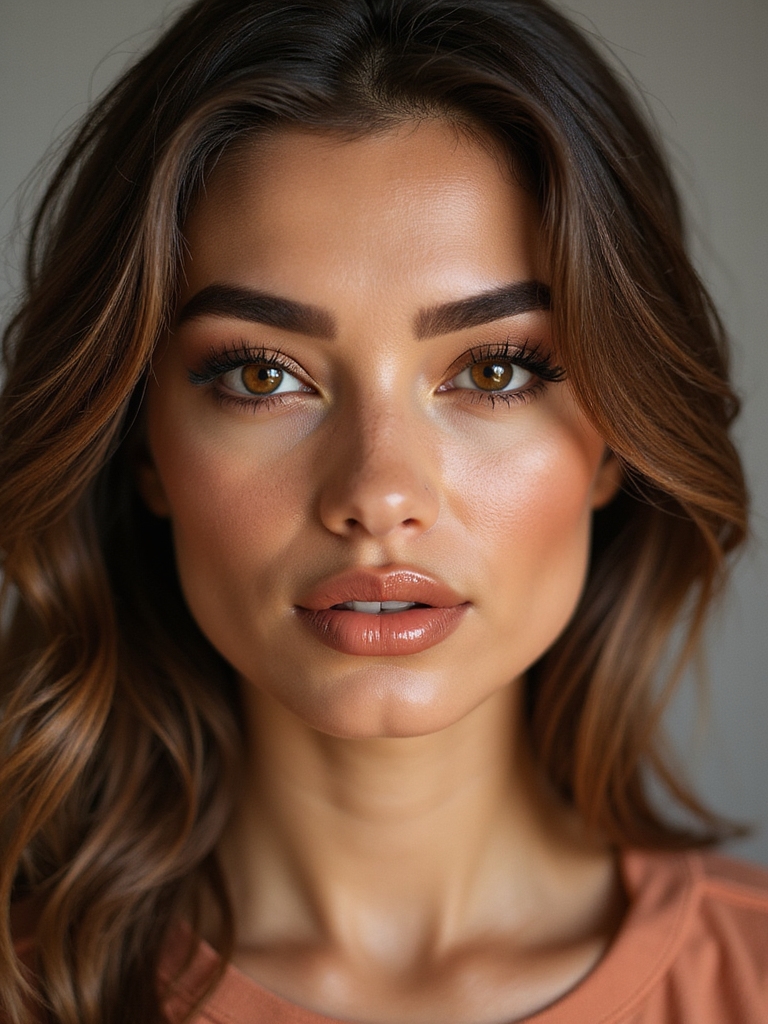
Glossy, Juicy Lips With Sheer Tint
From the first swipe, glossy, juicy lips make natural glam look instantly fresh and polished.
I reach for a sheer tint that enhances my natural lip color, then layer a balm-gloss hybrid for cushiony shine. I trace the edges with a soft liner, blur gently, and tap gloss at the center. The finish looks plump, comfortable, and effortless—perfect for bright eyes and clean, glowing skin.
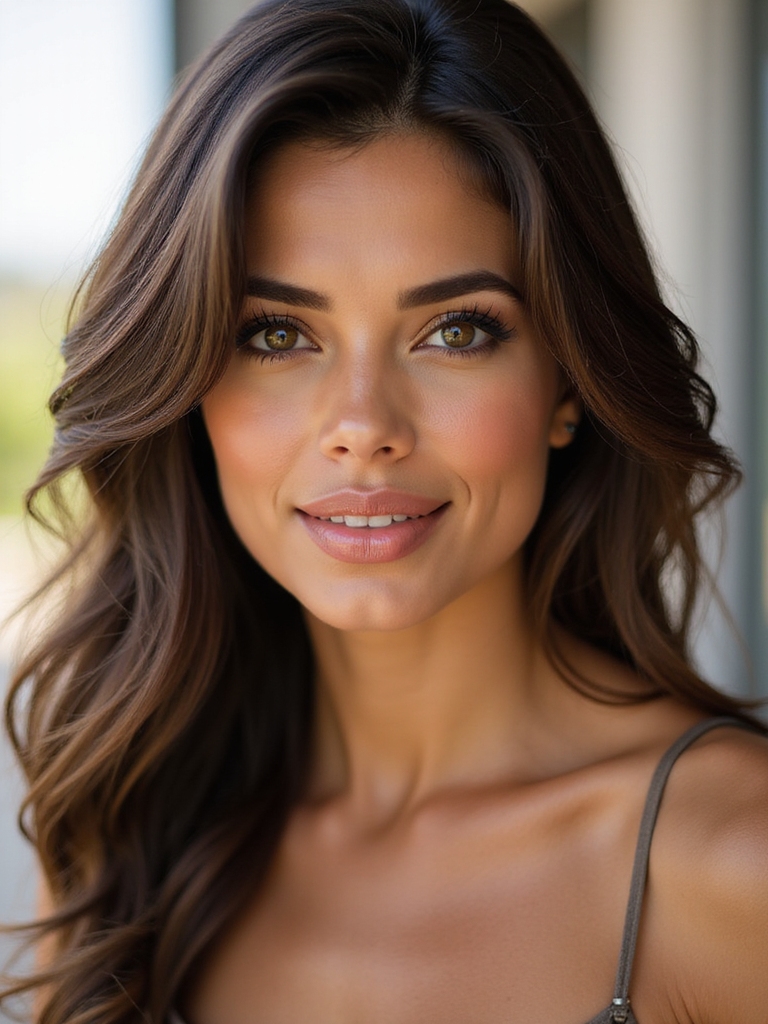
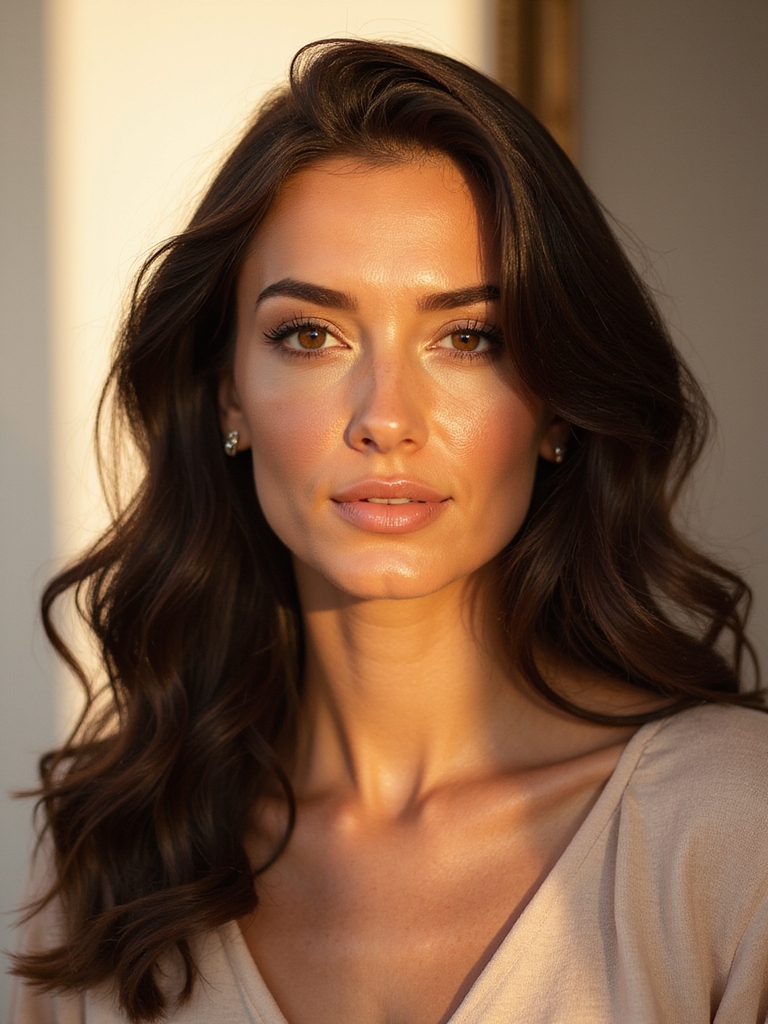
Sun-Kissed Glow With Cream Bronzer
Sweep on a touch of cream bronzer and watch your skin wake up like you’ve spent an easy afternoon in the sun. I warm it where light naturally hits—temples, cheeks, nose, and jaw—then melt edges with fingers for a seamless, skin-first radiance.
You’ll look naturally rested, never overdone.
- Choose a neutral, undertone-matching shade
- Tap, don’t drag, for diffusion
- Layer lightly for depth
- Finish with a soft cream highlight
Strategic Spot Concealing Instead of Full Coverage
That sun-kissed warmth sets the stage, and now I keep skin looking like skin with pinpoint concealing instead of a blanket of foundation.
I tap a creamy, medium-coverage concealer only where redness, blemishes, or shadows peek through. A tiny brush, gentle pressure, then a quick blend with fingertips.
I leave freckles and healthy texture visible. Set lightly with powder where needed, and let glow breathe.
Inner-Corner Highlight to Brighten the Eyes
Why do my eyes look instantly awake when I tap light into the inner corners? It’s that subtle pop that lifts shadows and opens everything up.
I reach for a soft champagne or pearl, then press, don’t sweep, so it stays bright and clean. You’ll see the difference immediately—fresh, rested, and natural.
- Use a pencil for precision
- Choose shimmer, not glitter
- Anchor with matte nearby
- Blend toward tear duct
Soft Focus Setting With Hydrating Mist
Often, I lock in a natural look with a hydrating mist to create that soft-focus finish without caking. I hold the bottle an arm’s length away, mist in an X and T, then let it settle—no touching.
The micro-fine spray melts makeup together, blurs edges, and revives glow. Choose formulas with glycerin or aloe.
Reapply midday for a fresh, dewy veil that looks effortless.
Satin Skin Finish Using Lightweight Powder
For a softly polished look, I set my base with a lightweight powder that leaves skin satin—not flat. I press it where I shine and sweep a whisper over everything else. The finish blurs pores, locks in radiance, and never cakes.
Your skin still looks like skin—just calmer, smoother, and camera-ready.
- Choose micro-fine, talc-free
- Use a fluffy brush
- Press, don’t rub
- Target T-zone only
Day-To-Night Upgrade With a Delicate Wing and Nude Lip
With that satin skin set, I boost it from desk to dinner with a delicate wing and a nude lip.
I trace a soft brown liner, flick it slightly upward, then smudge for a whisper, not a shout. A nude lipstick topped with balm keeps it fresh. I add mascara, tap highlighter on cheekbones, and refresh blush. You’re polished, confident, and ready.


