I’m picky about gel manis that actually last, so I pulled together 13 winners—from a salon‑favorite nude to a chip‑proof true red, milky whites, bold cobalt, and a shimmer that looks luxe, not glittery.
I’ll share quick cures, thin‑coat tricks, and why capping the edge matters. Plus, the builder gels and top coats that keep tips strong and glossy for days. Ready to skip chips and snag that glassy finish? Here’s where it gets good.
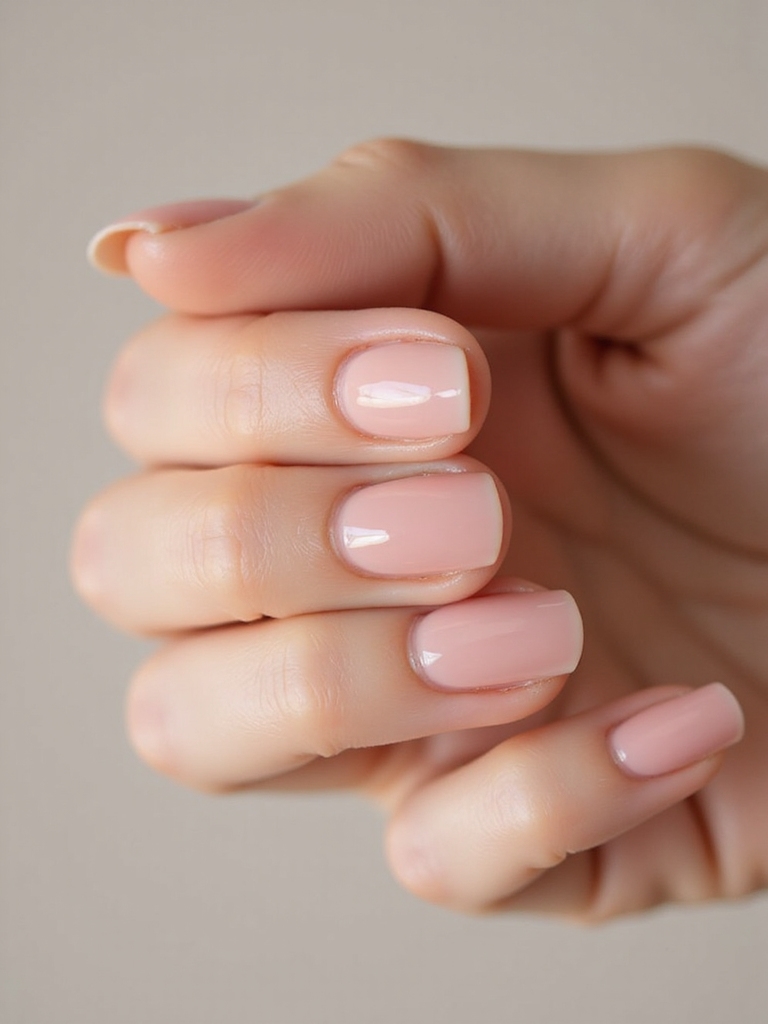
Salon-Favorite Nude That Goes With Everything

A chameleon in a bottle—that’s how I think of the salon-favorite nude. It flatters every outfit, from sneakers to satin, and quietly elongates fingers.
I pick a shade one step warmer than my skin so it won’t look chalky. Two thin coats, cap the tips, and cure fully. Add a breathable topcoat. Hydrate cuticles nightly—glow equals grip. Suddenly, effortless elegance lasts.
Consider trying a versatile nude to match multiple skin tones and wardrobes.
Chip-Resistant Red for Week-Long Wear
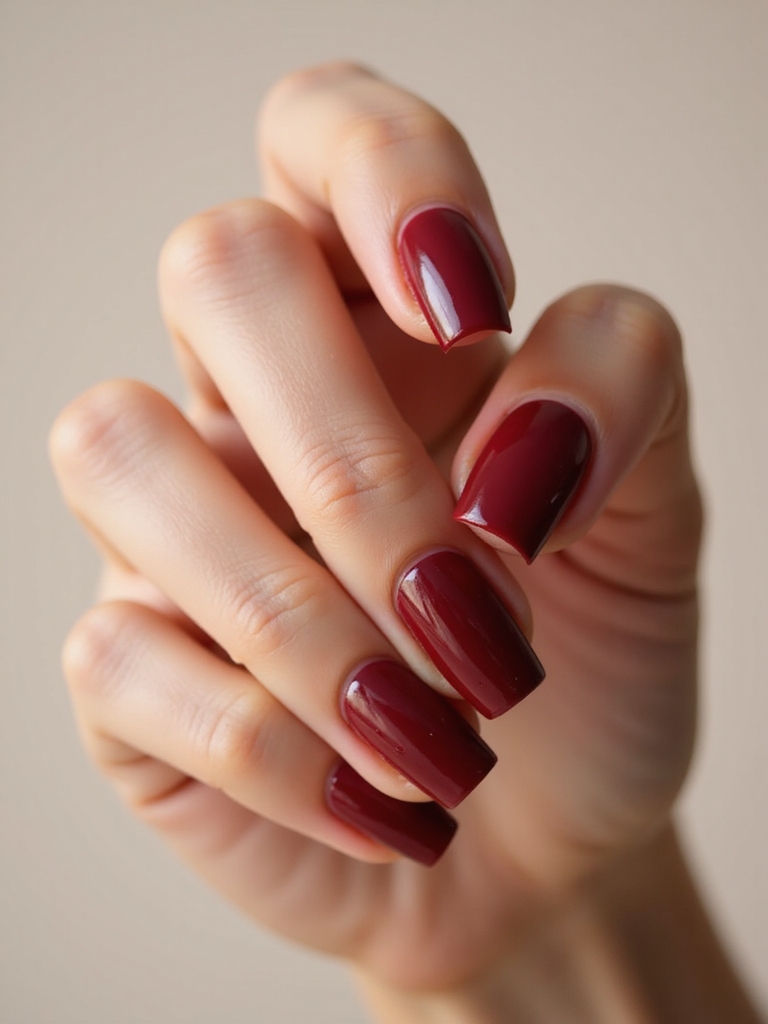
Sometimes I crave that power-red that doesn’t bail by Wednesday, so I prep like a pro: gentle buff, alcohol wipe, and a whisper-thin dehydrator on tips where chips start.
I cap free edges, float thin coats, and cure fully. Then I seal with a glossy, hard-wearing top coat.
- Choose a true-blue red
- Keep coats whisper-thin
- Wrap every edge
- Cure the full timer
- Oil cuticles nightly
Red nails are a timeless statement and classic inspiration for chic, everyday glam.
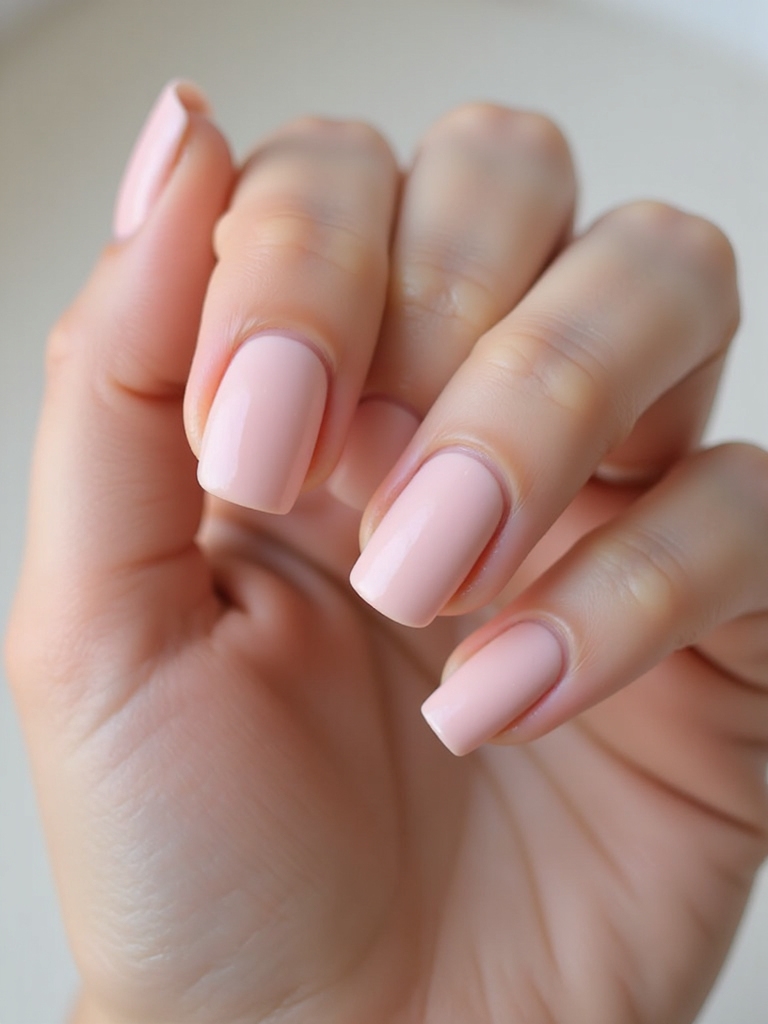
Sheer Pink Builder Gel for Strength and Shine
Two strokes of sheer pink builder gel turn flimsy tips into glossy, glassy keepers. I brush a thin slip layer, then float a bead down the center for instant strength without bulk.
Tilt to self-level, cap the free edge, and wipe the sticky layer clean. The sheer tint blurs ridges, brightens nail beds, and makes every shade look plush, polished, and salon-smooth. Many salon technicians use Acrylic Nails as inspiration when creating durable shapes and finishes.
Quick-Cure LED Kit for At-Home Manis
With that sheer pink base locked in, I reach for a quick-cure LED kit that speeds everything up without scorching my cuticles. I love how the compact lamp pops open, cures in seconds, and keeps heat spikes low.
I set 30–60 seconds per layer and wiggle thumbs in last. Clean bulbs, plug close, and keep nails centered.
- Portable
- Low heat
- Fast cure
- Thumb-friendly
- Consistent results
New gel trends for 2024 favor longer-lasting finishes, which pair well with quick-cure LED systems.
Long-Wear Top Coat With Glassy Finish
Even after the color looks perfect, I don’t skip the top coat—it’s the seal that locks shine and stamina.
I reach for a long-wear, glassy formula and float it over the nail, capping the free edge.
Thin layers prevent shrinkage; two coats amplify gloss.
Cure fully, then wipe tacky residue.
Finish with cuticle oil.
Boom—mirror sheen, chip resistance, and stay-put brilliance.
For a refreshed look, try mixing in chic nail designs to complement the finish.
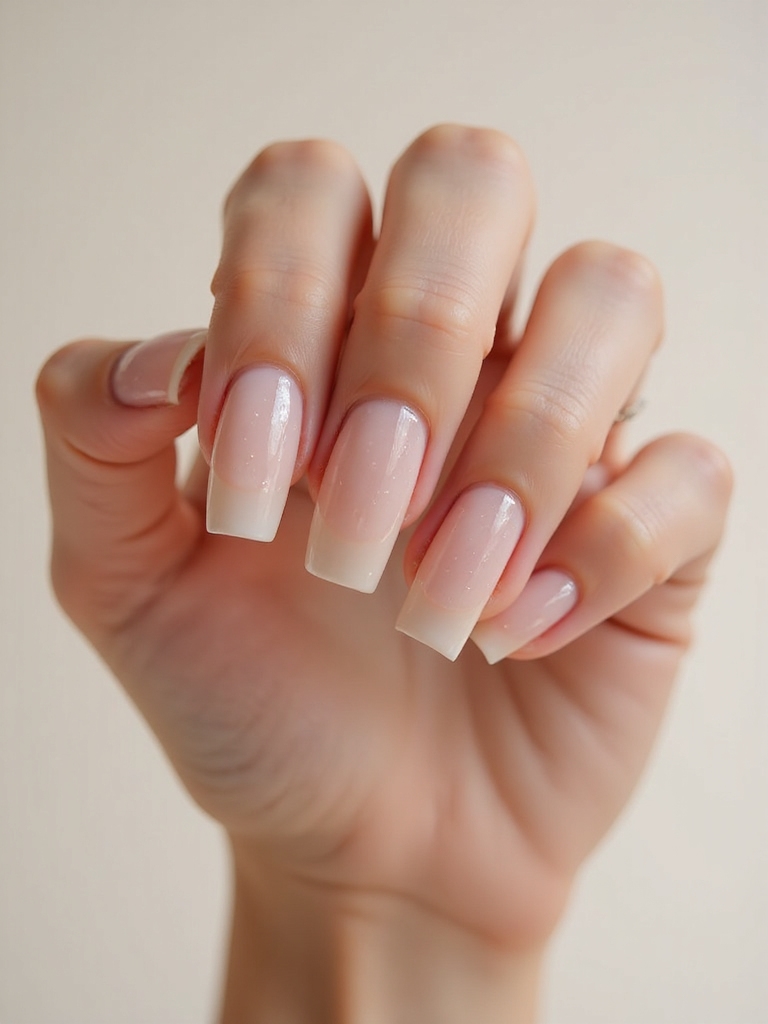
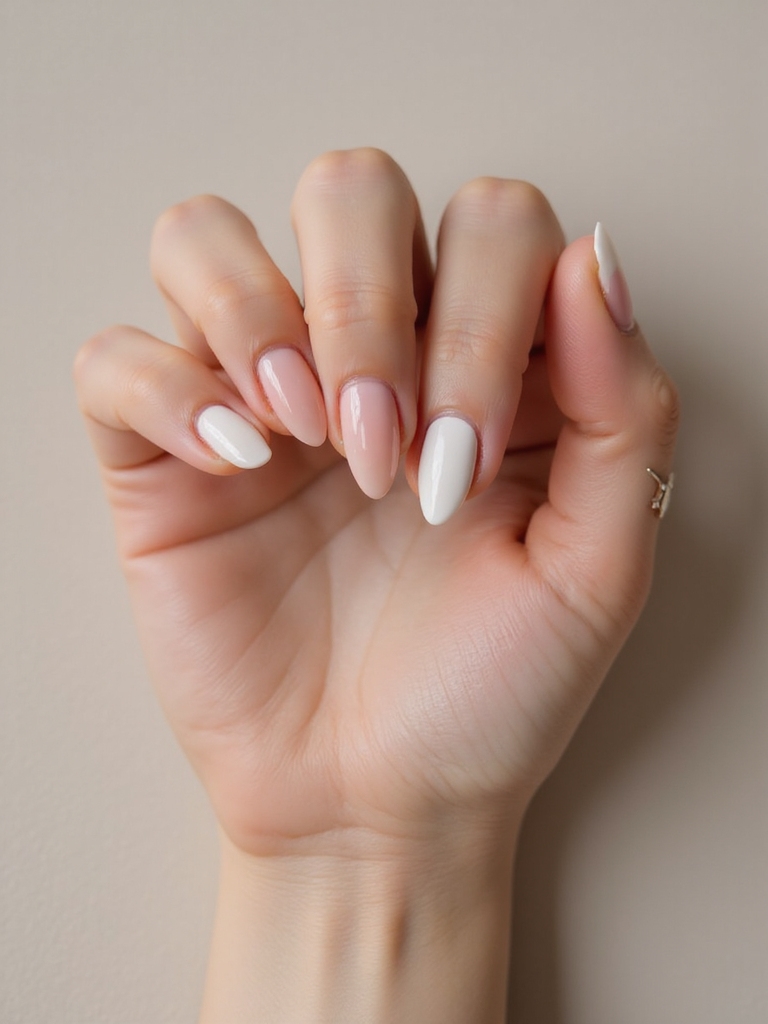
Classic French Gel for Clean, Crisp Tips
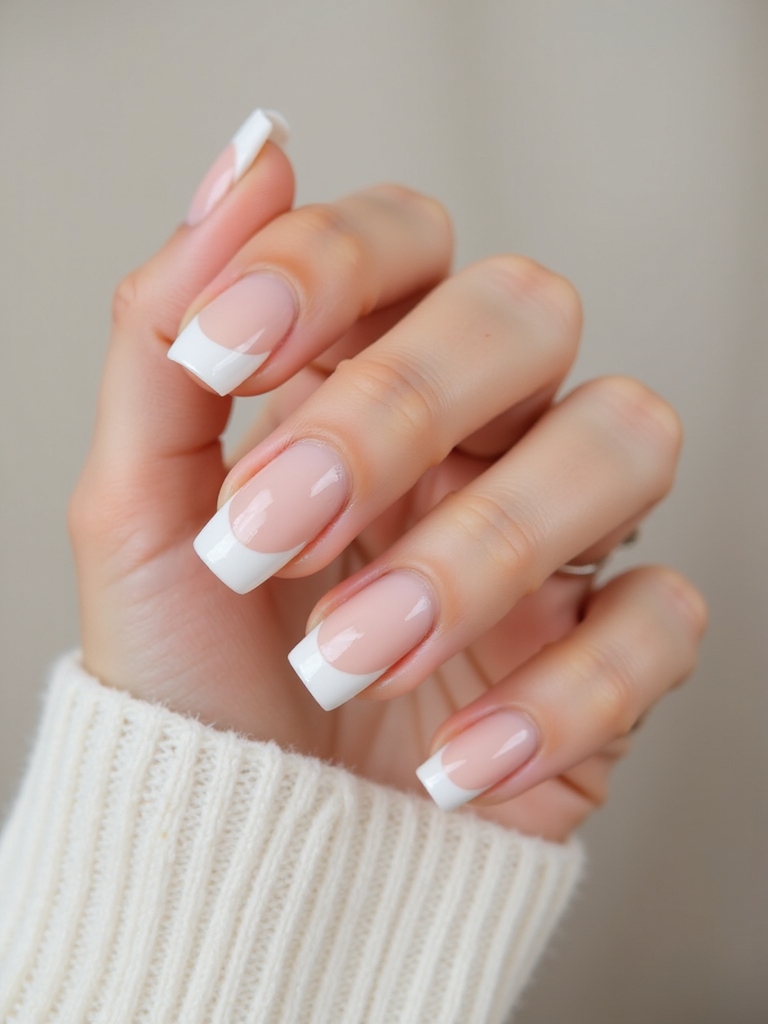
Let’s nail that classic French: I aim for a white tip that’s about one-third of the nail—clean, even, and never too thick.
Before that, I prep a sheer pink base so your natural nail looks healthy and the smile line pops.
You’ll see how the crisp contrast makes the whole manicure look fresh and ultra-long-wearing.
I often recommend keeping the overall look minimal for Chic French Nail elegance that reads effortless and refined.
Ideal White Tip Ratio
Although trends come and go, the sweet spot for a classic French gel is a white tip that’s roughly 15–25% of the nail’s length—crisp, curved, and proportional to your nail bed.
I map the smile line to mirror your natural curve, then adjust width for short vs. long nails.
Precision matters, but play’s allowed.
- Measure visually
- Balance finger length
- Match curve symmetry
- Soften harsh lines
- Keep edges razor-clean
A timeless look often includes French Tip Nails to complement many outfits and occasions.
Sheer Pink Base Prep
Before I paint that crisp white, I lay down a sheer pink that makes the nail bed look glossy, healthy, and impossibly clean.
I scrub-prep, dehydrate, then apply a thin rubber base for grip. Next, one whisper-light coat of sheer pink—cap the free edge. Flash-cure, smooth any bumps, then final cure. The result? A seamless blush that sharpens your smile line and keeps chips away.
For an extra-polished, uniform finish that suits any event, consider styling them as Chic All-White Nail Looks to match every occasion.
Bold Cobalt Blue That Won’t Fade
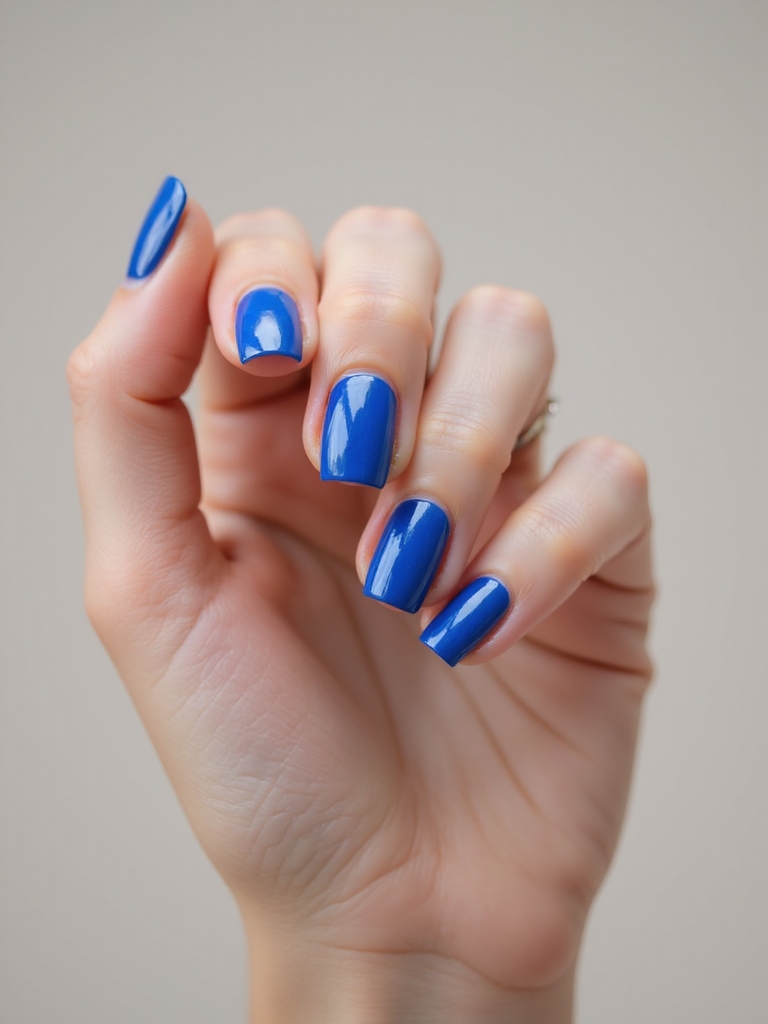
Craving a manicure that pops like ocean glass and refuses to dull? I swear by bold cobalt gel with pigment-dense formulas and UV-stable dyes. I cap free edges, wipe inhibition layers clean, and seal with a gloss top coat.
You’ll get shine that doesn’t quit and color that won’t shift.
- Choose cobalt with fade-resistant pigments
- Apply thin, even coats
- Cap every edge
- Fully cure each layer
- Finish with hard-wearing top coat
Milky White Gel for a Soft, Cloudy Look
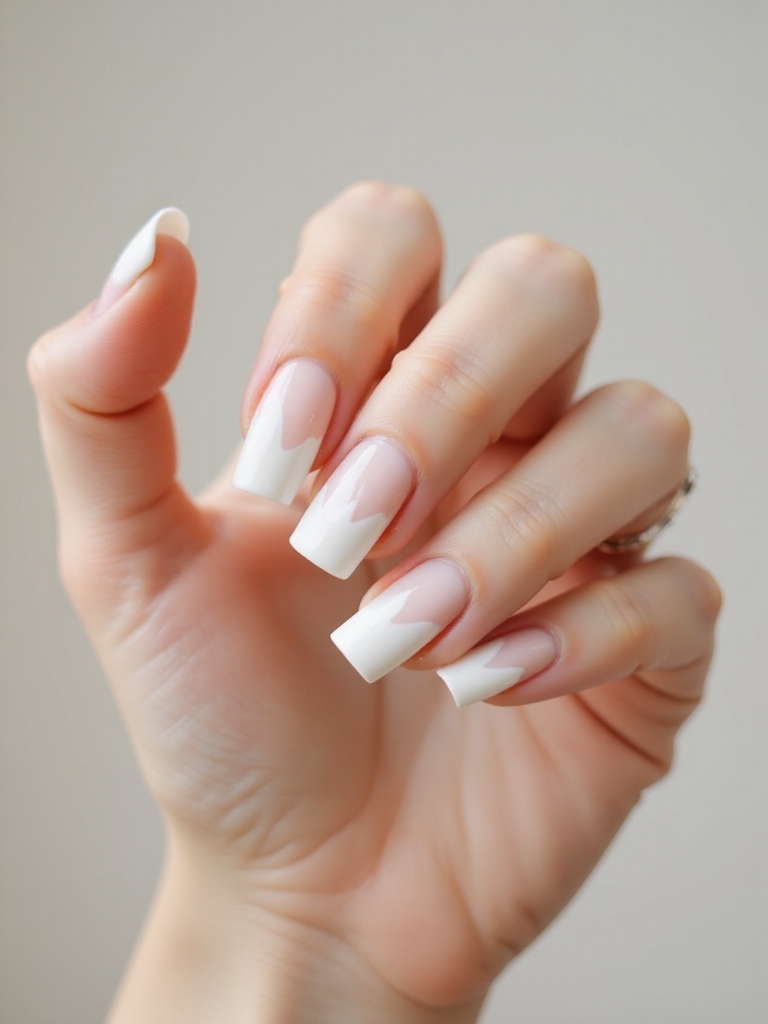
I’m obsessed with that soft, cloudy milky white, but the trick is picking the right opacity—sheer for whispery haze, semi-sheer for plush marshmallow.
I start thin: two to three feather-light coats, flash-cure if needed, then a full cure to lock it in. Cap the free edge and finish with a hard-wearing top coat so your foggy glow stays flawless, not foggy and chipped.
Choosing the Right Opacity
Ever wonder why some nails look like soft-focus clouds while others scream opaque? I pick opacity like I pick filters—based on mood, skin tone, and nail length. Milky white shines when it’s translucent enough to blur, not hide.
I test swatches on a bare nail, then choose.
- Soft blur: 40–60% opacity
- Balanced veil: 70–80%
- Full cover: 90–100%
- Short nails: lighter
- Cool skin: icier whites
Application Tips for Longevity
Now that I’ve nailed the right opacity, I lock in that milky, cloud-kissed look with technique that keeps chips at bay.
I dehydrate, then swipe a tacky base, capping free edges. I float whisper-thin layers of milky white, curing fully between coats. I seal with a glossy top, cap again, and wipe. Cuticle oil daily, gloves for chores—hello, long-wearing, soft-cloud mani.
Shimmering Rose Gold for Subtle Sparkle
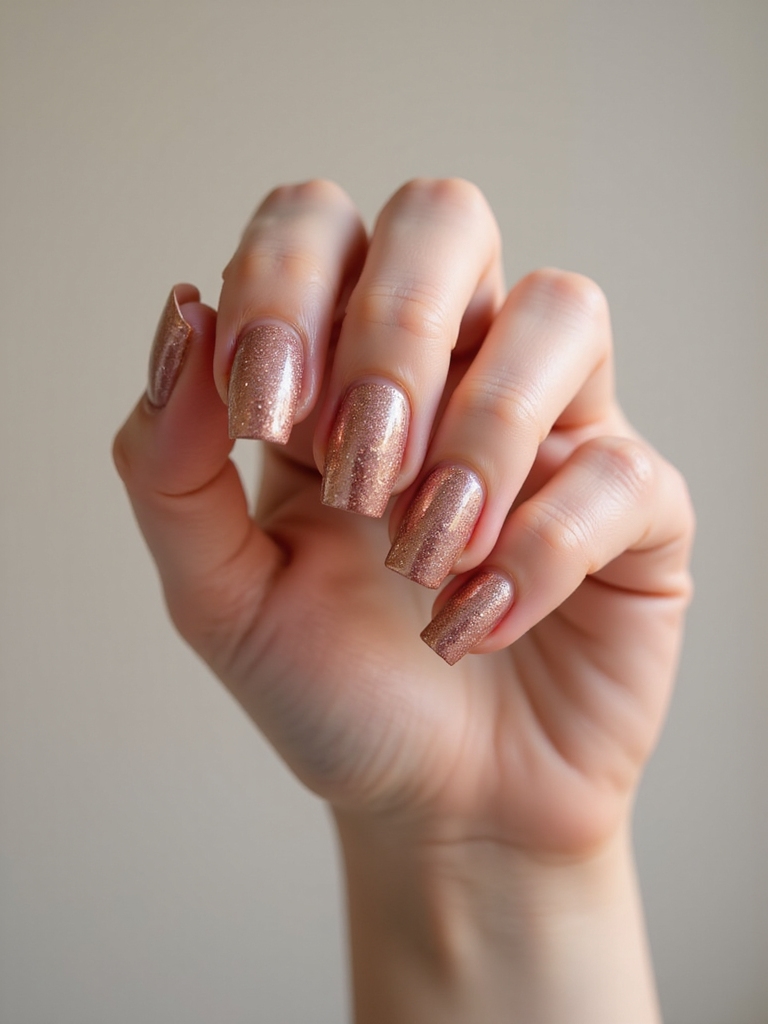
Slip into shimmer with rose gold that whispers instead of shouts. I brush on a thin, luminous veil, then tap a whisper of micro-glitter at the tips for chic dimension.
It flatters every skin tone and pairs with anything from denim to date night. Keep layers sheer, cure fully, and finish glossy for that glassy gleam.
- Choose a neutral rose base
- Sheer, even coats
- Micro-glitter accents
- Seal with gloss
- Gentle cuticle oil
Vegan, 10-Free Gel With Serious Staying Power

I’m reaching for a plant-based, 10-free gel that’s totally cruelty-free, because gorgeous nails shouldn’t cost the earth.
You’ll love how the chip-resistant formula locks in shine and laughs at daily wear and tear.
For long wear, cap the tips and cure fully—your mani’s set to outlast your calendar.
Plant-Based, Cruelty-Free Formula
Plant-powered polish meets guilt-free glamour, and I’m here for it. I love a vegan, 10-free gel that skips harsh stuff yet still delivers glossy, lush color.
It’s cruelty-free, planet-kind, and easy to wear. Let me show you how I make it shine smarter, not harder.
- Choose plant-based base and color
- Cleanse nails with alcohol
- Thin, even coats
- Seal edges carefully
- Hydrate cuticles daily
Chip-Resistant, Long Wear
Glossy, guilt-free color is great—but I want it to stick around. I reach for vegan, 10-free gel built for chip-resistant, long wear.
Prep matters: dehydrate nails, cap the edges, and cure fully. Thin coats beat gloopy layers. Don’t skip a tough top coat. Moisturize cuticles daily. Wear gloves for dishes. Result? Bold shine, barely-there chips, and days of solid, smug-lasting power.
One-Step Gel Polish for Fast, Fuss-Free Application
When time’s tight but you still want chip-resistant shine, I reach for one-step gel polish—the swipe-and-cure shortcut that skips base and top coats without skimping on wear.
I cleanse, buff lightly, then polish thin and even. Cap the free edge, cure, and go. Quick color, glossy payoff, zero fuss.
- Prep: cleanse, dry, light buff
- Thin coats cure cleaner
- Cap edges
- Wipe inhibition layer
- Cuticle oil finish
Hard Gel Overlay to Prevent Peeling and Lifting
Fast color is great, but if your nails keep peeling or lifting, I bring in a hard gel overlay for armor-level support.
I cleanse, gently buff, dehydrate, then apply a thin base and build a flexible apex with hard gel. I cap the free edge, cure thoroughly, and refine.
Result: chip-resistant strength, smoother surfaces, and polish that grips. Pro tip: don’t flood cuticles—lift starts there.
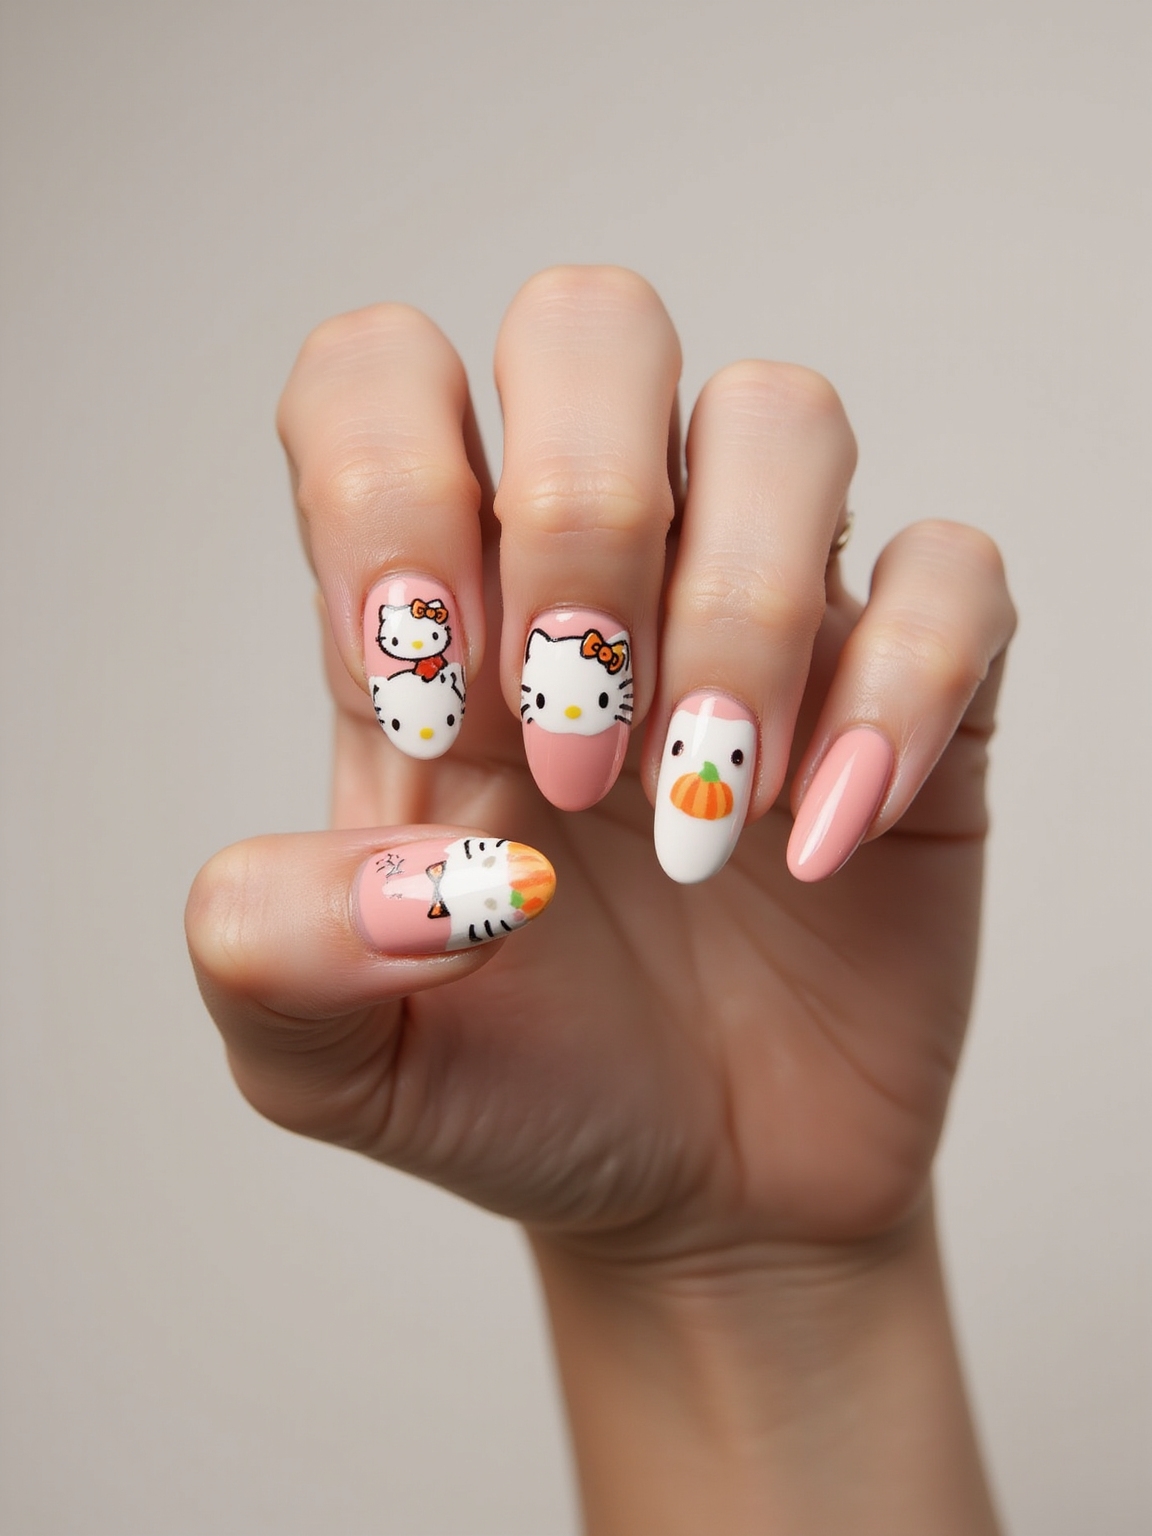
Matte Gel Topper for Modern, Velvet Nails
Sometimes I trade shine for a chic, velvet finish and reach for a matte gel topper that screams modern. It smooths texture, hides tiny flaws, and gives colors a plush twist.
I cap the free edge, cure fully, then wipe for that soft-touch look. Pair with crisp shapes and minimalist art for instant sophistication.
- Velvet-proof smudges
- Fingerprint-resistant
- Edgy, editorial vibe
- Mix gloss and matte
- Long-wear, no bulk