I’m sharing 13 polka dot nail ideas that balance cute and timeless, from crisp black-and-white to soft nude bases with micro-dots. You’ll see retro red with white spots, rainbow confetti tips, ombré bases with graduated dots, and chic color-blocked panels.
I’ll also show heart-shaped clusters and seasonal sparkle mixes, plus easy placement tricks—French arcs, negative space, and scale play. If you want designs that photograph beautifully and suit any mood, you’ll want what’s next.
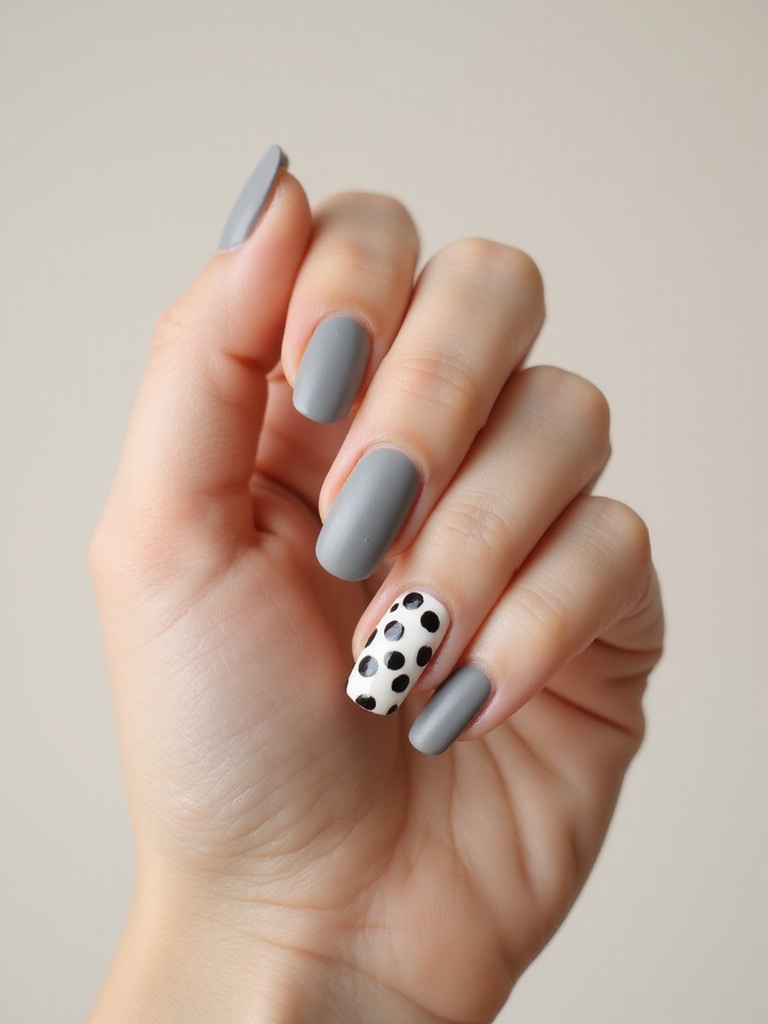
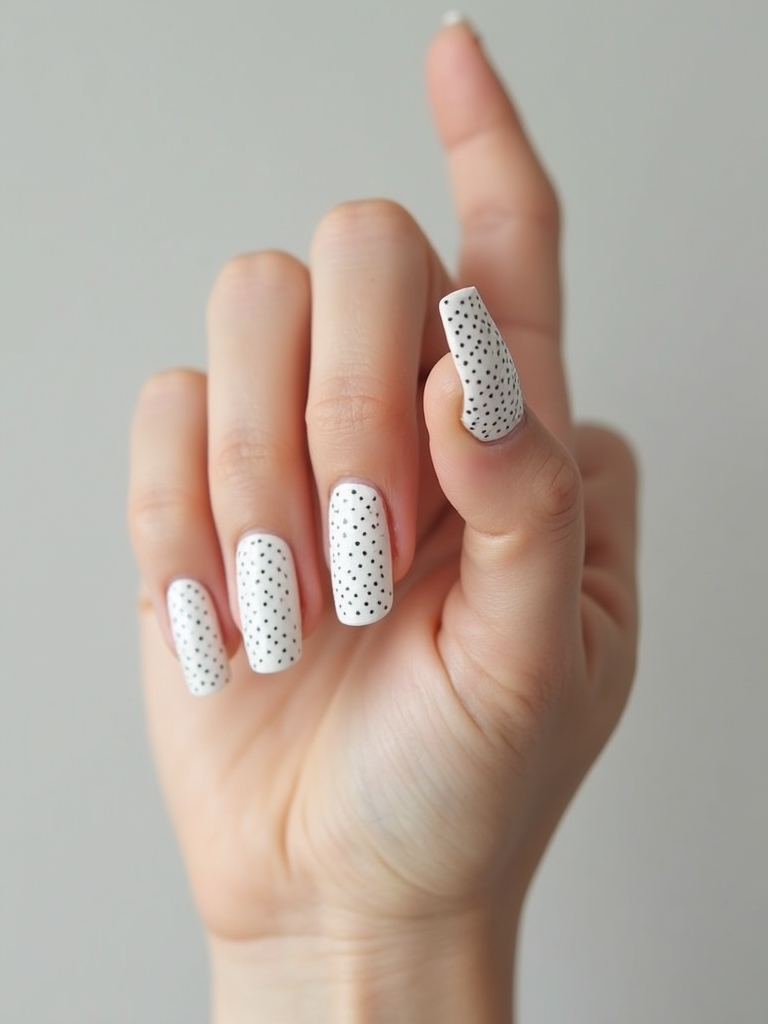
Classic Black-and-White Dots
Even with all the color trends swirling around, classic black-and-white polka dots never miss. I love how a crisp base and tidy dots look graphic yet effortless.
I’ll switch placements—full scatter, French-tip arcs, or a single accent nail—for instant variety. Use a dotting tool or bobby pin, keep spacing consistent, and seal with glossy topcoat. It’s chic, playful, and always camera-ready.
You can pair this look with Chic Nail Designs for a refreshed overall style.
Pastel Micro-Dot Sprinkles
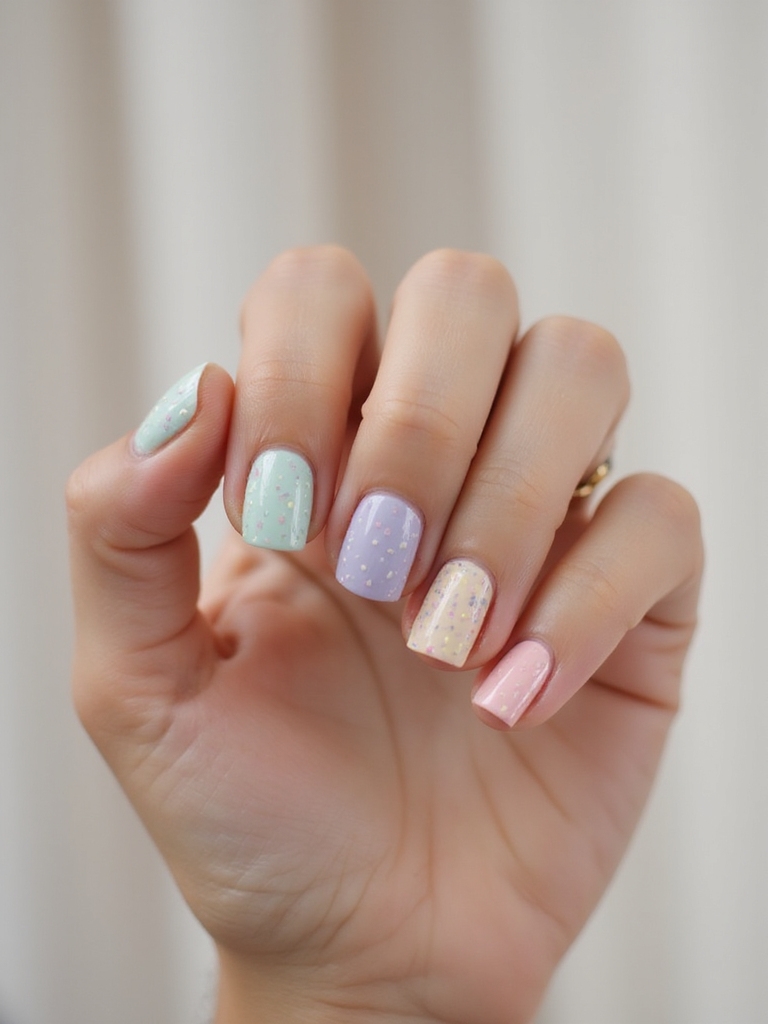
I’m reaching for a soft gel pastel palette—think mint, blush, and lilac—to keep the look airy.
I’ll show you tiny dot placement tips so each sprinkle feels intentional, not crowded. If you prefer restraint, let’s try minimalist sprinkle accent nails on just one or two fingers. Many seasonal nail trends emphasize trendy nails to keep your manicure current.
Soft Gel Pastel Palette
A soft gel pastel palette turns micro-dot sprinkles into a whisper-light statement that still feels playful.
I love how sheer gels soften mint, lilac, and butter yellow, letting dots float like confetti.
I choose three pastels max for balance, then keep the base translucent for an airy look.
This palette flatters any length, mixes with neutrals easily, and reads polished without trying too hard.
Spring manicures often feature fresh florals and seasonal shades, making them a perfect complement to this style with spring nails for added inspiration.
Tiny Dot Placement Tips
When dots stay tiny and intentional, the pastel sprinkles feel chic, not busy.
I map placement first: one dot near the cuticle, one off-center mid-nail, one near the tip. I keep spacing irregular but balanced, avoiding straight lines. I use a toothpick, wipe between colors, and topcoat twice.
I cluster fewer on short nails, slightly more on longer shapes. Tiny fruit accents like micro strawberries or lemons can complement the dots when placed sparingly and delicately, inspired by Micro Fruit Nail Designs.
Minimalist Sprinkle Accent Nails
Those tiny, intentional dots set us up perfectly for a minimalist sprinkle accent.
I keep the base sheer, then scatter pastel micro-dots on just one or two nails—think soft mint, lilac, and butter yellow.
I vary spacing, avoid rows, and seal with a glossy topcoat.
Use a toothpick or dotting tool.
It’s airy, modern, and pairs effortlessly with any polish wardrobe.
Ethereal sheer looks can enhance this effect by keeping the underlying color light and translucent, so the tiny dots truly pop.
Retro Red With White Polka Dots

Nothing channels classic charm like retro red nails dotted with crisp white spots. I love how this combo feels playful yet polished, like a pin-up poster come to life.
Choose a true cherry red, then place even dots with a tool or bobby pin. Keep spacing consistent, seal with glossy topcoat, and let one finger be a statement if you prefer a softer take. Timeless, flirty, effortless. I also recommend considering cherry red nails as the base for a bold, timeless look.
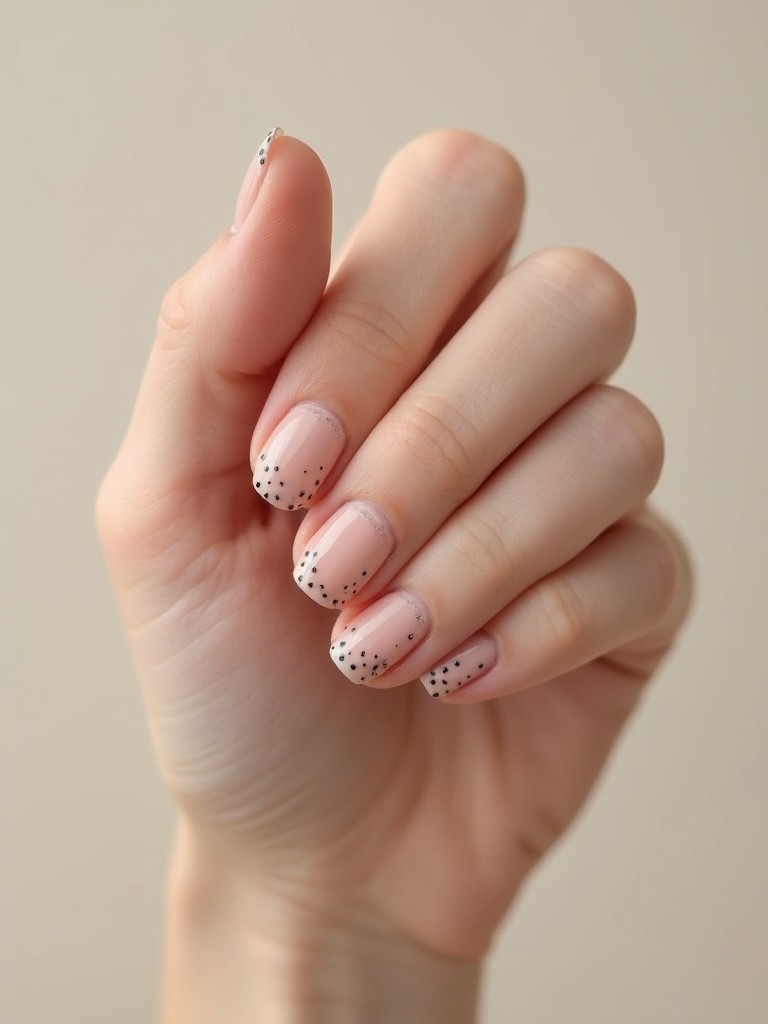
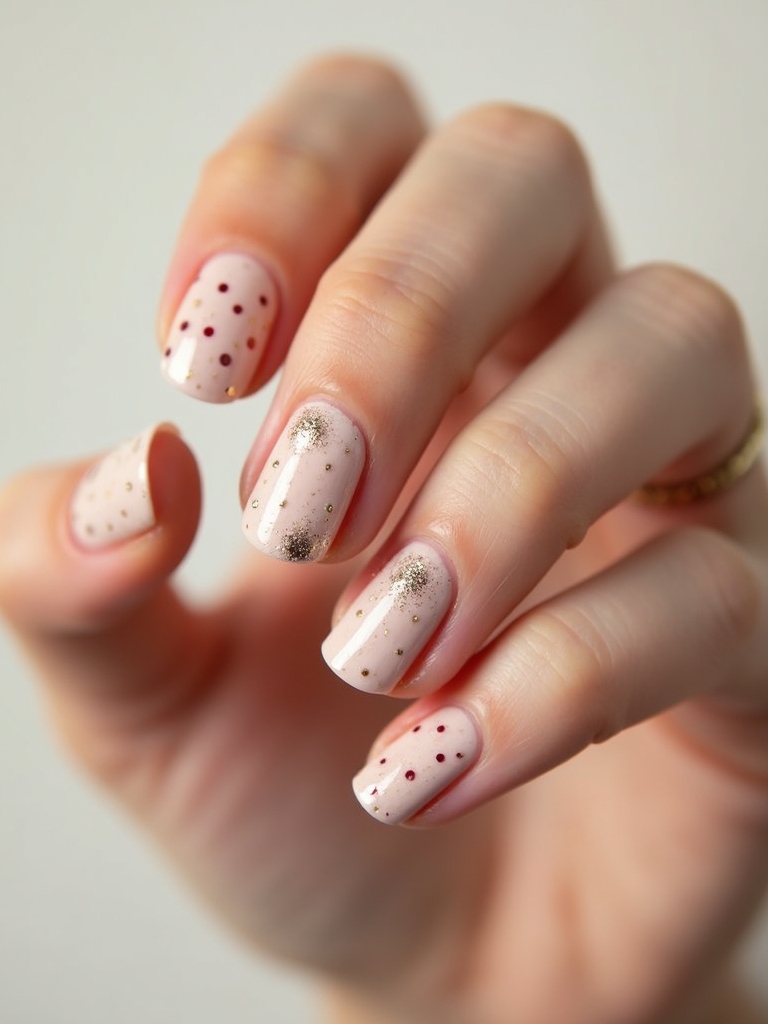
Chic Nude Base With Minimal Dots
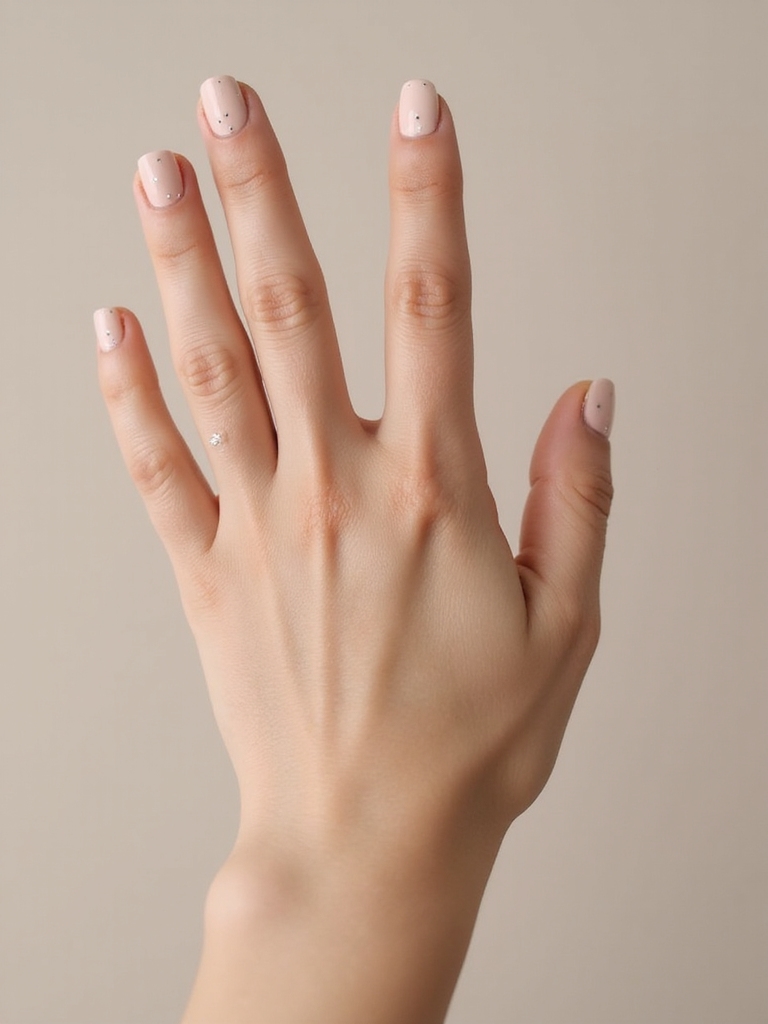
Let’s shift to a chic nude base that flatters your skin tone—I’ll show you how to pick the perfect shade without it looking flat.
Then we’ll map out strategic dot placement so each speck feels intentional, not crowded. By the end, you’ll have a clean, modern look that’s effortless to wear anywhere. Enhance this minimal style by balancing skin undertones with glaze finishes to keep the manicure understated yet striking.
Selecting the Perfect Nude
While bold polka dots steal attention, a chic nude base quietly makes the design look expensive.
I start by matching undertone: cool skin likes pink-beige; warm skin shines with peach, caramel, or honey; neutral can wear soft taupe.
I test swatches in natural light and pick a sheer-to-medium opacity.
Short nails love creamy nudes; longer nails can handle slightly deeper hues.
Finish with glossy topcoat.
Understated elegance often relies on quiet luxury details like subtle textures and refined color palettes to make a manicure feel high-end.
Strategic Dot Placement
Even on a nude base, dot placement makes or breaks the look, so I map it with intention.
I keep dots sparse: one accent near the cuticle on the thumb, a diagonal pair on the index, a single center dot on the middle, two off-center on the ring, and none on the pinky.
I balance sizes, leave breathing space, and mirror placement hand to hand.
Rainbow Confetti Tips
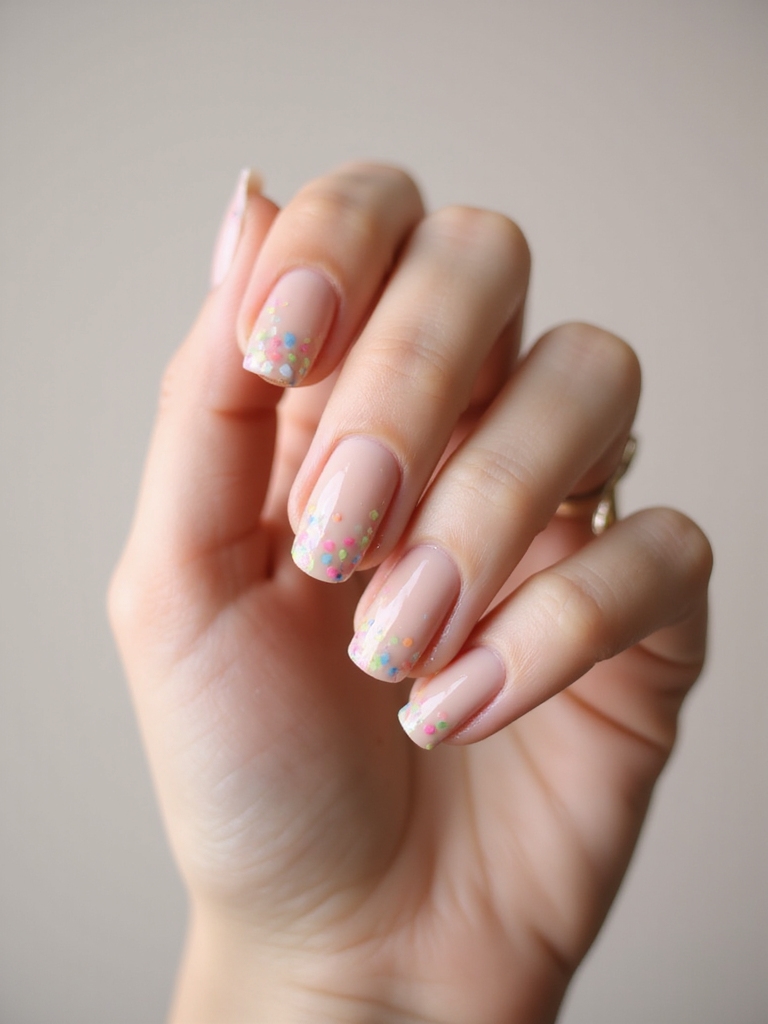
Often, I take a classic French tip and swap the white for rainbow confetti dots, scattering them from the free edge toward the center for a playful gradient.
I keep the base sheer or milky, then seal with glossy top coat for sparkle and wear.
It’s cheerful, quick, and adaptable for any length.
- Use a dotting tool set.
- Vary dot sizes.
- Anchor with neutral base.
Monochrome Matte and Glossy Dots
Sometimes the most striking polka dots come from a single shade, playing matte against glossy for subtle depth. I love how this contrast feels modern yet effortless.
I start with a matte base, then add glossy dots in staggered sizes. Or flip it: glossy base, matte dots. Stick to black, white, or navy. It’s chic, low-maintenance, and office-friendly, yet still catches light beautifully.
French Tips With Tiny Polka Accents
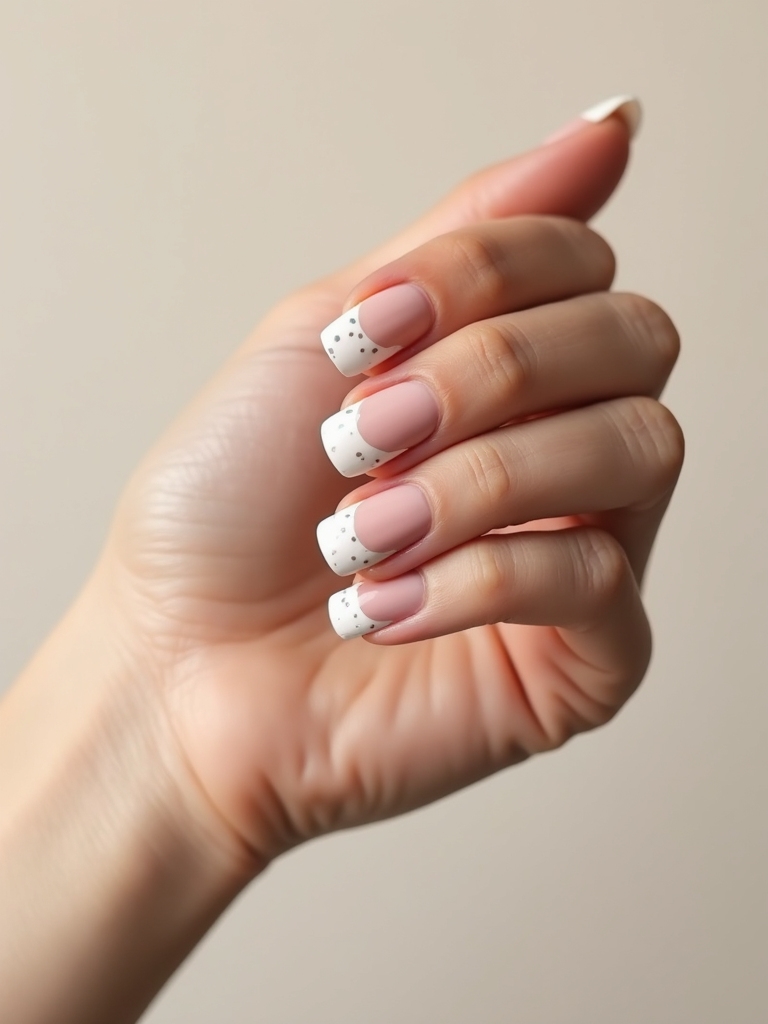
I love how French tips feel fresh with minimalist micro-dot tips that barely kiss the edge. On a sheer base, the contrast stays clean and wearable for everyday.
I’ll show you how to place delicate dots so they look intentional, not crowded.
Minimalist Micro-Dot Tips
Though bold polka dots have their charm, I love how micro-dot tips turn a classic French manicure into something crisp and modern. I place tiny dots right along the smile line—subtle, graphic, and office-friendly. The look reads polished without shouting, and it grows out gracefully.
- Choose an ultra-fine dotting tool.
- Keep dots evenly spaced and minimal.
- Pair soft neutrals with one contrast dot per nail.
Sheer Base, Delicate Dots
Often, a sheer base with delicate dots gives French tips a softer, airier twist. I love how the translucent wash keeps nails clean while tiny polka accents feel playful, not busy.
Choose milky pink or beige, then dot near the smile line. Keep spacing even, sizes petite. Try white, champagne, or soft metallics. Seal with glossy topcoat. It’s refined, modern, and effortless.
Negative Space Dot Manicure
While bold colors have their moments, a negative space dot manicure gives polish a breather and lets design do the talking. I love how open space frames crisp dots, making short or long nails look modern without extra bulk.
Keep the nail bed visible, then float dots where light naturally hits.
- Map dots along cuticle curves.
- Vary sizes for rhythm.
- Seal with a glossy, thin topcoat.
Metallic Foil Polka Pops
Negative space keeps things airy, but sometimes I want sparkle that hits like confetti. Metallic foil polka pops deliver instant drama with minimal effort.
I brush on a sheer or nude base, dab clear adhesive dots, then press foil sheets for crisp, reflective spots. Mix silver, gold, or rose tones. Seal with a glossy topcoat. The result: luminous, modern polka dots that feel festive yet refined.
Ombre Base With Graduated Dots
Because gradients naturally soften bold patterns, I start with an ombre base and let the dots grow in size as they descend. The fade adds depth, and the scaling dots guide the eye without clutter.
I keep spacing consistent and colors neighboring on the wheel for harmony.
- Choose two or three tones; blend vertically.
- Dot tool sizes: small, medium, large.
- Seal with glossy topcoat for clarity.
Color-Blocked Dotted Panels
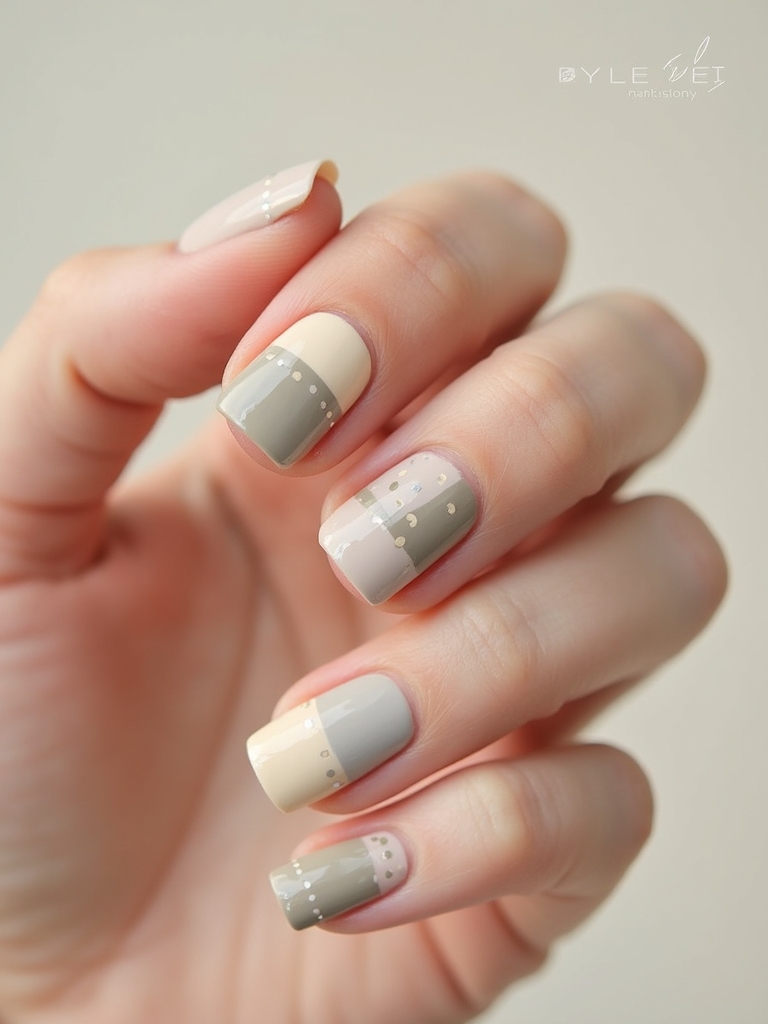
Ombre fades feel soft and fluid; now I switch gears to crisp color-blocked panels that spotlight dots like graphic accents.
I map bold sections—think navy with blush, emerald with nude—and place precise dots along borders or in tidy rows. I use striping tape for sharp lines, then a dotting tool for symmetry. Keep spacing consistent, topcoat glossy, and let your palette carry the punch.
Heart-Shaped Dot Clusters
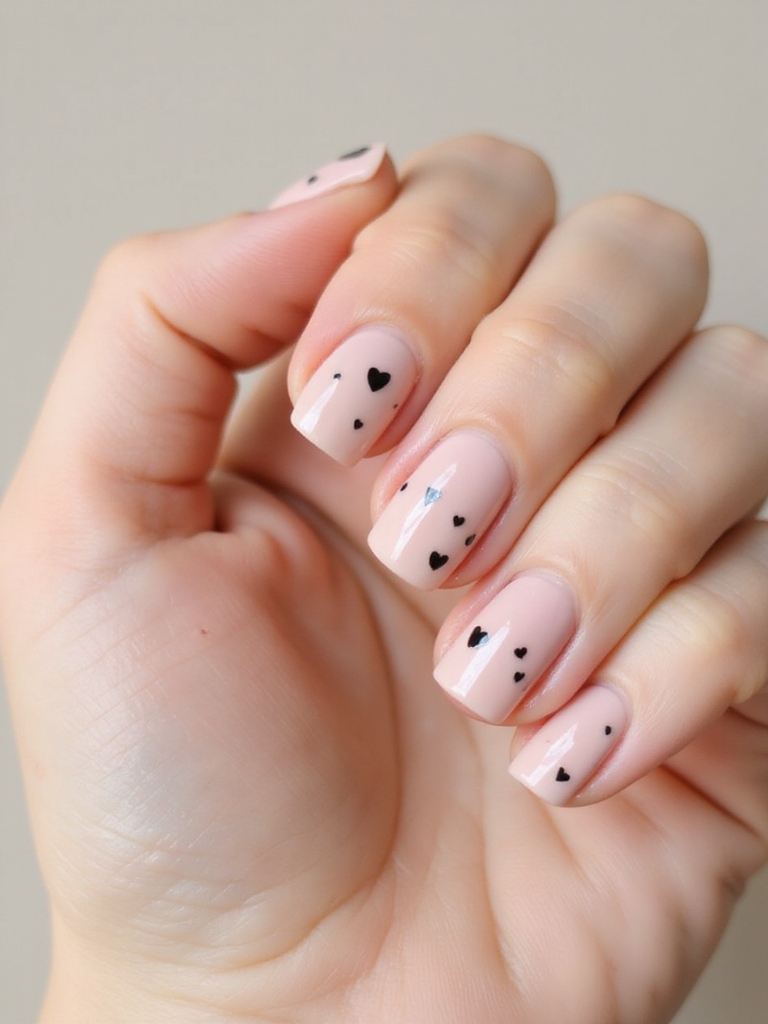
While dots usually read as playful sprinkles, I love grouping them into neat heart shapes for a sweet-but-graphic twist.
I start with a neutral base, then map a tiny V with two dots and fill the curve. Contrast colors make the silhouette pop without fuss.
- Use a toothpick for fine placement.
- Anchor one larger dot at the center.
- Mirror hearts across accent nails.
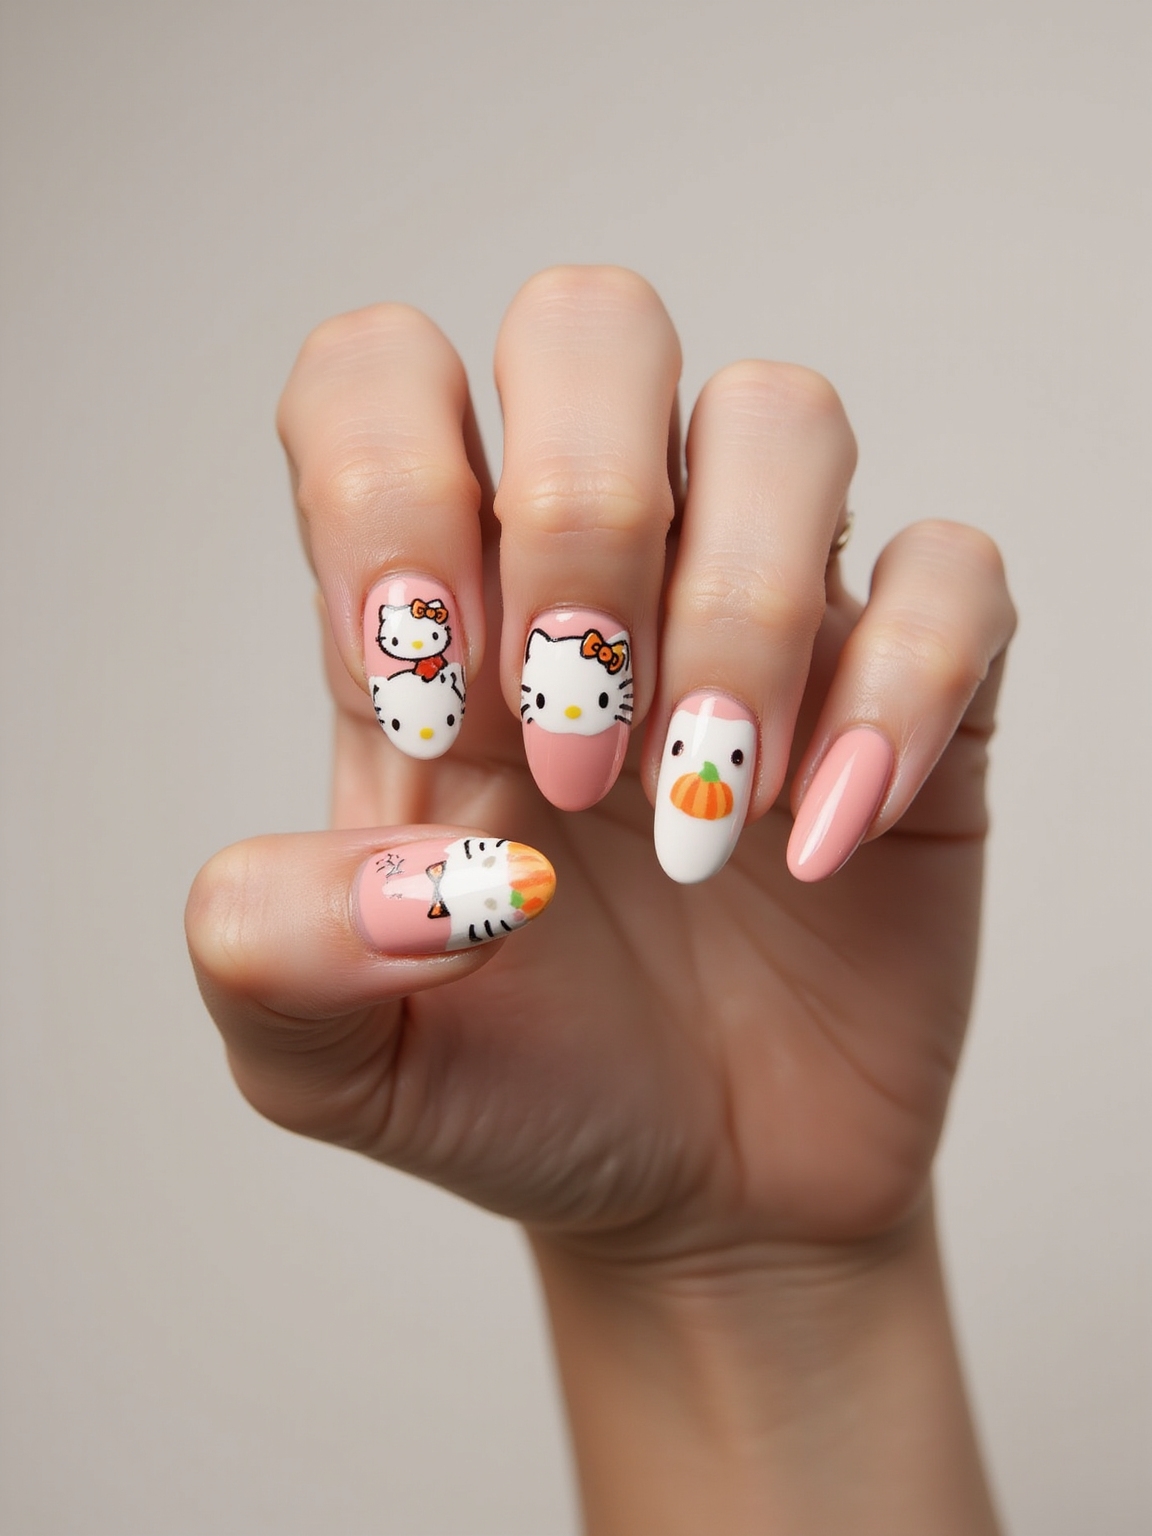
Seasonal Sparkle Polka Mix
Even as the weather shifts, I keep polka dots fresh by mixing shimmer with solid dots in seasonal shades. For fall, I pair copper glitter with olive or plum. Winter begs for icy silver over navy.
Spring sings with pearly pastels, while summer pops with gold on coral or aqua. I vary dot sizes, accent one nail, and finish with a glossy, chip-resistant topcoat.