You either love duck nails or you can’t look away in horror, and honestly, that polarizing energy is exactly why they’re everywhere. The flared tip, narrow at the cuticle and fanning out wide at the edge, like a little webbed foot, is the boldest nail shape going, a maximalist canvas built for chrome, charms, and color that a regular almond just can’t hold.
Whether you’re a true believer or duck-curious, these 13 styles show the range, from a sleek minimalist flare French to full kawaii decoden. For each I’ll tell you how the look is built, who the shape actually flatters, and the real talk on cost and durability, since that dramatic flare comes with a few trade-offs. Pick the one that matches how bold you’re feeling.
Duck Nails, Quick Answers
What are duck nails? An acrylic or gel shape that’s narrow at the base and flares out wide at the tip, like a duck’s bill, giving you a big canvas for art.
Who do they suit? Anyone who wants drama; the flare can make hands look a touch wider, so longer, slimmer fingers carry it most easily, but it’s all personal taste.
Are they practical? Honestly, not very. The wide flare snags and catches more than other shapes, so they’re a statement set for special occasions over an everyday low-fuss choice.
Hyper-Curved Candy Chrome

If you’re going to commit to the flare, candy chrome is the loudest, glossiest way to do it, the wide tip catches the mirror finish like a foil-wrapped sweet. The drama of the shape plus the liquid-metal shine is peak duck nail.
The tech shapes a bold flare, keeps the edges smooth, then buffs a cool-toned base before pressing chrome powder for that wet, drippy gleam. Sealing twice locks the shine and fights chips, which matters more on a flare that takes a beating.
It suits anyone who wants maximum impact and doesn’t mind the upkeep. For the full metallic technique, my chrome nail guide breaks down getting that mirror finish to grab and last.
Luminous Aura Gradient Flares
Aura gradients bring a softer, dreamier energy to the bold shape, a hazy halo of color melting from a glowing center out to airy edges, which looks especially ethereal spread across the wide flare:
- Pick two tints, a dreamy core color and a sheer perimeter, and blend them with a sponge.
- Anchor the brightest part of the aura on the widest point of the flare so the glow has room to spread.
- Seal with a jelly topcoat to deepen the glow without bulk; my aura nail guide covers the airbrushed version.
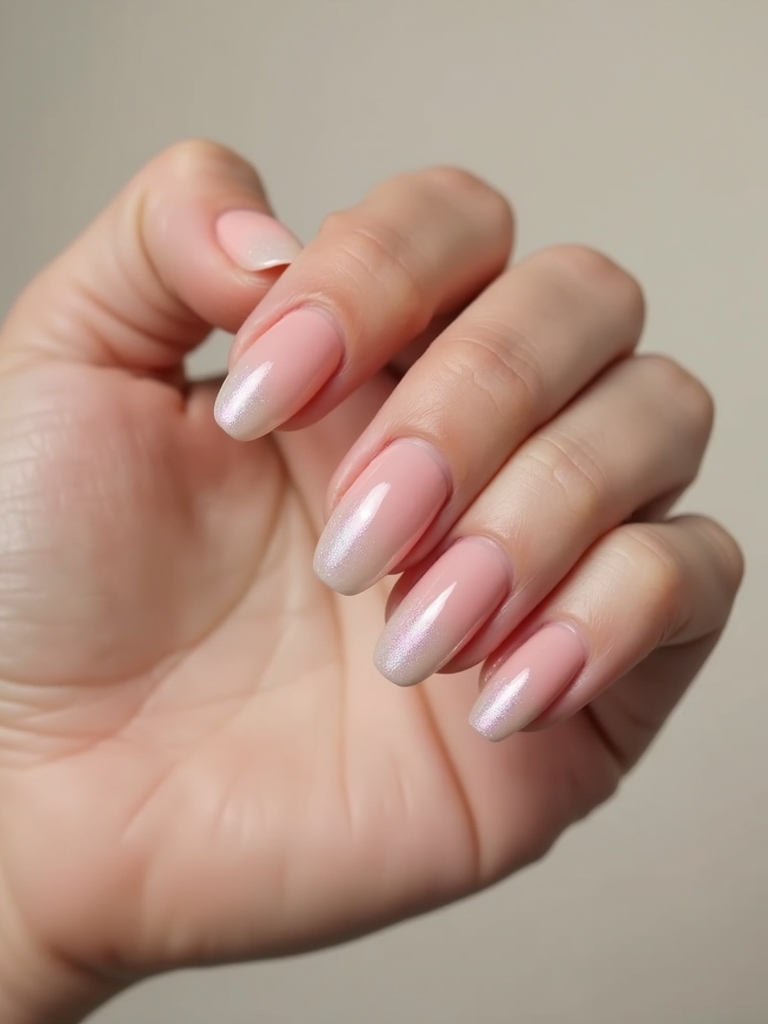
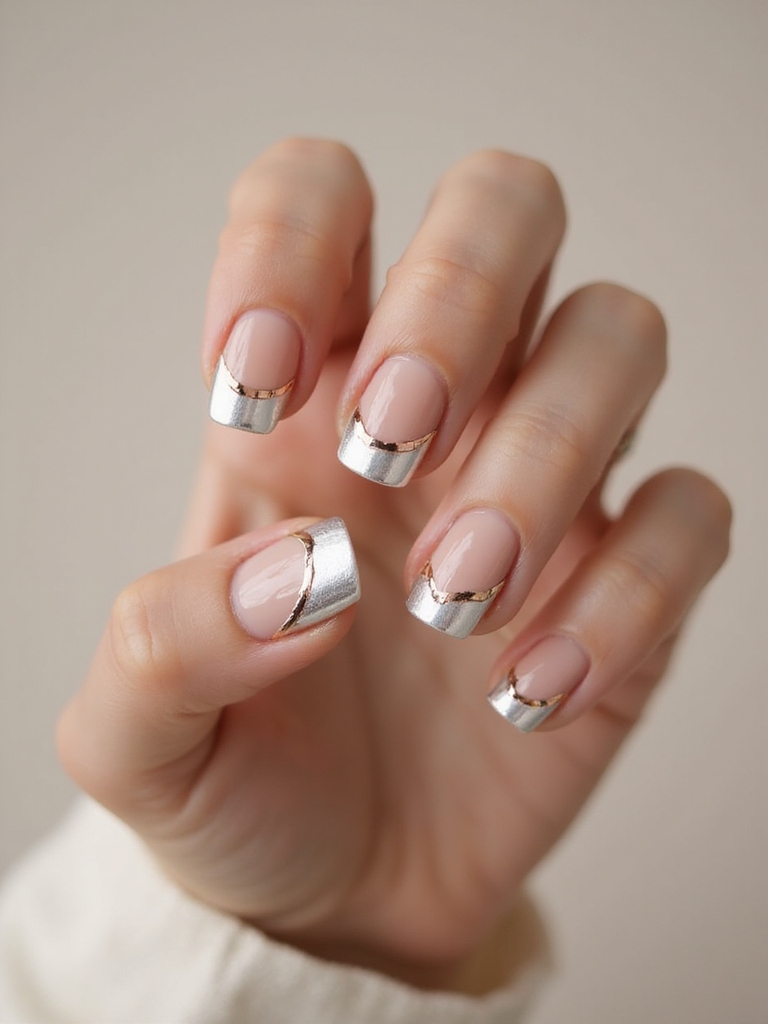
Luxe Minimalist Flare French
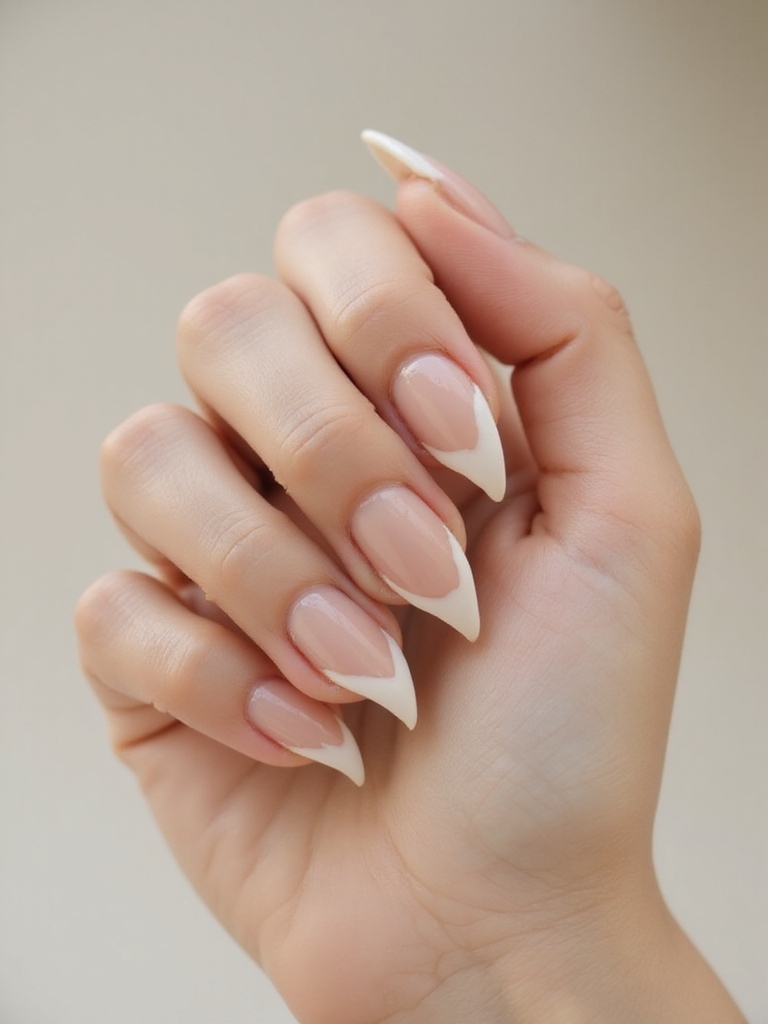
Here’s proof that duck nails don’t have to be a circus. A minimalist flare French keeps the bold silhouette but dresses it down with crisp negative space and a razor-thin smile line, the contrast of an over-the-top shape with understated color looks surprisingly chic.
Soft nude bases, milky pinks, or sheer beige keep the canvas clean so the dramatic shape speaks for itself.
It’s the version I’d suggest for anyone who loves the flare but works in a setting where full chrome-and-charms is too much. A glassy topcoat gives it that expensive gleam. My French tip guide covers the thin-line technique.
Two honest duck-nail questions:
1Will duck nails suit my hands?
The flare adds visual width at the tip, so it tends to look most balanced on longer, slimmer fingers and can make shorter or wider hands look a touch broader. That said, it’s a bold-by-design trend, so if you love the shape, wear it; flattering is partly about confidence. Try a shorter, subtler flare first if you’re unsure.
2How do I keep them from snagging everything?
Honestly, you manage it more than you prevent it. Keep the flare on the shorter side, file any rough edges smooth right away, seal twice, and accept that they’re a statement set, not a hands-on-everything daily shape. A daily cuticle oil keeps the whole thing looking fresh longer.
Translucent Jelly Sheer Tips
Translucent jelly colors make the flared shape look juicy and fresh, like something from a candy shop, and the wide tip gives those gummy-bear hues lots of room to glow:
- Build the color in thin sheer coats, starting light near the cuticle and deepening toward the edge for a blushy fade.
- Keep it translucent, not opaque so it stays jelly-like and glassy.
- Seal with a high-gloss top for maximum juice; my jelly nail guide covers the see-through build.
Balanced 3D Charms and Dangles
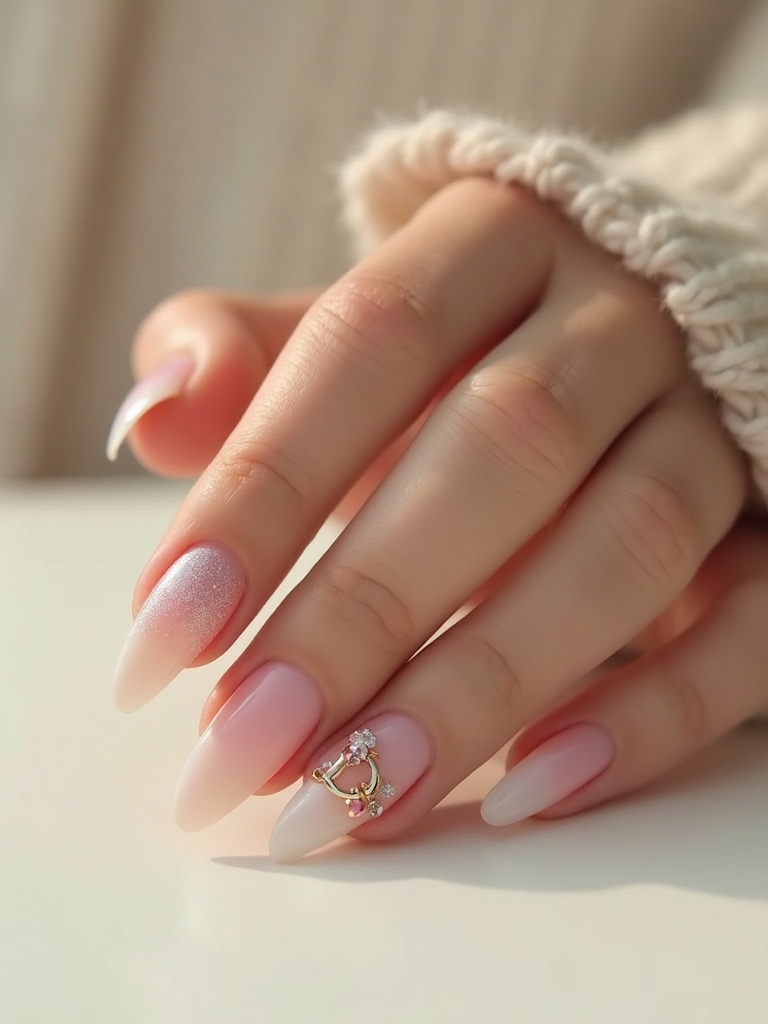
The wide flare is basically a shelf for 3D charms, which is half the appeal, but placement is what keeps it chic and uncluttered. The trick is balancing the weight across the nail.
Map the big pieces thoughtfully and let the small ones scatter.
- Anchor larger charms near the cuticle or the outer corners, then sprinkle petite pieces toward the flare for balance.
- Set everything with resin or builder gel and a quick flash-cure so nothing pops off, and cap the bases with topcoat.
- For dangly charms, close the tiny jump rings tight; loose ones snag on everything.
Alternating Velvet, Matte, and Gloss

Mixing finishes is a clever way to add interest to duck nails without piling on charms or color. Alternating velvet, matte, and gloss across the set gives instant dimension and a playful, expensive-looking shine.
Why a cohesive palette ties mixed finishes together
Keeping a cohesive palette is what stops it from looking random, the finishes change but the colors agree.
Try velvet on the ring fingers as an anchor, matte on the index nails for contrast, and glossy tips to catch the light. It’s a subtle, grown-up way to wear the bold shape, and it photographs beautifully because the light hits each finish differently.
| Look | Vibe | Effort |
|---|---|---|
| Minimalist flare French | Subtle, chic | Low |
| Jelly or airbrush ombre | Soft, juicy | Medium |
| Candy chrome, metallic frames | Loud, luxe | High (salon) |
| 3D charms, decoden | Maximalist | Very high, fragile |
Asymmetrical Pop-Art Comic Panels
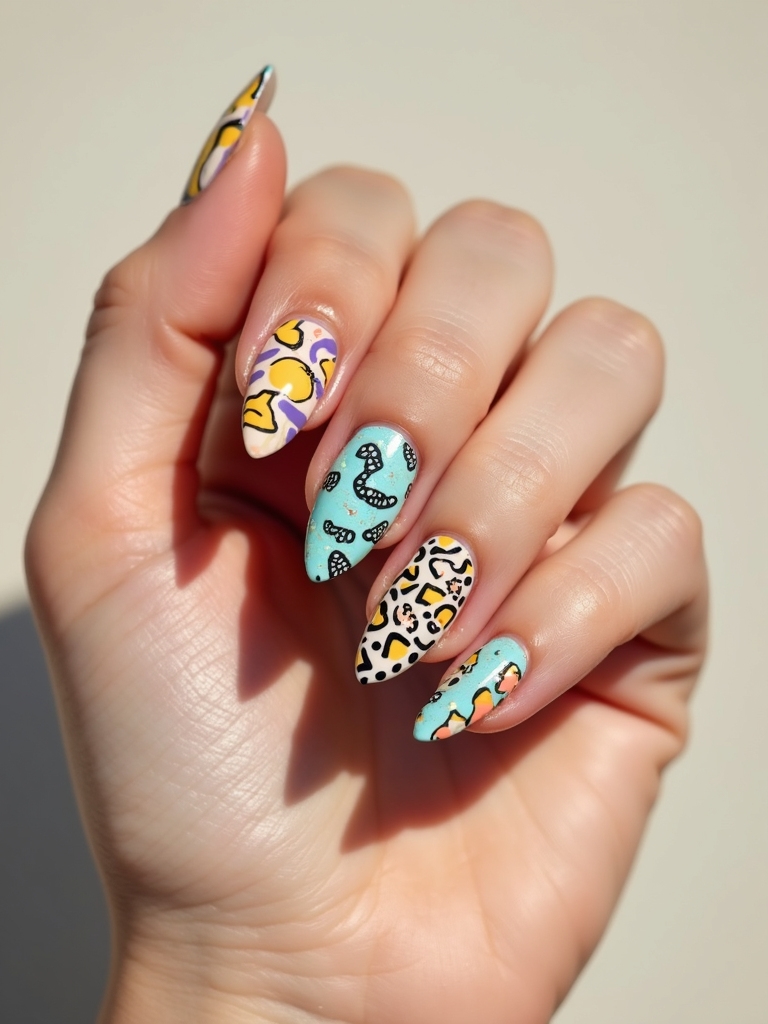
Duck nails already bring the drama, so pop-art panels lean all the way in, punchy primary color blocks with crisp black outlines that make each flared tip look illustrated like a comic frame.
Keeping bold panels graphic, not chaotic
Placing the panels asymmetrically keeps the eye bouncing across the set instead of settling.
Let one thumb carry a chunky square while the pinky rocks a skinny stripe, and use two hot hues plus a neutral so it stays graphic rather than chaotic. The black outlines and a glossy topcoat are what give it that crisp, illustrated punch. It’s loud, fun, and unmistakably a statement set.
Holographic Foil Splash
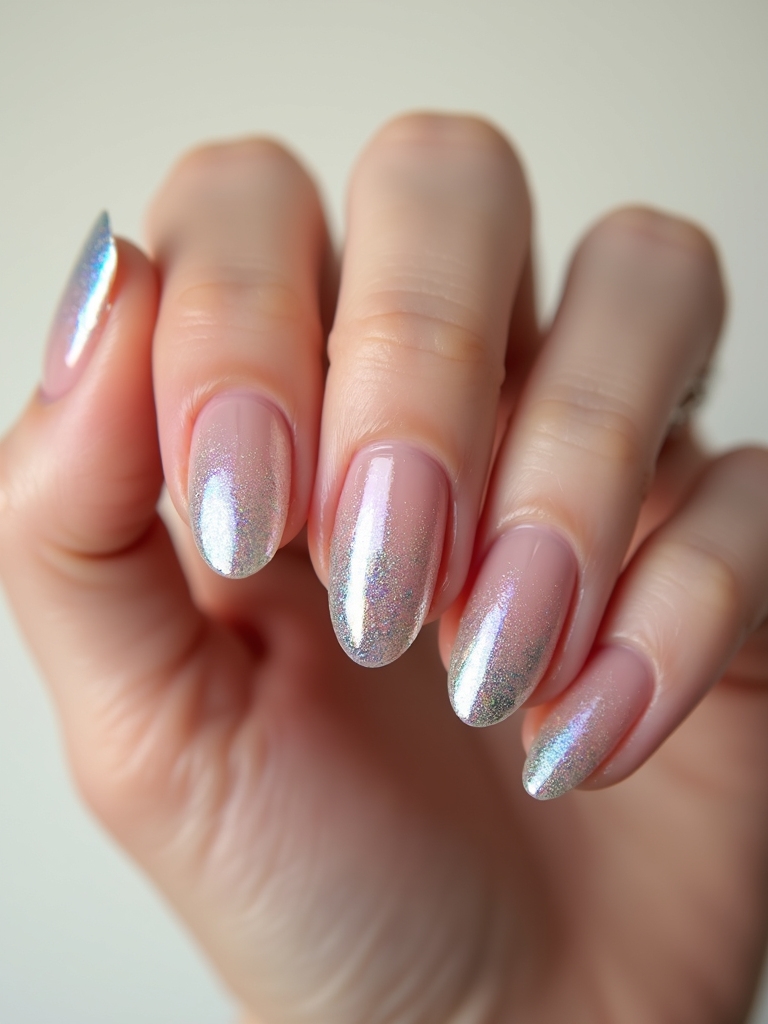
Holographic foil catches every beam of light, and scattered across the wide flare it throws serious prism drama, the kind of set that flashes rainbows in sunlight:
- Lay chunky foil flakes over a tacky gel layer and seal them down hard so no edge can catch.
- Angle the pieces near the edges of the flare and leave some negative space so the sparkle reads curated, not chaotic.
- Mix a couple of foil tones, silver, lavender, and teal, so the holo stays cohesive rather than a free-for-all.
Sheer Micro-Airbrush Ombre
For a soft-focus glow rather than hard sparkle, an airbrushed ombre mists sheer pigment from the cuticle out to the flare so the color melts like cotton candy. The wide tip is the perfect surface for a dreamy gradient.
Short, controlled bursts with a relaxed wrist keep the fade smooth across all that width.
- Mist the pigment in light passes, building the gradient slowly so it stays smooth.
- Choose soft tones, blush nudes, iced lilac, or peach, for that hazy, modern look.
- Seal with a thin glossy top and keep cuticles oiled so the airbrushed finish stays fresh.
Duck nails aren’t trying to be subtle, and that’s the whole point. They’re for the days you want your hands to be the loudest thing in the room.
Neon Edge Outlines

This one keeps the base calm and lets a neon outline do the talking, a crisp bright halo tracing the edge of the flare like a little glow stick. It’s high-impact with almost no bulk.
A gel liner traced around the tip, flash-cured and sealed, gives that sharp, glowing frame.
Pick one neon or run a rainbow across the set, and keep the lines ultra-fine and glossy so they read clean. Over a milky nude base, the neon really pops, and a glow-in-the-dark version takes it somewhere fun for a night out. It’s a great low-commitment way to test the bold shape.
Sculpted Metallic Frames
Metallic frames turn duck tips into actual jewelry, a chrome border sculpted around the edge of the flare with builder gel and chrome powder. The crisp metal outline makes the dramatic shape look intentional and luxe.
Why mixed metals look more expensive
Mixing metals is what gives it that high-end, layered feel.
Map the frame with builder gel, flash-cure, then apply chrome powder for shine, keeping the edges crisp so the flare looks deliberate. Mix rose gold, silver, and gunmetal for contrast, and leave a little negative space near the cuticle so it breathes. Seal with a tough topcoat and oil daily, since the sculpted edges take wear.
ℹ️Good to Know
Duck nails are built, not just painted, the flare is sculpted with acrylic or builder gel, so they’re almost always a salon set rather than a polish change. Expect a full set to run roughly $50 to $80 depending on the art, more for heavy 3D work, and to last two to three weeks before a fill. The dramatic shape also means a longer appointment than a standard set.
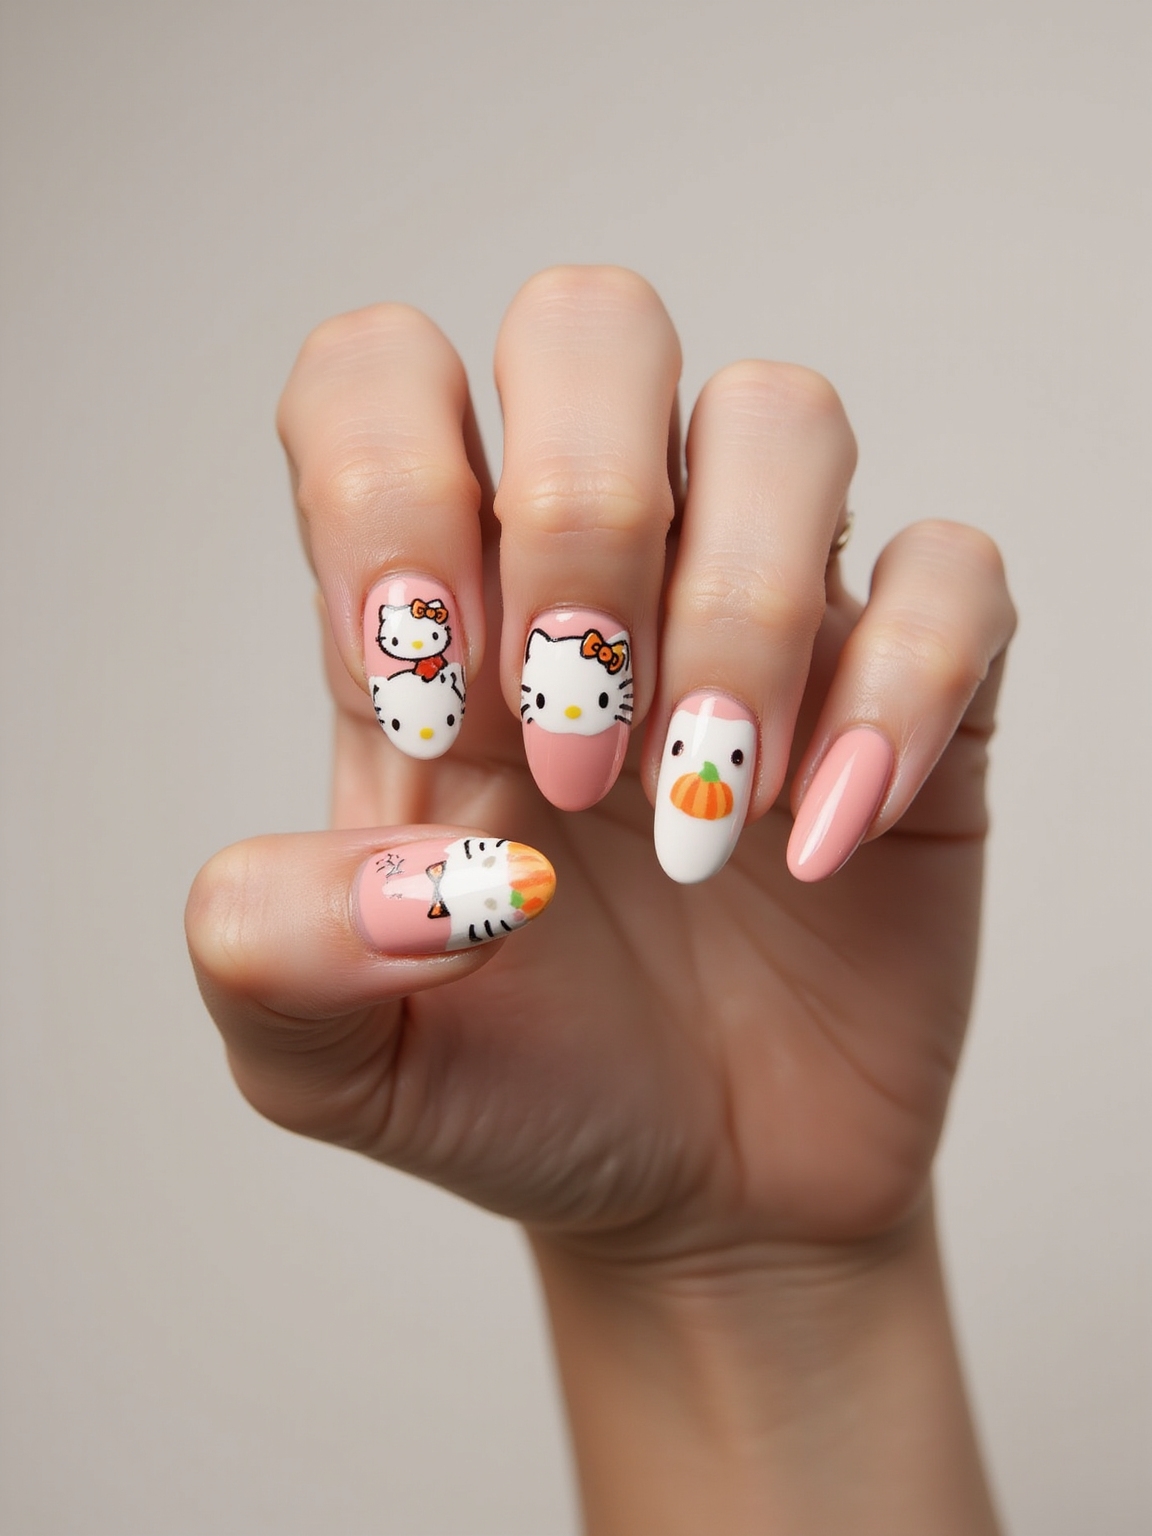
Kawaii Decoden Maximalism
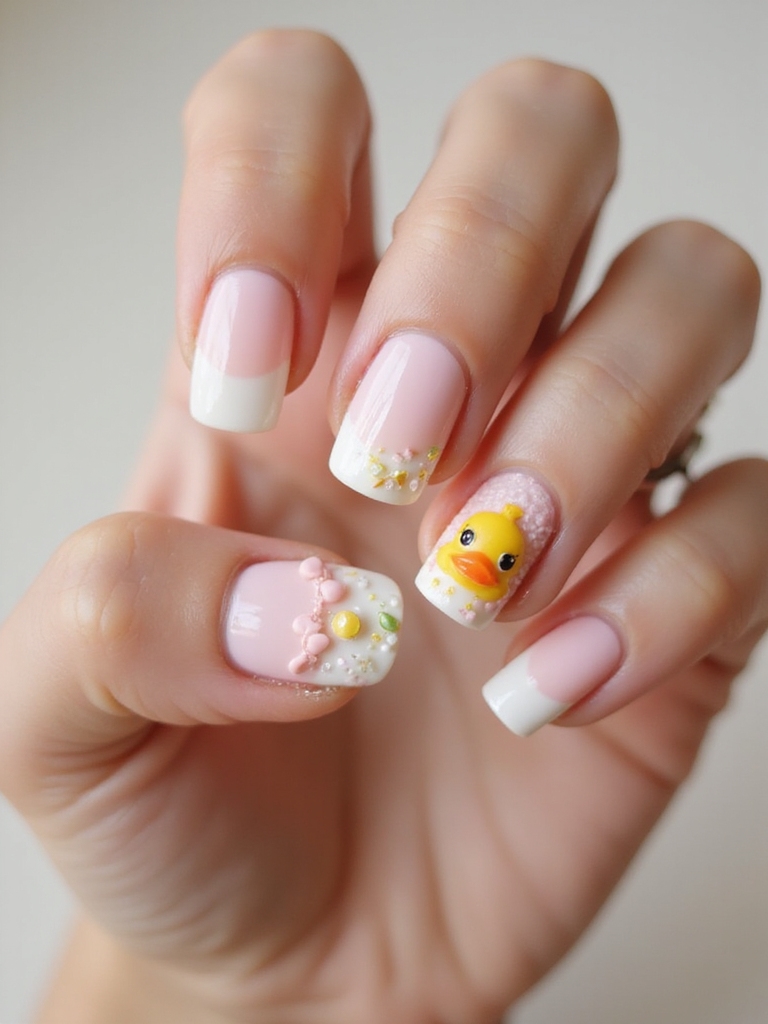
This is duck nails at their most unapologetic, a full candy-shop explosion of plush charms, pastel jellies, and glossy resin domes stacked across the flare. If you’ve ever wanted nails that look like a dessert, this is the one.
Stack cabochons, pearls, and bows, anchoring the big pieces with gel and flash-curing between layers so the tower holds. Mix textures, matte sprinkles, jelly hearts, chrome drips, for dimension, then dome the edges smooth with topcoat for that plush, glassy finish. It’s heavy, fragile, and completely impractical, and that is entirely the point. Save it for a day you don’t need to use your hands much.
Striping-Tape Geometric Cutouts

Crisp negative-space geometry makes the flare look extra sharp and snatched, with clean triangles, arcs, and off-center bars framing the wide tip. The bare windows keep all that drama feeling airy:
- Map the geometric windows first, then lay a sheer base and lock the edges with striping tape.
- Flood high-contrast gel into the taped sections, peel the tape, and flash-cure for razor-sharp lines.
- Mix neutrals with a neon slash or two so the cutouts look graphic and modern rather than busy.
Duck Nails, Answered
?What exactly are duck nails?
Duck nails are a sculpted nail shape that’s narrow at the base and flares out wide at the tip, resembling a duck’s bill or webbed foot. The shape is built up with acrylic or builder gel rather than just filed, which gives that dramatic fanned-out edge and a big surface for art, chrome, and charms.
?Do duck nails suit everyone?
They’re a bold, polarizing shape by design. The flare adds width at the tip, so it looks most balanced on longer, slimmer fingers, while it can make shorter or wider hands look a little broader. But flattering is partly confidence, so if you love the look, a shorter, subtler flare is a great way to ease in.
?How much do duck nails cost and how long do they last?
Expect roughly $50 to $80 for a full set, more for heavy 3D charm or decoden work, since the flare is sculpted and the art takes time. They last about two to three weeks before you’ll want a fill, the same as other acrylic or builder-gel sets, though the wide shape can take more wear at the tips.
?Are duck nails practical for everyday life?
Not especially, and that’s worth knowing going in. The wide flare snags on clothing, hair, and bags more than a rounded shape, and the most decorated versions are truly fragile. They’re best thought of as a statement set for when you want drama, rather than a low-fuss everyday shape. A shorter flare is the most livable version.
?How do I take care of duck nails so they last?
Seal the tips well (a double topcoat helps), file any rough or snag-prone edges smooth right away, and use cuticle oil daily to keep the whole set looking fresh. Be gentle with your hands, treat them as the statement they are, and book a fill around the two-to-three-week mark before the regrowth strains the sculpted shape.
Are You Duck-Curious Enough to Try It?
Duck nails are the rare trend that doesn’t pretend to be for everyone, and that’s refreshing. They’re bold, a little impractical, and built to be noticed, whether you keep it chic with a minimalist flare French or go all the way to stacked decoden. The wide tip is simply the most generous canvas in nail art, and these 13 looks barely scratch what it can hold.
If you’re tempted, start subtle, a shorter flare with a clean jelly or airbrush finish, and see how you feel about the shape before committing to chrome and charms. Show your tech a reference and ask for a flare you can actually live with, and lean into the drama on a day you want your hands to do the talking. Sometimes a little impractical is exactly the point.