The myth about character nails is that they always look like a craft project gone wrong. They don’t have to. Done with clean lines and a smart base color, Disney Halloween nails land right in the sweet spot between cute and creepy, a tiny pair of ears here, a villain’s poison drip there, all of it wearable enough to keep on through November.
These 14 looks run from the sweetest Mickey-and-Minnie set to a full Evil Queen chrome, sorted loosely from easy to ambitious. For each I’ll tell you how it’s built, how tricky it is to pull off, and whether it’s a DIY or a salon job, so you can pick your enchantment based on your patience as much as your fandom.
Pick Your Disney Spook
| Vibe | Looks | Difficulty |
|---|---|---|
| Cute and playful | Mickey & Minnie, pumpkin patch, hidden Mickeys | Beginner-friendly |
| Spooky-romantic | Jack & Sally, Zero, Haunted Mansion | Intermediate |
| Full villain | Maleficent, Ursula, Evil Queen chrome | Advanced or salon |
| Glow and specialty | Glow castle, potion bottles | Needs special product |
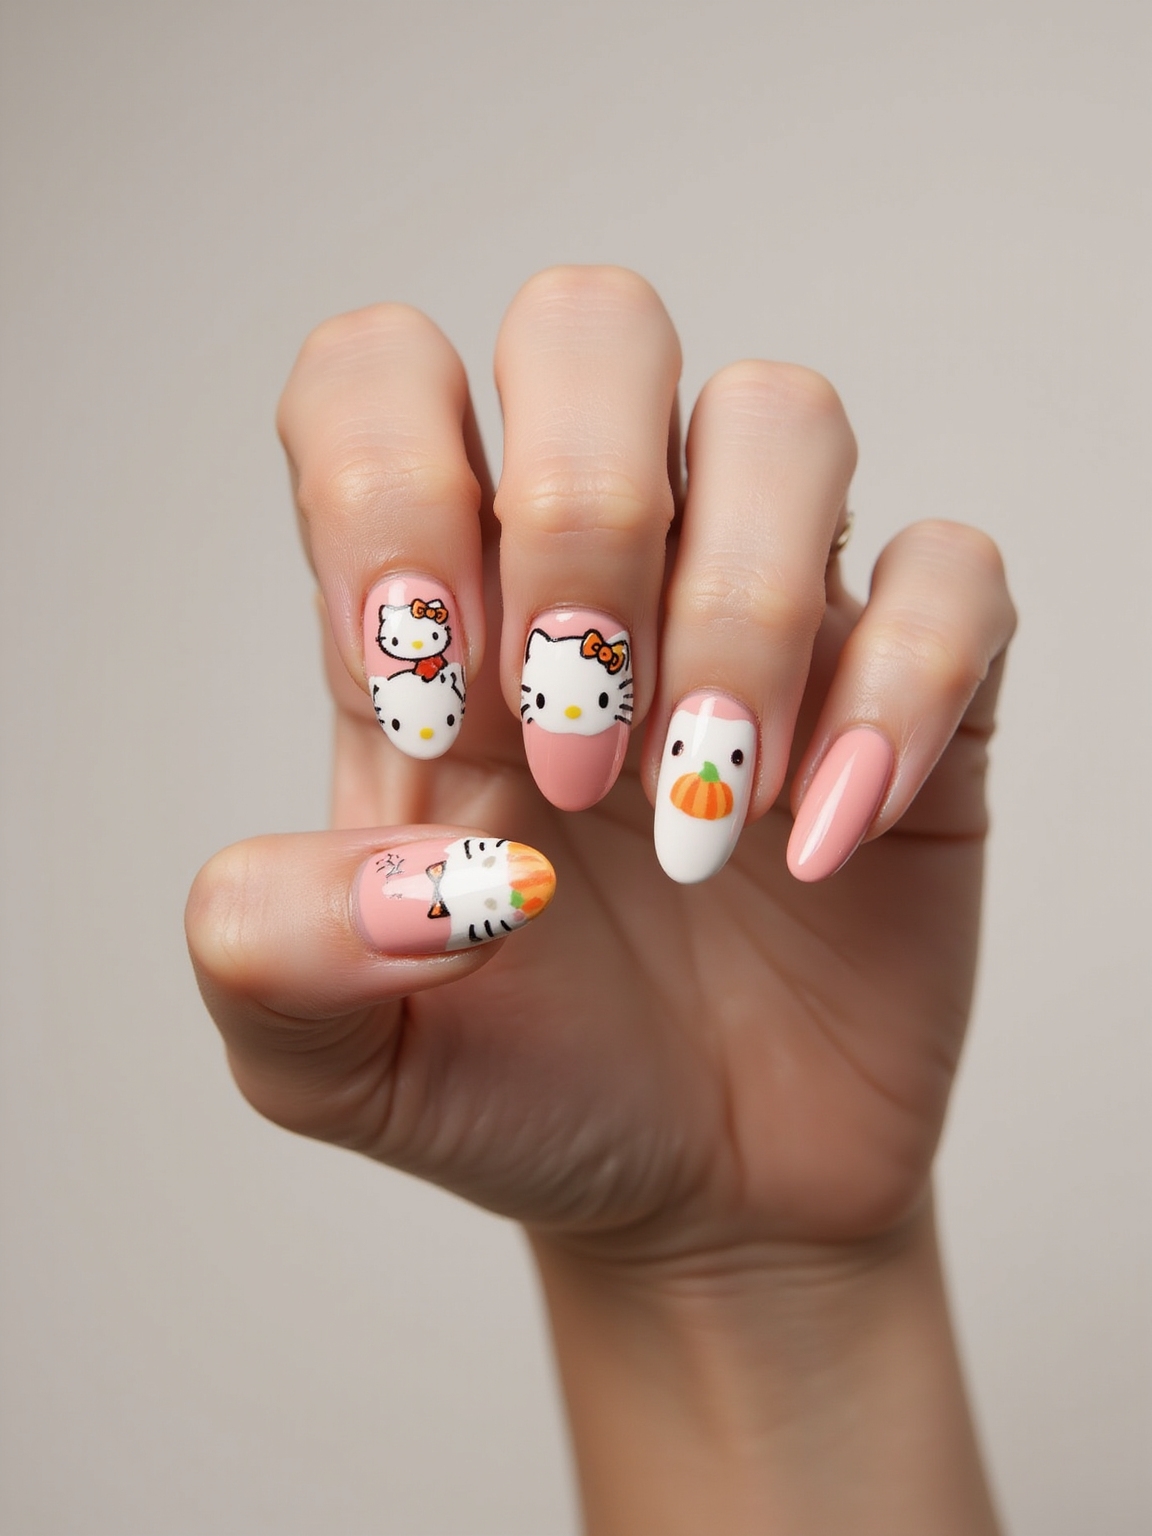
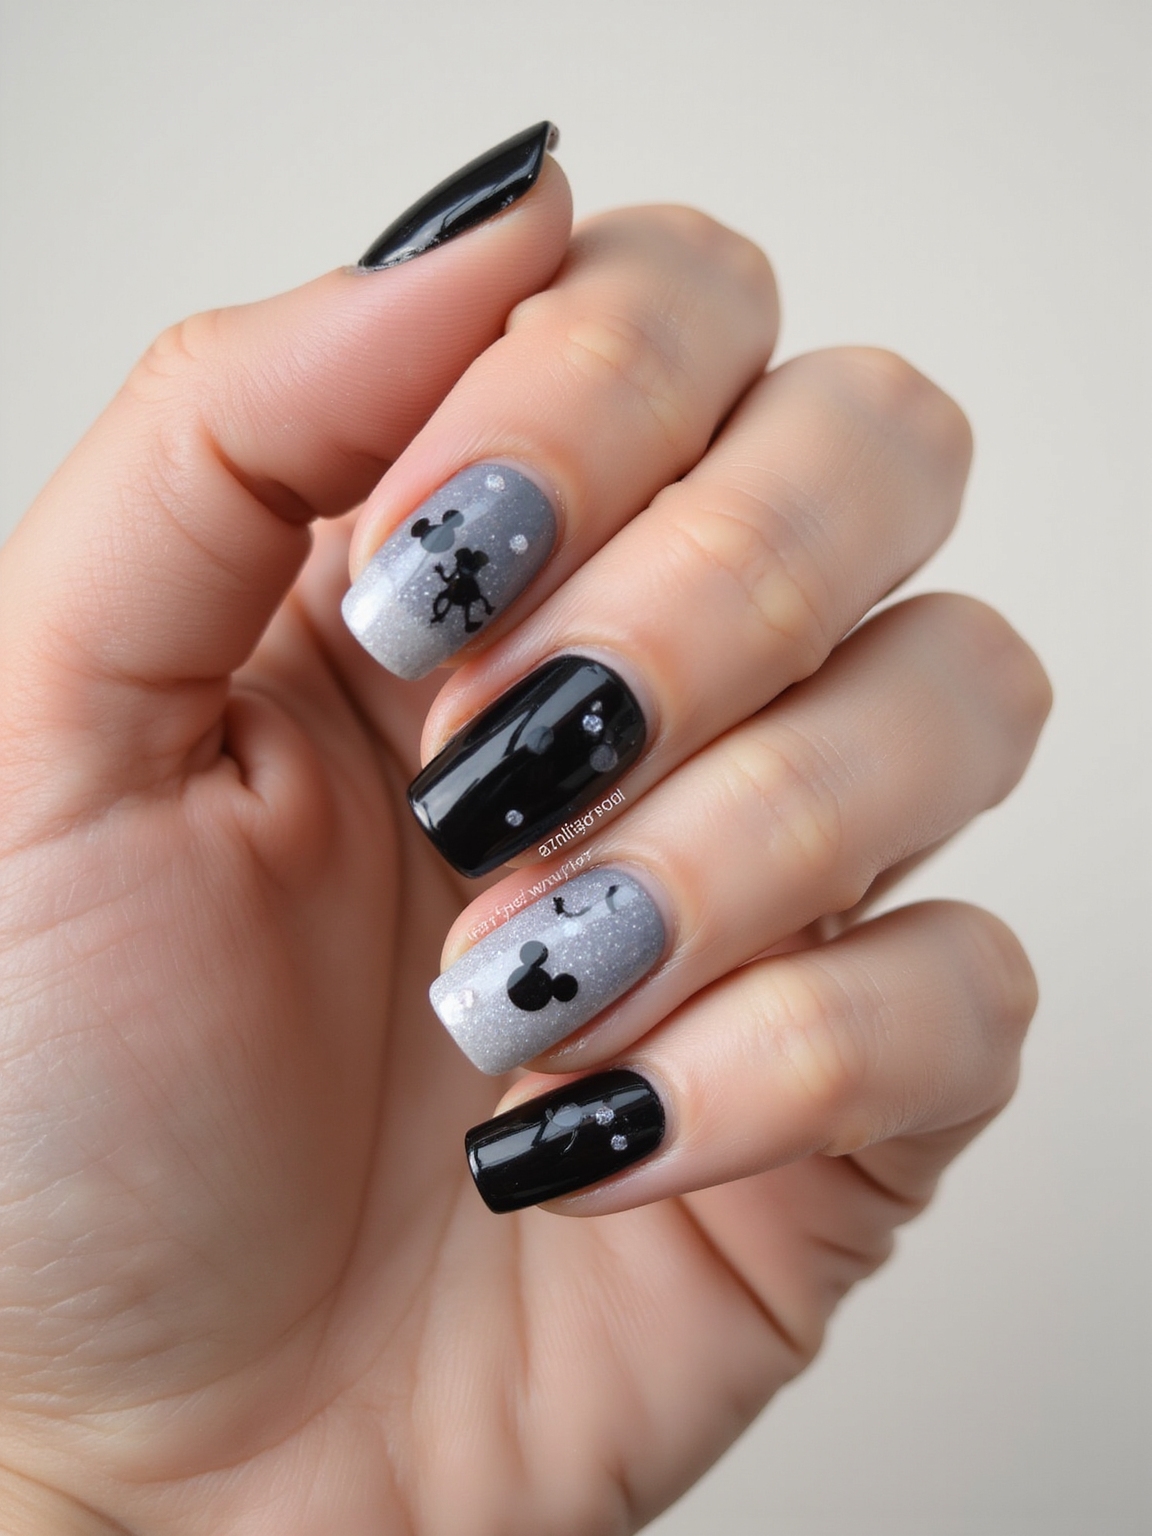
Playful Mickey and Minnie Spooktacular Set

This is the easiest place to start and the cutest. A matte black base does most of the work, making white-glove accents, pumpkin-orange tips, and tiny ear silhouettes pop. It looks unmistakably Disney without any fine character drawing:
- Lay a matte black base on most nails, with one or two cream or orange accent nails.
- Add classic polka dots, a few tiny ear silhouettes, little bats, and a pop of red bow.
- Mix finishes, glossy tips and glitter-moon accents over the matte, so the set has texture without needing precise art.
Iridescent Sea Witch Tentacle Manicure

For an Ursula moment, sinuous tentacles curl across an inky purple base, with a veil of iridescent shimmer floated over the curves so they gleam like moonlit surf. Matte black suckers along the tentacles and a pearly accent nail give it depth and drama.
It’s an intermediate look that rewards a steady detail brush, the curving lines are the whole effect. A tiny gold shell at the cuticle finishes it, oceanic and a little wicked. The iridescent topper is what sells the underwater glow, so don’t skip it.
Stitched Jack and Sally Romance Nails
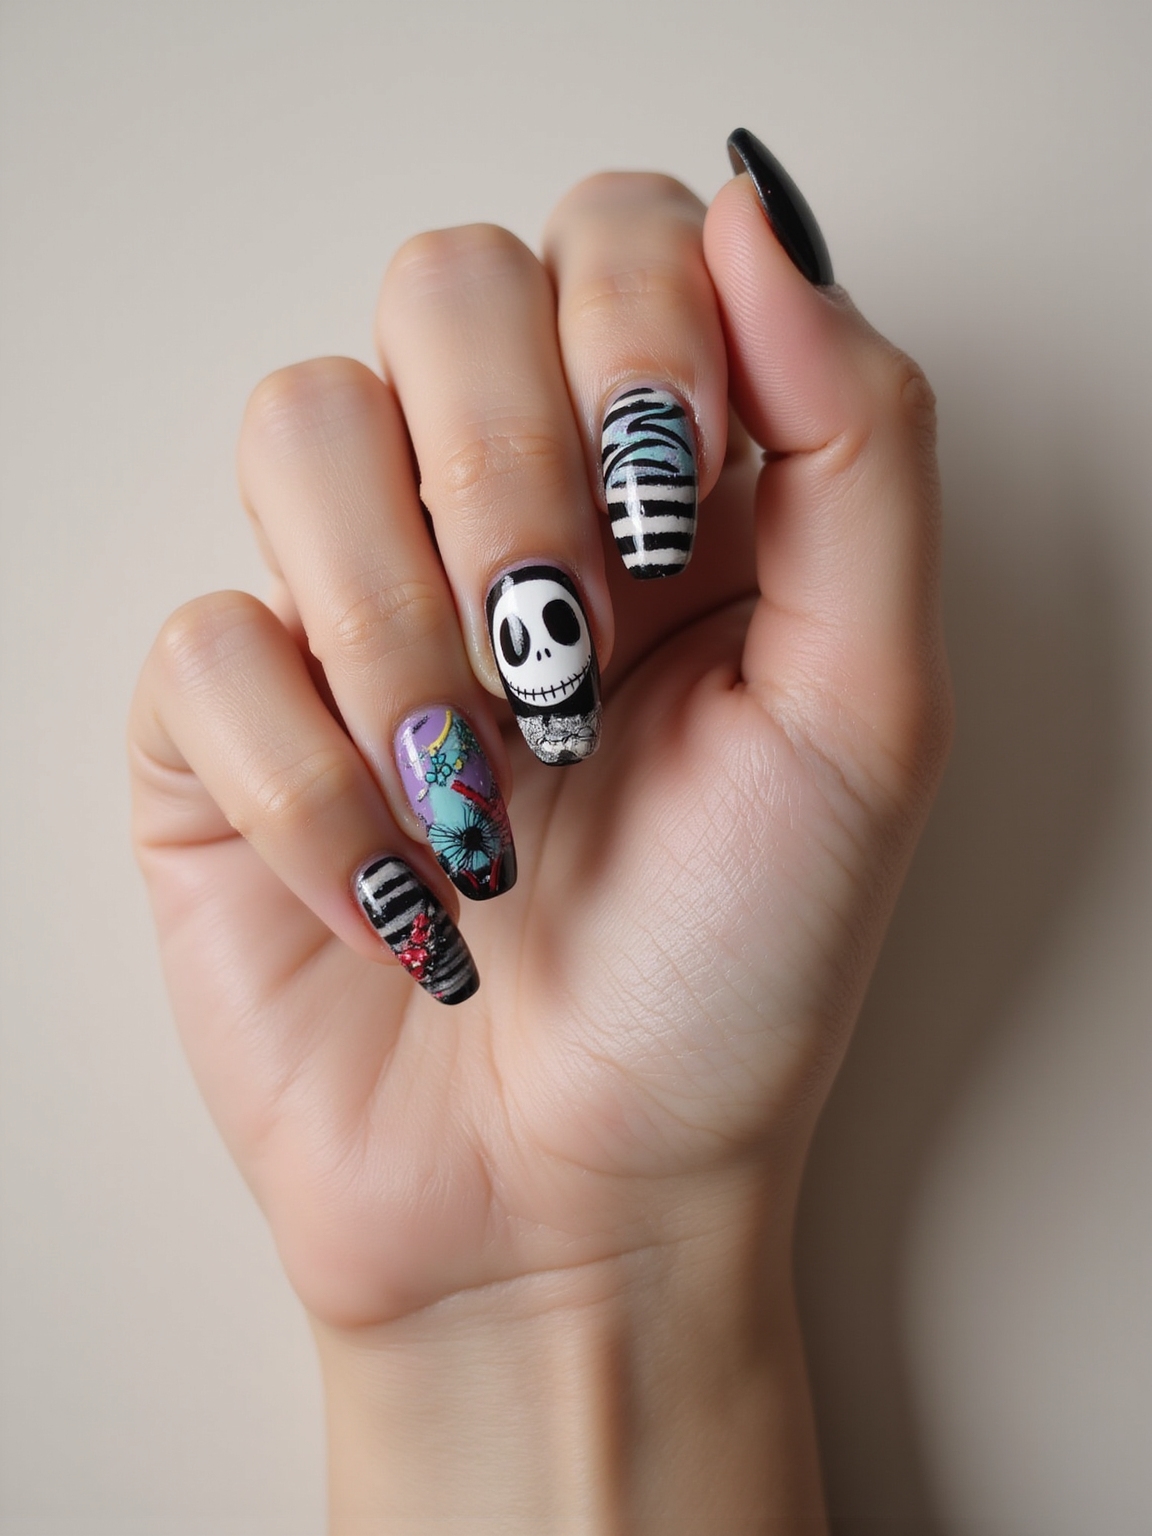
The spooky-cute sweethearts make a lovely set: pinstripes for one character paired with patchwork pastels and tiny stitch marks for the other. A matte black base makes the silhouettes pop while a soft lilac accent keeps it tender.
- Use a fine brush for the pinstripes and the little stitch lines; thin and even is what makes it look intentional.
- Keep the patchwork pastels soft and muted so the set stays romantic rather than busy.
- A moonlit-glow or pearl topcoat over the top adds that dreamy, storybook finish.
🅰️Cute Disney
Mickey sets, pumpkin patches, and hidden Mickeys are beginner-friendly, mostly simple shapes and color blocking, and read sweet and festive, but they lean playful rather than dramatic.
🅱️Villain Disney
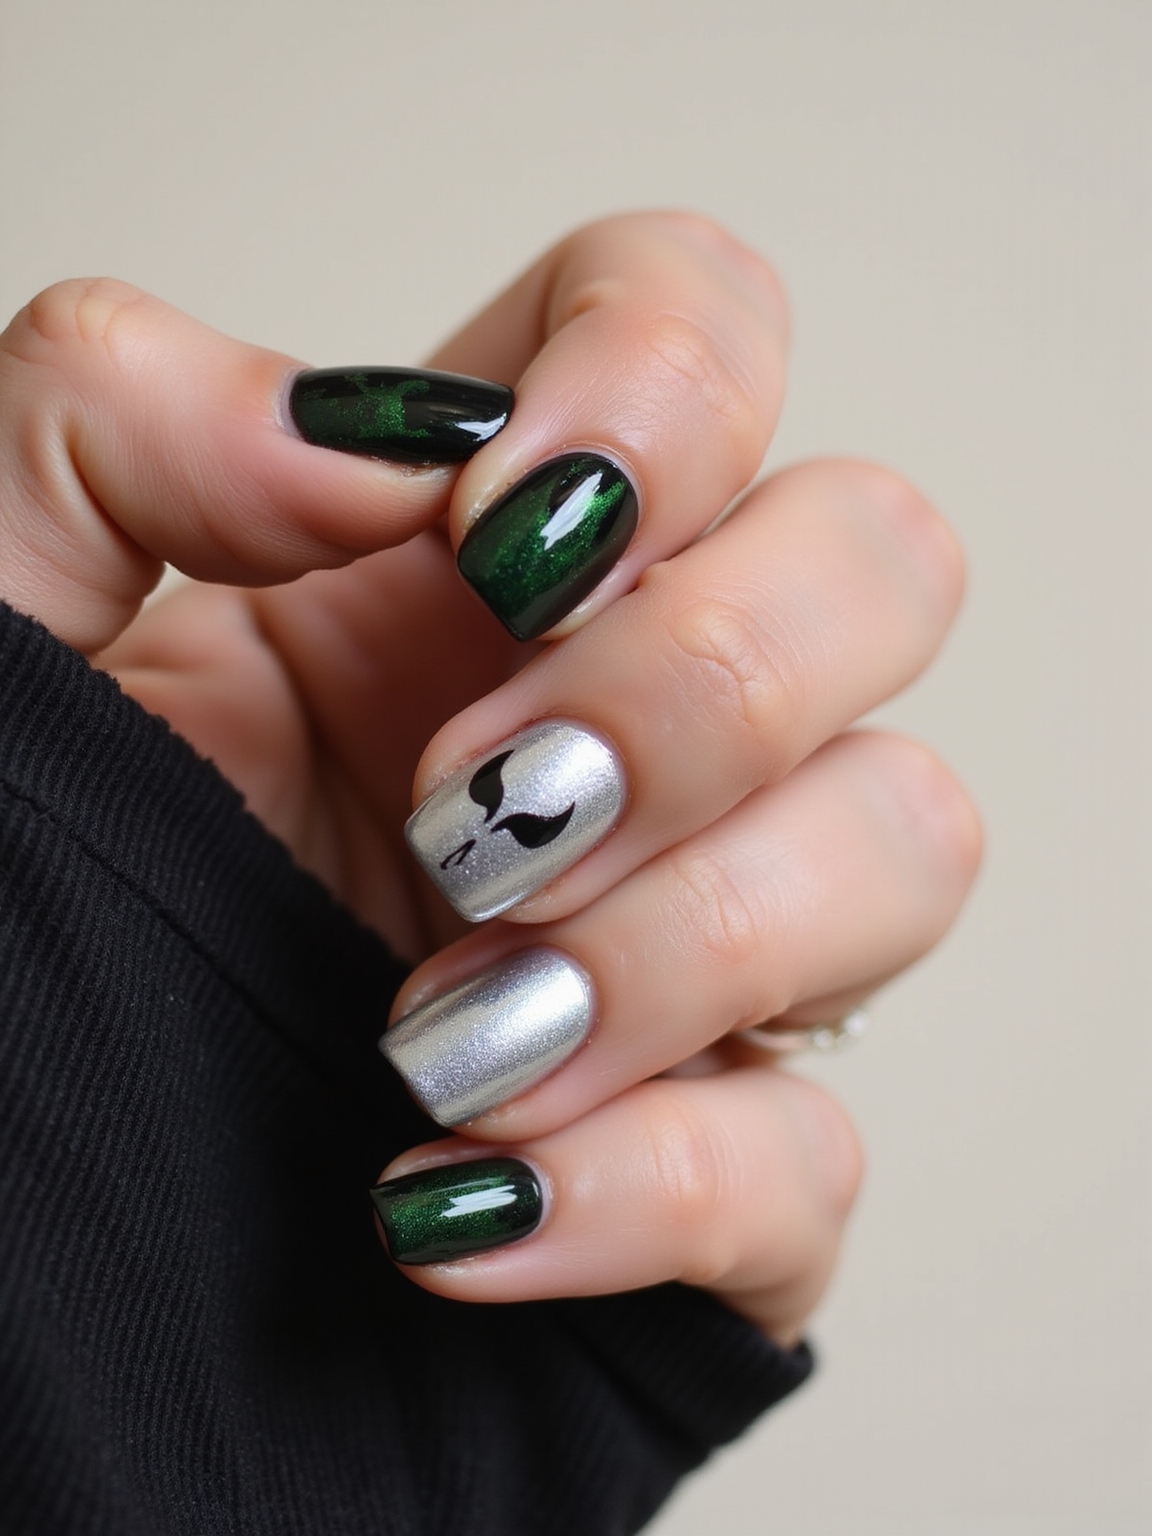
Maleficent flames, Ursula tentacles, and Evil Queen chrome make a real statement and feel high-fashion, but they need detail work or specialty product and are often better done at a salon.
Haunted Mansion Purple Wallpaper Nails

The Haunted Mansion’s iconic purple wallpaper translates beautifully to nails, all eerie elegance. The baroque damask pattern is the star, with a silhouette or two of the hitchhiking ghosts as a playful nod on an accent nail.
A ghoulish palette of moody purples, eerie greens, and inky black ties it together into something that feels chic instead of cartoonish.
- Use a fine brush or a stamping plate for the baroque damask; stamping makes the repeating pattern far easier.
- Confine the ghost silhouettes to one or two nails and keep them small to hold the elegance.
- Seal with a glossy topcoat to give the deep purple that polished, lacquered depth.
Sanderson Sisters Spellbook Nails
A Hocus Pocus set leans into the witches’ signature colors: deep plum, witchy green, and golden mustard, with a faux leather book-texture accent nail nodding to the spellbook. It’s a rich, autumnal palette that feels festive without any orange.
Why the matte-and-gloss mix sells the witchy vibe
The spellbook nail is the showpiece. Tiny stitched lines and a little eye detail give it that worn-leather look, while a silver moon and smoky swirls fill the rest.
Finish with a matte topcoat on most nails and glossy tips for dimension, so the set has that bewitched contrast between dull and shiny. It’s an intermediate look, but the color story alone carries it even if your details are simple.
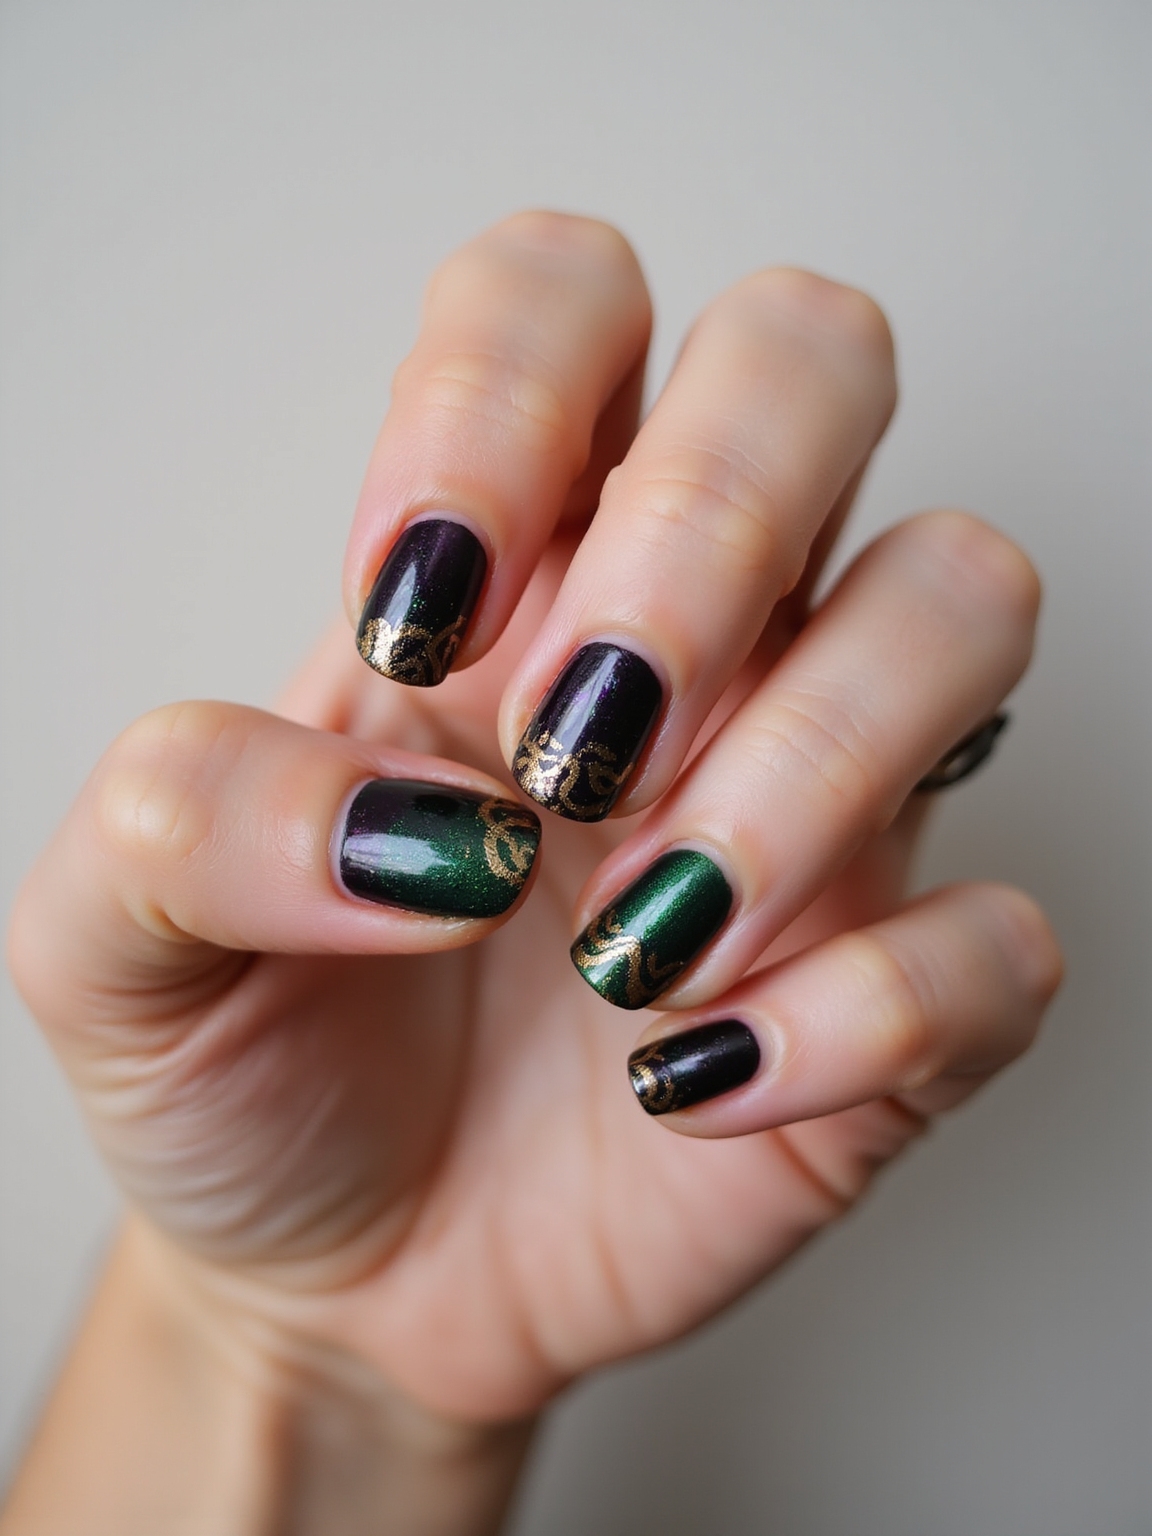
Regal Villain Apples, Crowns, and Flames

This is the villain mash-up for when you can’t pick just one: poison apples, regal crowns, and a lick of lantern flame across a glossy black base. Toxic-green drips and ember-orange accents keep it wicked, while gold metallics keep it luxe.
- Set a glossy black base, then add a neon-green apple drip on one nail.
- Make one nail a gold crown accent for that regal villain touch.
- Blend smoky flame ombre on the tips of a couple of nails to tie the wicked theme together.
Cute Disney Pumpkin Patch Nails

This is the sweetest, most kid-friendly look of the bunch, and one of the easier ones. Cheeky jack-o’-lantern smiles and candy-corn tips bring all the cozy fall whimsy without any spooky edge.
It’s mostly simple shapes and clean color blocking, which makes it a great DIY.
- Map tiny pumpkin faces with black gel over an orange base, adding curved segment lines for depth.
- For candy corn, stack white, orange, and yellow bands on the tips in clean blocks.
- Add a subtle green leaf accent and a glossy topcoat to seal the cheerful shine.
The order that keeps any character nail looking clean:
1Base and block first
Lay your base color and any large color blocks, and let them fully dry or cure before adding detail. Rushing this is what smudges the art.
2Detail, then seal
Add the fine details with a thin brush over the dry base, clean up the edges with concealer or acetone on a brush, then lock everything under a topcoat, capping the tips.
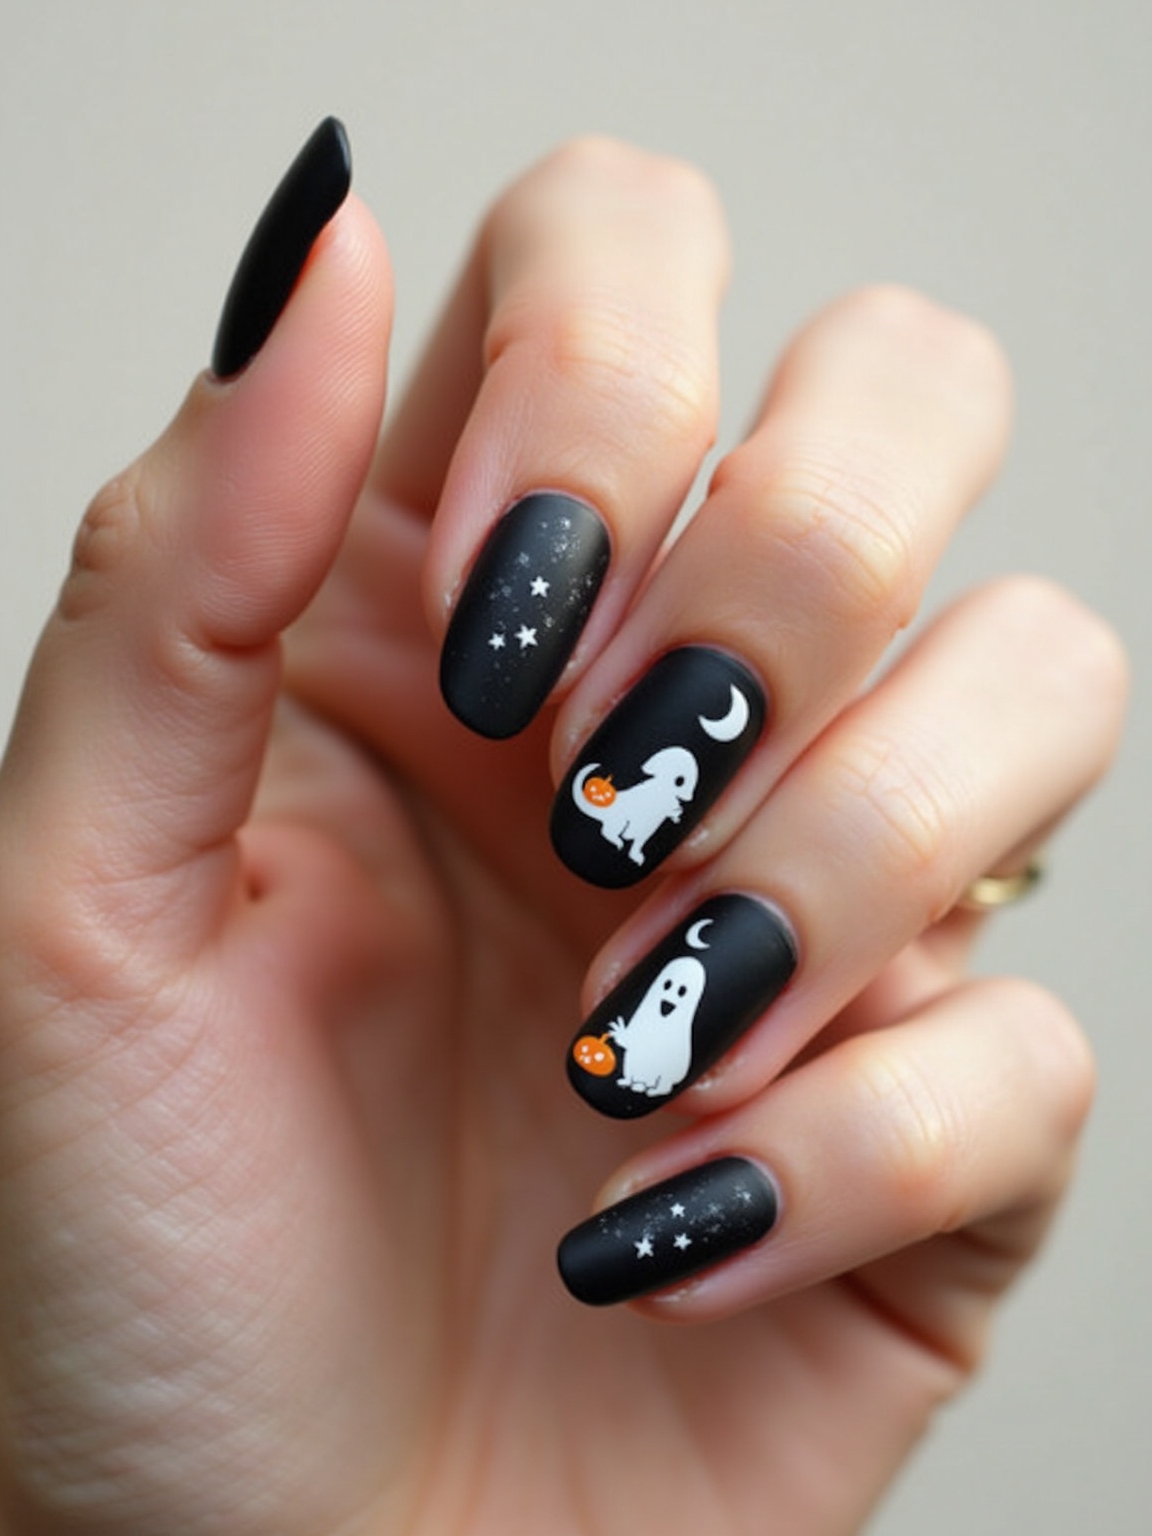
Misty Ghostly Gradient With Hidden Mickeys
When you want spooky but soft, a misty gray-to-white gradient makes a foggy base, with tiny hidden Mickeys tucked in like secret spirits near the cuticles or peeking from the sides. It’s subtle, dreamy, and perfect for someone who wants the theme to whisper.
- Sponge a smoky gray-to-white ombre for the foggy base, keeping the fade soft.
- Place petite silver Mickey decals where they peek rather than dominate.
- Seal with a satin matte top for that misty, low-shine glow.
Beetlejuice Stripes and Jack Skellington Accents

For a bold, graphic take, classic black-and-white stripes make a striking, surprisingly wearable base, with a friendly skeleton face on an accent nail or two for a playful nod. It’s spooky-chic and looks modern, not cutesy.
Using striping tape for clean bands
Crisp, high-contrast bands are the whole effect, so precision matters. Mixing the widths of the stripes keeps it from looking like a barcode.
It’s an intermediate look that leans on clean lines more than fine art. A glossy topcoat over the stripes gives it that lacquered, graphic finish. Striping tape is your friend here for getting the bands razor-straight.
A character-nail myth worth busting:
❌ Myth: Themed character nails always look cheap or costumey.
✅ Reality: The difference between a tacky set and a chic one is restraint and clean lines. Keep most nails a solid sophisticated base, limit the busy character art to one or two accent nails, and seal it glossy. A Haunted Mansion damask or an Evil Queen chrome can look truly elegant when it’s not crammed onto all ten fingers.
Witchy Iridescent Potion Bottle Nails
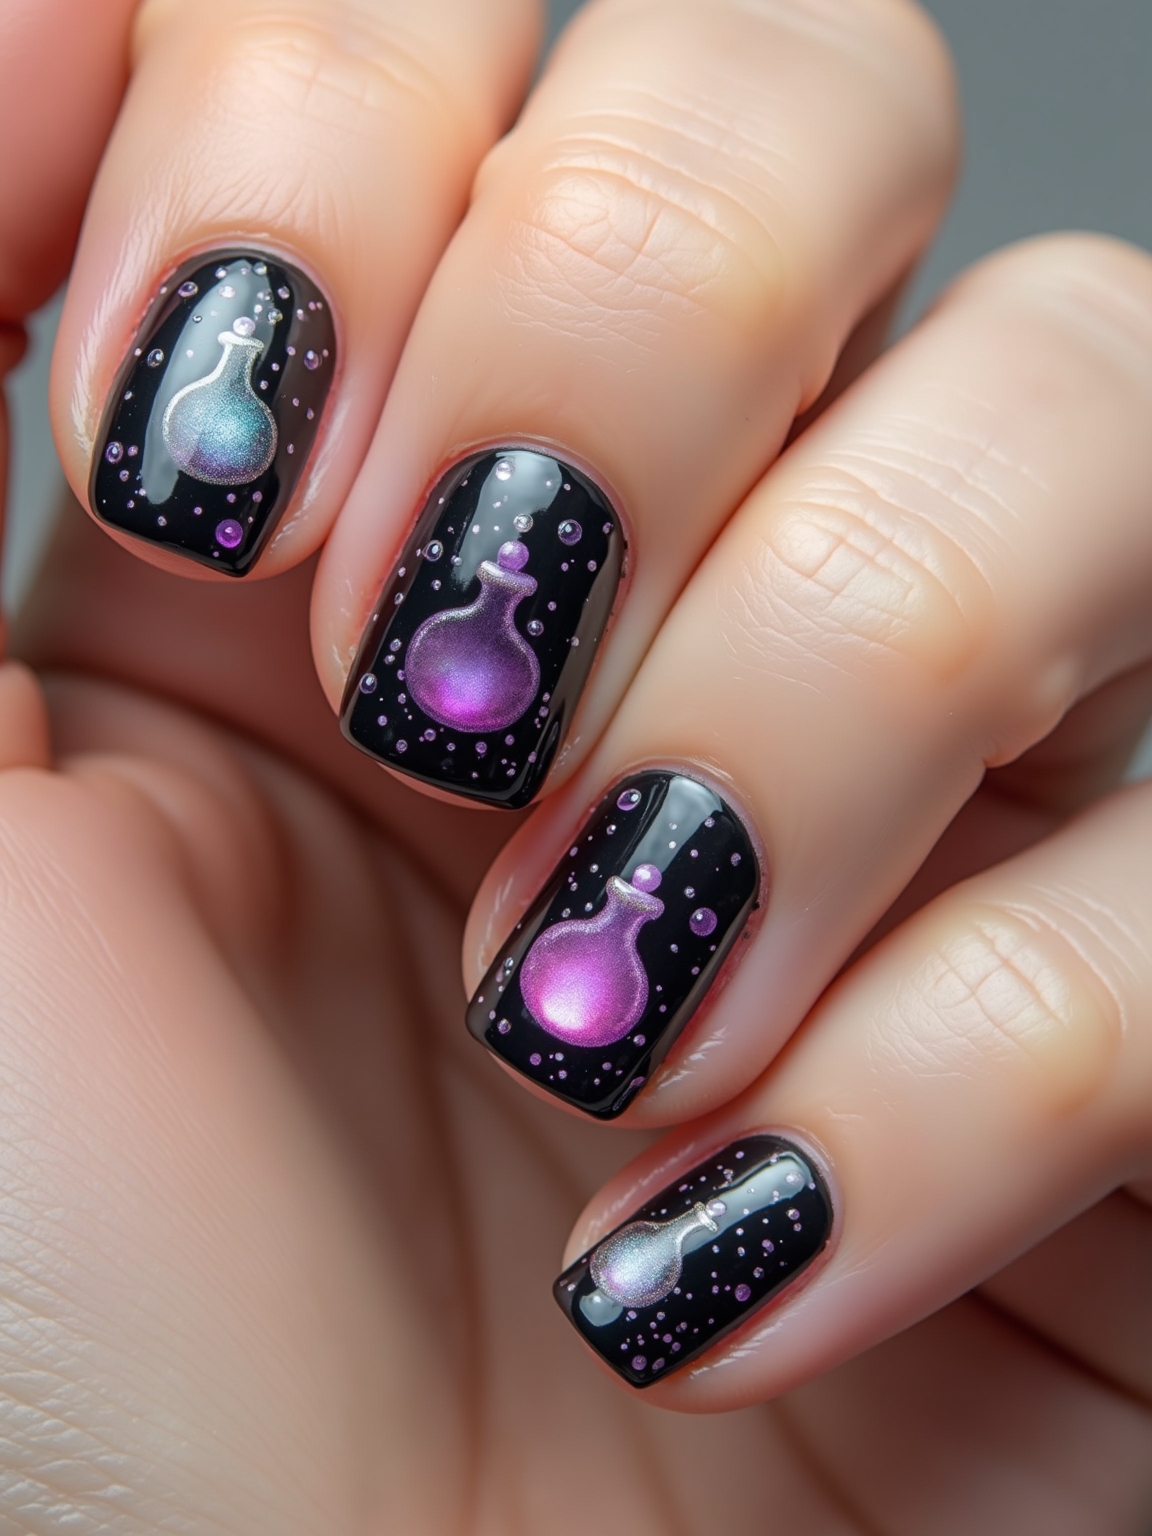
A little mischief in a bottle: sparkling potion bottles and bubbly cauldrons that twinkle like a witch’s workshop. An inky base with iridescent opal bubbles and tiny label-scroll details feels delightfully bewitched without going heavy:
- Dot iridescent bubbles over a glossy black base, varying the sizes for a fizzy, bubbling effect.
- Add mini bottle decals with thin silver outlines, plus a lavender shimmer steam trail.
- A light dusting of micro-glitter feels magical; keep it sparing so it stays chic rather than chunky.
Evil Queen Mirror Chrome and Poison Drip
This is the most cinematic villain look, and the most advanced. A slick mirror-chrome finish flashes like a wicked spell, paired with poison-drip green accents oozing over the edge, plus tiny crown and apple decals that whisper fairest of them all with a bite.
The chrome is the technical part. It needs a gel base, a cured no-wipe topcoat, and chrome powder buffed on, so it’s really a salon look or an at-home-gel-kit project. Keeping the chrome ultra-smooth is what makes the reflections pop.
Anchor the drama with precise, glossy green drips, and the contrast between the slick mirror and the matte ooze is what makes it cinematic. If the metallic finish draws you in, my chrome nail guide covers the technique in detail.
Moonlit Zero the Ghost Dog Silhouettes
Zero, the little ghost dog, gets his own sweet moment with moonlit silhouettes glowing softly on a deep midnight base. A hazy crescent moon and Zero’s floating outline in sheer white, with a tiny orange nose dot for a pop, make an eerie-sweet, low-effort look.
A matte topcoat over most of the nail with a glossy moon gives that soft, nighttime contrast. It’s surprisingly beginner-friendly since the shapes are simple and the sheer white forgives a slightly shaky outline, the haziness is part of the charm.
Cute Bats, Bones, and Boo Bubbles
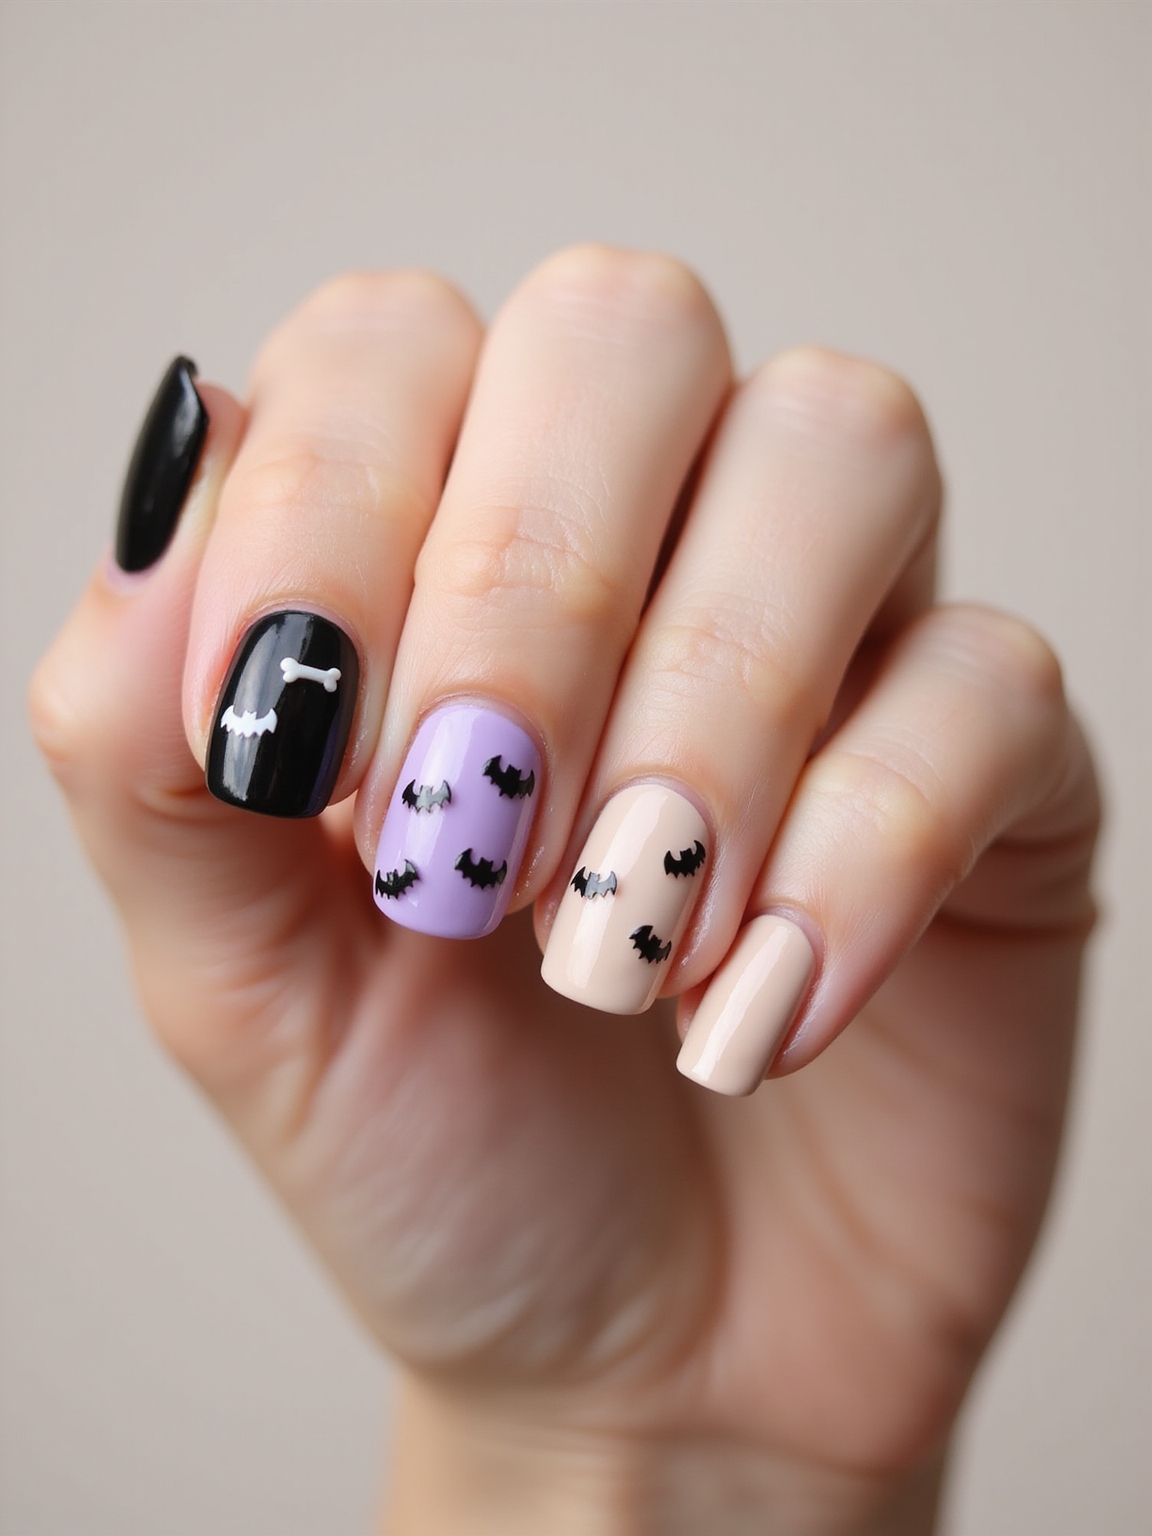
This one is pure playful: a crisp mix of cute bats, tiny bones, and comic Boo speech bubbles that look clean and fun. Inky bat wings against bright white bones give strong contrast, while a little comic bubble adds charm.
Keeping the spacing balanced for a clean look
The whole thing lives on clean lines and balanced spacing, so take your time placing each element. Bold colors keep every detail readable.
It’s an intermediate look but a forgiving one, since the elements are simple shapes rather than realistic art. Keep the spacing even and the lines crisp, and each little detail sings. For a more grown-up spooky set, my acrylic Halloween nail ideas go darker.
“If you’re doing these at home and your lines come out shaky, lean into the looks built on color blocks and gradients, the pumpkin patch, the ghostly gradient, the Zero silhouette, rather than the fine-line sets. They read just as Disney and forgive an unsteady hand.”
Glow-in-the-Dark Enchanted Castle Accents

The showstopper finale: nails that glow like a midnight castle after dark. Castle silhouettes painted in bright glow pigment over a deep midnight base look elegant in daylight and magical once the lights go down.
The specialty product is what makes or breaks it, so a little know-how goes a long way.
- Choose high-quality glow pigments that charge fast under light and shine evenly; cheap ones look patchy and barely glow.
- Use castle silhouette stencils for crisp edges, since freehand glow paint is hard to keep clean.
- Seal everything well and, if you’re using gel, follow safe UV curing times so the magical mani lasts without stressing your nails.
Maintenance & Care
Character nails live and die on their topcoat, because all that fine detail, the stripes, the stitches, the tiny faces, sits on the surface where it can chip and smudge.
Seal everything under a generous glossy or matte topcoat, seal each tip down over the free edge, and add a fresh thin layer of topcoat after about a week to protect the art. Gel sets hold detailed designs far longer than regular polish, usually two to three weeks, which is why anything fiddly is worth doing in gel if you can.
A few practical notes for the specialty looks. Glow pigment needs real light to charge, so give it a few minutes under a lamp before you head out, and know the glow fades over the night. Chrome and mirror finishes scratch if you’re rough with them, so treat them gently.
And when it’s time to take a detailed gel set off, soak it rather than picking, which peels away the top layer of your natural nail along with the art. For more spooky options beyond the Disney theme, my Halloween nail roundup covers the rest.
Disney Halloween Nails, Answered
?Can I do Disney Halloween nails at home?
Many of them, yes. The cute looks built on color blocks and simple shapes, the Mickey set, pumpkin patch, ghostly gradient, and Zero silhouette, are very DIY-friendly. The villain looks with chrome, fine tentacle lines, or glow pigment are harder and often better at a salon, since they need specialty product or a steady detail hand.
?How long do detailed character nails last?
In gel, a detailed set holds up about two to three weeks, which is why anything fiddly is worth doing in gel rather than regular polish. The key to longevity is sealing the art well: cap the free edge, use a generous topcoat, and refresh a thin layer of topcoat after a week to protect all that surface detail.
?How do glow-in-the-dark nails actually work?
They use a phosphorescent pigment that absorbs light and releases it slowly in the dark. Give them a few minutes under a lamp or daylight to charge before you go out, and they’ll glow for a while before fading. Higher-quality pigments charge faster and glow brighter and more evenly than cheap ones.
?How do I take a detailed gel set off without wrecking my nails?
Soak it off, never pick or peel. Buff the shiny topcoat, wrap each nail in acetone-soaked cotton and foil for 10 to 15 minutes, then gently push the softened gel away. Picking it off takes the top layer of your natural nail with it, which is what leaves nails thin and weak.
Where to Take Your Disney Spook Next
The fun of Disney Halloween nails is how much range hides in the theme. You can keep it as sweet as a Mickey polka dot or take it as wicked as an Evil Queen chrome, and the whole thing still reads polished as long as you keep the base sophisticated and the art clean. Match the look to your skill and your patience, not just your favorite character, and you’ll love wearing it.
If you’re newer to nail art, start with the pumpkin patch or the ghostly gradient and work up to the villain sets once your detail brush feels steady. Bring a reference photo to your tech for the chrome and glow looks especially, since those reward a pro’s hand. Then enjoy the double-takes, a little Disney magic on your fingertips is hard to resist.