


It’s 6 p.m. on October 31st, the party’s at 8, and you own zero face paint. That’s the exact situation these looks are built for: easy Halloween makeup made almost entirely from the eyeliner, shadow, and lipstick already in your bag, no prosthetics, no airbrush, no special-effects kit. Graphic, spooky, and done in well under twenty minutes.
These 15 looks lean on a steady-ish hand and the products you have, a winged whisker here, a spiderweb of liner there, a half skull when you want more drama. For each I’ll give you the quick how-to and a tip to make it sharper, plus how to adapt it for deeper skin. Pick the level of spooky you’re feeling and grab your liner.
Easy Halloween Makeup at a Glance
| Look | What you need | Effort |
|---|---|---|
| Cat whiskers, stitched doll | Black liner only | 5 minutes |
| Spiderweb liner, pop-art dots | Liner + a steady hand | 10-15 minutes |
| Ghostly skin, sunken eyes | Pale powder, gray shadow | 10 minutes |
| Half skull, blood drip | Liner, shadow, red lip or gloss | 15-20 minutes |
Sharp Inky Cat Whiskers
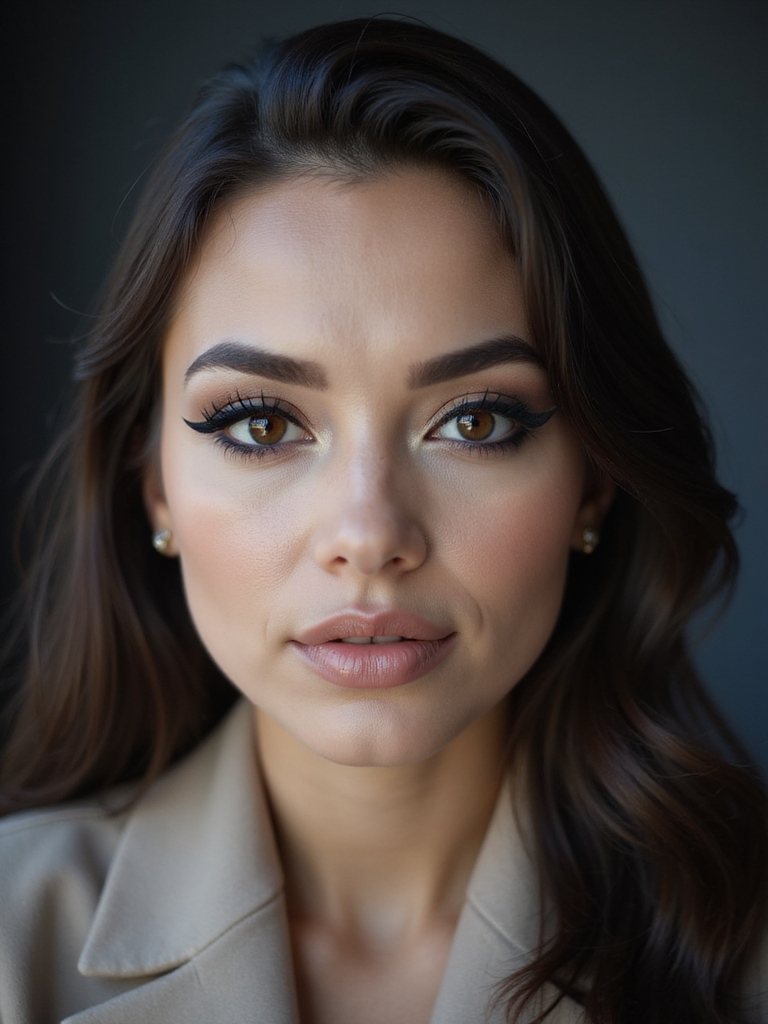
Honestly the simplest costume going is a cat, and it’s all eyeliner. A sharp winged eye, a little black nose, and three whiskers per cheek, and you’re done in five minutes with one product.
It’s the no-effort classic that still looks intentional when the lines are crisp.
- Draw a bold winged liner, then color in the tip of your nose with the same liner.
- Add three thin whiskers per side and a couple of dots above the lip for a little detail.
- A liquid or gel liner gives the cleanest lines; finish with a defined brow and bold lashes.
Smudged Smoky Eye With a Red Wing
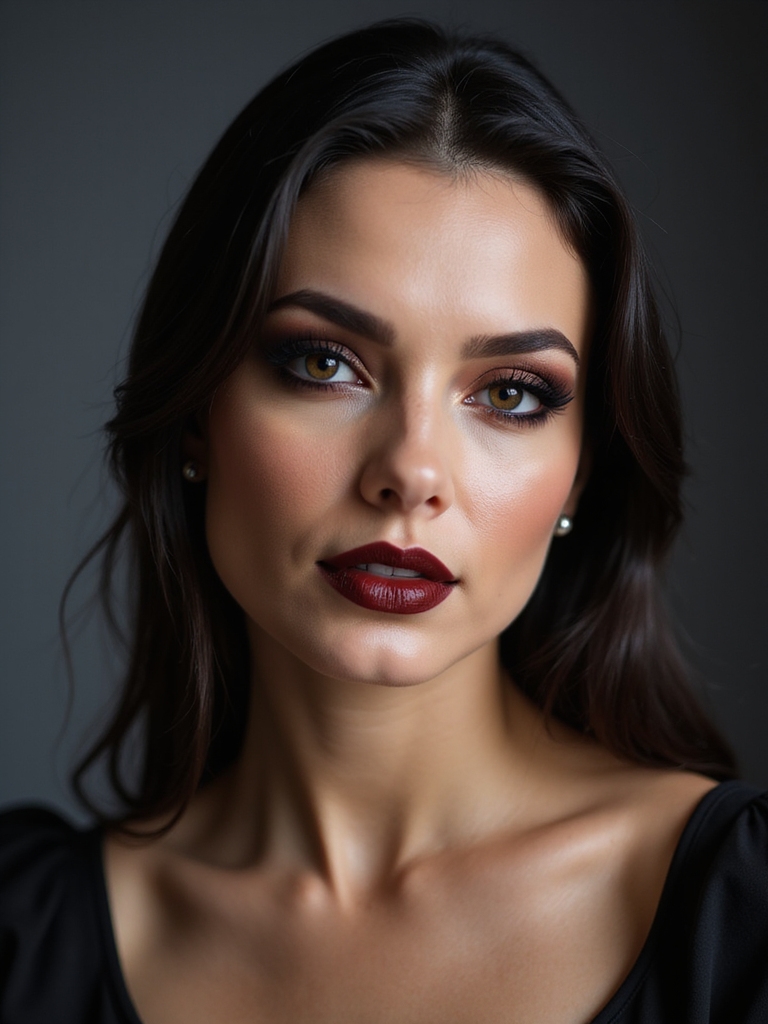
When you want vampy and dramatic with no real costume, a smudged charcoal smoky eye with a flick of red is pure gothic glamour, and it’s just shadow and liner blended dark. The red is the unexpected, slightly sinister twist.
Pack a black or charcoal shadow over the lid and smudge it out, then line the lower waterline or trace a thin red line in the crease or wing for that eerie pop. Pair it with a deep matte lip and you’re a nameless, elegant creature of the night. On deeper skin, a saturated blood-red and a true black read especially striking. For the blending, my smoky eye guide helps.
Moonlit Ghostly Pale Skin
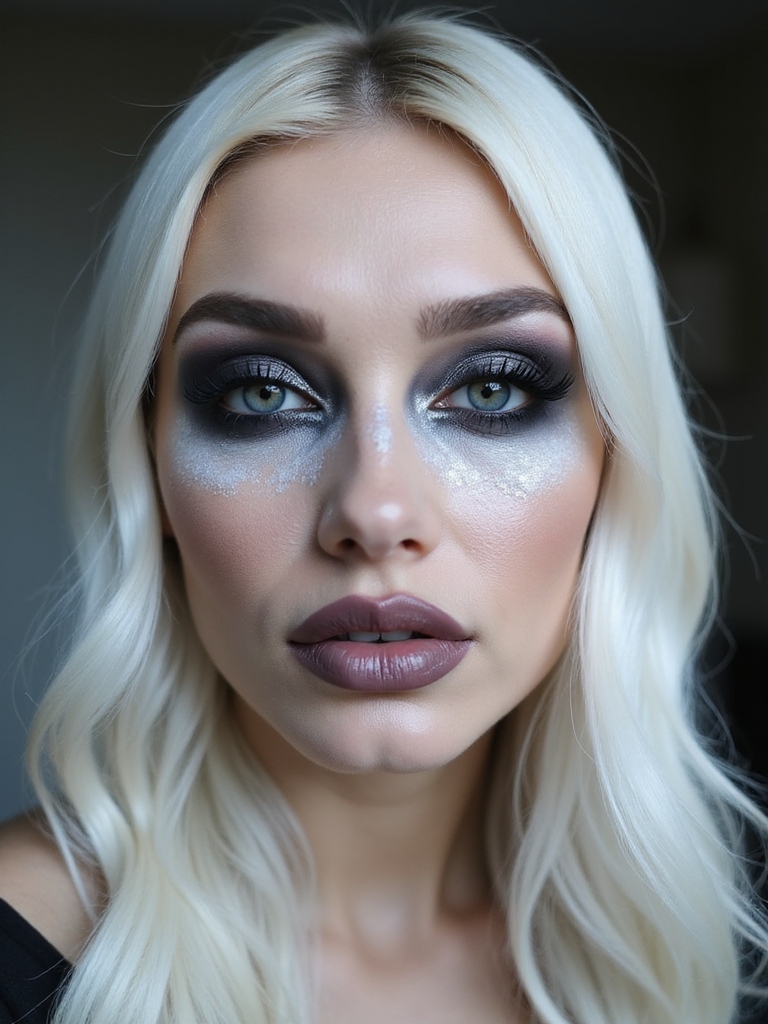
A ghostly pallor is the base of half the spooky looks there are, and you fake it with a pale powder and a cool, frosty highlight, which gets you most of the way without heavy white face paint. The goal is otherworldly, the kind of pale that still looks like skin.
Set your skin a shade or two lighter with a pale powder, then tap an icy, blue-toned highlighter on the high points so you look lit by moonlight.
A touch of cool gray or lilac under the cheekbones and at the temples adds that drained, haunted quality. On deeper skin, skip the stark white and instead use a cool-toned, lighter-than-you foundation plus a frosty highlight, so it lands spectral rather than ashy. It’s the foundation for ghosts, vampires, and any ethereal creature.
Neon Skull Accent Lines
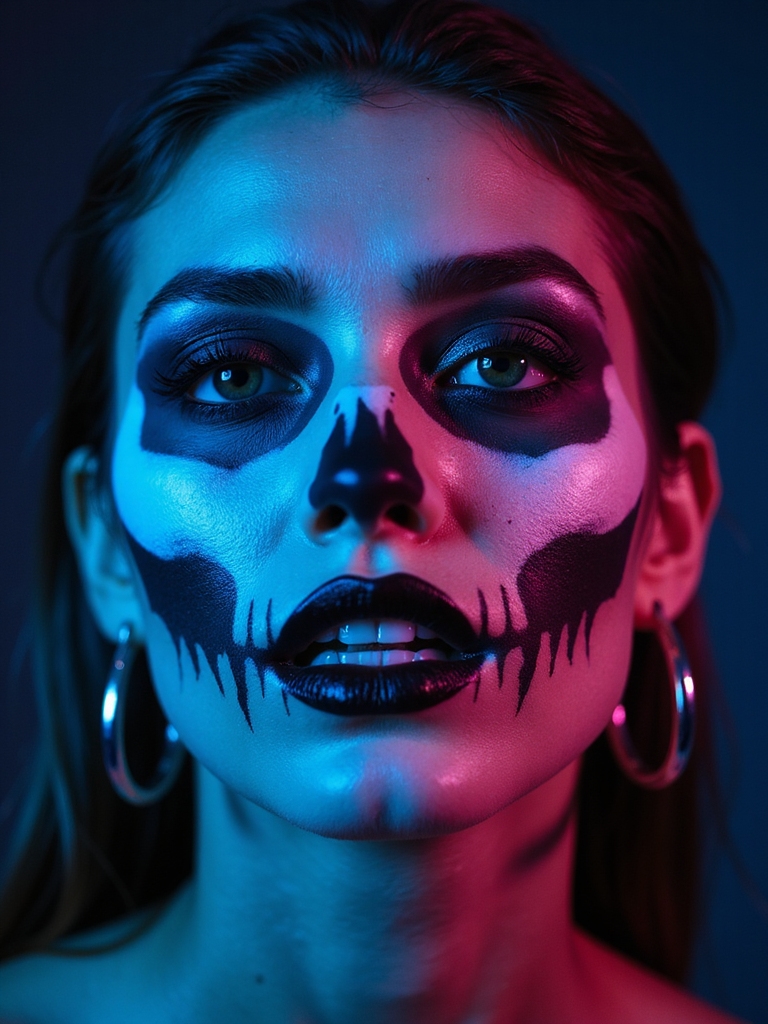
You don’t need a full painted skull to get the effect, a few neon accent lines suggest it and glow under blacklight at a party. It’s the modern, minimal, rave-ready take on the classic.
Use a neon liner or face crayon to draw just the key skull markings: a small triangle nose, a few teeth lines across the lips, and circles or shading around the eyes.
Leave everything else on the face bare so the neon does the talking, and it comes across as a stylized skull without the hours of detail. It glows on every skin tone, and the brighter and more saturated the neon, the better it shows, especially on deep skin where bright pigment really comes alive.
💡Quick Tip
For the cleanest line-work looks (webs, whiskers, stitches), map the design first with a few light dots before you commit to the full lines, the same way you would a winged liner. It’s far easier to connect dots into a clean web or row of stitches than to freehand it in one nervous stroke, and a felt-tip liner pen gives you the most control.
Crisp Spiderweb Liner
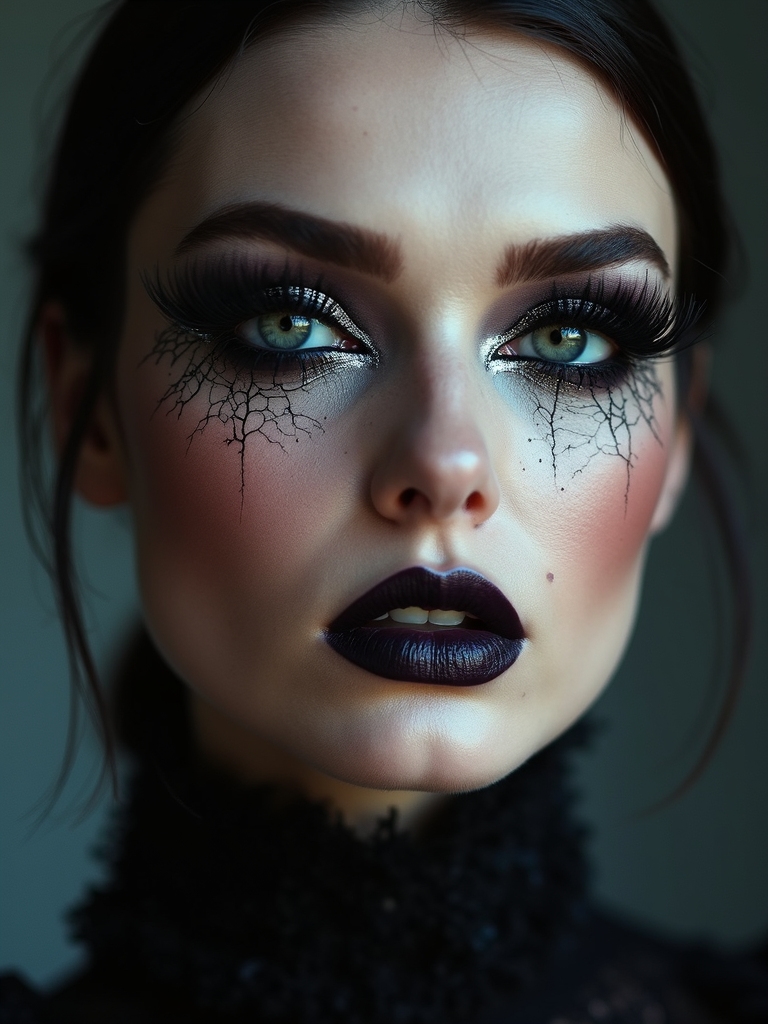
A spiderweb spun out from the outer corner of the eye is one of the most striking easy looks, all done with the eyeliner you already own. It turns a simple winged eye into something spooky and intricate-looking.
How to draw a clean web from a winged eye
Start with a winged liner, then draw a few curved lines radiating out from the corner like spokes, and connect them with small arcs into a web shape.
Keep the web small and only on one eye for the chicest version, or extend it for more drama. A fine liner brush or a felt-tip pen gives the crispest lines. Add a tiny drawn spider dangling from one strand if you want the final touch, it’s the detail that makes people look twice.
Glitter-Dusted Ethereal Freckles
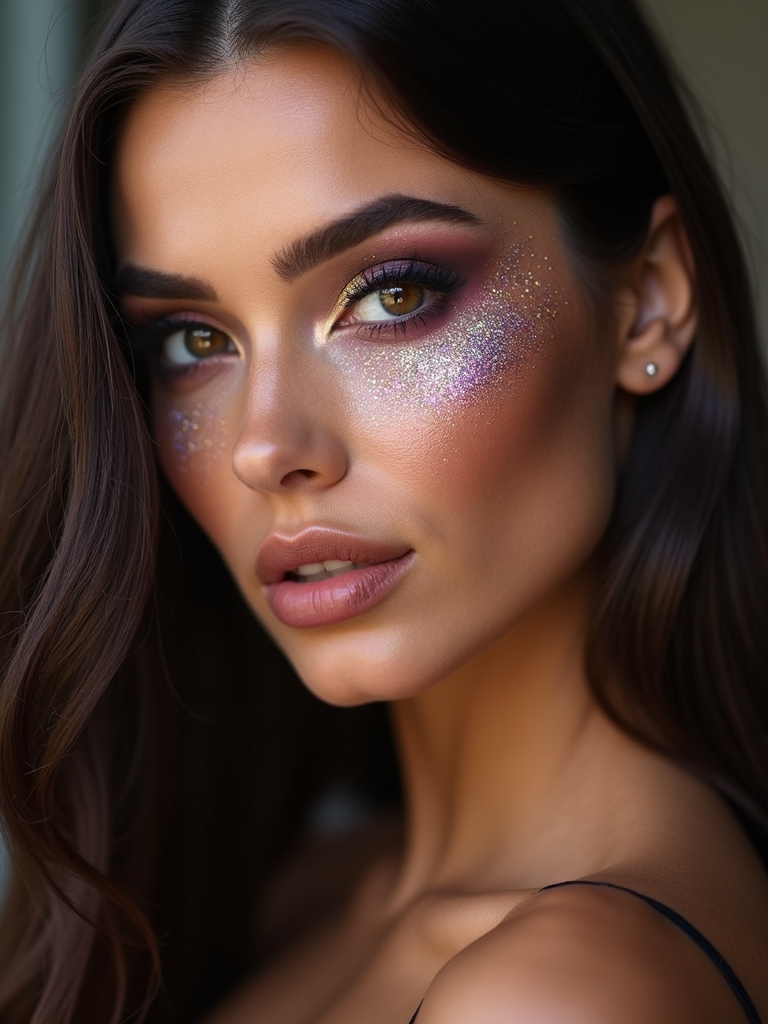
For a pretty, fairy or celestial vibe, glitter-dusted freckles turn a fresh face into something magical in minutes. It’s the easiest cute costume base there is.
Turning freckles into a celestial costume
Scatter a handful of light faux freckles over the nose and cheeks using a brown pencil, then press fine cosmetic glitter over the high points and a few of the freckles.
Add a glowy highlight and a soft pink or peach lip and you’re a fairy, a star creature, or a woodland sprite with almost no effort. Use a glitter glue so the sparkle stays put, and on deeper skin, gold and copper glitter glows warmer than silver. For more sparkle technique, my glitter makeup guide covers fallout-free application.
Graphic Pop-Art Comic Face
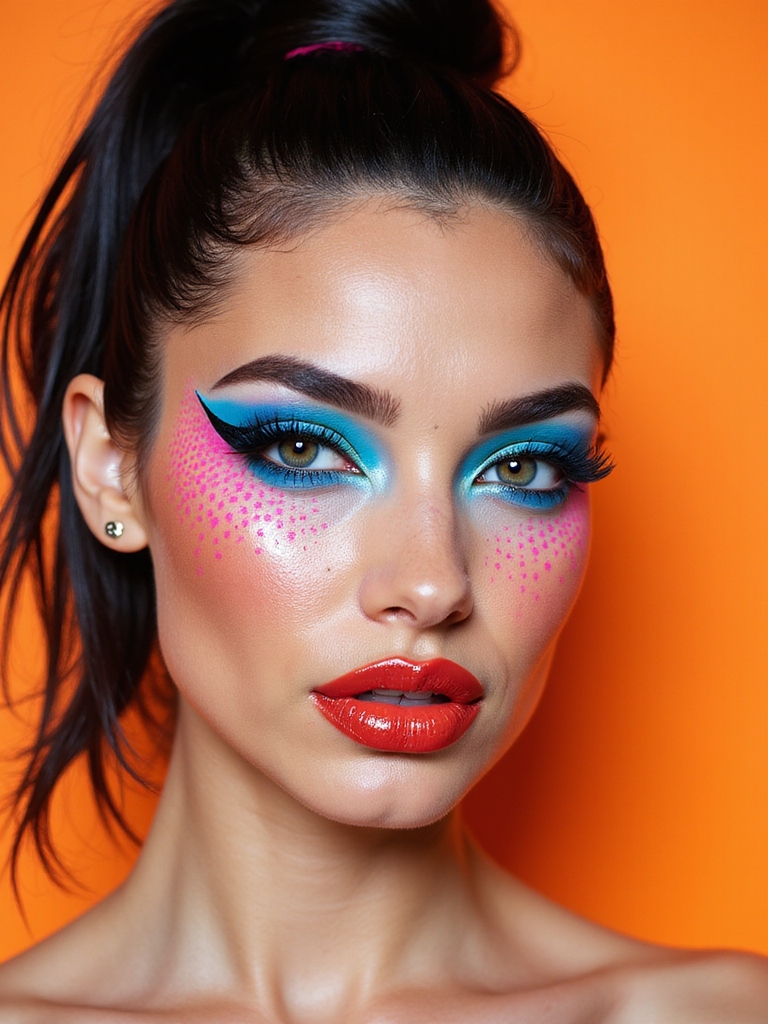
The pop-art look is a graphic, photo-ready costume that’s surprisingly easy, just bold black outlines and comic-book dots, all drawn with liner. It clicks instantly as a living comic strip.
Outline the contours of your face, your nose, lips, and a blush shape, in black liner, then dot evenly spaced circles across the cheeks for that printed comic effect.
A bold red or pink lip and a drawn-on speech-bubble cheek finish it. The whole thing is line work and dots, no blending or skill required, and it photographs spectacularly. Keep the lines clean and the dots even, and it looks like real printed comic art.
Sheer Gray Sunken Eyes
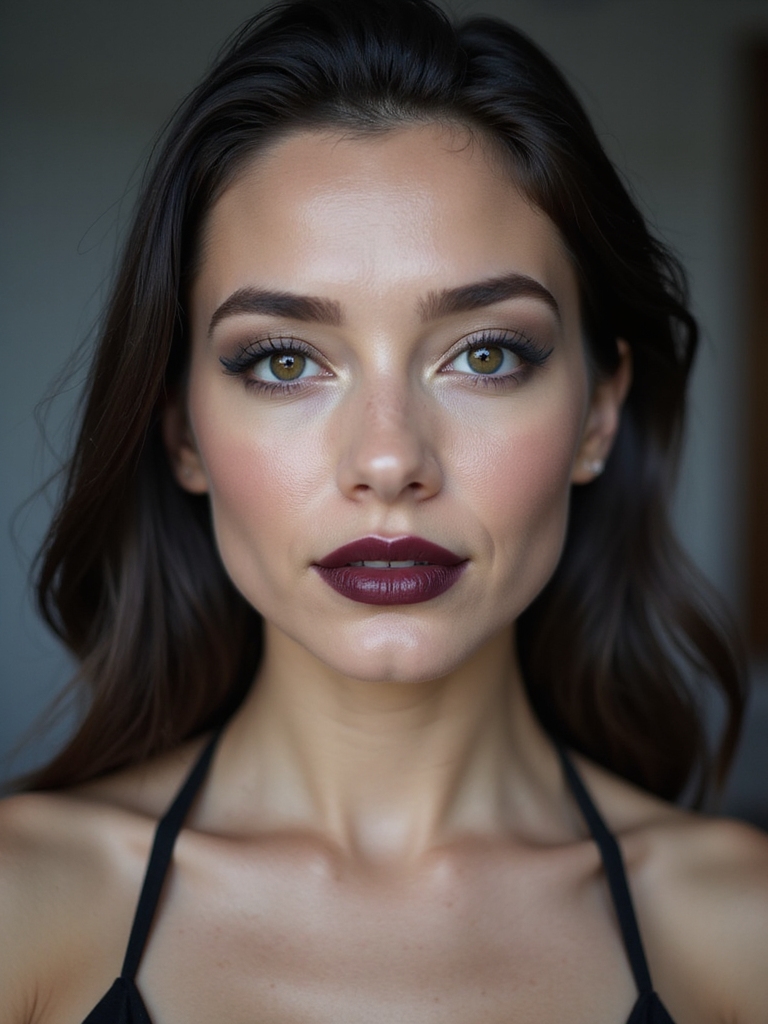
Hollowed, sunken eyes are the single fastest way to look haunted, undead, or sleep-deprived in a spooky way, and it’s just gray shadow blended into the hollows. It’s the base for zombies, ghosts, and tired ghouls:
- Blend a sheer, cool gray shadow into the sockets and under the eyes, deepening toward the inner corners.
- Keep it diffused so it melts into a soft shadow, building the depth gradually.
- Add a little under the cheekbones too for a gaunt effect; on deeper skin, a deep plum or cool brown hollows more convincingly than gray.
Eye and Skin Safety
Only use cosmetic-grade glitter and products near your eyes, never craft glitter, which can scratch the eye, and avoid lining the inner waterline with anything not meant for it. Patch-test face paints or unfamiliar products on your arm first, especially if you have sensitive skin, and remove everything gently with a proper makeup remover at the end of the night rather than scrubbing.
Smudged Jack-o’-Lantern Lips
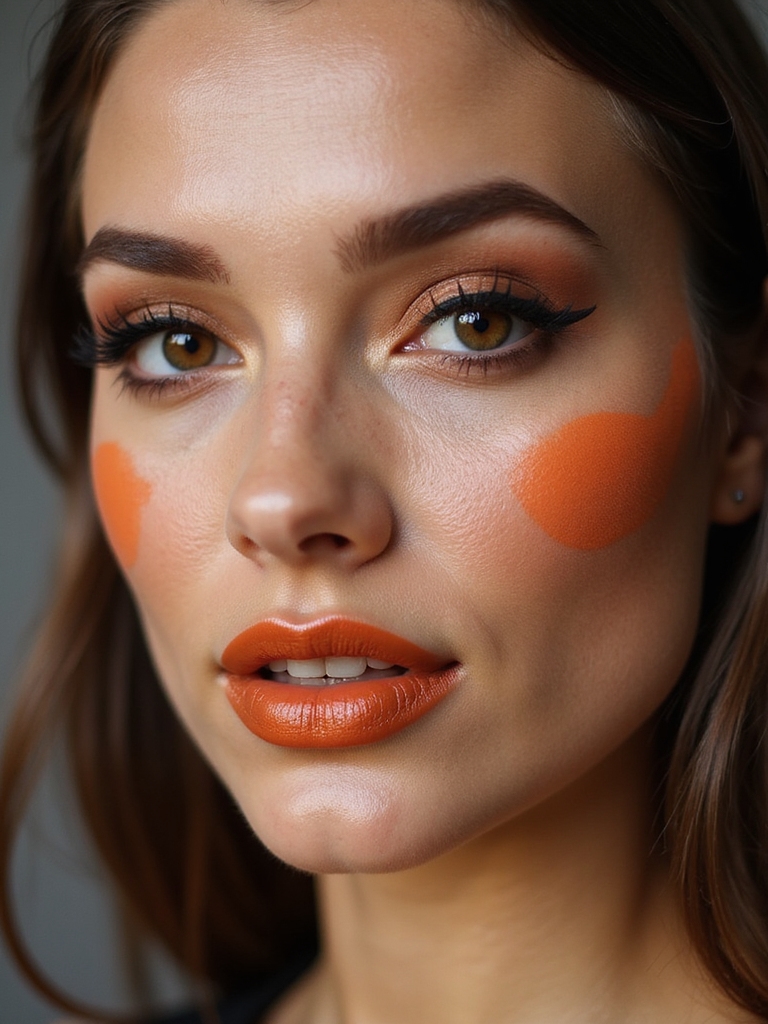
Statement lips are an easy way to nod to Halloween without a full face, and a jack-o’-lantern lip is the cutest version, a pumpkin-orange mouth with tiny black carved details. It’s playful and takes five minutes.
A whole costume from one statement lip
Fill the lips with a bright orange lipstick or liner, then draw small black triangles and a little jagged smile over the top with a fine liner to mimic a carved pumpkin.
Smudge the orange slightly at the edges for that glowing, lit-from-within pumpkin look. Pair it with simple eyes so the lips are the whole costume. It works on every skin tone, and a deeper, more saturated orange shows up boldest on deep complexions.
Emerald Witch Smoky Eye
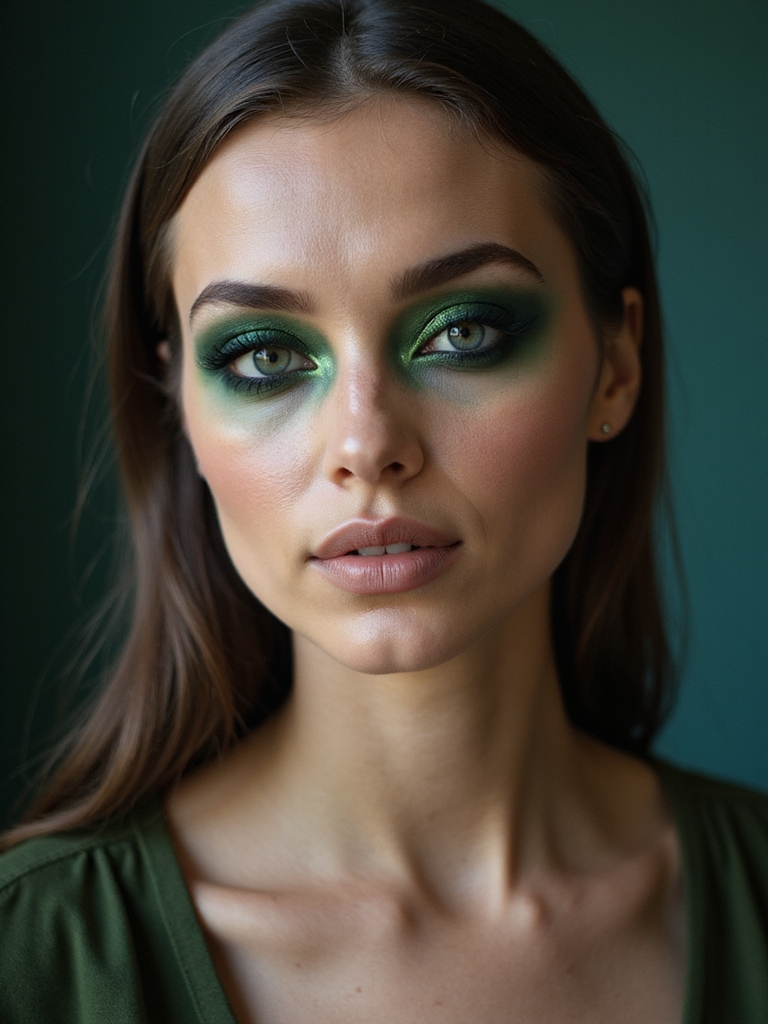
Swap your usual smoky eye shade for a deep emerald and you’ve got an instant witch, no hat required. Green is the most witchy color there is, and a smoky version is moody and glamorous, the wearable end of Halloween.
Why green is the easiest witch shortcut
Pack an emerald shadow over the lid, blend it out into the crease, and deepen the outer corner with a darker green or black.
Add a sharp black wing and a dark berry or black lip and the spell is cast. It’s a wearable, grown-up Halloween look that needs no other costume. On deeper skin, a saturated jewel-green glows beautifully; for a softer version, my goth makeup guide has more dark looks.
The order that makes any of these go smoothly:
1Base first
Do your skin (pale ghostly powder or a normal base) and any setting before the line work, so you’re drawing on a smooth, set surface that won’t smudge.
2Line, then set
Add the graphic details (web, skull, stitches, whiskers) with a waterproof liner, let them dry, then lock the whole look with a setting spray so it survives the night.
Half-Skull, Sculpted
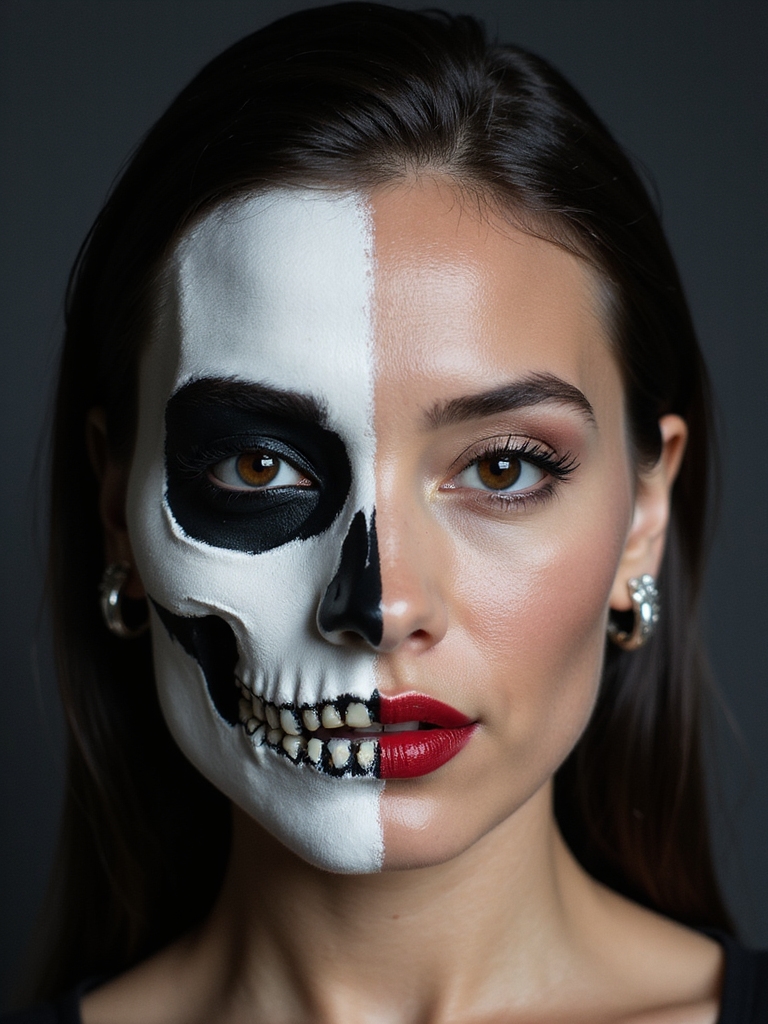
The half skull, painted on one side of the face with your natural makeup on the other, is the high-drama look that still counts as easy because you’re only doing half. The contrast is the whole effect:
- On one half, blacken the eye socket fully, draw a small triangle nose, and line teeth across that side of the lips and onto the cheek.
- Use black liner and a black shadow rather than face paint if that’s what you have; build the black up in layers for opacity.
- Leave the other half as a normal glam eye and lip; on deeper skin, the contrast of deep matte black against your skin looks sharp and striking. My skeleton makeup guide covers the full version.
Glossy Crimson Blood Drip
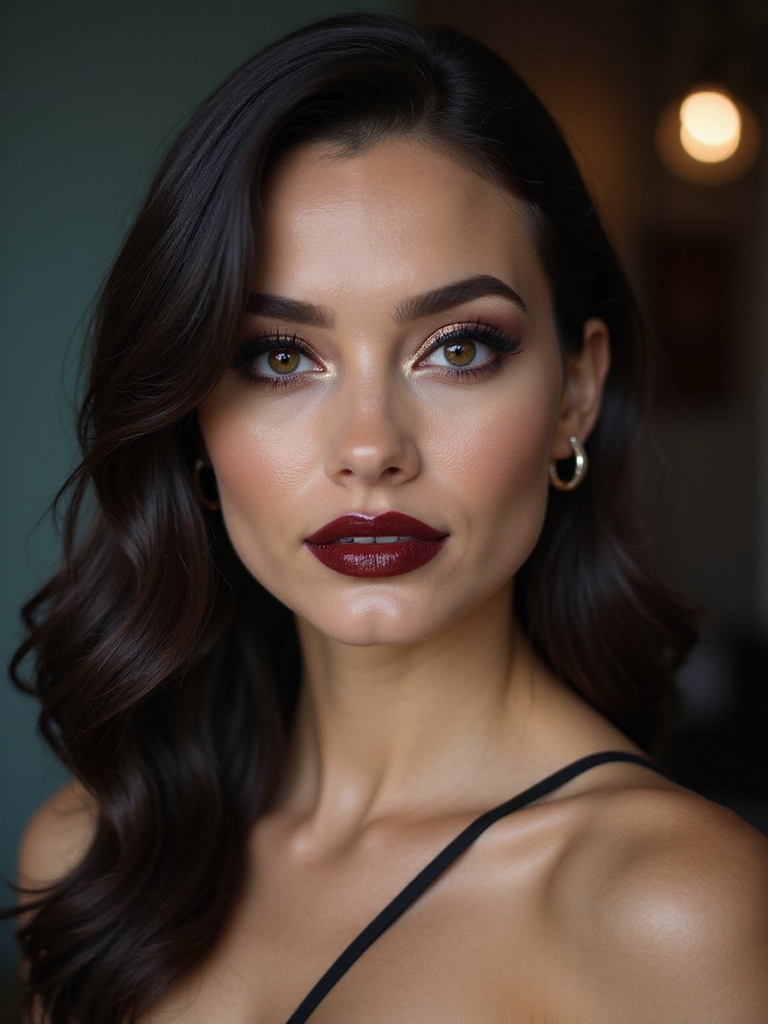
A glossy crimson drip is the quickest vampire shortcut there is, a deep red lip with a few cinematic drips trailing from the corners. It’s instantly Halloween with one lip product and a steady hand.
Fill the lips with a deep, glossy red, then use a fine brush or the wand to draw a couple of thin drips down from the corner of the mouth, keeping them glossy and wet-looking.
Pair it with pale skin and a smudged dark eye and you’re a glamorous vampire in minutes. Keep the drips thin and few, since a few thin drips look more elegant and cinematic than a gory mess. For the full undead look, my vampire makeup guide goes further.
An easy-Halloween myth worth dropping:
❌ Myth: You need a special-effects kit for good Halloween makeup.
✅ Reality: Not even close. The most photogenic easy looks, cat whiskers, spiderweb liner, a half skull, a blood drip, are made almost entirely from black eyeliner, a few shadows, and a bold lip you already own. Special-effects supplies are for prosthetics and wounds; for graphic, costume-y Halloween makeup, your everyday products plus a steady hand do it all.
Haunted Glitter Tear
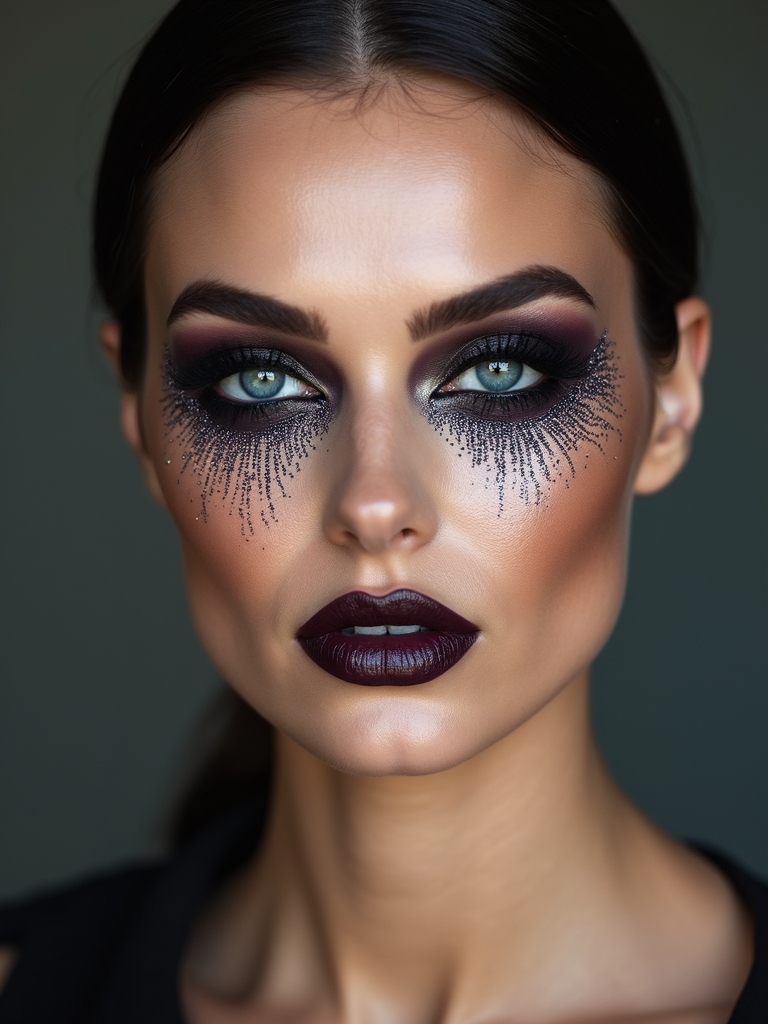
A single glittered tear trailing down from the eye is the prettiest spooky look, ethereal, a little haunting, and done with glitter and one trail. It’s the celestial-ghost middle ground between scary and beautiful:
- Apply your eye makeup, then trace glitter glue in a thin trail starting at the inner corner and heading down the cheek, then press fine glitter onto it.
- Add a few small gem or glitter dots beside the trail for a frozen-tear effect.
- Keep the rest of the face soft and luminous so the glittered tear is the focus; gold or iridescent glitter glows on every skin tone.
Delicate Gothic Cobweb Corners
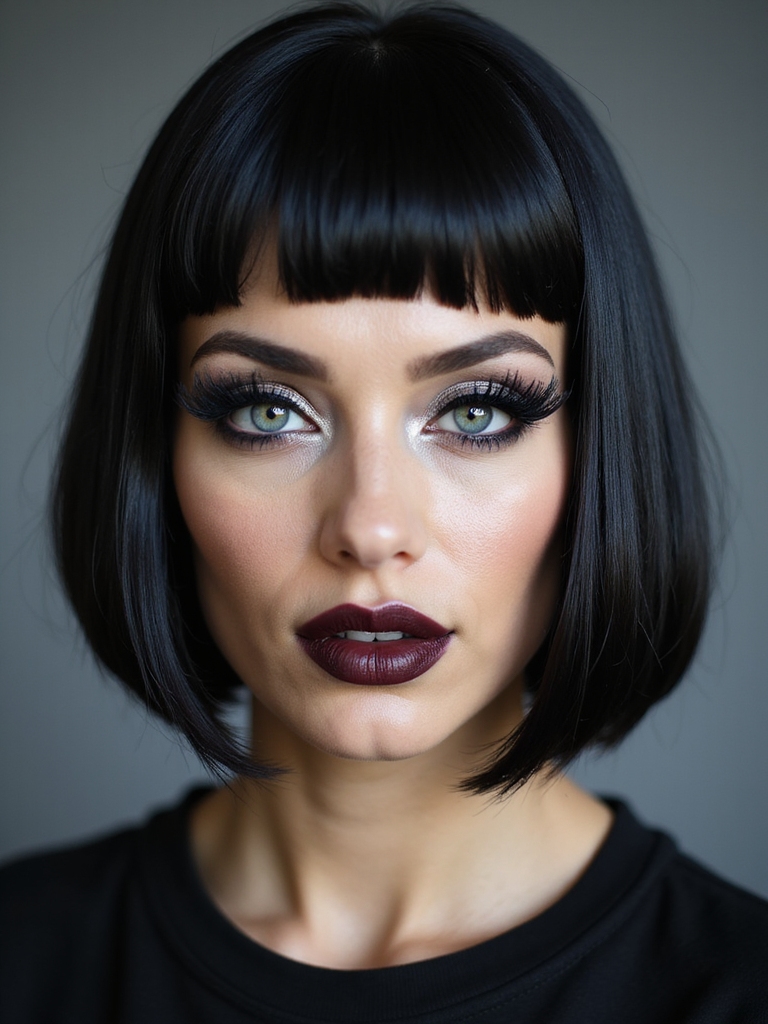
Tiny cobwebs tucked into the outer corners of the eyes are a subtler, more wearable spin on the spiderweb, gothic and delicate, more accent than full costume. They turn a normal eye look spooky-pretty.
Do your usual eye makeup, then with a fine liner draw a few small radiating lines and connecting arcs right at the outer corner, smaller and more delicate than a full web.
Keep them tiny so they read as a chic little detail. Paired with a dark smoky eye and a deep lip, it’s a grown-up, gothic Halloween look you could wear to a dinner as easily as a party. A felt-tip liner gives the finest, most controlled lines.
Waterproof Stitched-Doll Liner
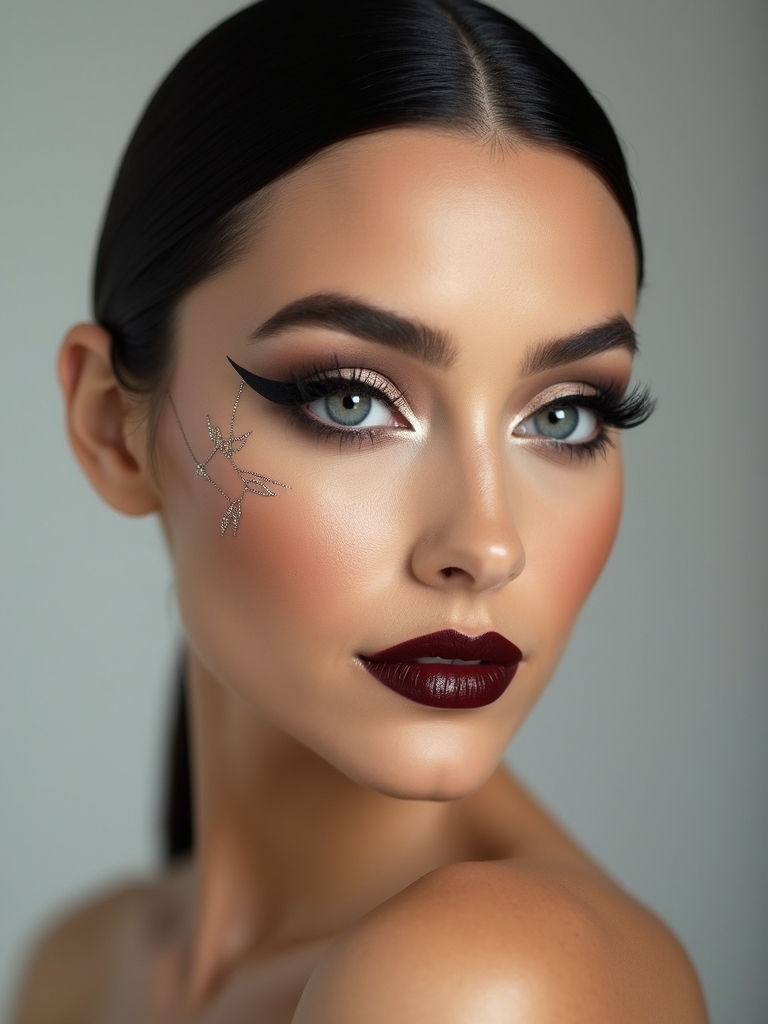
The stitched-doll or rag-doll look is creepy-cute and almost entirely made of little dashes of liner, a stitched mouth, a few seams, drawn with the eyeliner you own. It’s one of the easiest spooky-cute costumes there is.
Why even dashes make the stitches look real
Draw a horizontal line across the lips and add short vertical dashes over it to mimic stitches, then add a couple of seam lines with dashes at the corner of the mouth or across the forehead.
Round it out with rosy doll cheeks and big lashes for the creepy-cute contrast. Use a waterproof liner so the stitches survive the night and any photos, and on deeper skin, a dark brown comes across softer than black if you want it gentler. Keep the dashes even for that neat, sewn look.
How to Get the Look
What every one of these 15 looks has in common is that you don’t need a special-effects kit, you need the makeup you already own and a little patience with line work. A black liquid or gel liner does most of the heavy lifting (whiskers, webs, stitches, skulls), a few shadows handle the smoky and sunken looks, and one bold lip carries the jack-o’-lantern and blood-drip costumes.
If you want a couple of extras, fine cosmetic glitter and a glitter glue open up the pretty looks, and a pale powder plus a cool highlight builds any ghostly base. Use waterproof or long-wear formulas wherever you can, since Halloween nights are long, sweaty, and full of photos, and set everything with a setting spray so your hard work survives until midnight.
Two practical notes before you start. First, do a quick patch test if you’re using any product near your eyes in a way you normally wouldn’t, and reach for proper cosmetic glitter; craft glitter isn’t safe near the eyes.
Second, adapt the contrast and color for your skin: on deeper complexions, swap stark white for a cool, lighter foundation and a frosty highlight, choose deep plum or cool brown over gray for hollowing, and lean into saturated, bright pigments for neon and color looks so they show up boldly.
Pick the level of spooky you want, keep the lines as clean as you can, and you’ll have a costume in under twenty minutes. For more elaborate ideas, my Halloween makeup looks go bigger.
Pick Your Spooky and Grab Your Liner
The best thing about these 15 is that none of them ask for a single product you don’t already own, just eyeliner, shadow, a bold lip, and maybe some glitter. Whether you want five-minute cat whiskers, a pretty glittered tear, or a high-drama half skull, the look is built from your everyday bag plus a little line work, which means you’re never actually stuck without a costume.
Start with one that matches how much effort you’re feeling and how steady your hand is tonight, map the lines with dots first, and set it all so it lasts through the party. Adapt the colors and contrast if you have deeper skin, and keep cosmetic glitter and waterproof formulas within reach. Whatever you land on, you have a costume waiting in the bag you already own.
Keep Reading


