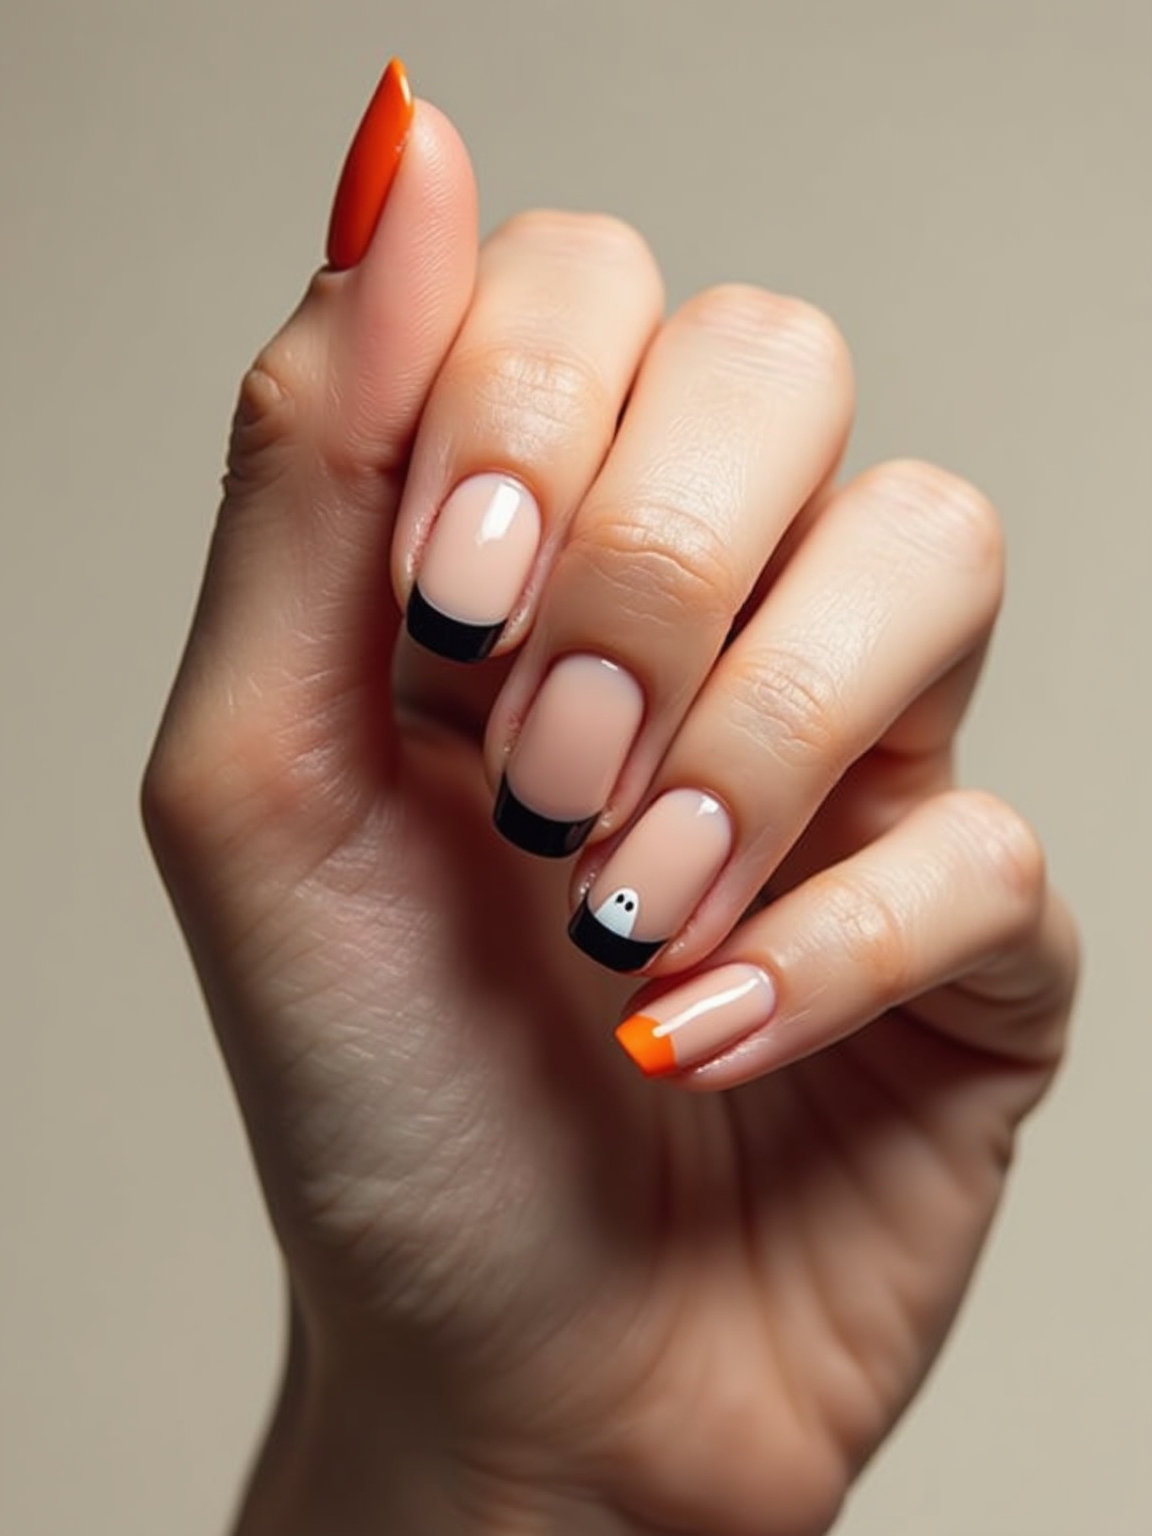
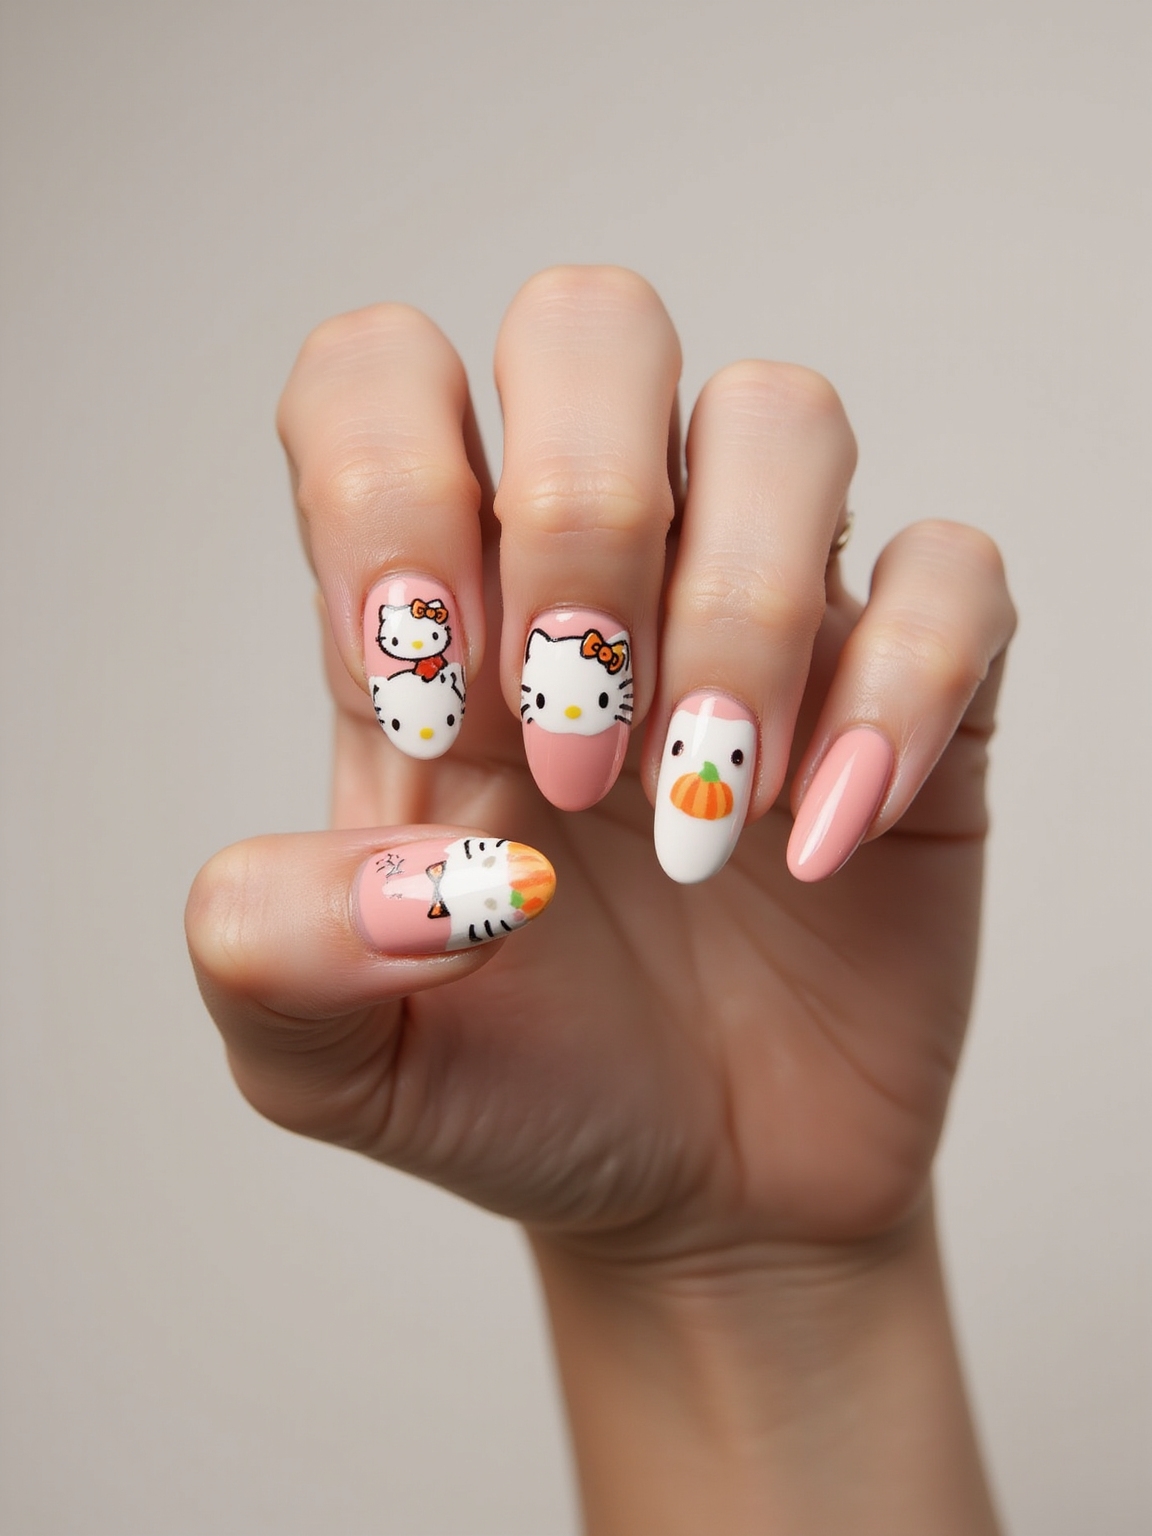
The difference between a gel manicure that lasts three days and one that lasts three weeks usually comes down to a few small habits at the desk, not the polish in the bottle. Thin coats, a fully capped edge, and a proper cure do more for longevity than any single product claim on the label.
Below are 11 gel looks worth trying, from a nude that goes with everything to a chip-proof true red and a matte velvet finish, each with the technique that makes it last. I have applied and removed thousands of these, so I will also flag where nail health matters most, because the fastest way to ruin your nails is peeling gel off instead of removing it properly.
The Habits That Make Gel Last
- Keep every coat thin; thick gel shrinks, wrinkles, and lifts at the edges within days.
- Cap the free edge on every layer, since chips almost always start at the tip.
- Cure the full lamp time and wiggle your thumbs in separately so they set flat.
- Expect two to three weeks of wear, and budget $35 to $60 for a salon gel manicure.
- Never peel or pick gel off; soak it off with acetone to protect the top layers of your natural nail.
A Nude One Step Warmer Than Your Skin
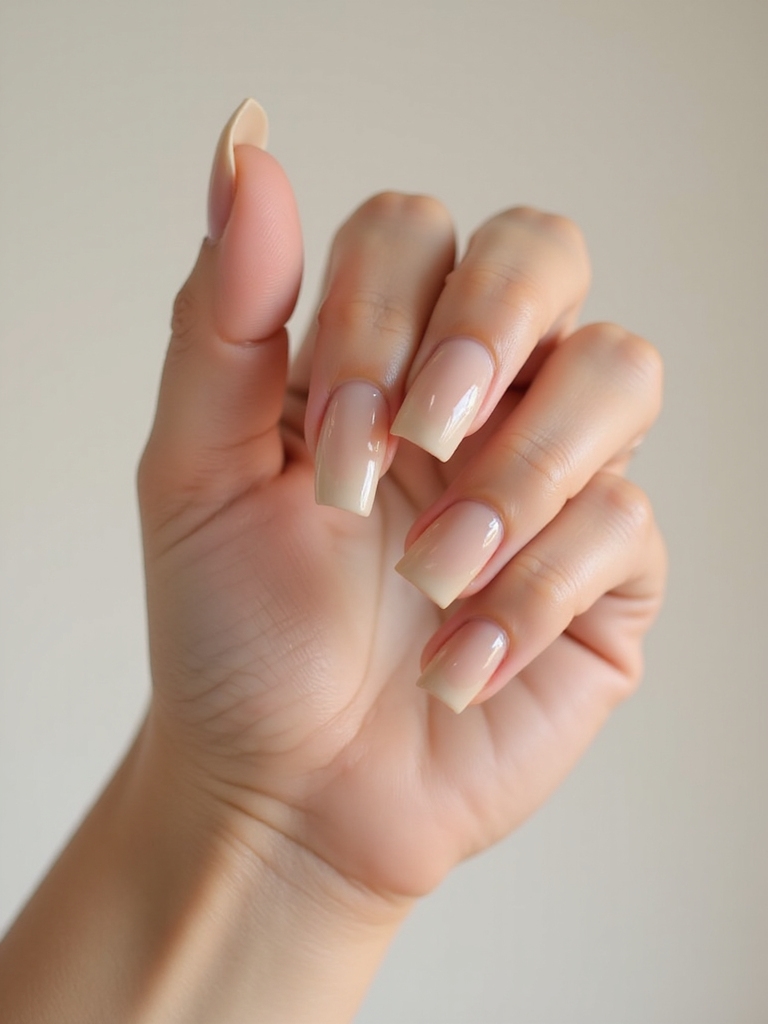
A good nude is the workhorse of any gel wardrobe, quietly lengthening the fingers and going with every outfit you own. The trick most people miss is the shade choice: pick a nude one step warmer than your own skin, because a nude that matches too closely reads chalky and washes the hand out.
Picking Your Perfect Nude
That rule scales across every skin tone. Fair hands suit soft rose-beiges, medium skin glows in warm caramel, and deep skin looks rich in mocha and chocolate nudes. There is no single nude, only the one that flatters your undertone.
Apply two thin coats, cap the tips, and cure fully. A little cuticle oil each night keeps the whole thing looking clean as it grows.
A Chip-Resistant Glossy Red Manicure
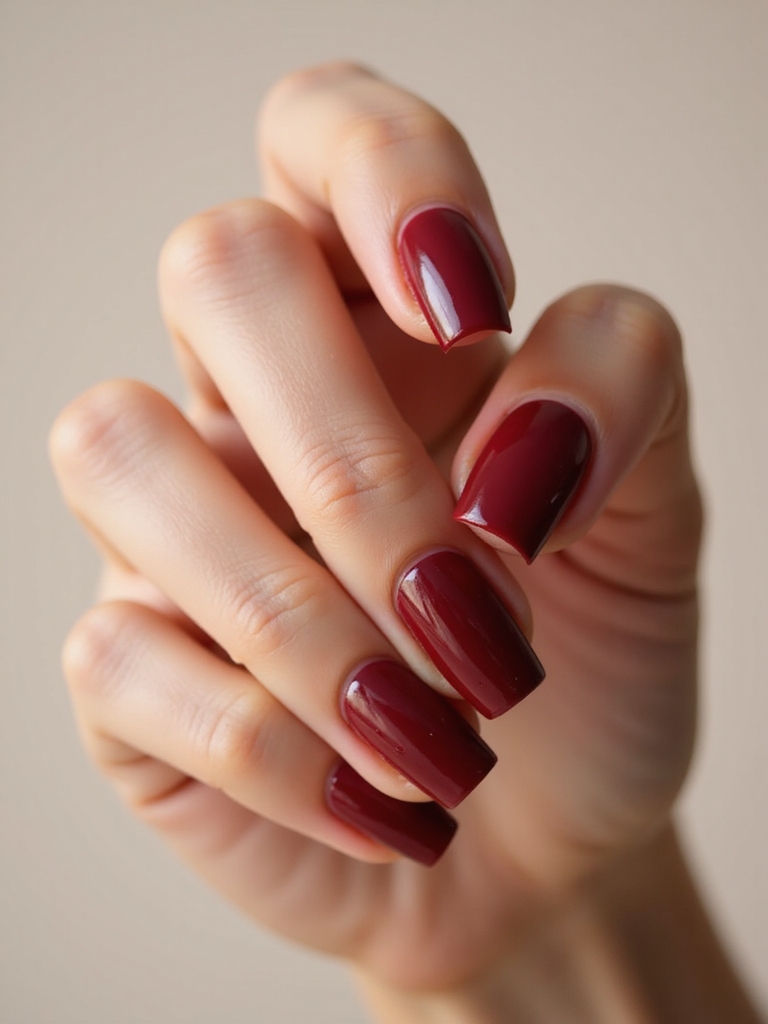
A power red is a classic for a reason, but it announces every chip, so prep is everything. I gently buff the shine off the nail, wipe it with alcohol, and use a whisper of dehydrator on the tips where chips like to start. That clean, oil-free surface is what makes color grip for a full week.
From there it is all about thin coats and capped edges. A true blue-red flatters the widest range of hands, and a glossy, hard-wearing top coat locks in both the shine and the staying power.
- Choose a true red with a slightly blue base, which suits most skin tones.
- Keep every coat thin and wrap the color right over the free edge.
- Cure the full timer, then seal with a glossy top coat and oil the cuticles nightly.
Sheer Pink Builder Gel for Strength
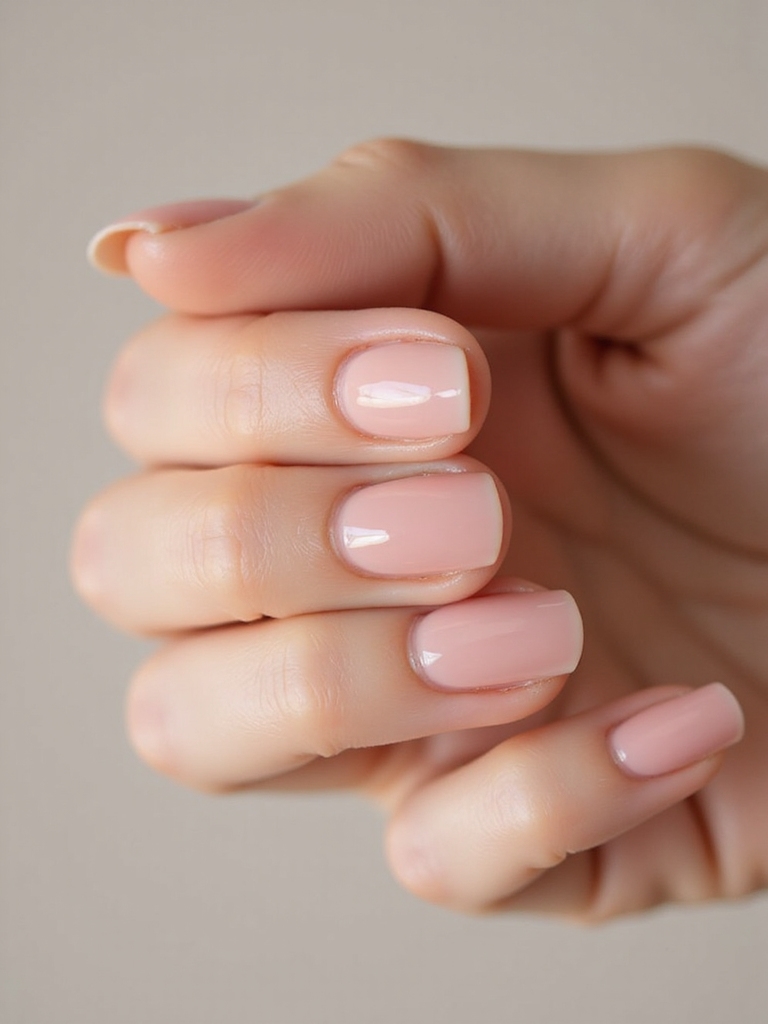
Sheer pink builder gel is my go-to for anyone with thin, bendy nails who does not want the bulk of an acrylic. It adds real strength and a glassy, natural-looking finish that blurs ridges and brightens the nail bed. Here is the order that keeps it thin and sturdy at once.
- Brush a thin slip layer first so the builder has something to grip.
- Float a bead down the center and tilt the nail to let it self-level, which prevents bulk.
- Cap the free edge, cure fully, and wipe the sticky inhibition layer clean.
Two quick gel-longevity checks:
1Your gel keeps chipping at the tips within days. What is the likely fix?
You are almost certainly not capping the free edge. Wrapping every coat over the very tip of the nail is the single biggest chip-stopper.
2Your gel wrinkles or lifts after curing. What went wrong?
The coats were too thick. Thick gel cannot cure evenly, so it shrinks and lifts. Two or three thin layers beat one thick one every time.
Quick-Cure LED for At-Home Manicures
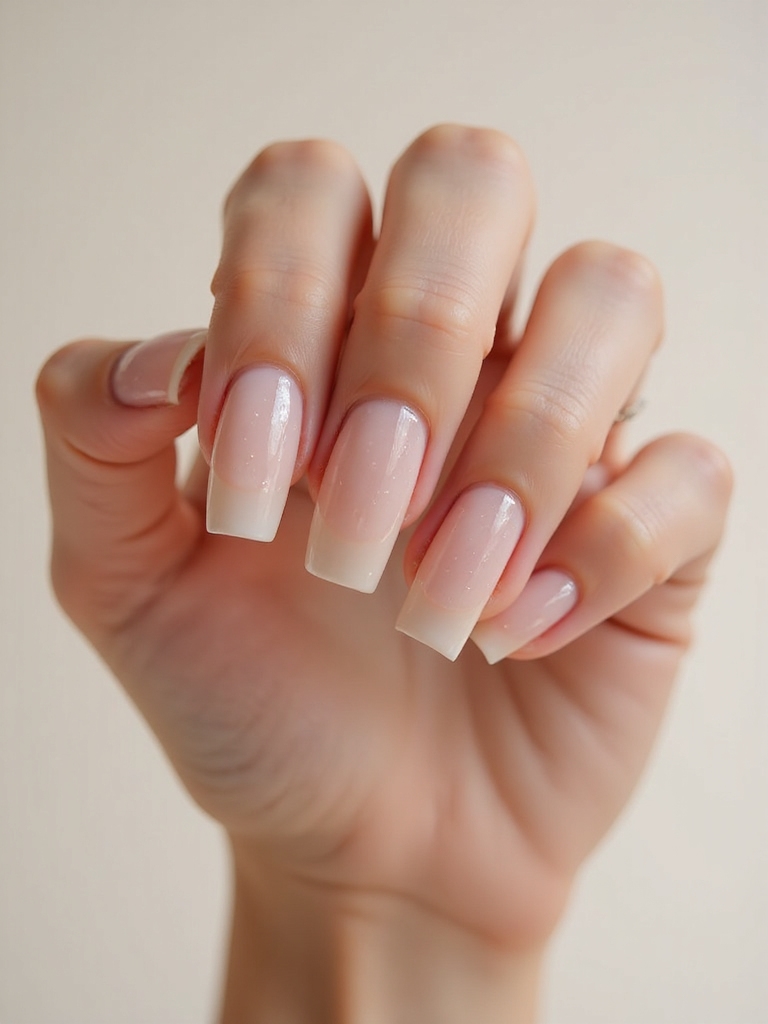
If you do your own gels, an LED lamp is the upgrade that changes everything, curing each layer in 30 to 60 seconds instead of the slower UV wait. A compact home lamp runs roughly $30 to $100, which pays for itself fast if you would otherwise book monthly salon gels.
The one thing to watch is the heat spike some formulas give off as they cure. If you feel a flash of warmth, pull your hand out for a second and slide it back in; that quick break spares your cuticles. Keep the bulbs clean, center each nail under the light, and cure your thumbs last so they set flat.
Clean, Crisp One-Third French Tips
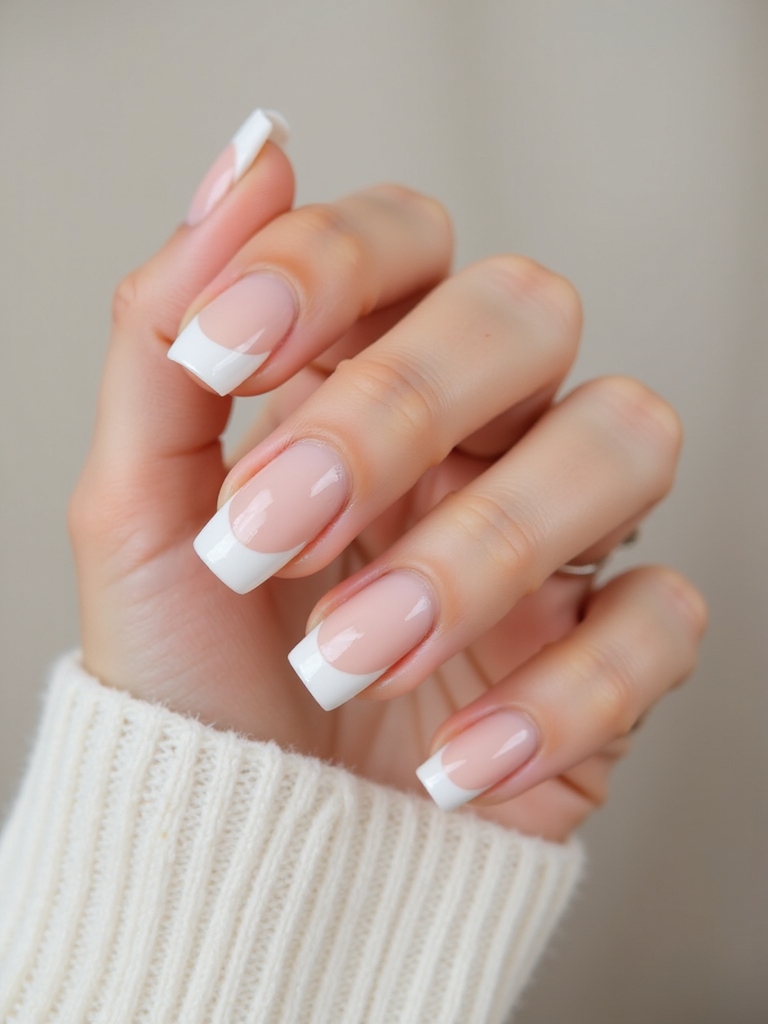
A gel French never really dates, and the secret to a modern one is proportion. Aim for a white tip that covers roughly the last 15 to 25 percent of the nail, never more, which keeps it crisp and light. A sheer pink base underneath makes the natural nail look healthy and helps the smile line pop.
The crisp contrast is what makes the whole manicure look fresh and expensive, and gel keeps that clean line sharp for weeks. If you want to play with the format, my French tip nails guide has colorful variations on the same idea.
- Keep the tip thin and about one-third of the nail at most.
- Use a striping brush for a clean smile line, steadying your hand on the desk.
- Cap and cure so the tip, where French chips first, stays sealed.
Not sure which direction to go?
🎯Want low-key and versatile?
Reach for the warm nude, milky white, or sheer rose gold, all of which grow out softly.
🎯Want a statement?
Go for the true red, cobalt, or a crisp French, and prep carefully so the bold look lasts.
Cobalt Gel Manicure Longevity
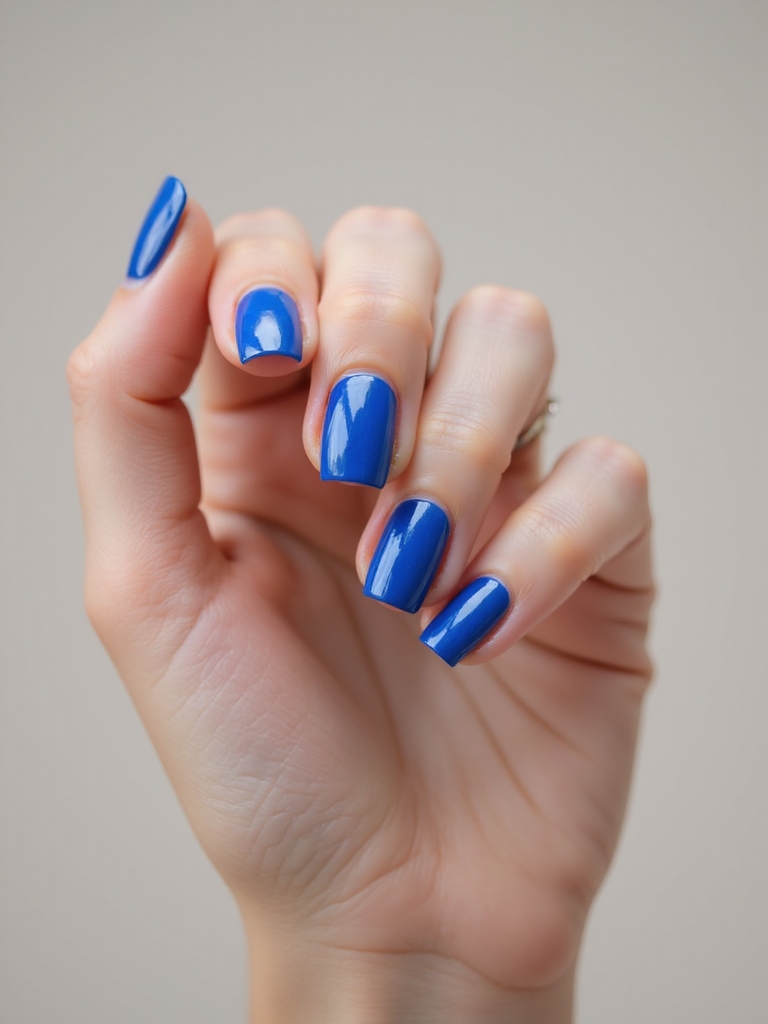
A deep cobalt is the kind of color that stops people mid-sentence, and gel is the format that keeps it that saturated. The key is choosing a pigment-dense formula with fade-stable dyes, because cheaper blues can shift and dull in sunlight. Here is how to keep cobalt looking like glass, and it pairs beautifully with the mirrored finish of my chrome nails.
- Pick a fade-resistant pigment so the color stays true in daylight.
- Apply thin, even coats to avoid the streaking that dark shades expose.
- Cap every edge, cure fully, and seal with a hard-wearing gloss top coat.
A Soft, Milky Cloud Finish
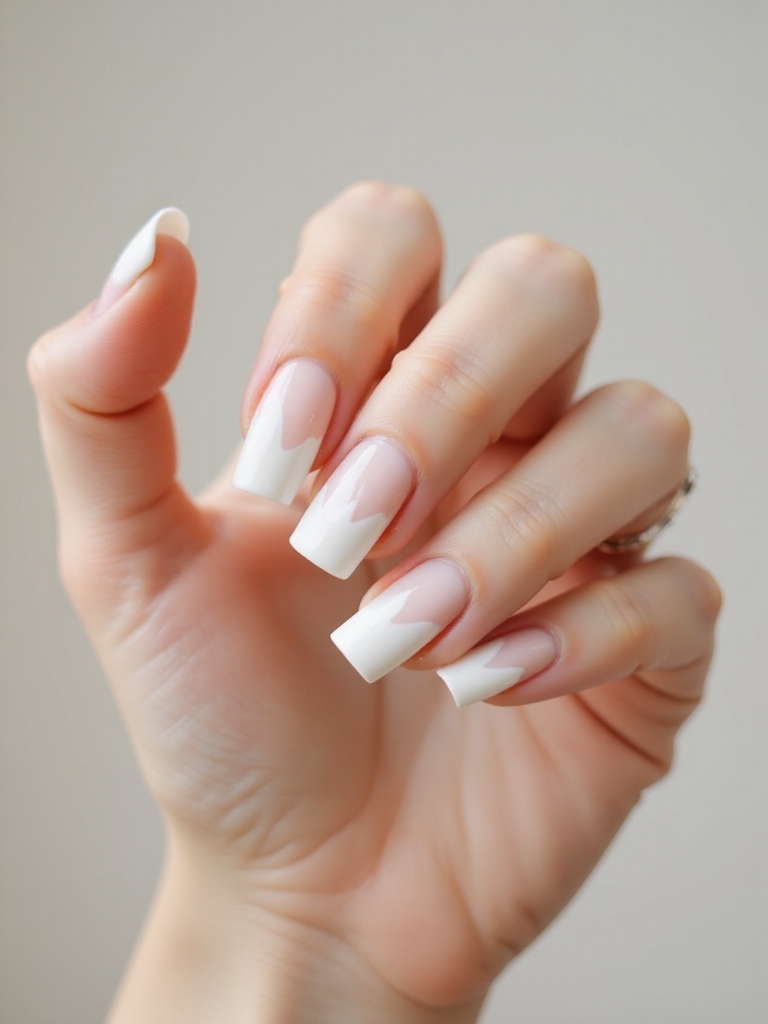
Milky white is that soft, cloudy, lit-from-within finish that looks quiet and modern. The whole look lives or dies on opacity, so choose your sheerness on purpose: barely-there for a whispery haze, semi-sheer for a plush, marshmallow softness. Both need a careful, even hand, and the finish sits somewhere between a solid shade and the sheer look of my jelly nails.
Because it is translucent, milky white shows every ridge and speck of dust, so clean prep matters more here than with an opaque shade. Start with two or three feather-light coats, flash-cure between them if the formula pools, then cure fully and cap the edge.
- Prep carefully, since sheer shades magnify ridges and debris.
- Build in thin layers so the milkiness stays even, not patchy.
- Finish with a hard-wearing top coat to keep the soft glow from chipping.
Sheer Rose Gold With Micro-Glitter
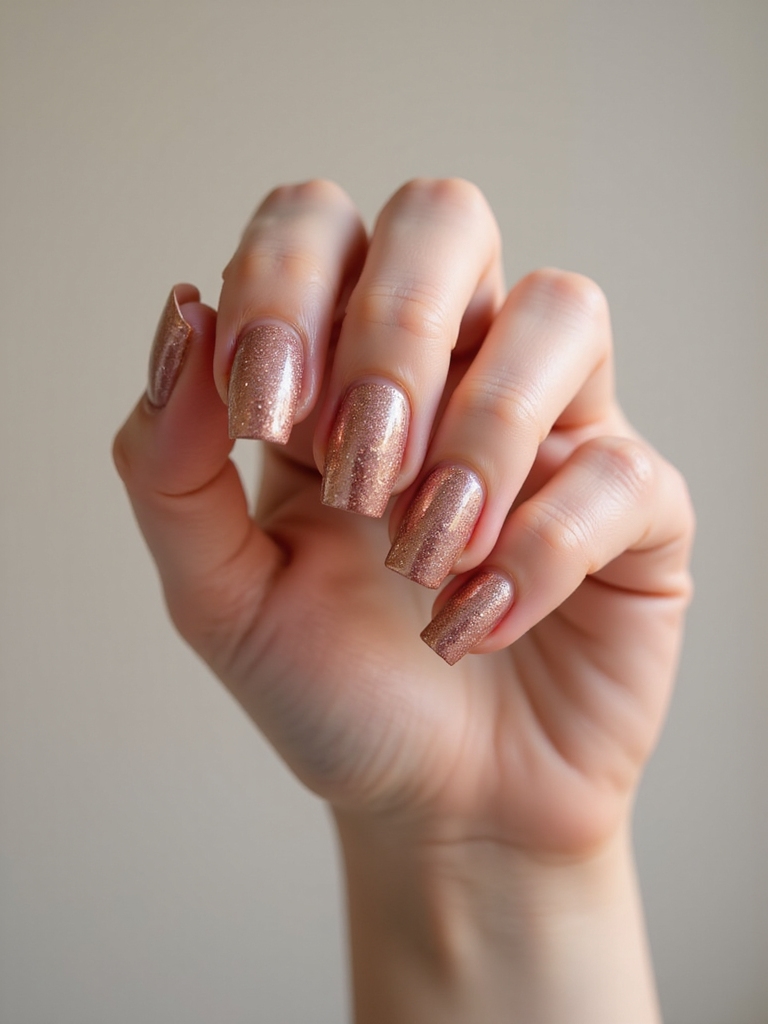
Rose gold is the shimmer for people who think they do not like shimmer. Instead of chunky sparkle, you brush on a thin, luminous rose veil, then tap the faintest hint of micro-glitter toward the tips for a little dimension. The effect is quiet, pretty, and easy to wear.
It is one of the most universally flattering finishes there is, warming up every skin tone and pairing with anything from jeans to an evening look. It also makes a pretty base for delicate art like my flower nails. Keep the layers sheer so it stays elegant.
Cure fully and finish glossy for that glassy gleam, and a touch of cuticle oil keeps the shimmer looking polished as the days pass.
Plant-Based, Chip-Resistant Longwear
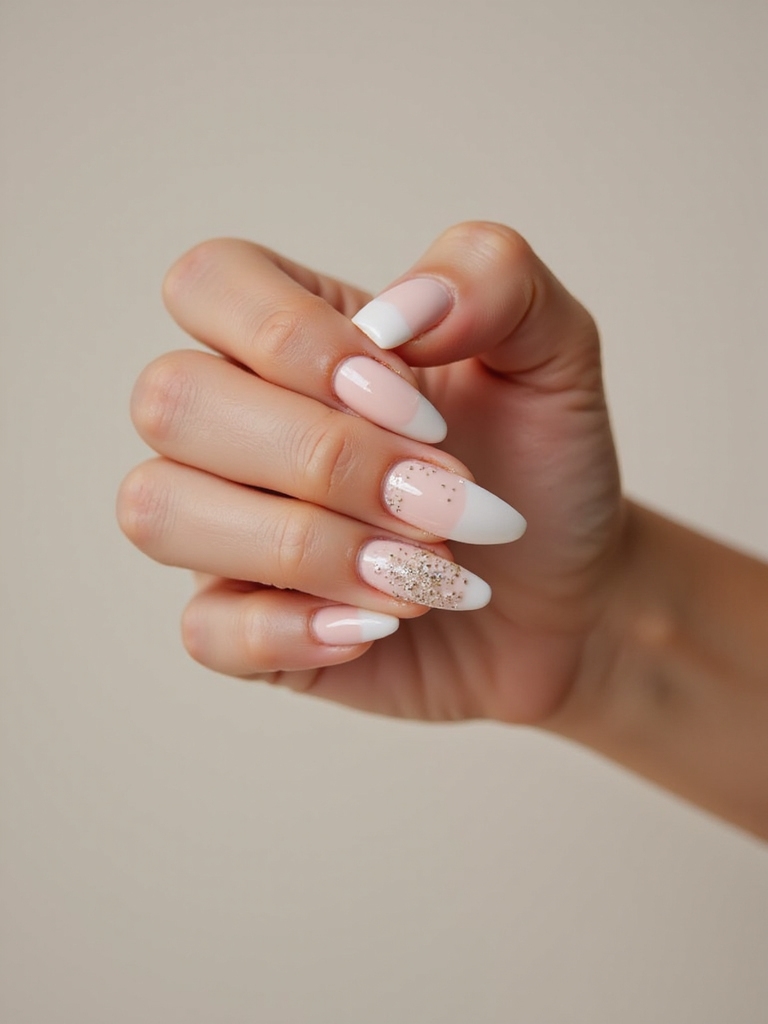
If you would rather skip the harsher ingredients, a plant-based, so-called 10-free gel is worth a look, and the newer formulas hold up to daily wear without the long list of questionable extras. They deliver the same glossy, chip-resistant finish, so going gentler no longer means giving up longevity. The application rules are exactly the same: thin coats, capped edges, and a full cure.
- Look for 10-free or plant-based labels if ingredients matter to you.
- Apply and cure it like any gel, capping the tips for the longest wear.
- Remove it the same careful way, by soaking instead of peeling.
Hard Gel Overlay for Protection
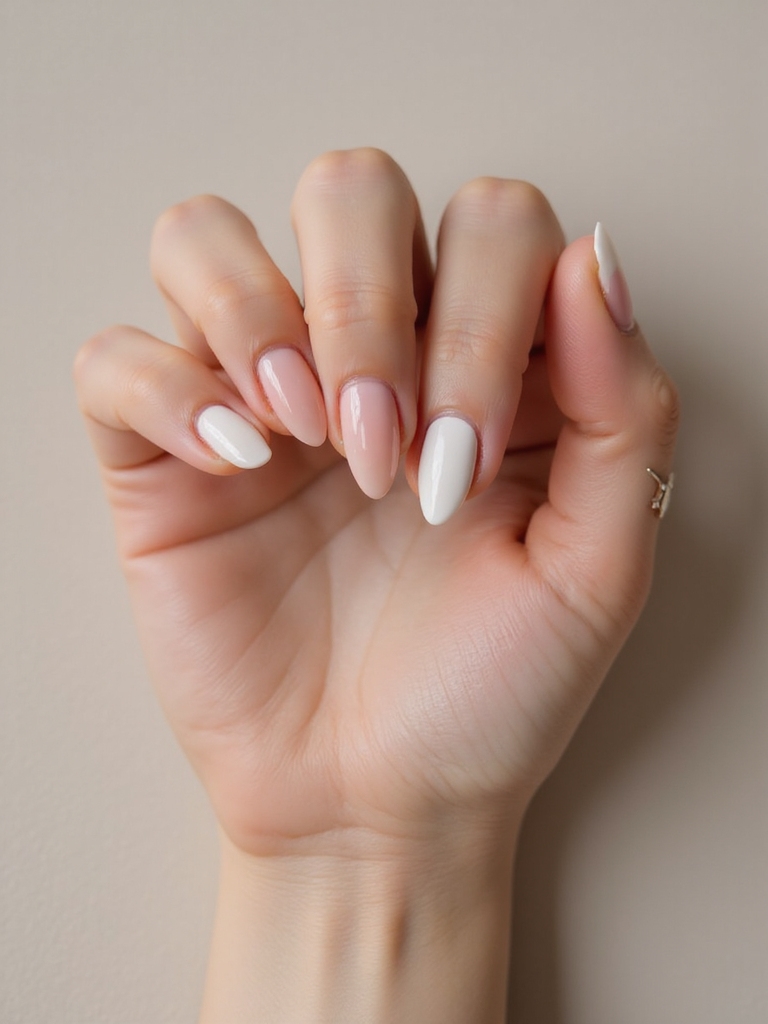
If your nails constantly peel or lift, a hard gel overlay is the reinforcement that fixes it. Unlike soft gel polish, hard gel builds a flexible, protective layer with a slight apex that takes the daily stress off your natural nail, so polish finally grips and stays put.
Why It Stops the Lifting
The application is precise: cleanse, gently buff, dehydrate, then apply a thin base and build a low, even apex. Capping the free edge and curing thoroughly is what gives it that armor-like strength.
The one caution is removal. Hard gel does not soak off the way soft gel does, so it is filed down by a professional; picking at it is the fastest route to real damage.
Heads-Up
Hard gel and builder gel do not dissolve in acetone the way soft gel polish does. They should be filed down by a professional, never peeled or pried off, since forcing them takes layers of your natural nail with them and causes real, lasting thinning.
Matte Velvet Modern Nail Finish
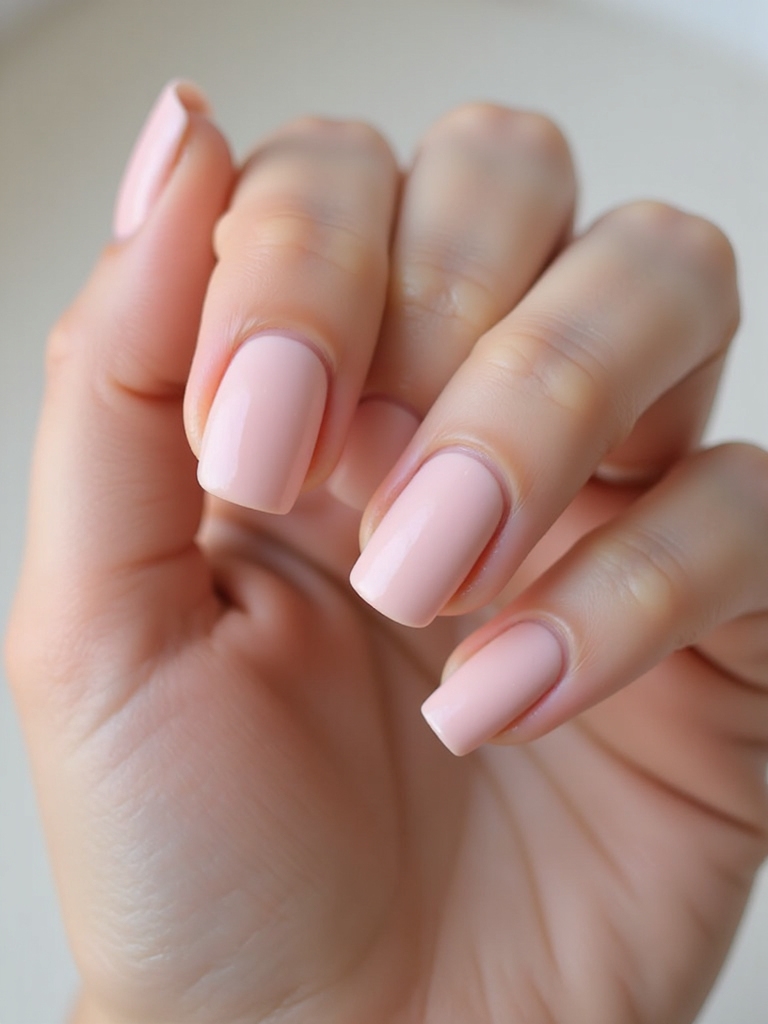
Sometimes the most modern move is to trade shine for a soft, velvety matte. A matte gel topper goes over any color, smooths the texture, quietly hides tiny flaws, and gives a shade a plush, editorial twist. It pairs beautifully with crisp shapes and minimal art, like a soft aura nails glow under the matte.
A couple of practical notes: matte shows fingerprints and can smudge before it sets, so cap the edge, cure fully, and avoid touching anything until it is done. Matte also tends to dull faster than gloss with daily wear, so a fresh swipe of the topper revives it mid-wear if it starts to shine in patches.
Maintenance & Care
Longevity is half application and half aftercare. Once your gels are on, treat cuticle oil as a daily non-negotiable: massaging a drop into each nail keeps the surrounding skin flexible, which actually helps the gel stay bonded instead of lifting at the edges.
Wear gloves for dishes and cleaning, since prolonged hot water and harsh chemicals are what loosen a seal early. Expect a solid two to three weeks of wear before regrowth at the base makes it time for a fresh set.
Removal is where nails are made or broken, quite literally. Never peel, pick, or bite gel off, because it takes the top layers of your natural nail with it and leaves them thin and weak. Instead, gently buff the shine, soak cotton in acetone, wrap each nail in foil for 10 to 15 minutes, and slide the softened gel off with a wooden stick.
If it resists, soak longer and let it release on its own. Give your nails an occasional break between sets and keep them oiled, and gel can stay part of your routine without costing you healthy nails.
The Small Habits That Add Up
Whichever look you land on, the secret to gel that lasts is never really the shade; it is the boring, repeatable habits. Thin coats, a capped edge, a full cure, daily cuticle oil, and careful removal do more for your manicure than any bottle promising the world on the label.
So the next time your gel chips early, do not blame the polish first. Look at how thick the coats were, whether the tips were sealed, and how the last set came off. Nail those basics, and almost any of these eleven looks will stay glossy and strong for weeks.
More to Explore