Let me be honest about 3D nails before you fall for the photos. The raised charms, chrome drips, and sculpted petals look incredible, and they also catch on your hair, your sweater, and the inside of your pocket. They are statement nails that ask for a bit of babysitting.
That said, when you pick the right design for your hands and your week, 3D art is the most fun you can have at the nail desk. Below are eleven designs worth knowing, with a real sense of what each costs, how long it lasts, and whether it can survive an actual day of typing.
3D Nails at a Glance
| Element | Realistic wear | Best for |
|---|---|---|
| Flat studs and chrome | Two to three weeks | Everyday, low-snag wear |
| Raised charms and spikes | A few days to a week | Events and photos |
| Sculpted gel petals | Up to two weeks | A careful hand |
Glossy Midnight Chrome Spike Accents
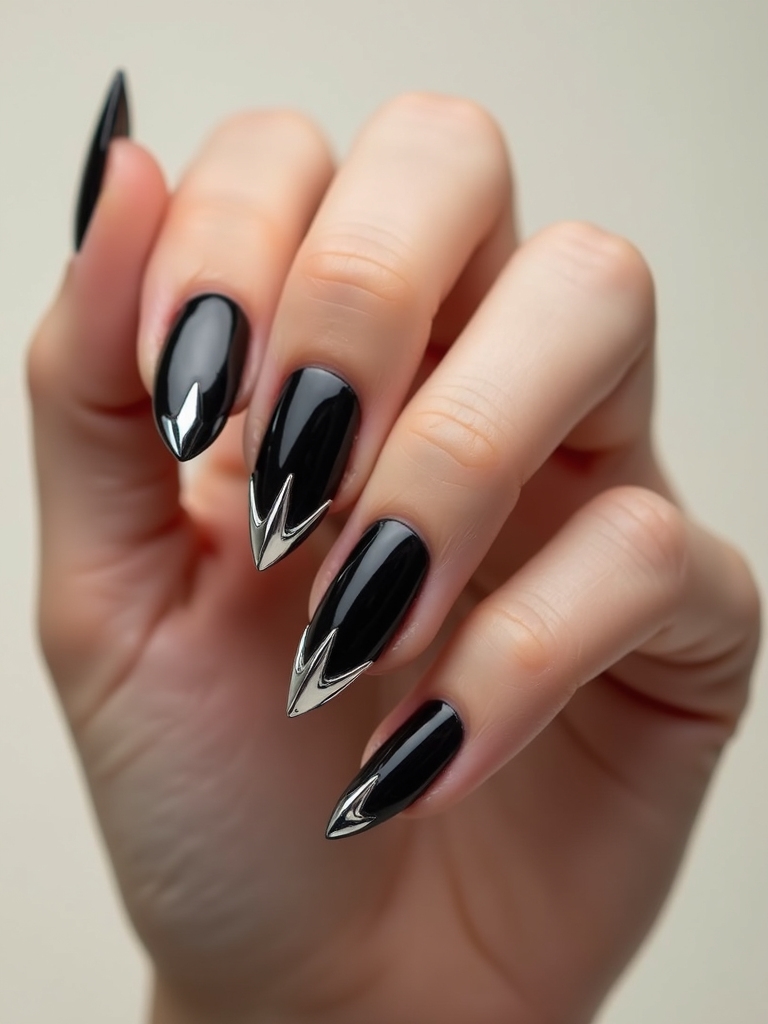
Tiny raised spikes in glossy midnight chrome give a set real edge, catching light like little metal studs against a dark base. Clients land at my desk asking for exactly this when they want tough and polished in one set. It photographs like armor.
The honest catch is that spikes snag on everything, so limit them to a couple of accent nails and let the rest stay practical.
- Put the spikes on accent nails only, ideally the ring fingers, to limit the snag.
- A dark chrome powder over black gel gives the glossy, mirror-metal base.
- Expect a few days of careful wear before a spike pops off. Pair it with sleek chrome nails for balance.
Dew-Kissed Translucent Sculpted Petals

Sculpted gel petals raised off the nail give a soft, three-dimensional flower that looks like it is growing from the tip. Done in translucent, dew-kissed gel, the petals catch light and stay delicate, and that delicacy, the thinness of each sculpted layer cured one at a time, is the whole difference between a flower that looks alive and one that looks clumpy.
These take a skilled tech and real time, usually built petal by petal with gel and cured in layers. Plan for a longer appointment and a $15 to $30 add-on over a standard set. They hold up to about two weeks if you treat your hands gently, and they suit a special event far more than a hands-on workday. For an everyday version, see these almond nail ideas.
💡Nail desk tip
Before you commit to a full 3D set, do one accent nail first. It tells you fast whether you can live with the snag, and it is far cheaper to redo one nail than to file off ten you cannot stop catching on things.
Glossy Candy-Like Floating Charms

Floating charms suspended under a glossy gel top look like little candies trapped in glass. Encapsulating them is what makes this design wearable, since a sealed charm cannot snag the way a glued-on one does.
The encapsulation is the difference between a set that lasts and one that sheds charms by lunch.
- Ask your tech to fully encase flat charms under a builder gel top for a smooth finish.
- Keep charms small and flat so the surface stays even and snag-free.
- Encased charms can ride out the same three weeks a flat gel set gives you.
Cuticle Gems Stacked for Runway Glow
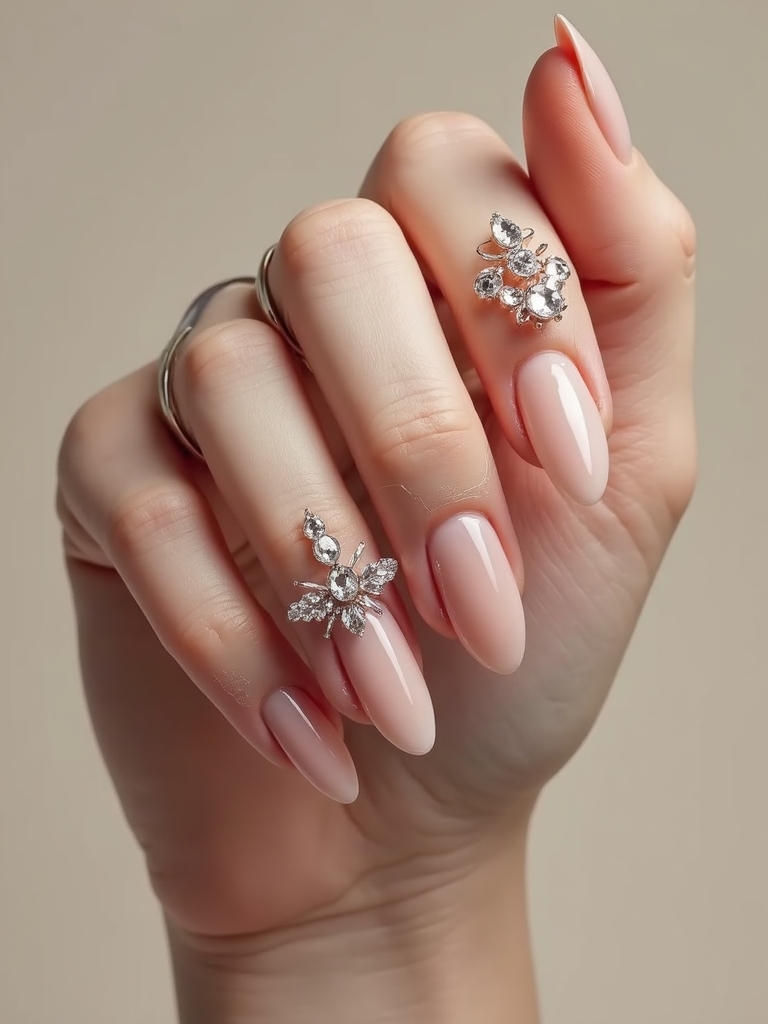
Clustering small gems at the base of the nail near the cuticle gives a stacked, jeweled glow that reads expensive and editorial. Because the gems sit at the base, they stay clear of your fingertips and snag far less than tip charms.
- Stack graduated gem sizes from the cuticle outward for that built-up runway look.
- Set them in a bead of gel and cure so they hold, then seal the edges.
- Cuticle placement is the most practical spot for 3D gems on working hands.
How to keep raised 3D detail wearable:
1Place smart
Limit charms and spikes to an accent finger or two, usually the ring fingers.
2Seal everything
Have your tech encase flat pieces and bead gel around the base of raised ones.
3Protect at home
Wear gloves for chores and book a proper soak-off instead of peeling.
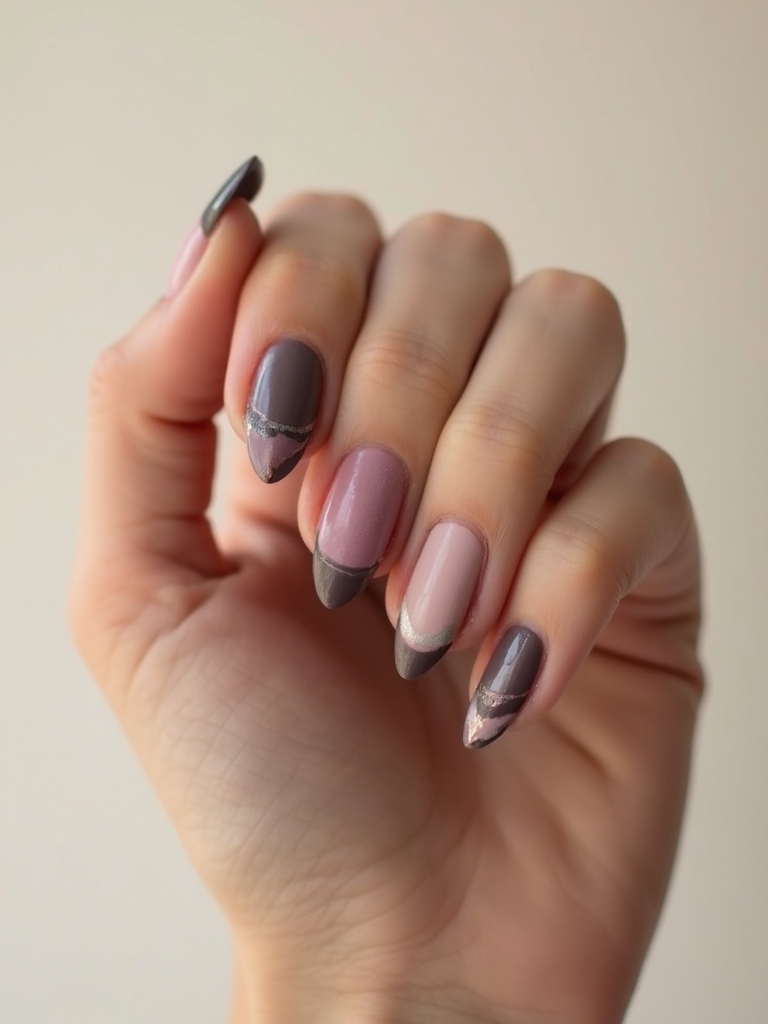
Raised Metallic Chrome Drips
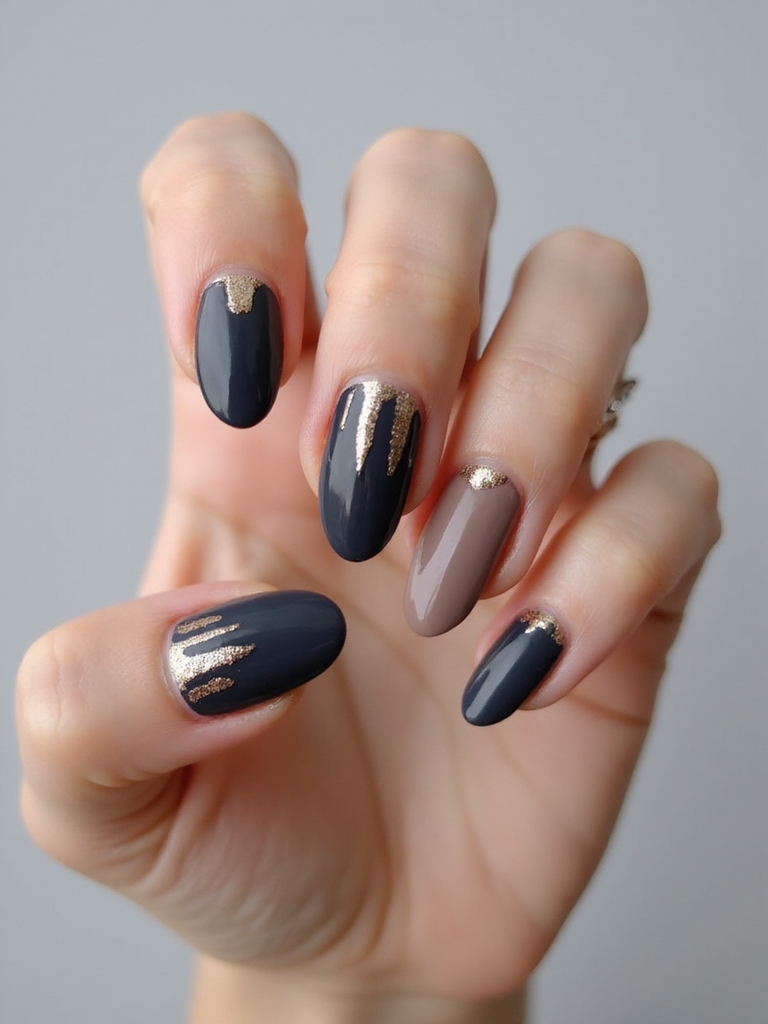
Chrome drips are sculpted, raised lines of metallic gel that look like molten metal running down the nail. The effect is futuristic and truly eye-catching, with a glossy, liquid-metal finish that moves the light as your hand turns.
These are built with a thicker gel piped into drip shapes, then chromed and sealed. It is a tech-led design, so expect a longer appointment and a premium over a flat set. Because the drips are raised, they wear like other 3D work, which is to say a week of real care before they start to catch. I tell clients to save these for a night out, not a week of deadlines.
Chrome drips suit anyone who loves a bold, metallic statement and is willing to baby their hands. On longer coffin or stiletto shapes the drips have more room to flow. For the flat version, browse these coffin nail ideas.
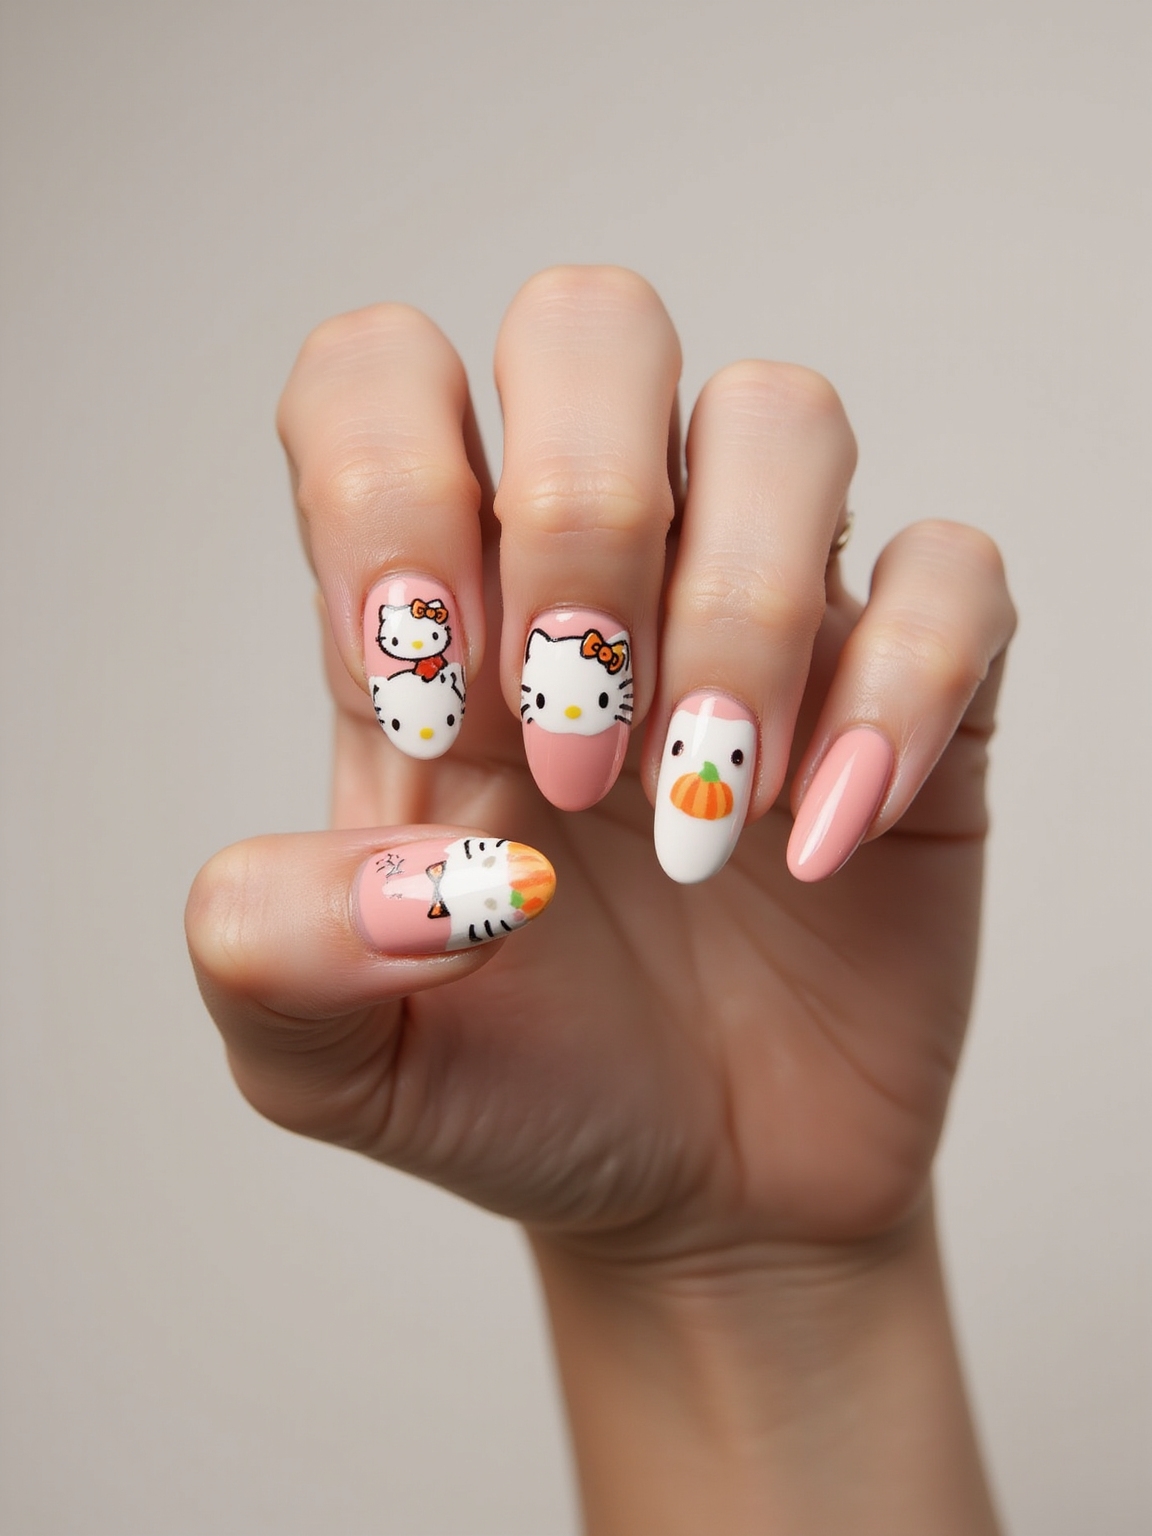
Plush Velvet Flocked Nail Art
Velvet nails use a fine flocking powder pressed into wet gel for a soft, fuzzy, three-dimensional texture that really does look like velvet. It is the most touchable 3D design and a favorite around the holidays. People cannot stop poking it.
- Press flocking powder onto a tacky color base, then tap off the excess for an even pile.
- Skip the glossy topcoat, since sealing it flattens the velvet texture entirely.
- Velvet is more delicate than glossy gel and tends to last about a week before it mats down.
👍Why 3D nails are worth it
- +A true showstopper for events and photos
- +Endless texture, from velvet to molten chrome
- +Flat versions can be surprisingly durable
👎What to weigh first
- –Raised pieces snag and pop off quickly
- –Most designs need a skilled tech and added cost
- –Big detail overwhelms very short nails
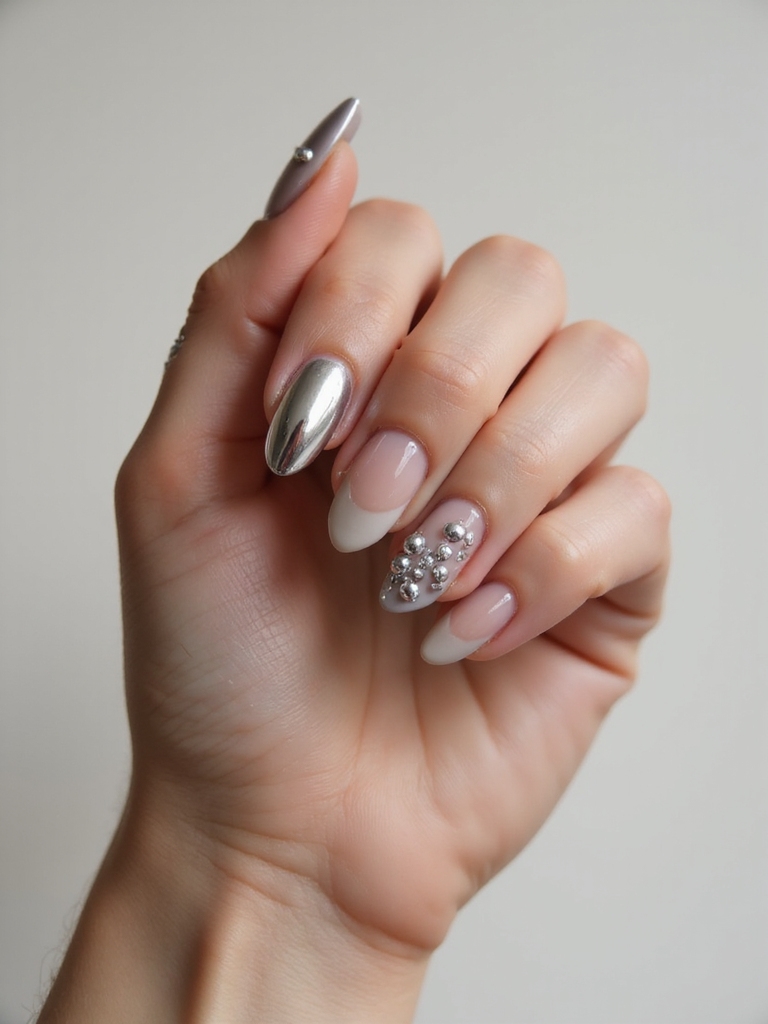
A Pearl-Edged Metallic French Manicure
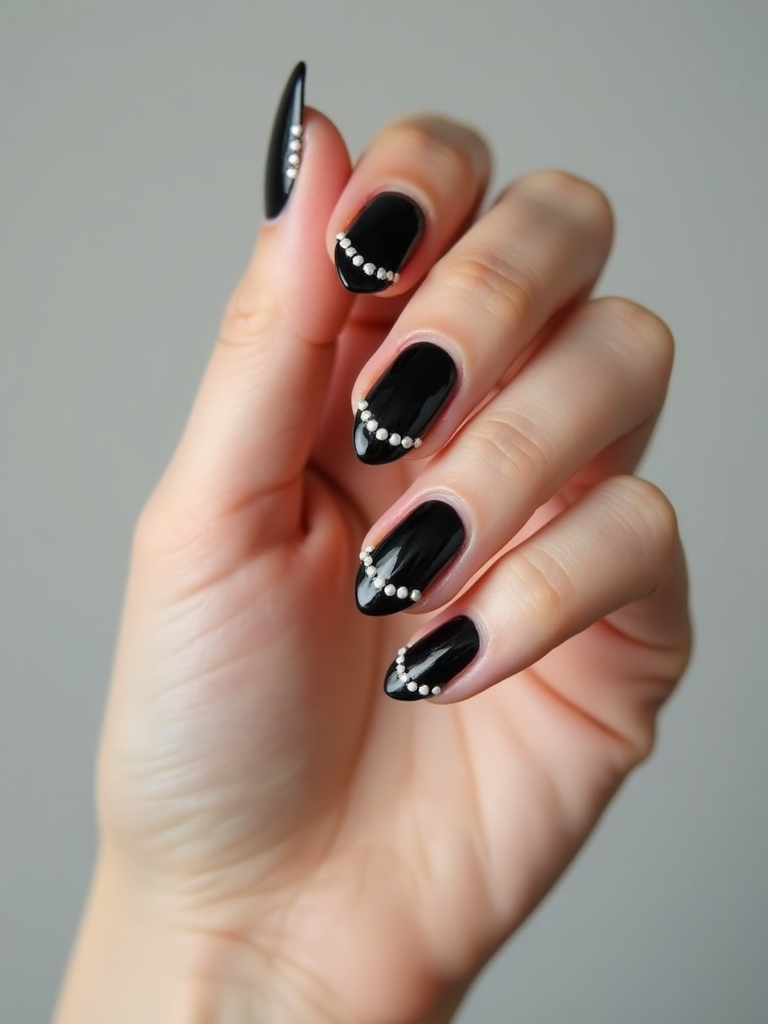
This takes the classic French and lifts it into 3D with a row of tiny raised pearls tracing the smile line, finished with a metallic tip. It is the most wearable design here. Refined enough for work, special enough for an event.
The pearls sit along the smile line where the nail meets the tip, so they are flatter and more durable than charms at the very edge. A metallic or chrome tip replaces the usual white for a modern, lit finish. This is the 3D set I point nervous first-timers toward most, because it survives daily life while still feeling special.
It flatters almost every nail shape and length, and it reads elegant and grown-up. The pearls add the only real catch point, so a smooth gel seal over their edges keeps them put. For the classic, see these French tip ideas.
Nude Nails With Studded Accents
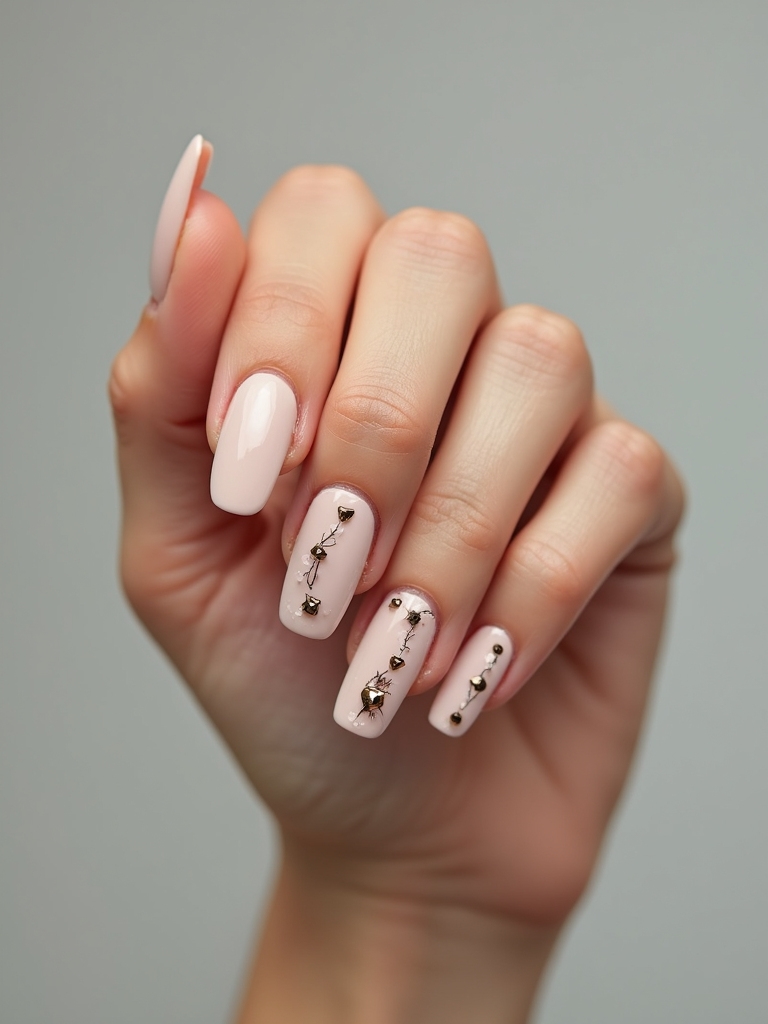
A neutral nude base scattered with small metal studs is the gateway into 3D nails: subtle, grown-up, and far more durable than the showier designs. The nude lets the metal hardware be the only statement. Quiet base, loud detail.
Why It Is the Best Starter 3D Set
Flat studs pressed into gel and sealed at the edges sit close to the nail and barely catch the way raised charms do. Scatter them across an accent finger or two for a refined look, or dot a few on every nail for more shine. A nude base also grows out gracefully, so a little regrowth at the cuticle barely shows. This is the design I recommend to anyone testing whether they actually like 3D before committing.
Studded nudes suit every skin tone and occasion. Match the metal to your usual jewelry, gold or silver, so the whole look feels intentional.
Iridescent Flakes Encapsulated for Depth
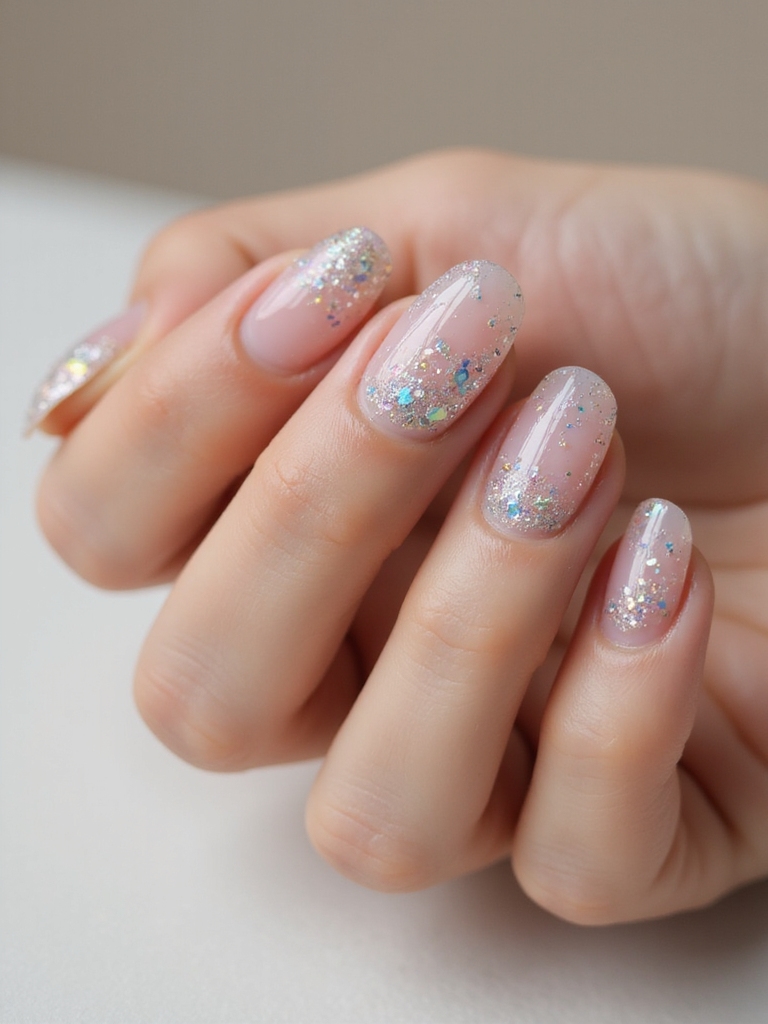
Iridescent flakes sealed under a clear gel give a deep, dimensional shimmer that shifts color as your hand moves, with a glassy, smooth finish. Encapsulating the flakes is what makes this a true 3D effect that stays sleek instead of rough.
- Layer the flakes over a sheer or tinted base, then encase them under builder gel for depth.
- A glossy topcoat seals everything flat, so there are no snag points at all.
- Because nothing sits proud of the surface, this set holds for a solid three weeks.
Molten Chrome Beaded Droplets
Beaded chrome droplets are small, raised domes of metallic gel scattered across the nail like liquid mercury caught mid-roll. The rounded shape catches light from every angle. The molten chrome finish makes them look almost wet.
Each droplet is built with a dot of thick gel, cured, then chromed and sealed. Because the domes are smooth and rounded, they catch a little less than spikes, though they still sit proud of the nail. Plan on a week or so of careful wear, and a premium at the desk for the hand-built detail. They look their best over a dark or metallic base that plays up the mercury effect.
These suit a bold, futuristic mood and an event where your hands will be seen. On shorter nails, keep the droplets to one accent finger so they do not overwhelm.
Sleek Whispered Ridged Negative Space
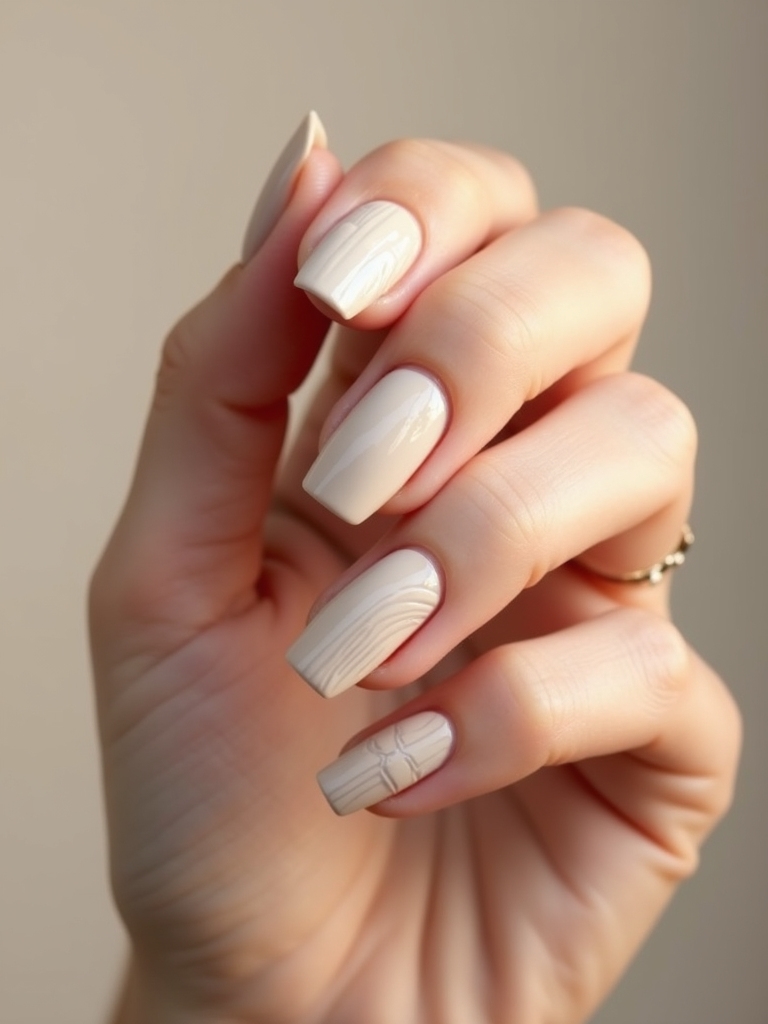
The subtlest 3D design here uses fine raised ridges and bare negative space for texture you feel more than see. A whispered ridge of clear or tinted gel adds dimension while leaving most of the nail bare and clean. You feel it before you see it.
It is the most understated and the most durable, since the texture is low and there is nothing to snag.
- Build thin raised lines of clear builder gel in a simple pattern over bare nail.
- Leave plenty of negative space so the ridges read as deliberate, not busy.
- This low-profile texture lasts as long as any regular gel set, around three weeks. For more minimal ideas, see these abstract nail designs.
Common Mistakes to Avoid
The biggest mistake I see at the nail desk is putting raised 3D detail on every single nail. Charms, spikes, and droplets look incredible in a photo, but a full set of them catches constantly and tends to lose pieces within days. Hold the loud, raised elements to a single accent finger or two and let flatter chrome, studs, or encased flakes carry the rest.
Your set lasts longer and your hands actually function. The other common error is asking for big 3D work on very short nails, where there is no real estate for it; a little length gives charms and drips room to sit without dominating.
Application matters just as much as design. Glued-on charms that are not sealed in gel are the first to go, so ask your tech to encapsulate anything flat and to bead gel around the base of anything raised.
At home, treat 3D nails like fine jewelry: wear gloves for dishes, skip picking at the edges, and book a safe gel removal rather than peeling, which takes your top layers of natural nail with it. With the right placement and a gentle hand, even the bold designs can earn their keep for a week or more.
Pick Your Detail, Place It Smart
3D nail art is a genuine joy when you set your expectations honestly. The flat, sealed designs, encased flakes, cuticle gems, studded nudes, and the pearl-edged French, hold up to real life and still turn heads, while the raised, sculptural pieces are best saved for nights when your hands get to be the accessory. Match the design to your week, not just to the prettiest photo, and you will love your nails instead of fighting them.
The throughline across all eleven is placement and sealing: keep the boldest detail to a couple of accent nails, ask your tech to encapsulate everything they can, and treat the finished set with a little care. Do that, and even the most dramatic 3D design can earn a place on your hands.