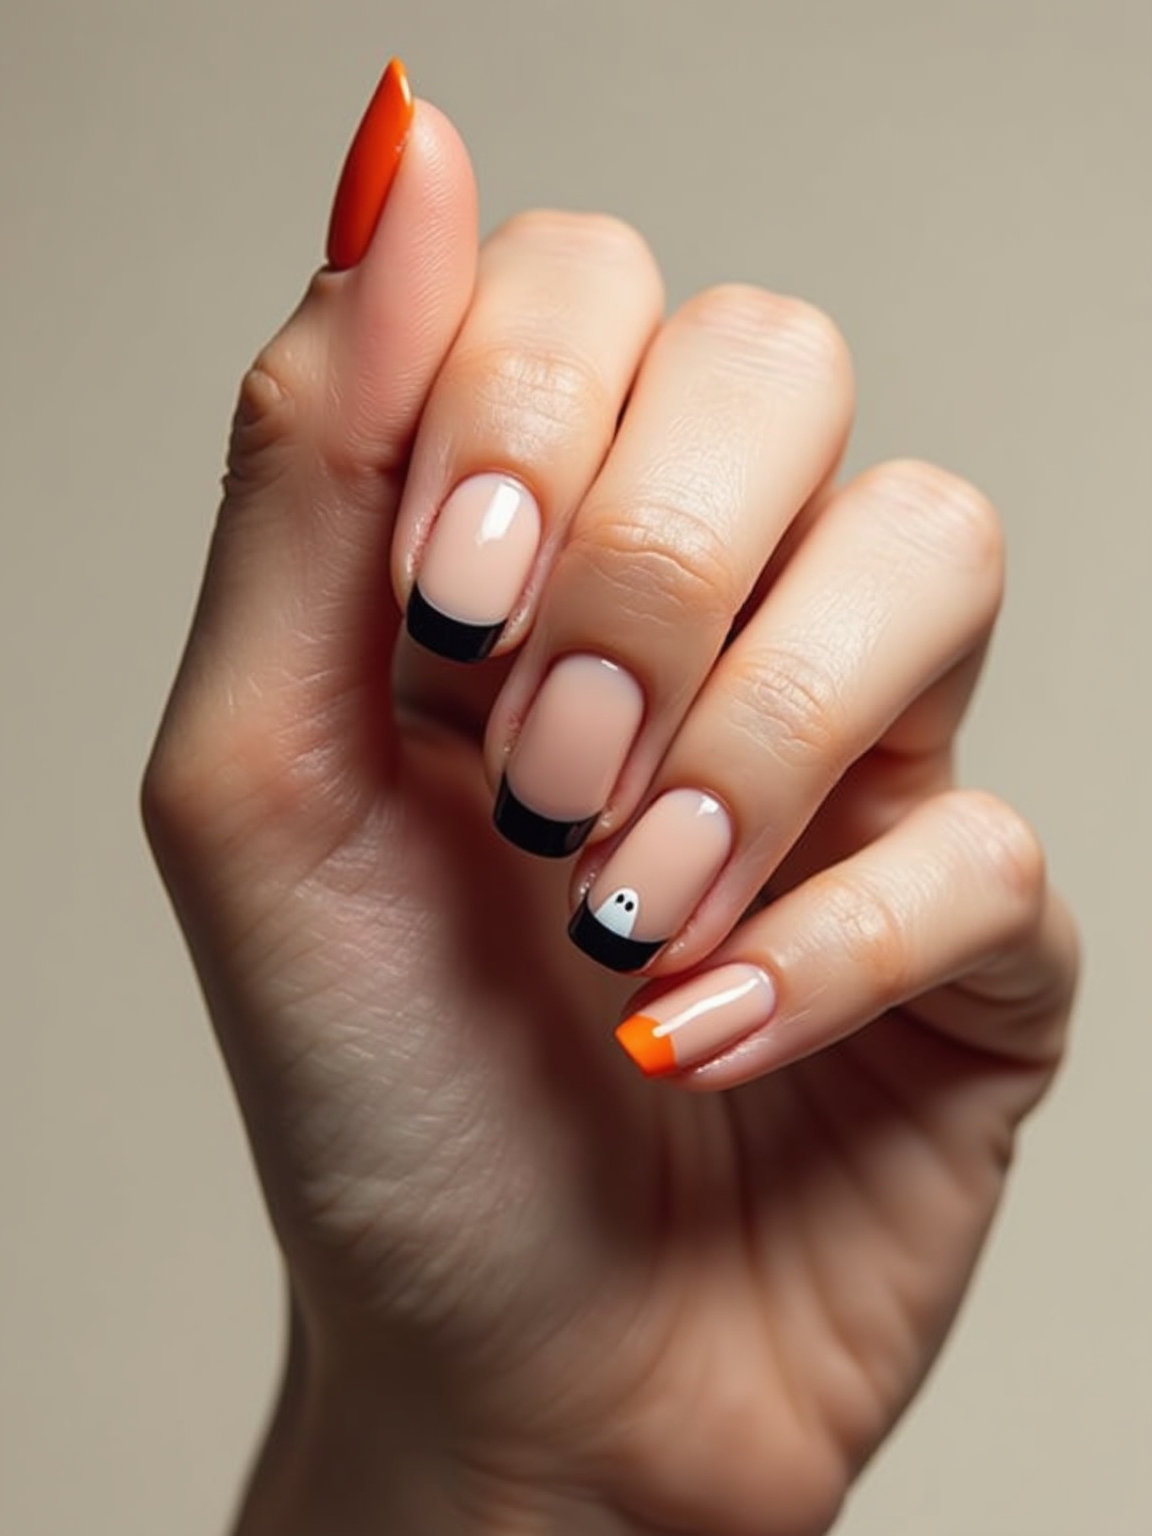
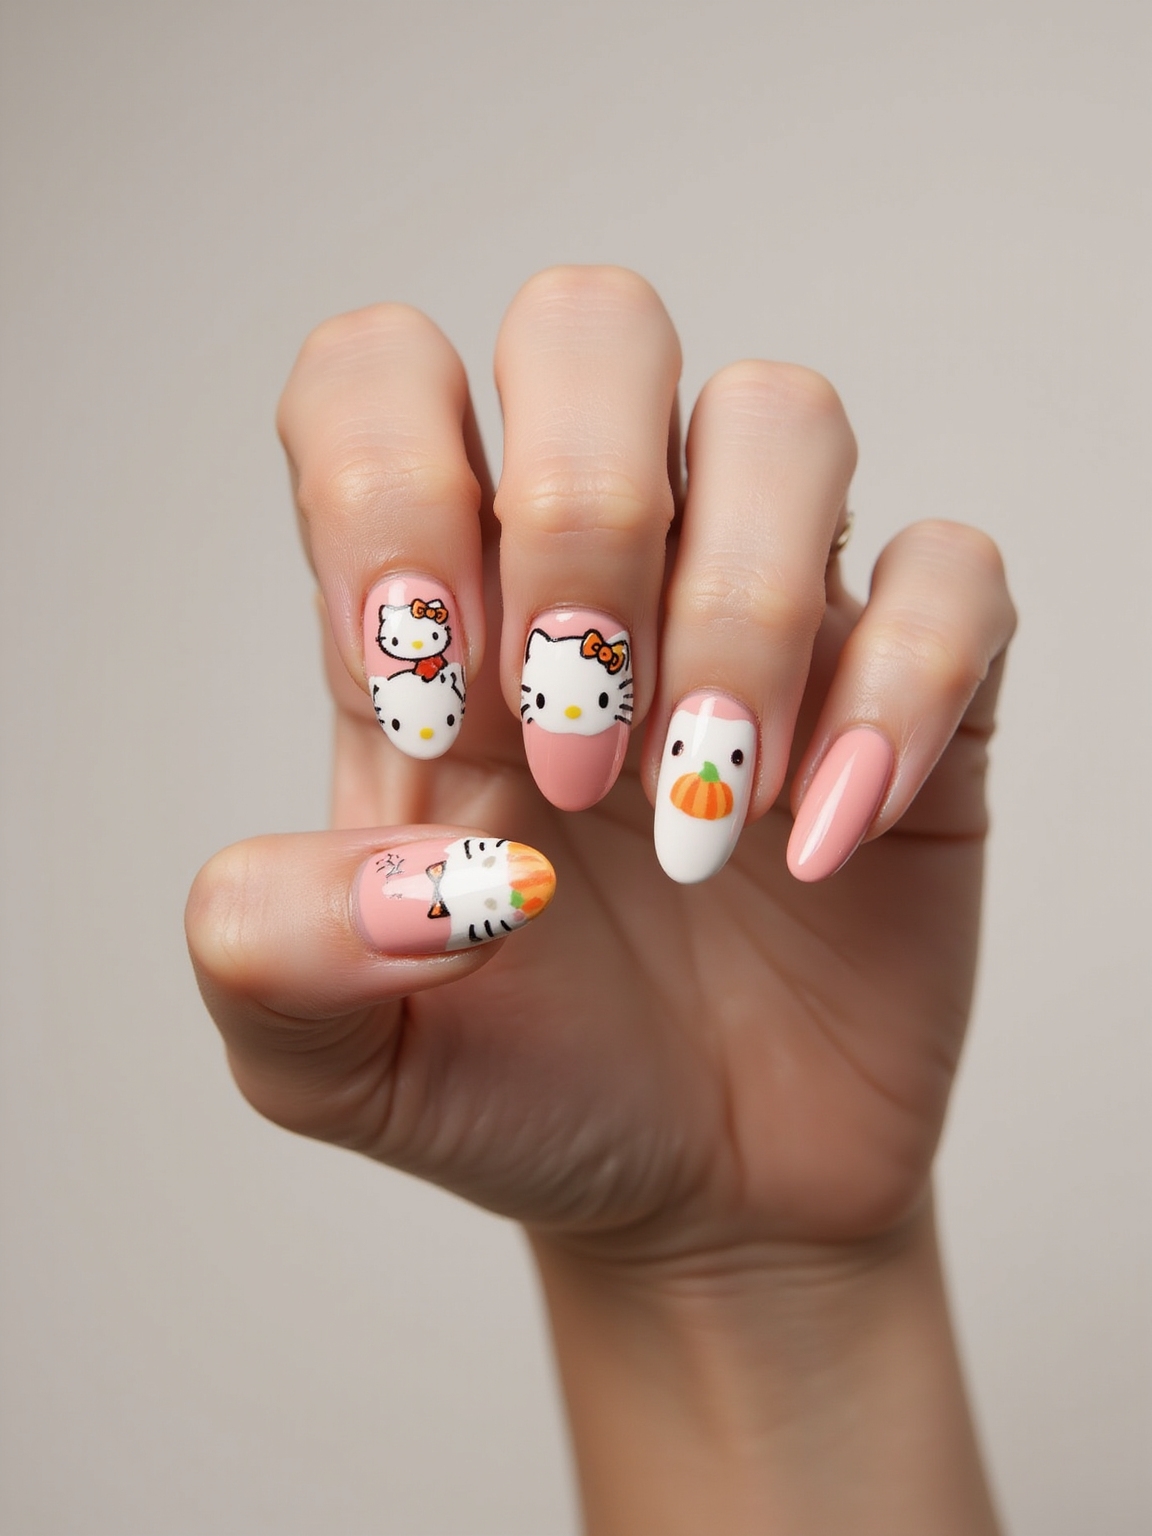
Want your nails to be the accessory people ask about all night? The trick is not more detail; it is picking one striking design and the right shape to carry it. A long coffin tip turns a simple web into drama, while a short almond keeps a busy print from looking cluttered.
Below are twelve party-ready looks, from rhinestone micro-webs to a diagonal candy-corn ombre, each with the how-to and the shape that flatters it. I have also flagged which last through a night of holding drinks and which are worth booking a pro for, because the nails that steal the spotlight are the ones still perfect at midnight.
Pick Your Spotlight Set
- Match the design to the shape: long coffin or stiletto for dramatic art, short almond or square for busy prints that would otherwise crowd.
- One statement detail beats ten small ones. A single rhinestone cluster, glow accent, or bold ombre carries the whole hand.
- For a night of parties, gel or a sturdy press-on outlasts regular polish; expect $35 to $60 at a salon or $10 to $20 for a good press-on set.
Smoky Micro-Webs With Rhinestones
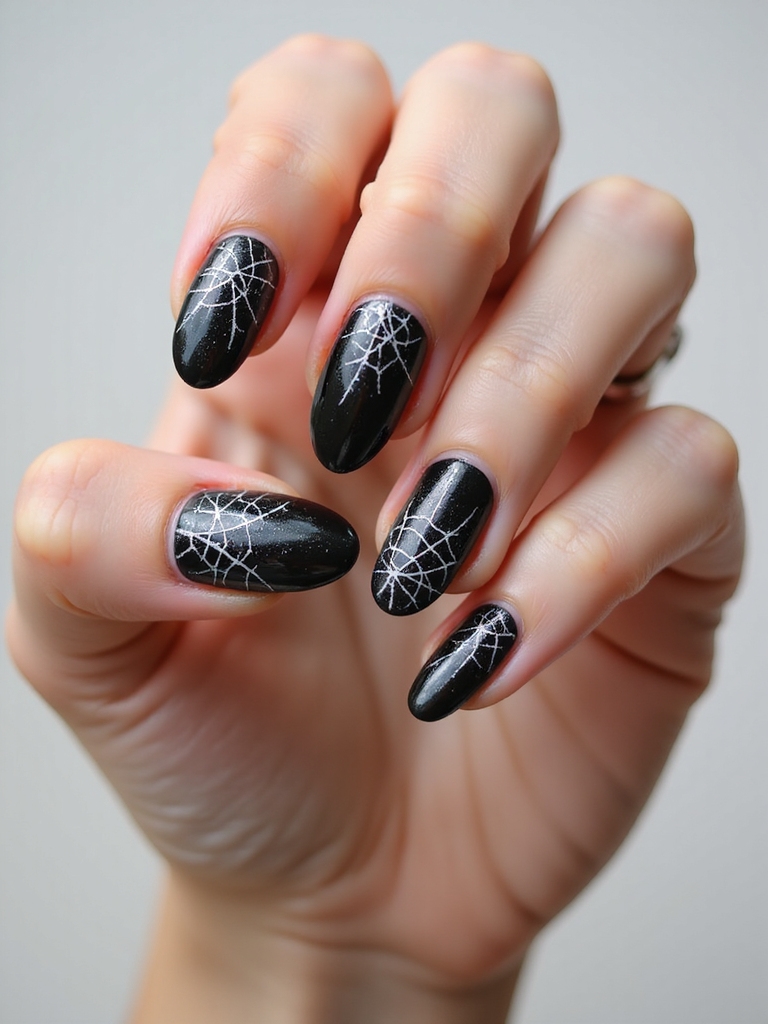
This set steals the spotlight quietly: a smoky gray-to-charcoal base with tiny hand-drawn webs and a scatter of small rhinestones catching the light. It reads elegant across a room and detailed up close. Build it like this:
- Sponge a soft smoky gray-to-charcoal gradient over the nails.
- Draw fine micro-webs in one corner with a thin liner.
- Cluster a few tiny rhinestones near the cuticle and seal well so they last.
Luminous Glow-in-the-Dark Nails
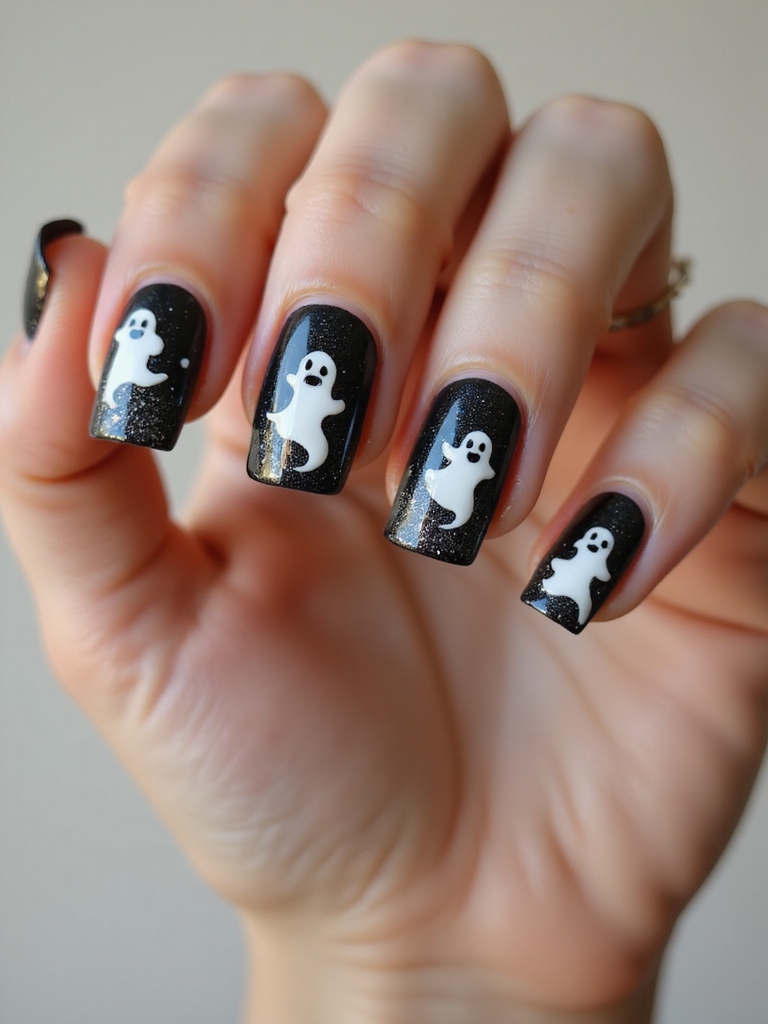
These are the party trick everyone loves: a look that seems ordinary until the lights drop and your nails glow. Glow-in-the-dark polish makes any simple design, dots, drips, tiny ghosts, into a hidden surprise. Do it like this:
- Paint your design in glow polish over a pale or clear base for the brightest effect.
- Layer two coats of glow, since one rarely charges enough on its own.
- Hold your nails under a lamp before you leave so they are fully charged for the dance floor.
“Before you pick a design, pick your shape and length for the actual night. If you are dancing, hugging, and holding drinks at several parties, go shorter, almond or square, so nothing snaps at the worst moment. Save the long coffin and stiletto tips for a photo-focused evening where you are not putting your hands through much. The prettiest art is wasted if half of it breaks off by ten o’clock.”
Sheer Blush With Ruby Vampire Bites

This is the most wearable spotlight-stealer here: a barely-there sheer blush base with two tiny ruby dots on an accent nail, like a delicate vampire bite. It is subtle enough for the office and clever enough that people do a double-take.
Subtle Enough for Work
Paint a sheer, milky pink or nude base on every nail, then on one accent finger place two small red dots close together with a dotting tool, adding a faint red trickle beneath if you want it. The restraint is the whole charm, so keep the bites tiny and let the sheer base stay clean.
It suits an almond or short-round shape beautifully. This is the design I do most for clients who want in on Halloween without a loud manicure.
A Whisper-Thin Pumpkin-Spice French

A french tip is a classic, and swapping the white for a warm pumpkin-spice orange makes it seasonal without going costume. A whisper-thin line keeps it modern and chic. Here is the method:
- Base the nail in a sheer nude so the tip is the focus.
- Paint a thin pumpkin-orange line along the free edge with a striping brush.
- Keep the line delicate; a too-thick tip loses the modern look. Try it on almond-shaped nails for the prettiest line.
👍Press-Ons for Party Nails
- +Ready in minutes; no drying or smudging.
- +Reusable, and cheaper than a salon set.
- +You can pre-paint elaborate art off the nail.
👎What to Know
- –A rushed application lifts at the edges.
- –Sizing has to be right or they look bulky.
- –Cheap glue can loosen after a few hours of dancing.
Twilight Haunted House Nail Art

For a real showpiece, a twilight haunted-house scene turns an accent nail into a tiny painting: a purple-and-orange sky, a black house silhouette, a bare tree. It is the design people crowd around to see.
Sponge a purple-to-orange twilight gradient first, then paint the house, tree, and a bat or two as flat black silhouettes over it with a fine brush. Keeping everything a silhouette against that glowing sky is what makes it look painted rather than cluttered.
Reserve it for one or two nails and keep the others in a matching solid. It is advanced, so a long square or coffin shape gives you the canvas to work on.
Spooky Neon UV Nail Art

If your party has a blacklight, neon UV nails are unbeatable: bright spiderwebs, drips, or slime that erupt into glow under UV light. They are loud, fun, and built for a dark room with a DJ.
Use UV-reactive neon polishes over a white base so the color stays vivid, painting simple bold shapes rather than fine detail, since detail gets lost in the dark anyway. A clear glossy top coat keeps the neon bright and does not dull the reaction.
It suits a shorter length if you are dancing all night, since long tips are easier to catch and break on a crowded floor, which is why bold, simple shapes always win with this one.
Two things people get wrong about statement Halloween nails.
❌ Myth: The more designs, the more impressive.
✅ Reality: Usually the opposite. A hand with ten busy nails reads chaotic; one or two statement nails against a solid base look intentional and expensive. Restraint is what makes nails steal the spotlight, not cramming every motif on.
❌ Myth: You need long nails for good Halloween art.
✅ Reality: Not at all. Short nails carry webs, cats, drips, and candy-corn fades beautifully, and they survive a party far better. Length is a style choice, not a requirement, so pick what suits your night and your hands.
Playful Mismatched Spooky Nails

Mismatched nails are the low-pressure way to wear all your favorite motifs at once: a different Halloween design on each finger, tied together by a shared color story. There is no symmetry to get right, which makes it oddly relaxing to do.
Different Nail, Same Palette
Pick three or four colors and give each nail its own simple design, a ghost, a web, a bat, a pumpkin, keeping them all within your chosen palette so the hand still looks cohesive. The unifying colors are what stop it from looking chaotic.
It is beginner-friendly since each nail is simple, and it is a real pleasure to plan. A bank of nail ideas helps you mix and match motifs, and because nothing has to match, a wobbly line just adds to the hand-drawn charm.
Velvet-Matte Midnight Moons

This is the moody, sophisticated option: a velvet-matte black base with a single glossy or gold crescent moon, all elegance and no gore. The contrast of matte and shine is what makes it luxe. Build it like this:
- Paint a deep black base and finish with a matte top coat for that velvet feel.
- Add a small gold or glossy crescent moon on one or two nails.
- Leave the rest matte-black and clean; the moon is the only accent it needs.
A Diagonal Candy-Corn Ombre

Candy corn gets a grown-up update here: the white-orange-yellow fade worn on the diagonal with a dusting of sparkle, so it is nostalgic and chic at once. It is cheerful, unmistakably Halloween, and a little sweet.
For the diagonal fade:
- Sponge white, orange, and yellow diagonally across the nail so they blend.
- Dab to smooth the fade, then add a light sparkle top coat over it.
- Keep the lines soft; a blended diagonal reads chicer than hard blocks.
Choosing the Right Nail Shape
The shape you pick decides how a design lands more than the design itself. Long coffin and stiletto tips give dramatic art like the haunted house room to breathe and photograph like a magazine, but they catch and break easily on a busy dance floor. Almond is the flattering all-rounder, elongating the hand while staying practical for a night out.
Short square and round shapes are the unsung heroes of party nails: they keep busy prints from looking crowded, survive holding drinks and hugging friends, and suit anyone who works with their hands. If your Halloween runs to several parties, a shorter length in gel or a sturdy acrylic set will outlast a long, delicate tip every time.
A Coffin-Tip Skeleton Set
For maximum drama, long coffin tips carry a skeletal design better than any other shape: fine white bone lines running down a nude or sheer nail, like an X-ray of the hand. The length gives each bone room to look elegant rather than crowded.
Paint a sheer nude base, then use a thin white liner to draw the finger-bone lines down the length of each nail, with a small joint detail near the tip. It is advanced and best in gel so the fine lines stay crisp. On a photo-heavy night, though, it truly steals the show, and it pairs perfectly with a skeleton or vampire face for a fully coordinated costume.
Minimalist Matte Black Nails
Sometimes the most striking choice is the simplest: a full set of matte black nails with no art at all. On an almond or coffin shape, matte black is quietly dramatic and endlessly chic, the nail equivalent of a little black dress.
Paint two coats of true black and finish with a matte top coat for that velvet finish. It suits every outfit, hides tiny imperfections, and takes five minutes, which makes it the perfect fallback when you want to look pulled-together without any nail art at all. A single black base is all it takes, and a coat of glossy top coat instead of matte flips the same nails into a completely different, high-shine look.
Halloween Nail Questions, Answered
?What nail shape is best for Halloween designs?
It depends on your night. Long coffin and stiletto tips showcase dramatic art and photograph beautifully but break easily. Almond is the flattering all-rounder, and short square or round shapes are the most practical for a party, keeping busy prints from crowding and surviving a night of dancing and drinks.
?Are press-on nails good for Halloween parties?
Yes, and they are underrated. You can pre-paint elaborate art off the nail, apply them in minutes with no drying time, and reuse the set. Just size them correctly and prep the nail so they do not lift, and use a decent glue so they last through a night of dancing rather than popping off early.
?How do I make party nails last through the night?
Prep clean, buffed nails, paint in thin layers, and always cap the free edge by running polish along the tip. Gel or a sturdy press-on lasts far longer than regular polish for a run of parties. Keep a little glue or a spare press-on in your bag for emergencies, and avoid using your nails as tools.
?Which Halloween nail look is easiest for beginners?
The mismatched set is the most forgiving, since every nail is simple and there is no symmetry to nail. Ruby vampire bites and a candy-corn ombre are also beginner-friendly, each built from dots or a sponged fade rather than fine freehand painting.
?Do glow-in-the-dark nails really work?
They do, but they need charging. Glow polish absorbs light and releases it in the dark, so hold your nails under a lamp before you head out, and use two coats over a pale base for the brightest effect. The glow fades over a few minutes and re-charges each time it sees light, so a passing lamp keeps them going all night.
Be the One With the Nails Everyone Asks About
The nails that steal the spotlight are rarely the busiest; they are the ones where a smart shape and one strong idea come together, a matte moon, a ruby bite, a glow that only shows in the dark. Pick the look that matches your night, choose a length that will survive it, and let one detail do the talking.
Start with something forgiving like the mismatched set or the candy-corn ombre if you are newer to nail art, and work up to the haunted house or skeleton tips once your hand is steady. Either way, prep well and seal the edges, and your nails will still be turning heads at the last party of the night.
More to Browse