Let me be honest about goddess nails before the gold sweeps you away: the ones that actually look expensive use less metal than the photos suggest. A single molten-gold tip or a thread of fine veining looks richer than ten nails drowning in glitter. Restraint is the whole trick here.
Below are 13 golden looks I keep coming back to at the nail desk, from mirror-chrome tips to razor-thin negative-space arches over milky, nude, and soft-blush bases. Each one tells you the shape it flatters, how to keep it wearable for work, and what it takes to hold the shine. Pick the one that matches your undertone and your week.
Goddess Nails, Quick Answers
What makes a goddess nail look expensive? Fine gold work over a clean, sheer base. Thin veining, a single chrome accent, or delicate foil beats heavy all-over glitter every time.
How long do these designs last? A gel goddess set lasts two or three weeks with a fill. Chrome and foil need a well-capped top coat, or the tips lift first.
Do gold nails suit every skin tone? Yes. Warm yellow-gold glows on deep and olive skin, while rose and pale gold flatter cool, fair undertones.
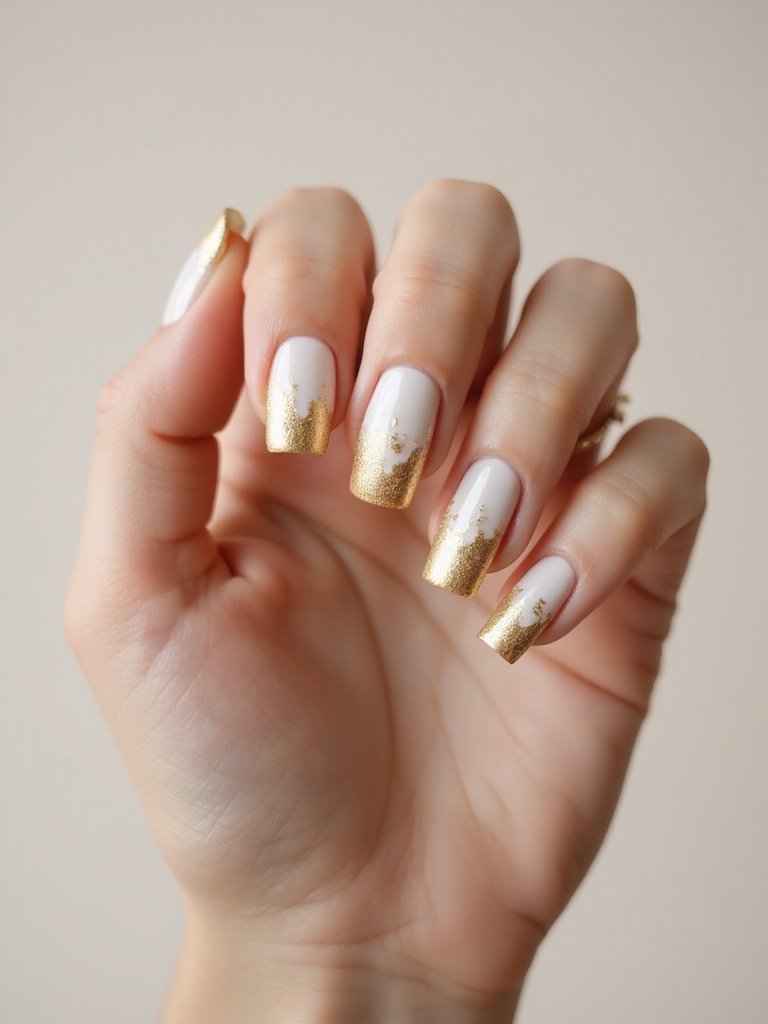
Molten Gold Chrome Tips
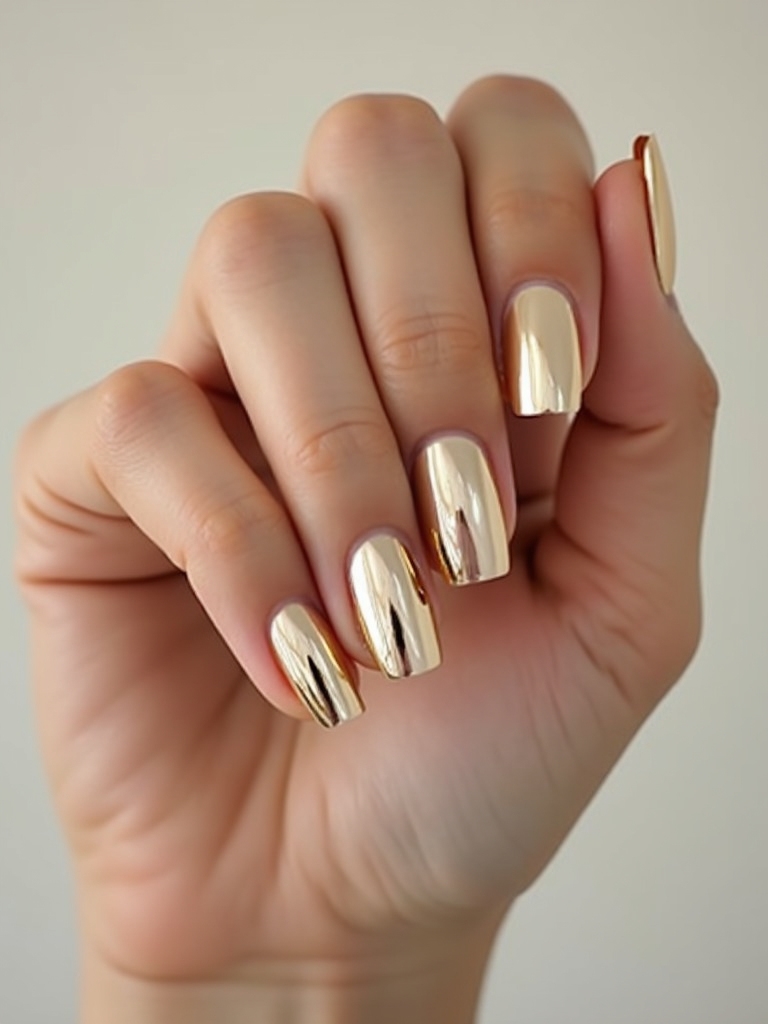
Molten gold chrome is the loudest way to wear this trend, so it works best over a quiet nude base that lets the mirror finish do the talking. Keep the chrome to the tips and the curve slim for a refined line, or take it wider for real drama.
Almond and square shapes both stretch the finger, and a well-capped glossy top coat is what stops the chrome from lifting by day three. If you love the finish, a full set of chrome nails uses the same powder edge to edge.
- Start with a smooth nude or milky base so the chrome reflects cleanly.
- Press the chrome powder on with a soft applicator, working until the surface goes fully reflective.
- Seal right over the tip edge, since an uncapped free edge is where chrome peels first.
- Refresh at home with a buff, a fresh top coat, and a drop of cuticle oil.
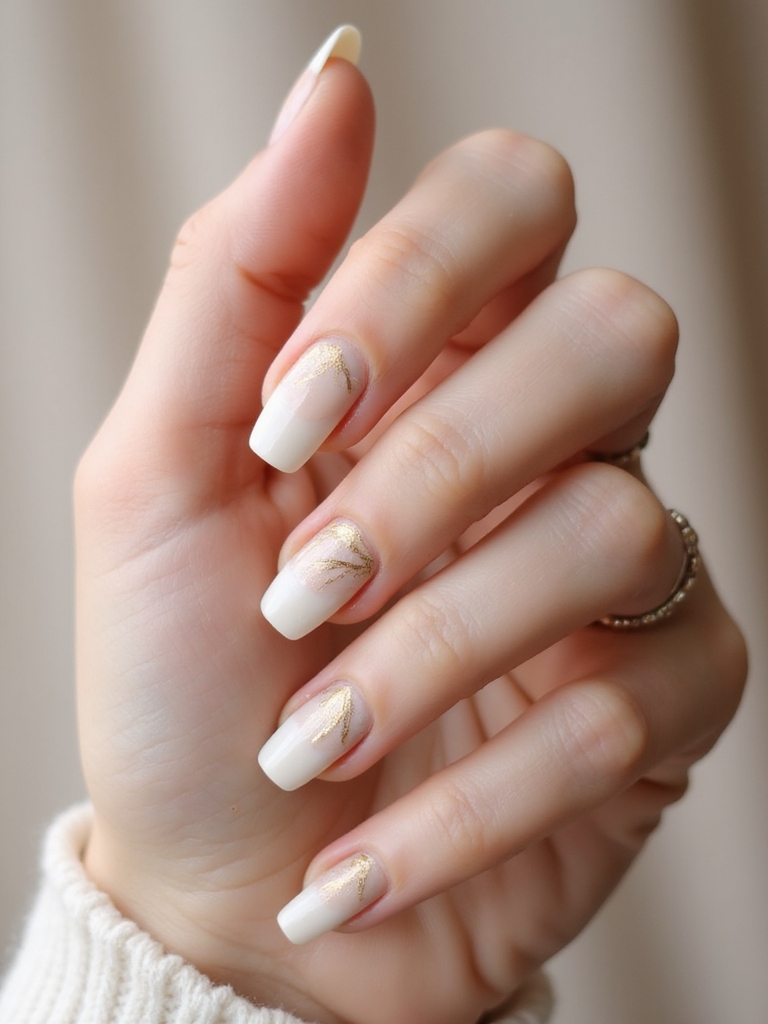
Gilded Gold Marble Veins
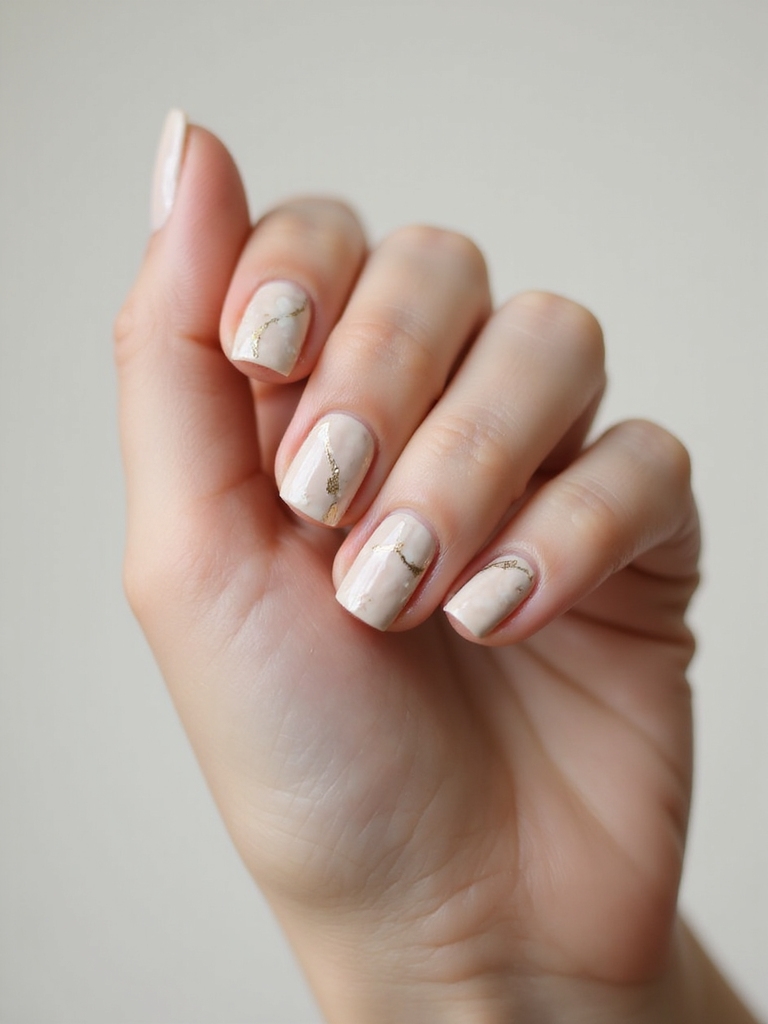
Gilded marble is the goddess look I reach for when someone wants luxury they can wear to the office. Over a milky or sheer nude base, I thread ultra-fine gold through soft grey or white swirls with a striping brush, then blur the edges with a touch of isopropyl on a detail brush so the veins look natural. The finer the line, the more expensive it looks.
Match the gold to your jewelry, warm or cool, so nothing clashes when you gesture. This one holds up on short, oval, or coffin shapes and stays chic from desk to dinner. For the full stone effect across every nail, see marble nails.
Match your gold to your jewelry so the manicure and your rings speak the same language.
🎯Warm gold
Yellow-based and glowy; flatters warm, olive, and deep skin, and pairs with yellow-gold jewelry.
🎯Rose or cool gold
Pink-tinged and soft; suits cool, fair undertones and silver-to-rose jewelry.
🎯Antiqued gold
Muted and brassy for a vintage, Baroque feel; best over deeper or matte bases.
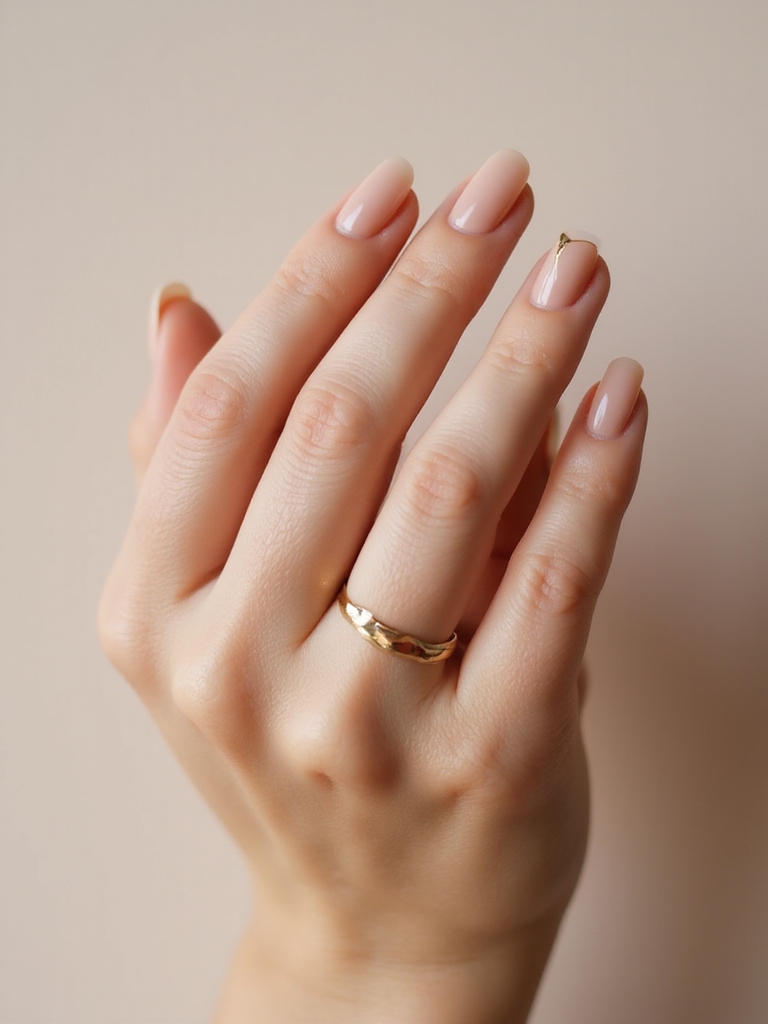
Gold Foil Flakes on a Sheer Nude
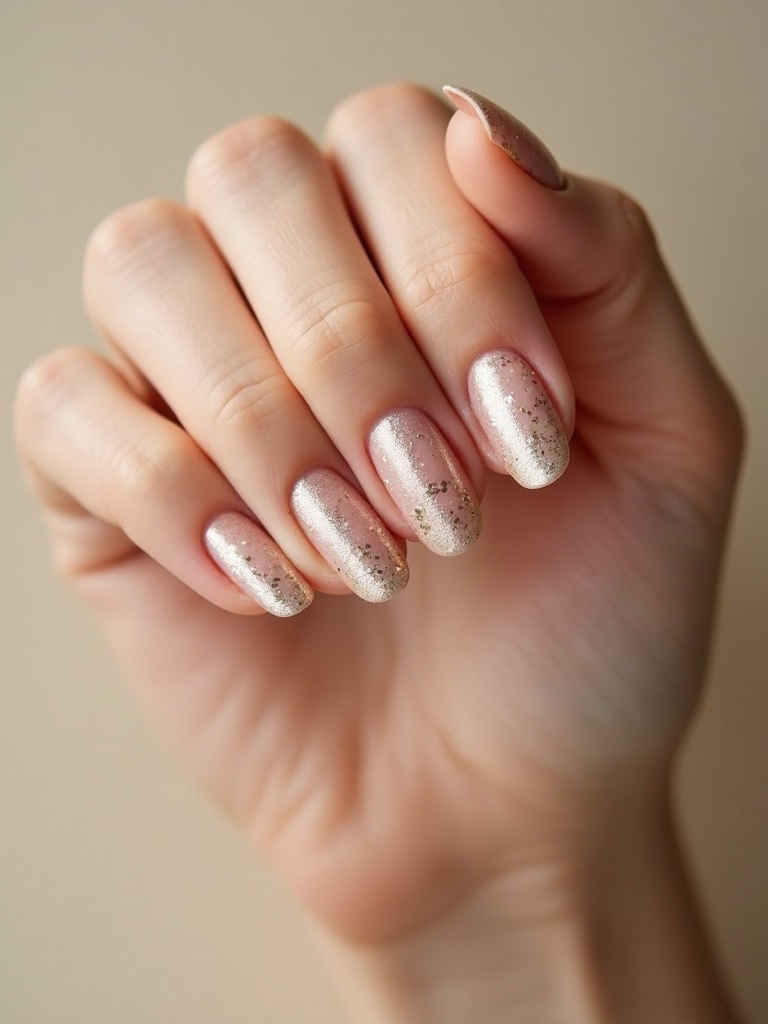
Sometimes the simplest touch looks the richest. Sheer nude polish scattered with irregular gold foil flakes gives you a clean, glinting finish without any fuss. Keep the flakes tiny near the cuticle and slightly larger toward the tip so the eye travels up the nail.
Pick a warm or cool nude to match your undertone, then seal with a thin glossy top coat so no flake edge catches. It works on short, almond, or square nails and hides regrowth better than most designs, which makes it a smart pick right now if you can’t get to a fill. Layer it over your favorite nude nails for an easy upgrade.
Art Deco Gold Striping
Art Deco striping is crisp, graphic, and surprisingly wearable for how bold it looks. Map clean gold lines over a black, nude, or deep oxblood base with striping tape, keeping the spacing symmetrical and varying the line thickness for that 1920s geometry. Two accent nails per hand is usually plenty; a full set of stripes can tip into costume.
How to Keep Lines Sharp
Gold shows up beautifully on every one of those bases, so choose the one that suits your wardrobe. A glossy top coat gives the lines a mirror shine and, more importantly, protects the thin metallic work from catching and peeling.
Straight lines are hard to freehand, so lean on striping tape or nail vinyls until your hand is steady. Lay the tape down, paint over it, and lift it while the polish is still wet for the sharpest edge.
📋Clean Gold Striping Checklist
- ✓Use striping tape or a fine liner brush for crisp edges.
- ✓Keep spacing even and vary line thickness for the Deco feel.
- ✓Let each line dry before the next so they don’t bleed together.
- ✓Seal with a glossy top coat to protect the thin metallic lines.
Golden Laurel Leaf Accents
This is the most literal nod to the goddess theme: delicate gold laurel leaves trailing up one accent nail like a tiny crown. Keep the rest of the hand bare or milky so the leaf work stays the hero. I paint the stem first with a fine liner, then add small paired leaves along it, thinning the gold as it climbs.
Freehand gives the most organic curve, though gold decals or stamping work if a liner brush feels like too much. Seal with gel or a glossy top coat so the raised leaf edges don’t snag. One laurel nail per hand keeps the look modern instead of theatrical. It reads regal and calm.
It flatters longer almond and oval shapes, where the extra length gives the vine room to travel. On shorter nails, shrink the design to a single sprig near the cuticle so it doesn’t crowd the plate.
Pearlescent Base With Gold Drips
A pearlescent base with gold dripping down from the cuticle looks like molten metal caught mid-pour, and the surprising part is how forgiving it is to paint, because uneven, imperfect droplets are exactly what make the effect convincing. Start with a milky, shimmering base and cure it. Then pull irregular gold droplets down from the cuticle with a small brush. Let some run long. Let others stop short. That randomness is what looks liquid.
The pearlescent shimmer underneath is what sells the wet, metallic effect, so give it a proper shimmer rather than a flat white. This look photographs beautifully and suits any length, though longer nails give the drips more room to travel.
Warm gold over a cream pearl feels rich; a cooler platinum-gold over a pale pink pearl feels icy and modern. Choose the pairing that matches your rings so your whole hand looks intentional.
Heads-Up
Chrome and foil powders lift fast at the edges if the top coat doesn’t fully cap the tip. Wrap the free edge with your sealing coat, and hold off on cuticle oil until it’s cured, since oil under a fresh chrome layer causes peeling within days.
Crystal Quartz With Gold Inlay
Crystal quartz nails mimic the cloudy veins and clear facets of raw stone, and a thin gold inlay running through them lifts the whole thing into goddess territory. Build a milky, semi-sheer base, then use white and clear gel to sculpt soft quartz veining before threading a fine gold line along the cracks.
The trick is depth: a few layers of sheer gel over the veining make the stone look three-dimensional. It suits almond and coffin shapes best, where the length shows off the facets. A good quartz set at a salon costs roughly $50 to $75, and you’ll get two or three weeks out of it before a fill.
Soft Blush With Gold Filigree
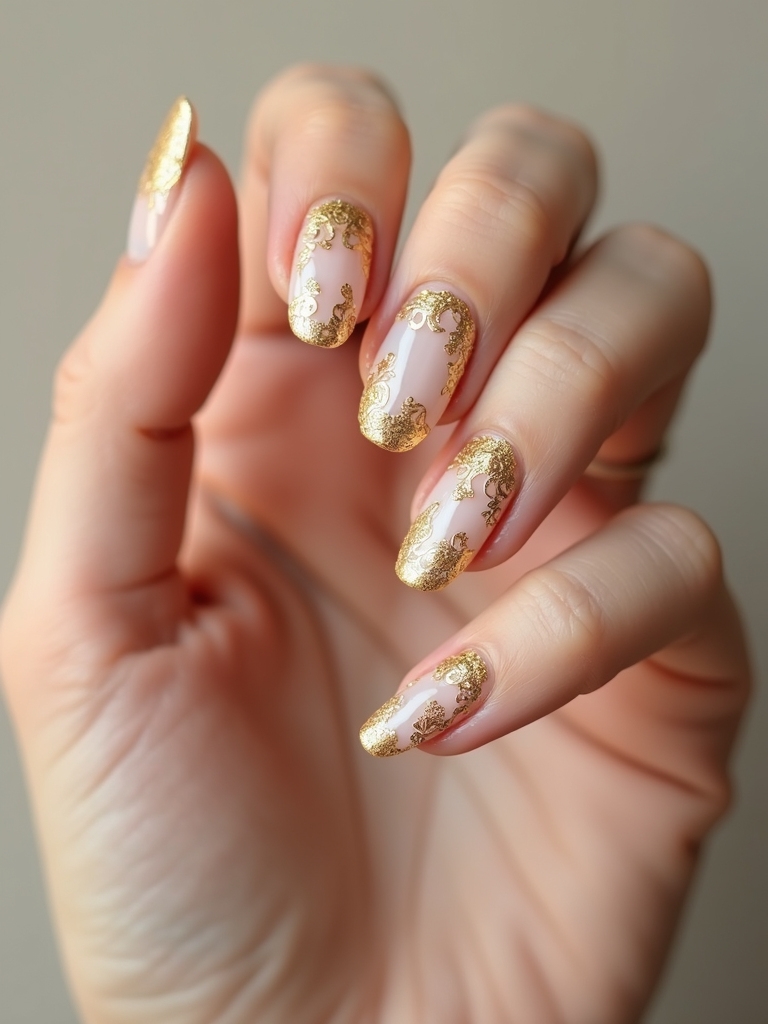
Soft blush with fine gold filigree is the romantic end of the goddess spectrum, all antique scrolls and tiny curls over a barely-there pink. I keep it balanced with one filigree accent nail per hand and ultra-thin gold lines so the pattern whispers rather than shouts.
Stamping plates or decals give you the cleanest scrollwork if freehand feels fussy, and a matte top coat over the blush with glossy gold on top creates a pretty heirloom contrast. Almond and squoval shapes carry the delicate detailing best.
This is a wedding-and-occasion favorite because it looks soft and expensive in photos. Worn with a few thin gold rings, the filigree looks like it belongs to a whole set. For more understated designs in this family, browse minimalist nails.
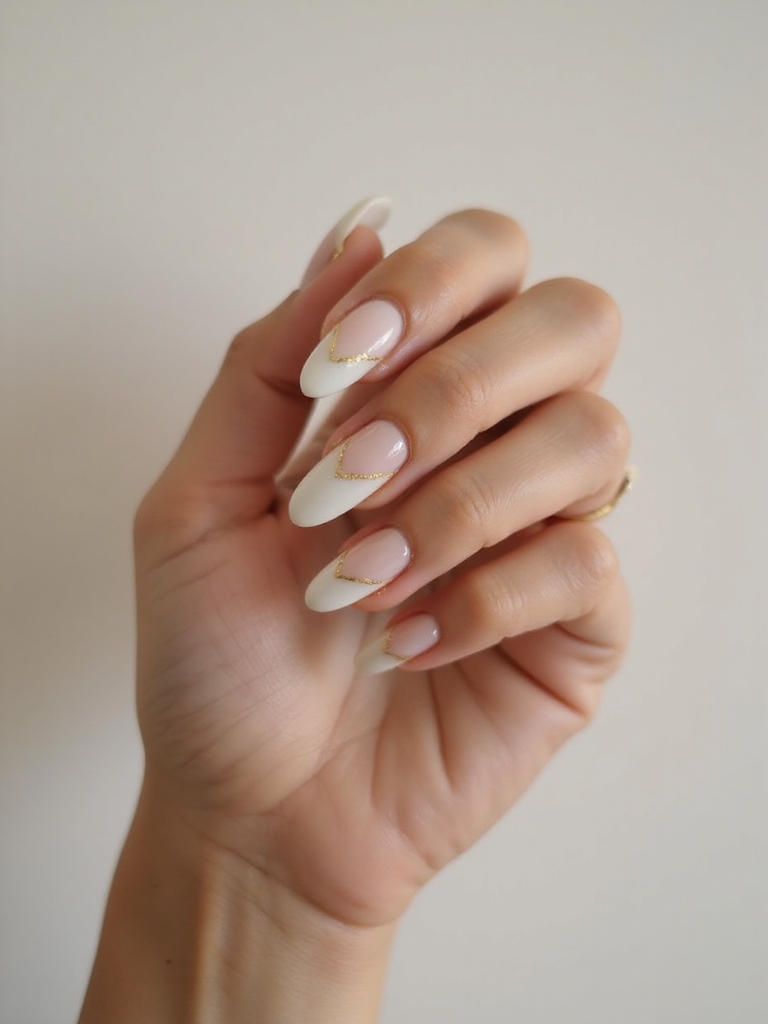
Golden Negative-Space Arches
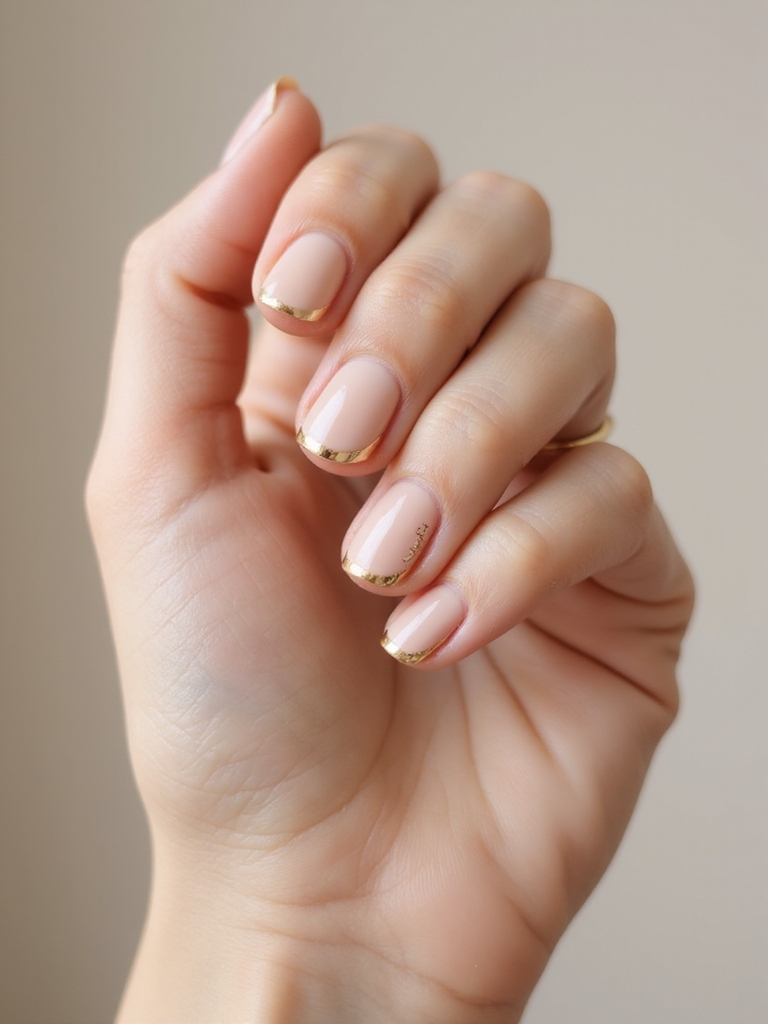
Negative-space arches leave the base of the nail bare, a small exposed crescent framed by a razor-thin gold line, and that pocket of naked nail is exactly what makes the whole look feel modern, breathable, and quietly expensive all at once. Over a sheer neutral base, outline a soft arch with gold striping tape and seal it. The bare space elongates the nail. It flatters every length.
This is the most low-maintenance goddess look here, because the negative space grows out gracefully instead of leaving an obvious regrowth line. Add a single gem per hand if you want one focal point. Low effort, big payoff. For more of the technique, see negative-space nail designs.
- Choose a sheer or milky neutral so the negative space looks deliberate.
- Use gold striping tape for a cleaner arch than freehand gold.
- Skip filling the crescent; the bare nail is the whole point.
Maintenance & Care
Gold nail work lives or dies by the top coat. Chrome, foil, and metallic lines all lift from the free edge first, so cap every tip when you seal. Re-apply a thin glossy top coat every four or five days to hold the shine. Massage in cuticle oil each day to keep the surrounding skin healthy, but let a fresh chrome layer cure fully before you oil, or it can peel.
A gel goddess set usually lasts two or three weeks, with a fill around the two-week mark as your natural nail grows out. Salon sets run roughly $45 to $75 depending on the detail, while a careful DIY version costs $15 to $30 in powder and polish. When it’s time to take chrome or foil off, soak in acetone. Peeling it drags the top layer of your natural nail with it.
Goddess Nails Questions, Answered
?What are goddess nails?
Goddess nails are gold-accented manicures inspired by Greek and Roman imagery: fine gold veining, chrome, foil, or laurel leaf details over sheer, milky, or blush bases. The gold is meant to look like jewelry, so the best versions stay delicate rather than fully metallic.
?How much do goddess nails cost?
A detailed gel set at a salon runs about $45 to $75 depending on the artwork, with intricate quartz or filigree at the top of that range. A DIY version costs roughly $15 to $30 for chrome powder, gold striping tape, and a good top coat.
?Can I do goddess nails at home?
Yes, start with the forgiving ones: gold foil flakes on nude, or a single chrome tip. Foil hides imprecision, and striping tape gives clean lines without a steady freehand. Save quartz sculpting and fine filigree for once you’re comfortable.
?What nail shape works best for goddess nails?
Almond and coffin shapes give delicate gold detailing room to travel and elongate the hand, which suits veining, laurel, and drips. Short square or squoval nails work well for simpler looks like foil flakes or a single chrome accent.
?Which gold suits my skin tone?
Warm, yellow-based gold flatters deep, olive, and tan skin and pairs with yellow-gold jewelry. Rose gold and pale platinum-gold suit cool, fair undertones. Matching the gold to your rings keeps the whole hand looking intentional.
Wear Your Gold Like Jewelry
The thread running through every look here is restraint: goddess nails work when the gold behaves like a piece of jewelry, placed with intention, and not poured over every nail. One chrome tip, one laurel vine, one whisper of filigree does more than a full hand of glitter ever could.
Start with whichever design matches your undertone and your skill level, and don’t be afraid to keep it simple your first time; you can always add more gold at the next fill. Your hands are the easiest place to try a little luxury, so pick one and go for it.