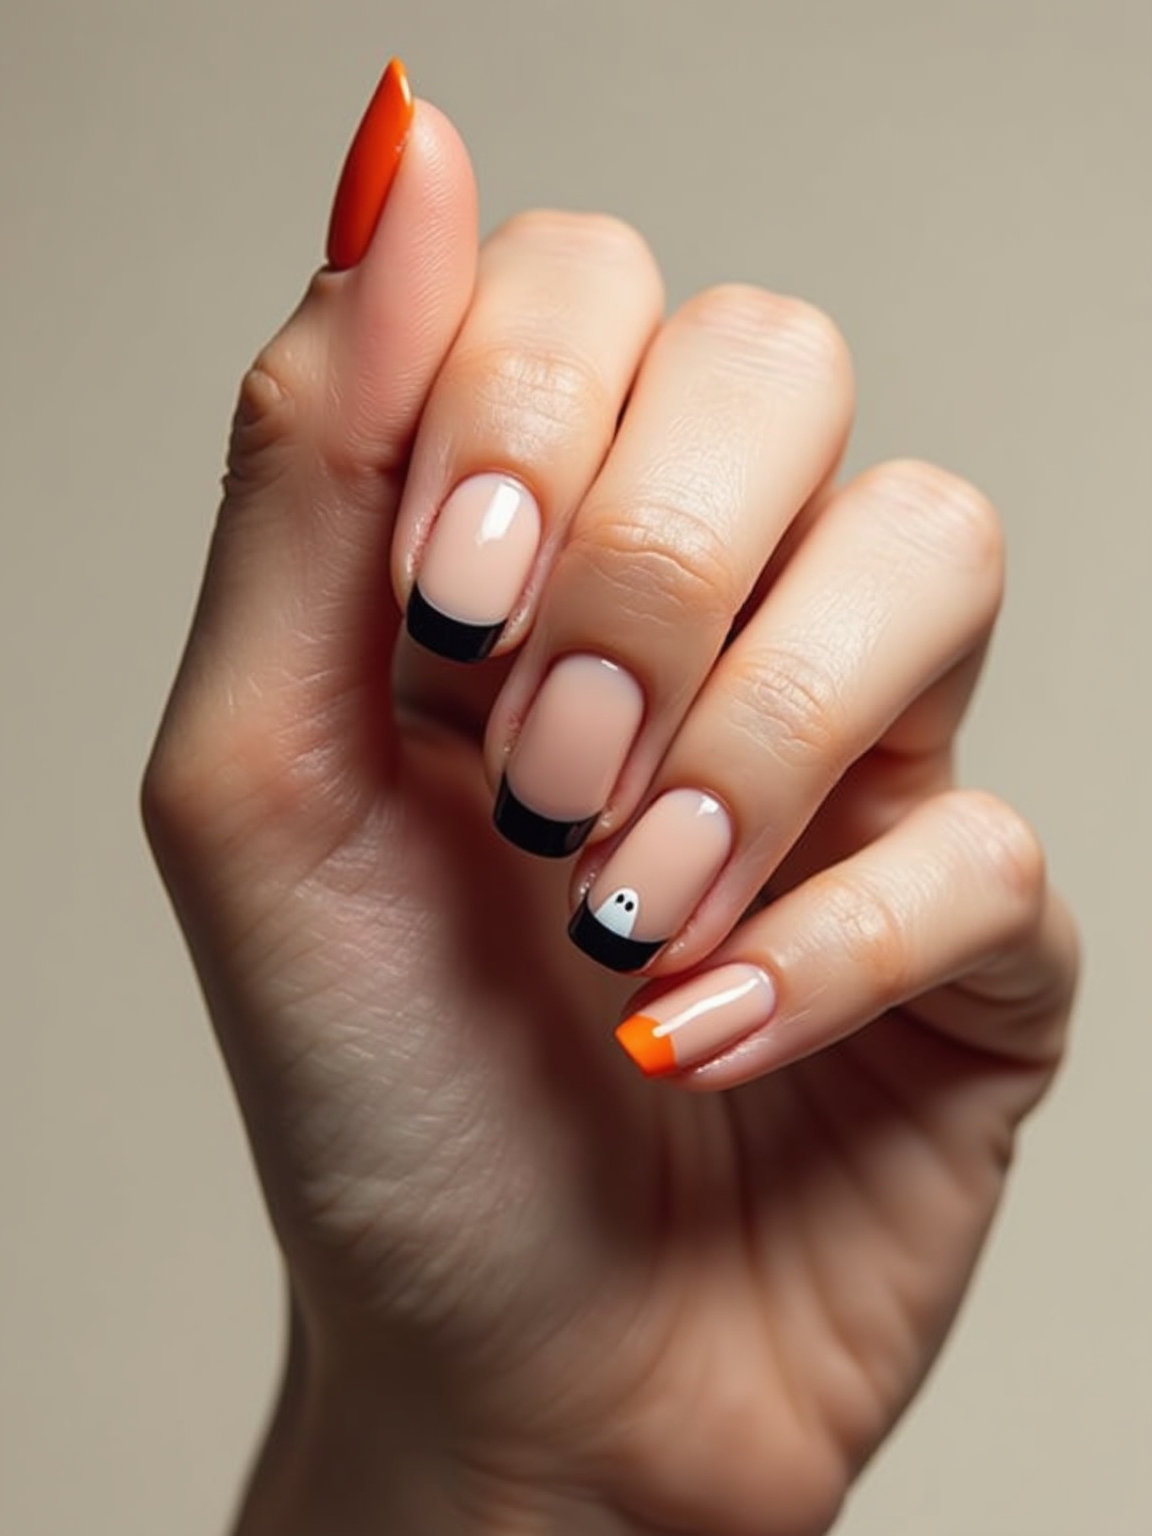
The myth about graphic nail art is that you need a steady artist’s hand and hours in the chair. You don’t. The whole appeal of graphic line work is that it’s minimal: a few thin, precise lines over a lot of bare nail, and most of it comes from striping tape or a liner brush, not freehand skill. The empty space is the design as much as the lines are.
Below are 11 graphic line nail ideas, from whisper-thin French tips to bold color-blocked crescents, each with the technique and the tools that keep the lines crisp. They’re modern, low-maintenance, and flattering on short nails. Pick the one that matches how bold you want to go.
Graphic Line Nails, the Short Version
- Graphic line art is minimalist, not fussy: thin, clean lines over lots of bare or nude space.
- Negative space is the secret; the empty nail does as much work as the lines.
- Striping tape, a fine liner, or nail vinyls give crisp lines without a steady freehand.
- It grows out gracefully and suits short nails, which makes it low-maintenance.
- A glossy top coat protects the thin lines, which lift from the edges first.
Whisper-Thin Graphic French Tips

The graphic take on a French tip swaps the soft white smile for a razor-thin, geometric line, often set slightly below the tip or angled across it for a modern, architectural feel. Over a sheer or nude base, that single hairline of color looks clean and current, more design than manicure. The thinner the line, the more expensive it looks.
Use striping tape or a French guide for a perfectly crisp edge, and a glossy top coat to seal the fine line so it doesn’t lift. It suits every nail length, though it looks especially sharp on short, squoval nails where the geometry stands out. It’s a fresh, grown-up update on the classic French tip nails.
- Set the line thin and slightly below the natural tip for a modern look.
- Use striping tape or a guide for a razor-crisp edge.
- Keep the base sheer so the single line stays the focus.
- Seal with a glossy top coat so the thin line doesn’t lift.
Slanted Negative-Space Stripes

Slanted stripes leave diagonal bands of bare nail between thin lines of color, so the exposed nail becomes part of the pattern. The diagonal angle is what makes it feel dynamic and modern, and the negative space keeps it light and breathable.
Why the Angle Works
Lay striping tape at an angle across the nail, paint between the lines, and lift the tape while the polish is wet for the sharpest edge. Keep the spacing between stripes a little uneven for a more designed, less rigid look.
This is one of the best graphic looks for growing out, since regrowth hides in the negative space. It elongates the nail, too, which makes it flattering on shorter fingers. See negative-space nail designs for more.
Pick your line tool based on how steady your hand is.
🎯Striping tape
Best for straight lines, chevrons, and crisp edges; lay it, paint, and peel while wet.
🎯Fine liner brush
Best for curves, outlines, and freehand shapes; steady your hand on the table as you draw.
🎯Nail vinyls
Best for perfect squares and geometric shapes; stick-on stencils that take the guesswork out.
Ultra-Thin Nail Outlines

An outline design traces a fine line just inside the edge of the nail, following its shape like a drawn border around bare or sheer nail. It’s among the most minimal graphic looks, quiet and architectural, and it makes the nail look framed and intentional.
Choosing Your Line Color
Use a fine liner brush or a striping brush loaded lightly, and steady your hand on the table as you trace the outline. Keep the line one consistent weight all the way around for the cleanest result.
Black outlines over a sheer base look the most graphic, while a metallic outline feels softer and more delicate. Either way, it suits every skin tone and looks modern on any length.
Asymmetrical Duo-Tone Negative Space

Duo-tone negative space splits the nail into two colors divided by a bare gap, placed off-center for an asymmetrical, modern effect. The strip of bare nail between the two colors is what makes it graphic rather than a plain color-block.
Balancing Two Nails
Map the shapes with striping tape so the bare gap stays crisp, and choose two colors that play off each other, whether that’s bold-and-neutral or two tones of the same shade. Keep the division off-center; a centered split looks static.
It suits any length and grows out gracefully thanks to the bare space. When someone wants something modern that still works at the office, this is the one I paint for them. Try it on two accent nails with the rest kept plain for balance.
Chrome Comet Flicks

Comet flicks are little glossy chrome streaks that arc across the nail like a shooting star, a single sleek line of mirror finish laid over a matte or sheer base. It’s the flashiest graphic look here, since the chrome catches light and moves as your hands do.
Matte or Sheer Base
The flick is made by buffing chrome powder along a thin line, or using a chrome striping product, then sealing it glossy. Keep it to one clean arc per nail so it stays sleek rather than busy.
I love a chrome flick over a matte black base for a going-out set; over a sheer nude it’s soft and modern instead. For the chrome technique itself, see chrome nails.
📋Crisp Line Checklist
- ✓Start on a fully dry or cured base so tape doesn’t lift color.
- ✓Press tape down firmly along the edge you’re painting.
- ✓Paint from the tape inward so polish can’t bleed under it.
- ✓Peel the tape while the polish is still wet for the sharpest edge.
Minimalist Black-Lined Squares

Tiny black-outlined squares set over bare nail are graphic art at its most minimal, like a little modernist painting on each nail. A single thin-lined square, often left empty or half-filled, reads clean and gallery-modern, and it takes almost no product.
Draw the square with a fine liner and a steady hand, or use nail vinyls for perfectly straight sides. Keep it small and off-center for the most modern effect, and leave plenty of bare nail around it. It suits short nails especially, where the little geometric shape has room to breathe against the empty space.
- Draw a small, thin-lined square off-center on bare nail.
- Use nail vinyls for perfectly straight sides.
- Leave it empty or half-filled for a modernist look.
- Keep lots of bare nail around it for breathing room.
Offset Twin Arced Lines

Twin arced lines trace two thin, parallel curves across the nail, offset from center for a soft, dynamic feel. The double line adds a little more interest than a single stripe while staying minimal and clean. It’s a subtle, sophisticated graphic look that works for the office.
Draw the arcs with a fine liner, or bend a piece of striping tape to guide them, keeping the two lines evenly spaced and the curve gentle. Two tones of the same color, or a metallic beside a matte, keep it soft, while two bold contrasting colors make it a statement.
- Trace two thin parallel arcs, offset from the center.
- Keep the spacing even and the curve gentle.
- Bend striping tape to guide a clean, matched curve.
- Two tones of one color keep it soft and office-ready.
Bold Cuticle Crescent Color-Blocking

Cuticle crescent color-blocking fills a bold half-moon at the base of the nail in a contrasting color, leaving the rest bare or nude, a graphic reverse of the classic French. The strong shape at the cuticle is punchy and modern, and it grows out gracefully since the color sits where regrowth is least obvious.
Use a French guide flipped toward the cuticle, or a curved piece of striping tape, to keep the crescent crisp. A bold, saturated color against a sheer base makes the biggest impact, while a tonal version reads softer. It suits every length and looks especially clean on short nails.
- Fill a bold half-moon at the cuticle, leaving the rest bare.
- Use a flipped French guide for a crisp crescent.
- A saturated color pops; a tonal one reads subtle.
- Grows out gracefully since the color sits near the cuticle.
Bold Chevron Contrast Tips

A chevron tip replaces the straight or curved French line with a sharp V-shaped point, giving the tip a bold, geometric edge. Filled in a contrasting glossy color, it’s a graphic, high-energy take on the French that photographs sharp and modern.
Tape off the V with two pieces of striping tape meeting at a point, paint the tip, and lift the tape while the polish is wet. Keep the chevron shallow for a subtle version or deep for a dramatic one. It works on any length, though longer nails give the point more room to read.
- Tape a sharp V at the tip with two strips meeting at a point.
- Fill it in a bold, contrasting glossy color.
- Shallow reads subtle; a deep V reads dramatic.
- Seal glossy so the crisp point stays sharp.
💡Stylist Tip
For any taped graphic line, press the tape down firmly and paint your color from the tape inward, not toward it. That stops polish bleeding under the tape and keeps every line crisp when you peel.
Sleek Metallic Half-Moon Framing

Metallic half-moon framing traces the natural curve at the base of the nail with a thin metallic line, framing the lunula like fine jewelry. It’s delicate, editorial, and an especially elegant graphic look, adding a glint of gold or silver without any color.
Trace the curve with a metallic striping brush or a fine gold liner, keeping the line thin and following the natural half-moon shape. It flatters any length and any complexion, and the metallic stays soft rather than loud. It’s a subtle way to make a bare or sheer manicure look considered and finished.
- Outline the natural half-moon with a thin metallic line.
- Follow the lunula’s curve for a natural frame.
- Gold or silver both work; keep the line fine.
- Wear it over bare or sheer nails for an elegant finish.
S-Curves With Contrasting Tips

An S-curve line snakes a single sinuous stripe down the nail, often dividing two contrasting colors or tips for a fluid, modern effect. The wavy line softens the hard geometry of most graphic art, so it feels organic and playful while staying minimal.
Draw the S freehand with a fine liner for the most natural curve, or use a flexible piece of striping tape bent into shape. Pair contrasting colors on either side of the curve, or keep one side bare for a negative-space version. It suits longer nails, where the S has room to flow, and it’s a forgiving design, since a slightly wobbly curve still looks intentional.
- Snake a single S-curve down the nail with a fine liner.
- Contrast the two sides, or leave one side bare.
- A slightly loose curve still looks intentional.
- Longer nails give the S more room to flow.
Who It Suits Best
Graphic line art is among the most democratic nail trends, because it flatters almost everyone. It’s especially good for short nails, where the clean lines and negative space make the most of a small canvas, and for anyone who wants nail art that looks modern instead of fussy.
Because so much of the nail is left bare, regrowth barely shows, so you can happily stretch time between appointments. In my chair, that low upkeep is the reason I suggest it to busy clients. It suits every skin tone, since the designs are about line and shape more than a specific color.
It’s also ideal for anyone new to nail art, since striping tape and vinyls do the precision for you. On cost, a graphic gel manicure runs about $40 to $60 at a salon depending on the detail, and it holds two to three weeks. A DIY kit of striping tape, a fine liner, and a good top coat costs roughly $15 to $25 and lasts many manicures. If you like clean, modern design, this is the trend to try. For more pared-back looks, browse minimalist nails.
Graphic Line Nail Questions, Answered
?How do I get graphic nail lines perfectly straight?
Use striping tape or nail vinyls rather than trying to freehand. Lay the tape where you want the edge, paint your color, and peel it off while the polish is still wet for a razor-sharp line. For curves and outlines, a fine liner brush with your hand steadied on the table works best.
?Do graphic line nails work on short nails?
Yes, they’re one of the best trends for short nails. The clean lines and negative space make the most of a small canvas, and simple designs like a thin French line, a cuticle crescent, or a single square look sharp and modern on short nails without crowding them.
?How long do graphic line manicures last?
Over gel, about two to three weeks. The thin lines and any raised chrome lift from the free edge first, so a well-capped, thick top coat is what keeps them crisp. Because so much of the nail is bare, regrowth is less obvious, so they look good longer between fills.
?What’s the easiest graphic design for a beginner?
A slanted stripe or a chevron tip, because the striping tape does the hard part. You just lay the tape, paint over it, and peel. Save freehand outlines, S-curves, and tiny squares for once you’re comfortable with a liner brush.
?How much do graphic line nails cost?
A graphic gel manicure runs about $40 to $60 at a salon depending on the detail. A DIY kit with striping tape, a fine liner brush, and a good top coat costs roughly $15 to $25 and covers many manicures, which makes this one of the more budget-friendly nail-art trends to try at home.
Try One Clean Line
Graphic line art is proof that nail design doesn’t have to be complicated to look expensive. A single thin line, a bare negative-space gap, or one bold crescent does more than a whole nail crammed with detail, and most of it comes down to good tape and a light hand rather than years of practice. The empty space is doing half the work for you.
New to line work? Begin with a taped design like a slanted stripe or a chevron tip, where the tape guarantees a clean edge. Once your lines feel steady, move on to freehand outlines and S-curves. Try one this week and see how a single clean line changes a plain manicure.
Next Up