


Backstage before a show, the makeup table looks like a painter’s studio: rows of pigments, the smell of setting spray, and an artist working a graphic line onto a model’s eye with the focus of someone restoring a fresco.
Runway artistry treats the face as a canvas, and the looks that come off that table can seem impossible to recreate. They are not, though. Not really. Most are a few precise techniques stacked with confidence, the same handful I teach clients who think runway looks are beyond them.
These fifteen looks pull editorial artistry down to earth, each one a runway idea broken into the steps that build it; most use $8 to $20 of product and take ten to thirty minutes once you have practiced. You may not wear a full neon floating crease to the office, but the techniques behind these masterpieces, the sharp line, the layered glow, the watercolor wash, are yours to borrow at whatever volume suits you.
What Sets Artistry Apart
- Precision is the difference. A graphic line, a clean negative space, or a sharp brow reads editorial because the execution is crisp, so technique matters more than product.
- Artistry stacks techniques. A runway face is usually a luminous base plus one bold graphic element plus a finishing detail, built in deliberate layers.
- You can dial any of these down. The same technique that makes a runway statement makes a wearable one at a lower volume, so borrow the method and set the intensity yourself.
Sharp Sculpted Graphic Liner
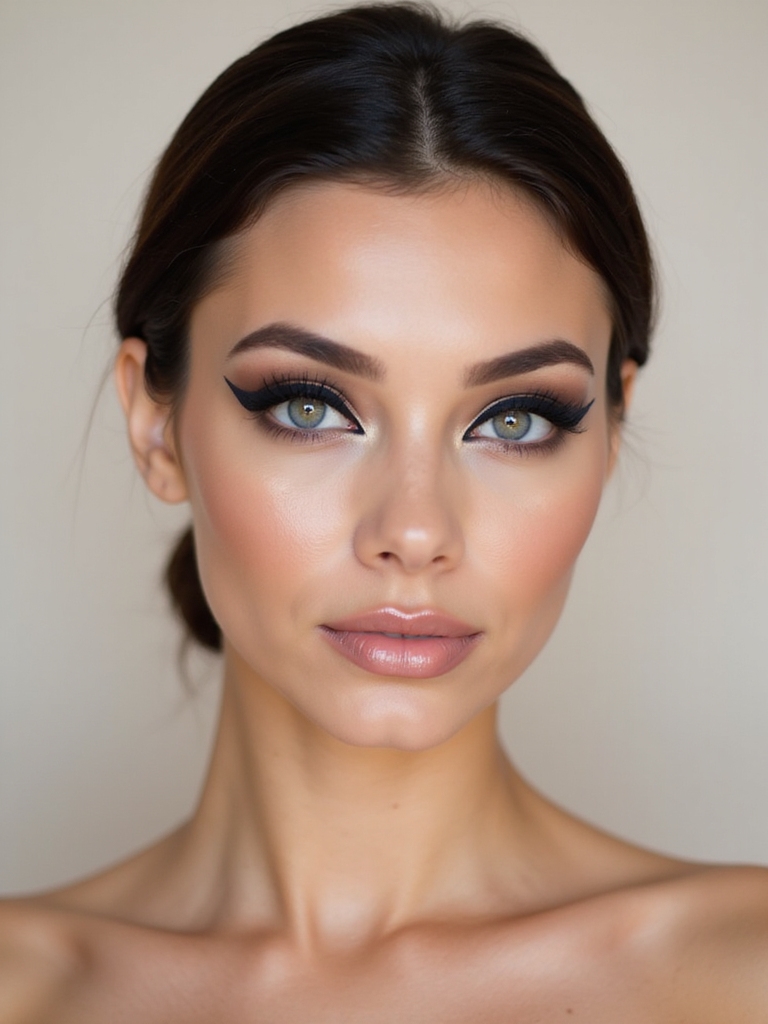
The signature of runway artistry is a graphic liner so sharp it looks cut from vinyl: a bold, sculpted shape, a doubled wing, an exaggerated flick, a geometric line, executed with absolute precision. The shape is the art. The crispness is what sells it.
- Map the shape lightly with a pencil first, since artistry liner lives and dies on the placement.
- Lay it down in a matte liquid liner, then tidy every edge with a flat brush loaded with concealer.
- Leave the skin and lips simple so the graphic line carries the whole look. See more creative eye looks.
A Wet Satin Luminous Dewy Glow

Runway skin rarely looks like makeup at all; it looks wet, satiny, and lit, as though the model just stepped out of the rain into a spotlight. That high-shine, dewy finish is an artistry staple, and it photographs like glass under studio lights.
The glow is built in layers, deep in the skin and on top of it.
- Prep with a glow primer and a luminous foundation so the shine starts in the base.
- Press a liquid highlight onto the high points and mist a facial spray to revive the dew.
- Skip powder almost entirely, since the wet finish is the entire point.
Heads-Up
Graphic and floating shapes take practice, so do not attempt them for the first time an hour before an event. Map the shape lightly, build slowly, and keep a concealer brush handy to sharpen the edges. The first try is always a rehearsal.
A Soft-Focus Plush Velvet Bloom

Against all that shine, artistry loves a contrast, and the velvet bloom is a soft-focus, matte flush blurred high on the cheek like a watercolor stain blooming into the skin. It is romantic and editorial, a soft, diffused take on adding color to the cheek.
- Tap a soft matte blush high on the cheek and blur the edges until they vanish.
- Build it in airy layers so it looks like a bloom rising under the skin.
- On deep skin, a rich berry or warm terracotta bloom reads especially lush.
Bold Geometric Color-Blocking
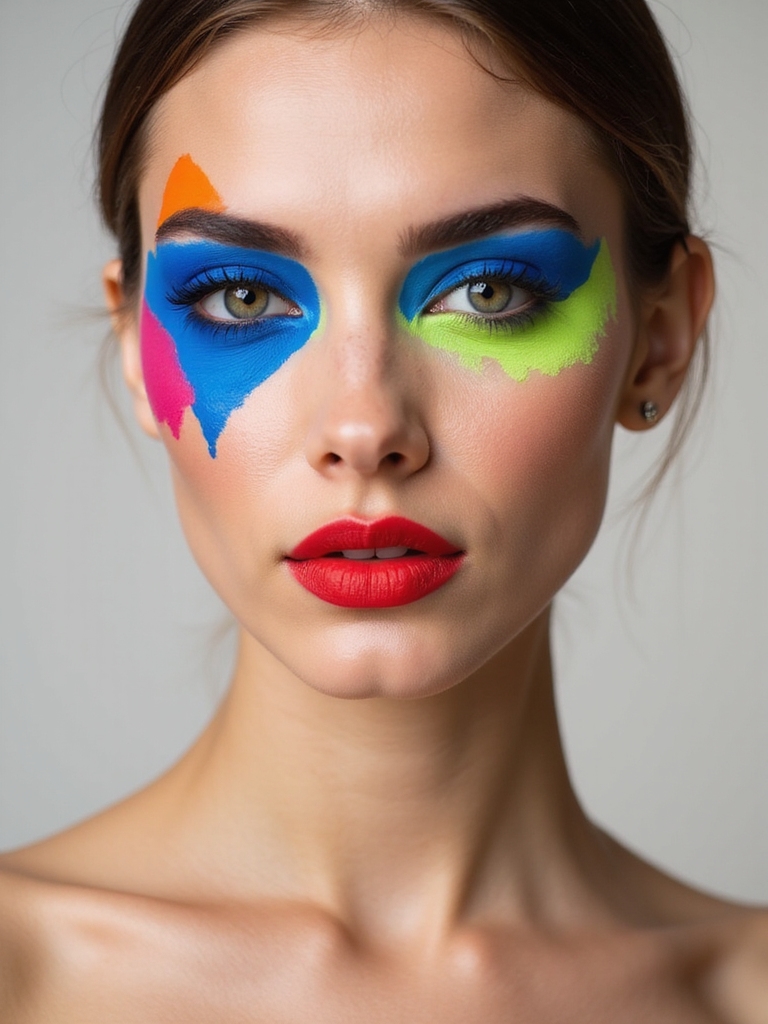
Color-blocking is pure runway: two or three bold colors set side by side on the eye in clean, separate geometric zones, like a Mondrian painting for the lids. The hard borders between the colors are what make it read as art.
- Pat each bright color into its own zone with a flat brush, keeping the borders crisp.
- Use cream or pressed pigments so the blocks stay vivid and the edges stay clean.
- Keep the shape symmetrical so the geometry reads deliberate. For more, see these colorful eye looks.
A few artistry terms worth knowing:
📖Negative space
A liner shape that leaves a deliberate gap of bare skin as part of the design.
📖Floating crease
A line of color drawn above the natural crease so it shows with the eyes open.
📖Color-blocking
Bold colors set side by side in clean, separate geometric zones on the eye.
A Negative-Space Sharp Cat Eye
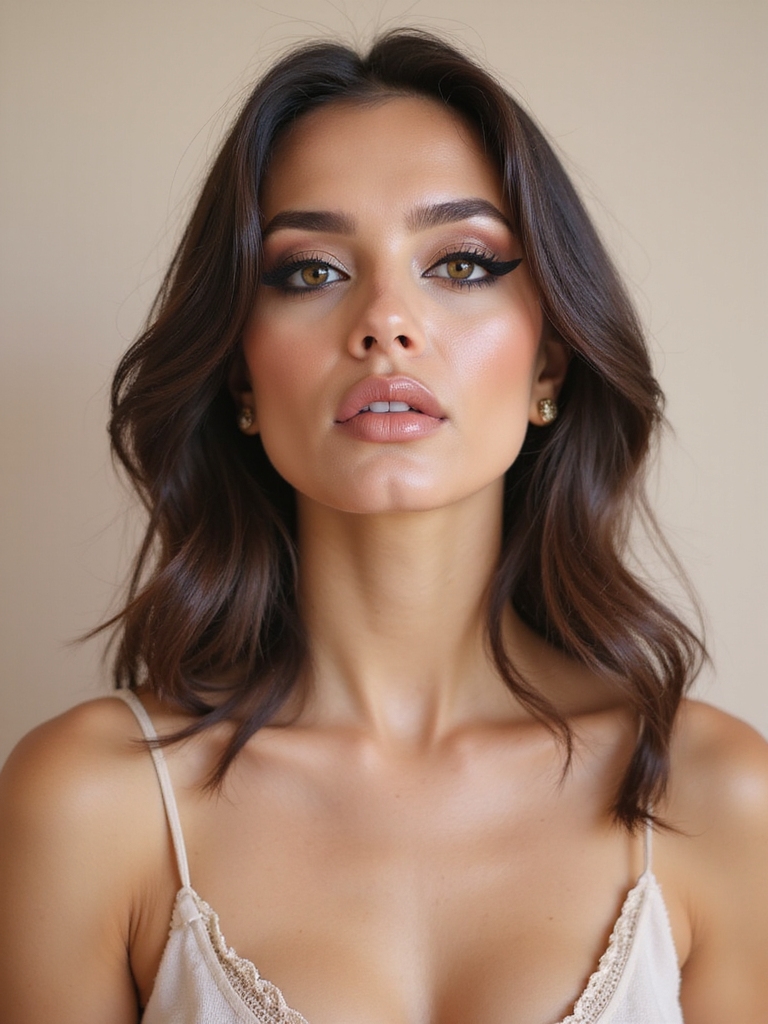
The artistry cat eye breaks itself open: a sharp, classic wing with a clean slice of bare skin carved through the liner, and that turns a familiar shape into a graphic statement. The bare gap is the whole idea, and it demands a steady hand.
Map this one before you commit in liquid, since the whole effect rests on precision.
- Draw the wing, then carve a clean line of bare skin through it with a flat concealer brush.
- Use a crisp liquid liner so the edges of the gap stay sharp.
- Keep the gap truly clean so the contrast holds. It is the editorial twist on a cat eye.
A Molten Gold Eyelid Smoke
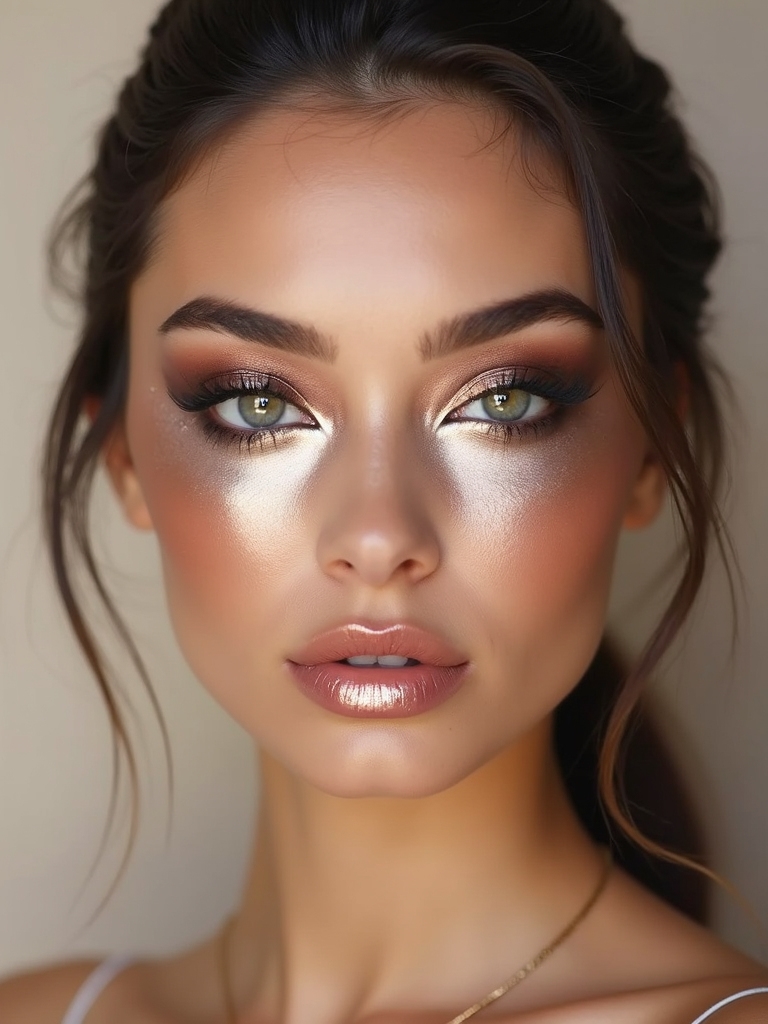
When artistry goes opulent, the eye turns to liquid metal: a molten gold smoke that pools across the lid and catches the light like poured metal. It is a smoky eye reimagined in gold leaf, rich and glowing.
- Build a warm bronze smoke first, then press a liquid or foil gold over the center of the lid.
- Dampen your brush for the gold so it goes on wet and intense, like molten metal.
- Warm gold glows richest on deep and tan skin; cooler tones can lean toward a pale champagne-gold.
Which artistry look should you try first? Pick the line that fits.
1I want wearable runway polish
Start with the neon tightline, the gold inner-corner tear, or the upward dewy highlight.
2I want a full statement
Go for color-blocking, a negative-space cat eye, or a neon floating crease.
A Soft Smudged Berry Stain

Runway lips often look worn and softened, a long way from freshly painted, and the smudged berry stain captures that: a deep berry pressed into the lips and blurred soft at the edges for a just-bitten, worn-in finish. It is artful precisely because it looks so undone.
The blurred edge is what makes it editorial rather than a neat lipstick.
- Stamp a deep berry or wine into the middle of the lips and feather it out with a fingertip.
- Blot and reapply for a stained, velvety finish that fades soft at the corners.
- Berry suits every skin tone; deeper skin glows in a wine or plum-berry, fair skin in a sheer stain.
Neon Floating-Crease Drama

Floating a neon line above the crease is peak editorial drama, a bright arc suspended over the lid that shows with the eyes open and looks lit from inside. It is the kind of graphic that closes a runway show.
The clean lid below the floating line is what gives the arc its suspended, weightless look.
- Map a curved arc above your natural crease and pack a bright neon along it.
- Leave the lid below the arc completely clean so the line appears to float.
- Build the neon over a sticky base so the color stays saturated and sharp.
How to build any graphic artistry eye:
1Map
Sketch the shape lightly with a pencil so you can adjust before committing.
2Build
Fill it in with a pigmented liquid or pressed color, working slowly in layers.
3Clean
Sharpen every edge with a flat brush dipped in concealer for that crisp, cut finish.
Architectural Brow Sculpting

Brows on the runway are architecture, sculpted into bold, defined shapes that frame the whole face with intention, from a sharp high arch to a brushed-up, blocky fullness. The brow becomes a structural element of the look rather than an afterthought.
- Map the shape with concealer around the edges to carve a clean, defined silhouette.
- Fill with fine, hair-like strokes for fullness, then set the shape hard with a strong gel.
- Brush the hairs up and out for that bold, architectural, lifted finish.
A Sheer Blooming Watercolor Eyewash
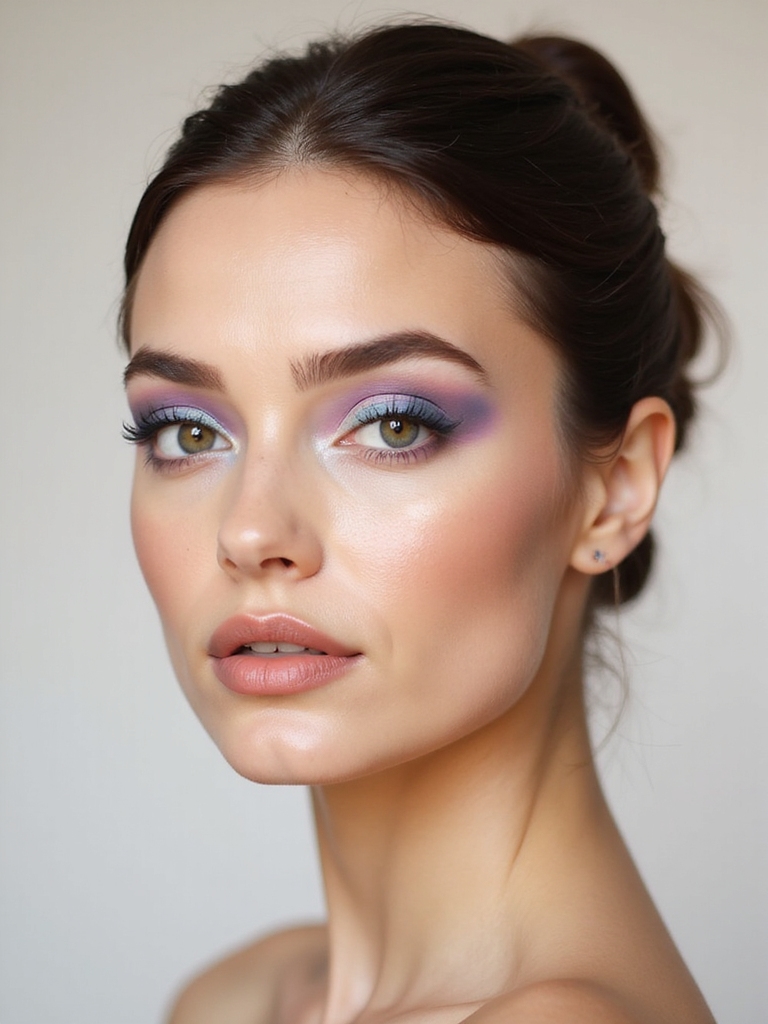
The watercolor eye is artistry at its most painterly: sheer, translucent washes of color layered and bled into one another like wet paint on paper, soft and luminous with no hard edges. It is color as a wash rather than a block.
The trick is transparency, so the colors glow and overlap like real watercolor.
- Layer sheer, translucent color washes over the lid and let them bleed into each other.
- Keep every edge soft and blended so the colors look painted on wet.
- Saturated, clear pigments bloom brightest on deep skin. See more eye makeup tutorials.
A Mirror-Finish Long-Wear Shine
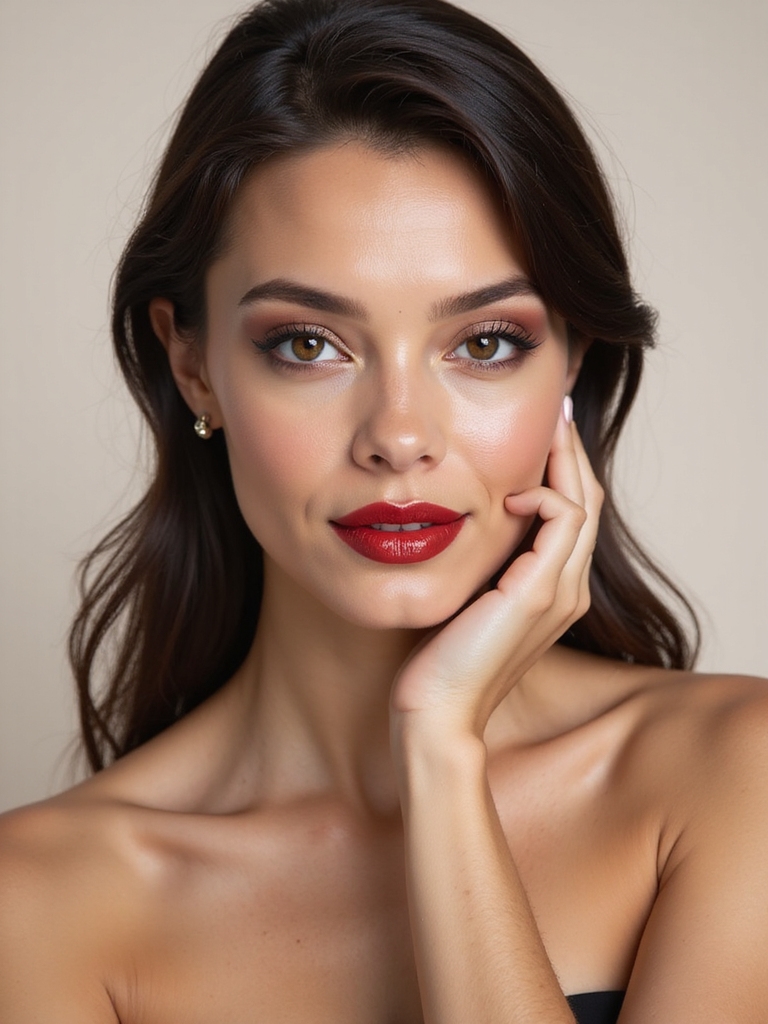
A mirror finish on the lid is the most futuristic artistry move, a reflective, chrome-bright surface that catches and throws the light like polished metal. On the runway it reads alien and high-fashion, all surface and shine. Cold, bright, alien.
- Press a chrome or mirror pigment over a dark base with a flat fingertip for full reflection.
- Seal it with a top layer so the mirror shine lasts through a long event.
- Cool silver reads coldest and most futuristic; warm gold and bronze flatter deep skin.
A Neon Tightline on a Clean Lid

One of the most wearable artistry tricks hides the boldness at the lash line: a neon tightline pressed into the upper lashes against an otherwise bare, clean lid, so the color flashes only when the eye moves. It is a secret hit of runway color you can wear anywhere.
Because the bright color sits right at the lash base, it stays subtle until the light catches it.
- Press a neon gel liner into the roots of the upper lashes, leaving the lid bare.
- Keep the lid clean and matte so the flash of neon stays the only color.
- It works on every eye shape and is the easiest artistry idea to wear day to day.
A Smudged Kohl Smoldering Halo

The smoldering halo wraps the eye in soft, smudged kohl with a lighter, glowing center, so the eye looks ringed in smoke yet lit from within. It is the smoky eye reimagined for editorial, built for depth and drama under bright lights.
Ring the whole eye in a soft black or charcoal kohl and blur it into a haze, then press a pale shimmer into the center of the lid so it glows against the surrounding smoke. The contrast of dark ring and lit center is what gives it dimension.
Set the kohl with a matching shadow so it holds through a long shoot. This halo flatters every eye shape, and on deep skin a deep espresso or aubergine kohl gives the same smoldering depth while still letting the center glow.
A Silken Upward Dewy Highlight
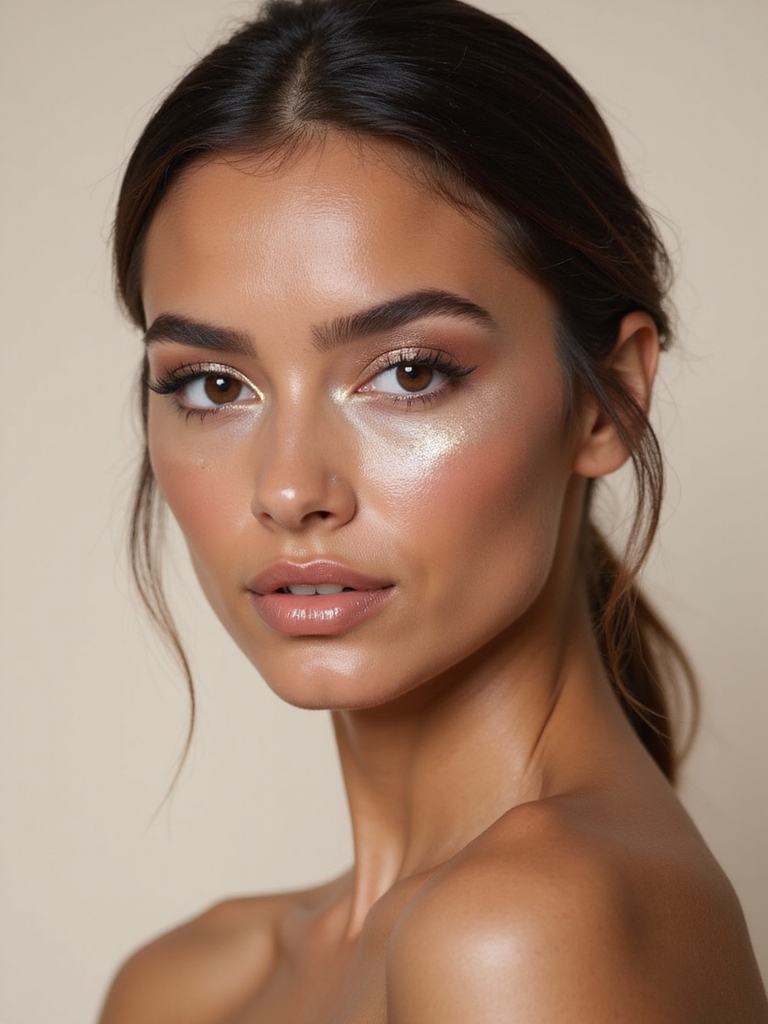
Artistry highlight does not just sit on the cheekbone; it sweeps upward and outward in a silken, dewy line that lifts the whole face toward the temple. The directional placement is what makes it editorial: it draws the eye up and out for a sculpted, lifted glow.
Why Direction Matters
Use a liquid or cream highlight and sweep it from the top of the cheekbone up toward the temple in one clean, lifted line, then blend the lower edge soft. Carry a little onto the brow bone and the inner corner so the light travels upward across the face.
The silken, wet finish is what keeps it looking lit and dewy, so press it in with a finger or a damp sponge. This upward sweep flatters every face shape, since you place the light to follow your own bones, and it gives an instant, photogenic lift.
The faces I highlight this way on shoots always catch the light beautifully, since the upward sweep follows exactly where a camera wants to see shine. It is a small change in direction with an outsized effect.
An Inner-Corner Gold Tear Highlight

The finishing touch on so many runway eyes is a bright gold highlight in the inner corner, placed like a tiny tear of light that opens and lifts the whole gaze. It is the smallest artistry detail and one of the most effective, the dab that makes an eye look luminous.
The One-Second Finish
Press a metallic gold or champagne into the inner corner and along the first sliver of the lower lash line with a fingertip, keeping it concentrated so it catches the light at the right moment.
Gold suits warm and deep skin beautifully, while a cooler champagne pops on fair tones, so match the metal to your coloring. The point is a single, bright catch of light at the inner eye, so keep it small and luminous. It works under every other look here and instantly makes the eye look more open.
This is the detail I add last on almost every editorial eye, since it lifts and brightens the whole look in one second. It is the easiest way to borrow a little runway polish.
What to Expect
It helps to know going in that artistry makeup rewards patience far more than expensive product. The looks that come off a runway table are built slowly, in deliberate layers, with the artist stepping back to check the balance between every step.
Clients ask me how artists get a line so sharp, and the honest answer is that a graphic line or a clean negative space takes several tries even for professionals; the move that saves you is mapping the shape lightly first and cleaning the edges with a concealer brush instead of chasing a perfect one-stroke line. Give yourself a quiet evening to practice the bolder techniques before you wear them out, and expect the first attempt to be a rehearsal.
It also helps to remember that almost every one of these scales down. A full neon floating crease belongs on a runway, but the technique behind it, mapping an arc and floating color above the lid, makes a soft, wearable look at a fraction of the volume too. The same is true of the graphic liner, the watercolor wash, and the gold smoke.
Borrow the method, choose your intensity, and you get a touch of editorial polish without the costume. The tools that matter most are a few good brushes, a steady hand, and the willingness to wipe it off and start again, which is exactly how the professionals do it.
Borrow the Method, Set the Volume
The real lesson of artistry makeup is that the runway masterpieces are not magic; they are a handful of precise techniques, executed with patience and cleaned up with a concealer brush. A graphic line, a layered glow, a watercolor wash, a tiny tear of gold, each one is learnable, and each one scales from full editorial drama to a soft, wearable hint.
Master the method behind the look you love and you hold the dial for how loud to wear it, which is the whole freedom of treating your face as a canvas. Pick the one technique that fascinates you, give it a patient evening of practice, and borrow as much runway polish as you like.
Don’t Miss These


