A friend handed me her makeup bag at a wedding once, close to tears, sure she just could not do her eyes. We broke a smoky eye into four small moves, prime, press, deepen, blend, and she did the second eye herself in the mirror. That is the part most tutorials skip: eye makeup is not talent, it is a set of repeatable steps.
So these 15 tutorials walk through the steps behind each look. For each technique you get the order to work in and the single mistake that trips most people up, the thing you will wish someone had told you years ago.
Start Here
Where should a beginner start? With prep and one shade. Prime the lid, then learn to blend a single transition shade through the crease before you touch liner. That one skill underpins almost every look here.
Why does my eyeshadow fade or crease? Usually a skipped primer and no setting. Prime the lid, set under the eye to catch fallout, and build color in thin layers so it grips and lasts.
How do I stop messing up eyeliner? Map it first. Place small dots where the line should go, connect them in short strokes, and steady your elbow on a flat surface so your hand stays calm.
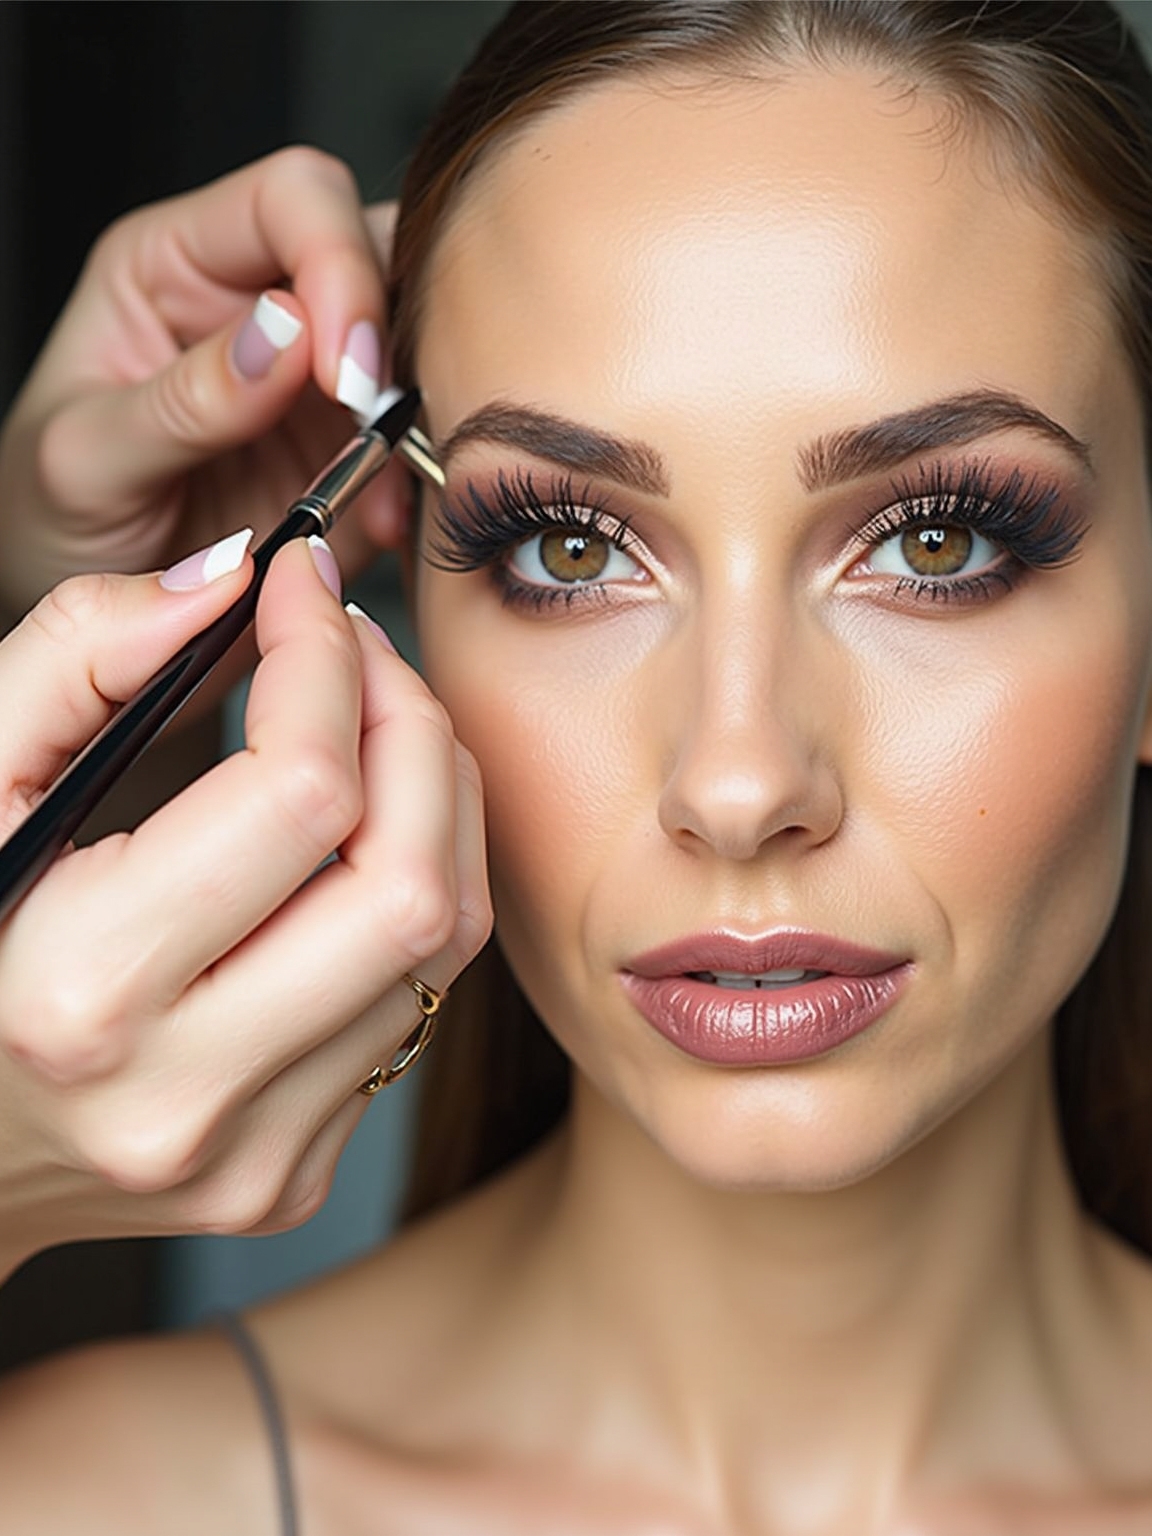
Map and Connect a Clean Winged Liner
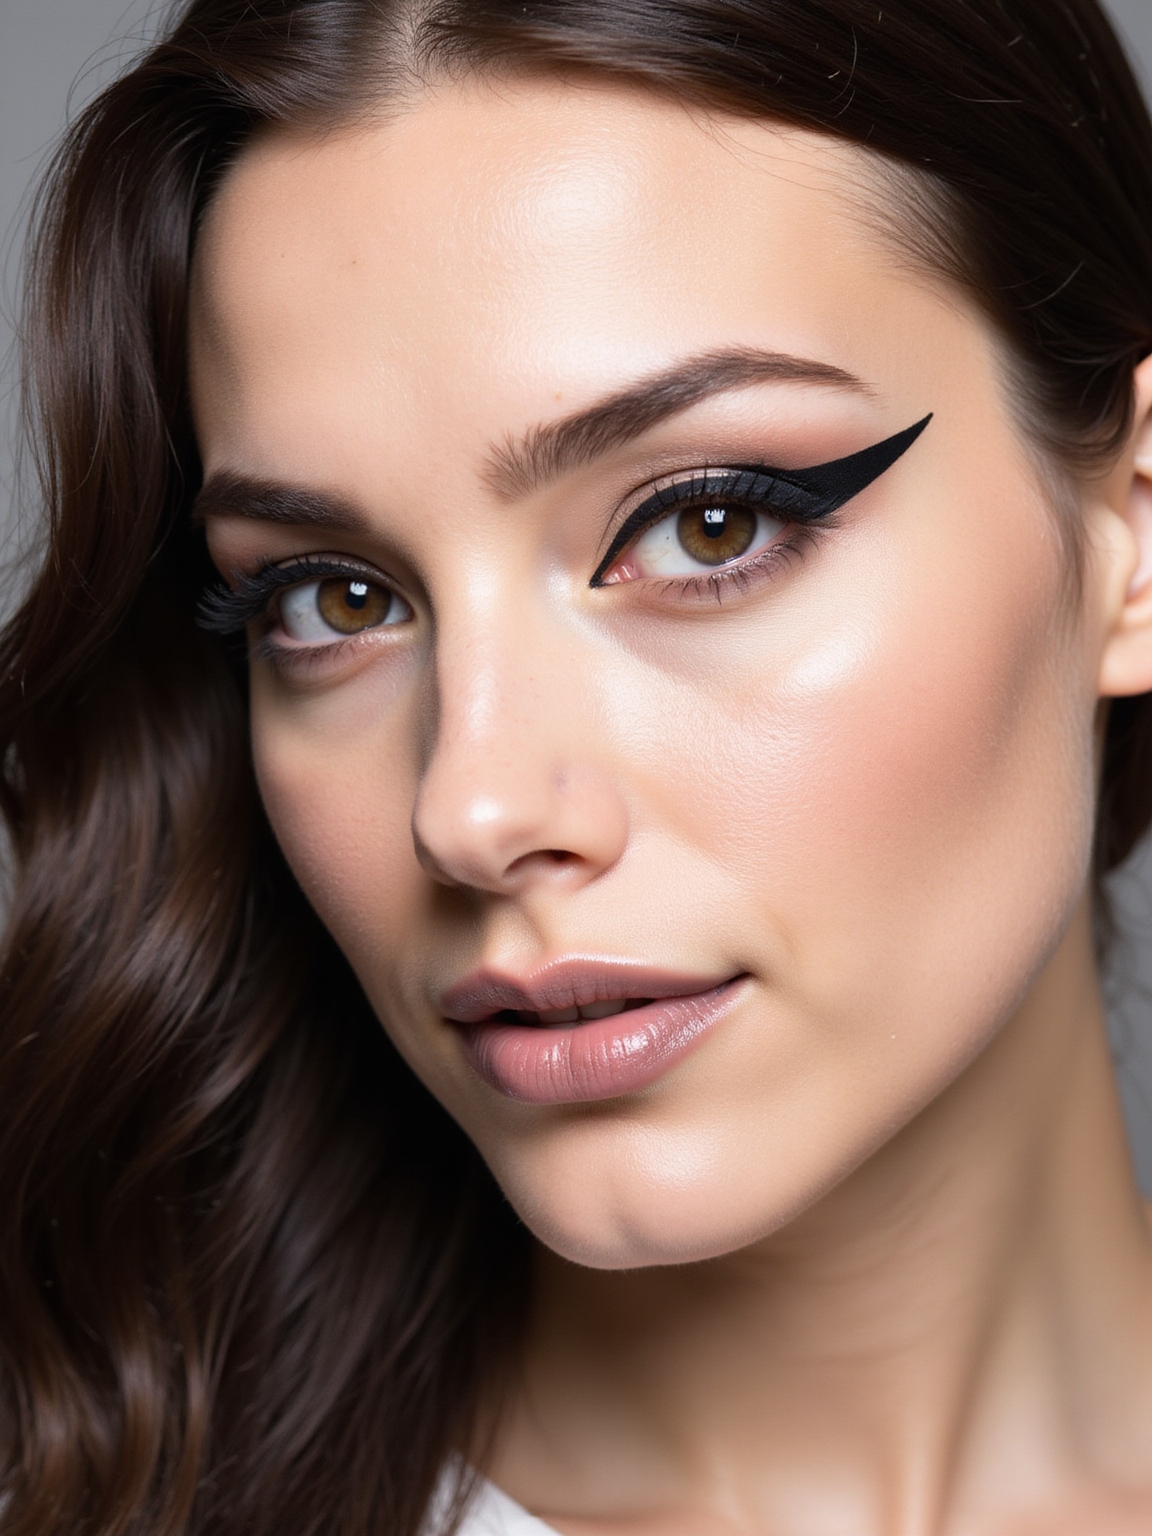
Winged liner becomes easy once you stop drawing it in one go. Work in four moves: map the wing with a tiny dot where you want the tip, draw a thin line from that dot back toward the lash line, connect it along the upper lashes, then fill any gaps.
The mistake almost everyone makes is starting at the inner corner and hoping the wing works out. Map the tip first instead, and aim it at your brow tail, so the angle suits your eye before you commit any product.
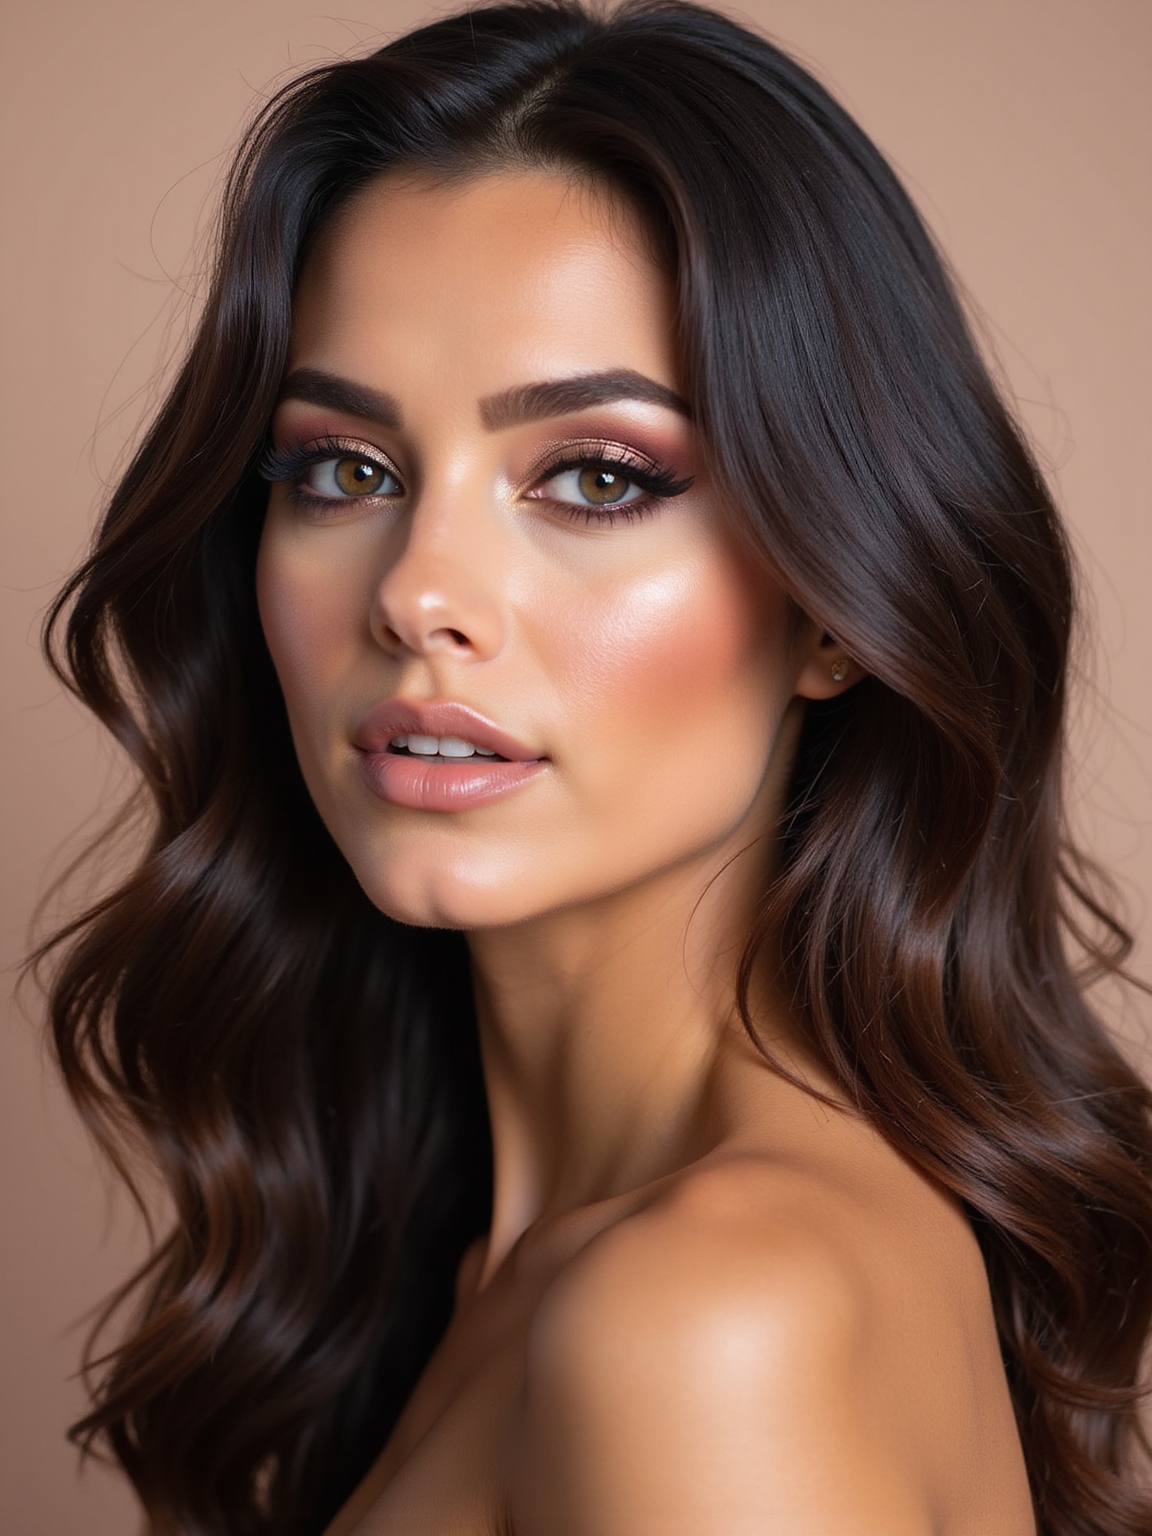
Build a Brown Smoky Eye in Layers

A smoky eye looks complicated but it is just three layers of brown built up gradually. Work from light to dark and blend between each step:
- Layer one: wash a light matte brown over the whole lid as a base.
- Layer two: press a mid-brown through the crease and blend the edge.
- Layer three: deepen the outer corner with a darker brown, then smoke a little under the lower lashes.
Tightline Without Tugging the Eye
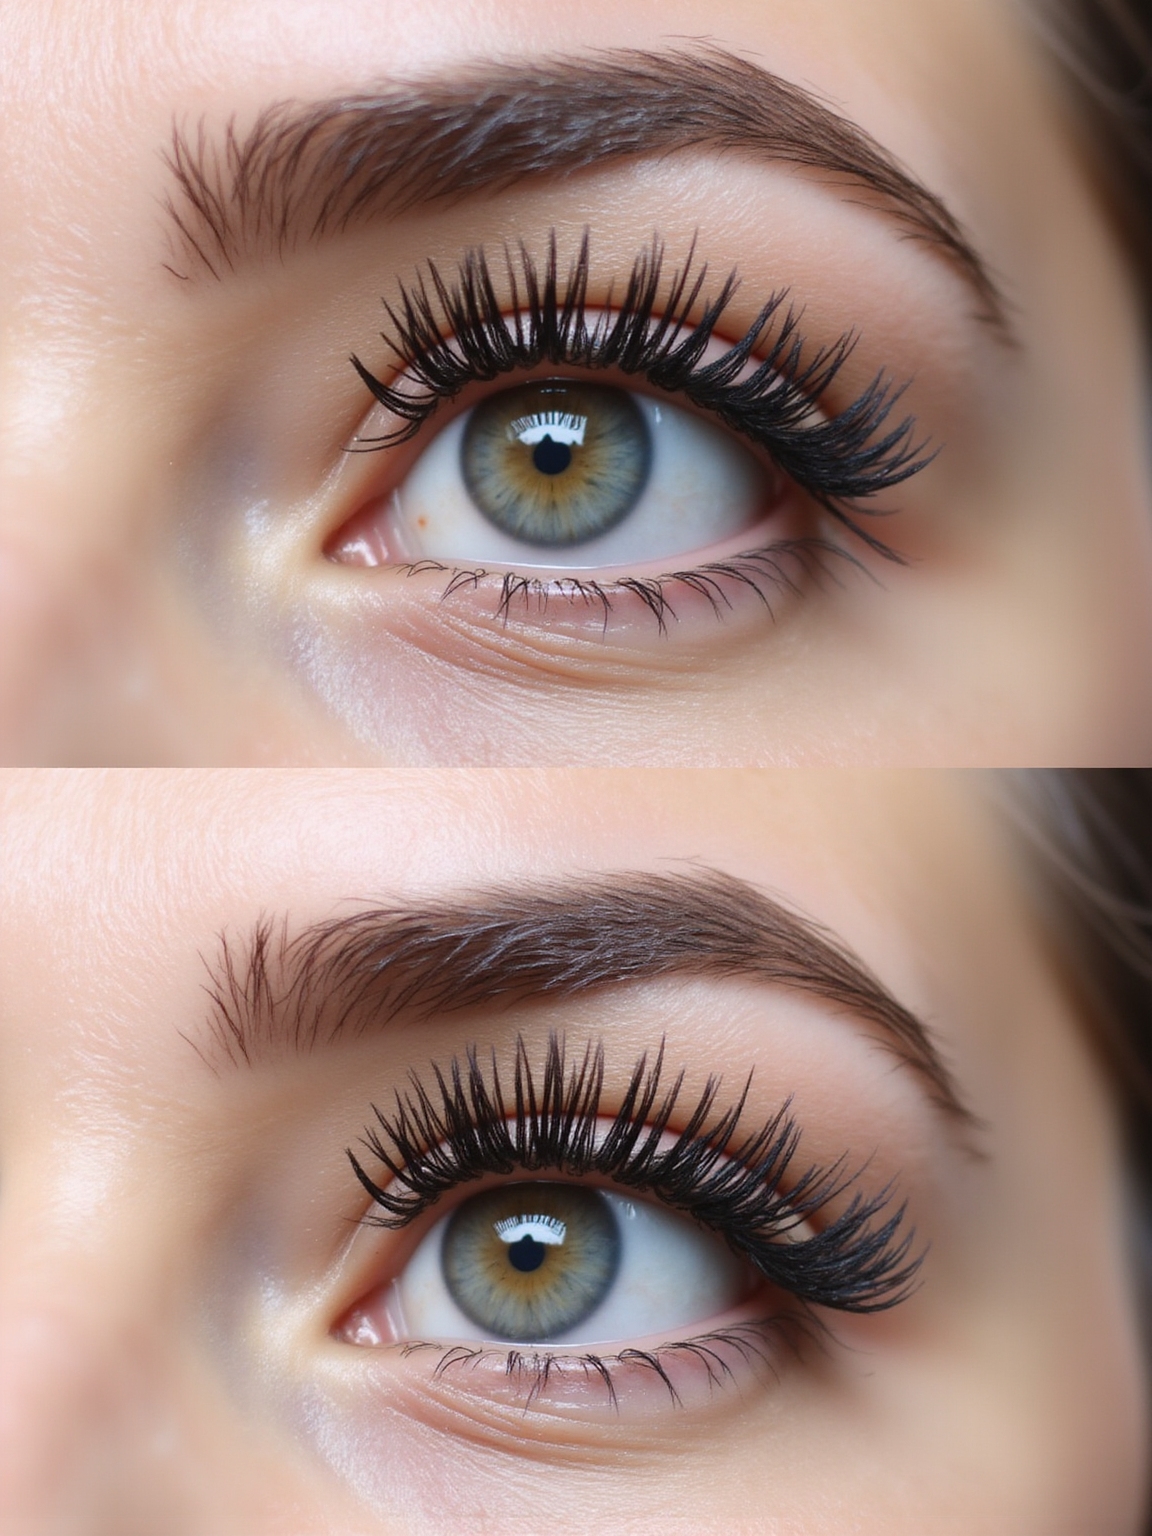
Tightlining defines the eye by filling the upper rim where the lashes grow, and the gentle method matters so you protect the delicate skin. Start by looking down into a mirror, with no hard pulling on the lid.
Tap, Don’t Drag
Hold a waterproof pencil flat against the rim and tap the pigment into the lash base in tiny presses. Tapping deposits color gently, which is the part people get wrong.
Build it in two or three light passes until the gaps between lashes fill in. One coat of mascara on top, and the lashes look twice as dense.
A Quick Polished Neutral, Start to Finish

This is the tutorial to memorize for busy mornings, a complete neutral eye in about three minutes. The order is what keeps it fast: prime, one transition shade, a touch of definition, mascara.
The Order Is What Saves Time
Prime the lid, then blend a single soft mid-tone through the crease in windshield-wiper motions. Add a slightly deeper shade only at the outer corner for shape, and skip everything else.
Finish with one coat of mascara. Doing the steps in order means you finish in one pass with nothing to go back and fix.
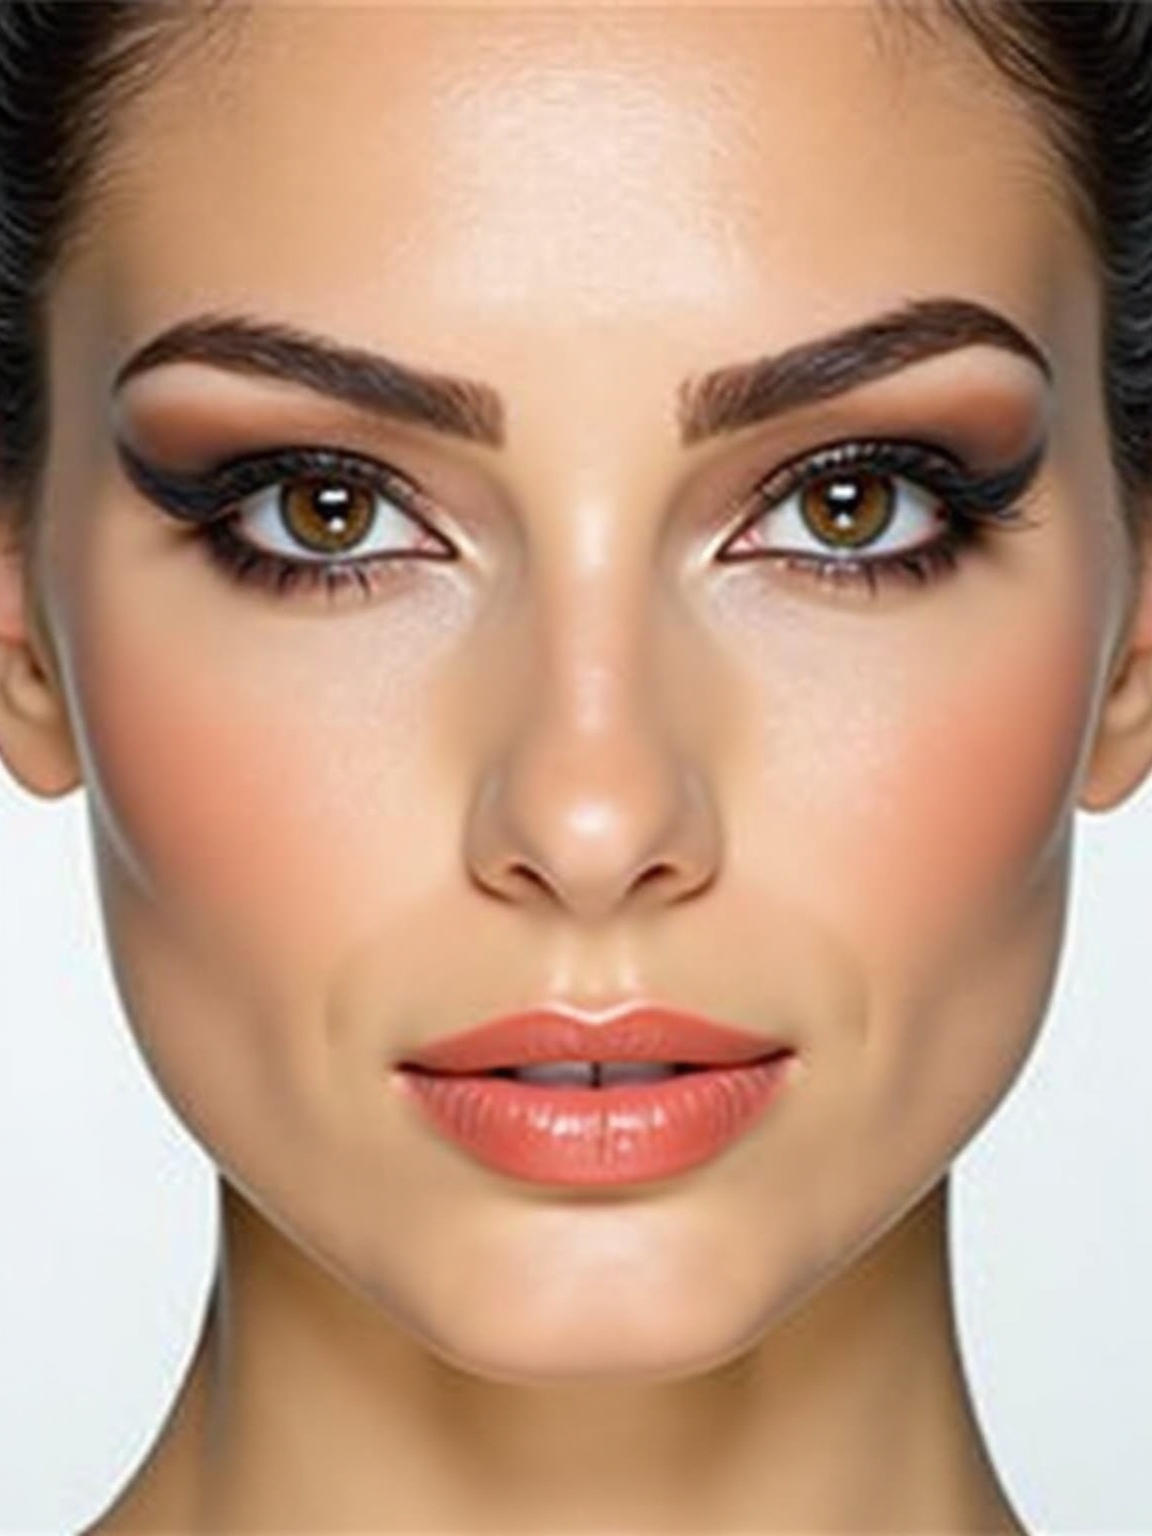
Carve a Clean Cut Crease

A cut crease looks sharp because a line of concealer carves a clean edge between the crease color and the lid. Start by blending your crease shade first, deeper than you think, since the concealer will cover part of it.
Then take a small flat brush with concealer and carve along your crease, pressing it onto the lid below to create a crisp edge. Pat your lid color or a shimmer on top of the concealer while it is still tacky.
The common mistake is rushing the concealer before the crease is dark enough. Build that crease depth first, and the cut edge will actually show.
Lift the Eye With a Faux Crease
A faux crease is drawn higher than your natural one to create the illusion of a bigger, lifted eye, which is gold for hooded and downturned eyes. Placing it with your eyes open is what makes it land where it actually shows.
How to place it:
- Eyes open, mark where your natural crease disappears under the hood.
- Draw the new crease a touch above that, following your eye’s natural curve.
- Blend upward softly so the faux line fades out and looks believable.
Blend a Smooth Eyeshadow Gradient
Blending is the skill that makes every other look better, and a smooth gradient comes down to using a clean, fluffy brush and small circular motions. Place your colors first, lightest on the inner lid, deepest at the outer corner.
Then take a clean blending brush, no shadow on it, and buff in small circles only where two colors meet. Letting a bare brush do the diffusing is what melts the line without muddying the colors.
Work in light passes and resist piling on more shadow mid-blend. Most patchy gradients come from too much product on the brush.
A smooth gradient in three moves:
1Place
Set your shades down first, lightest at the inner lid, deepest at the outer corner.
2Buff
Take a clean, bare fluffy brush and buff in small circles only where the colors meet.
3Check
Hold the mirror at arm’s length; if you see a hard line, buff that spot, do not add more shadow.
Clean, Smudge-Free Lower Definition
Lower-lash definition adds depth, but it is also where looks fall apart into raccoon eyes by lunchtime. Keep it clean with a few steps:
- Use a powder shadow along the lower lashes; a creamy pencil tends to travel.
- Set any pencil by pressing a matching powder over it.
- Tap concealer under the eye first so fallout wipes away clean.
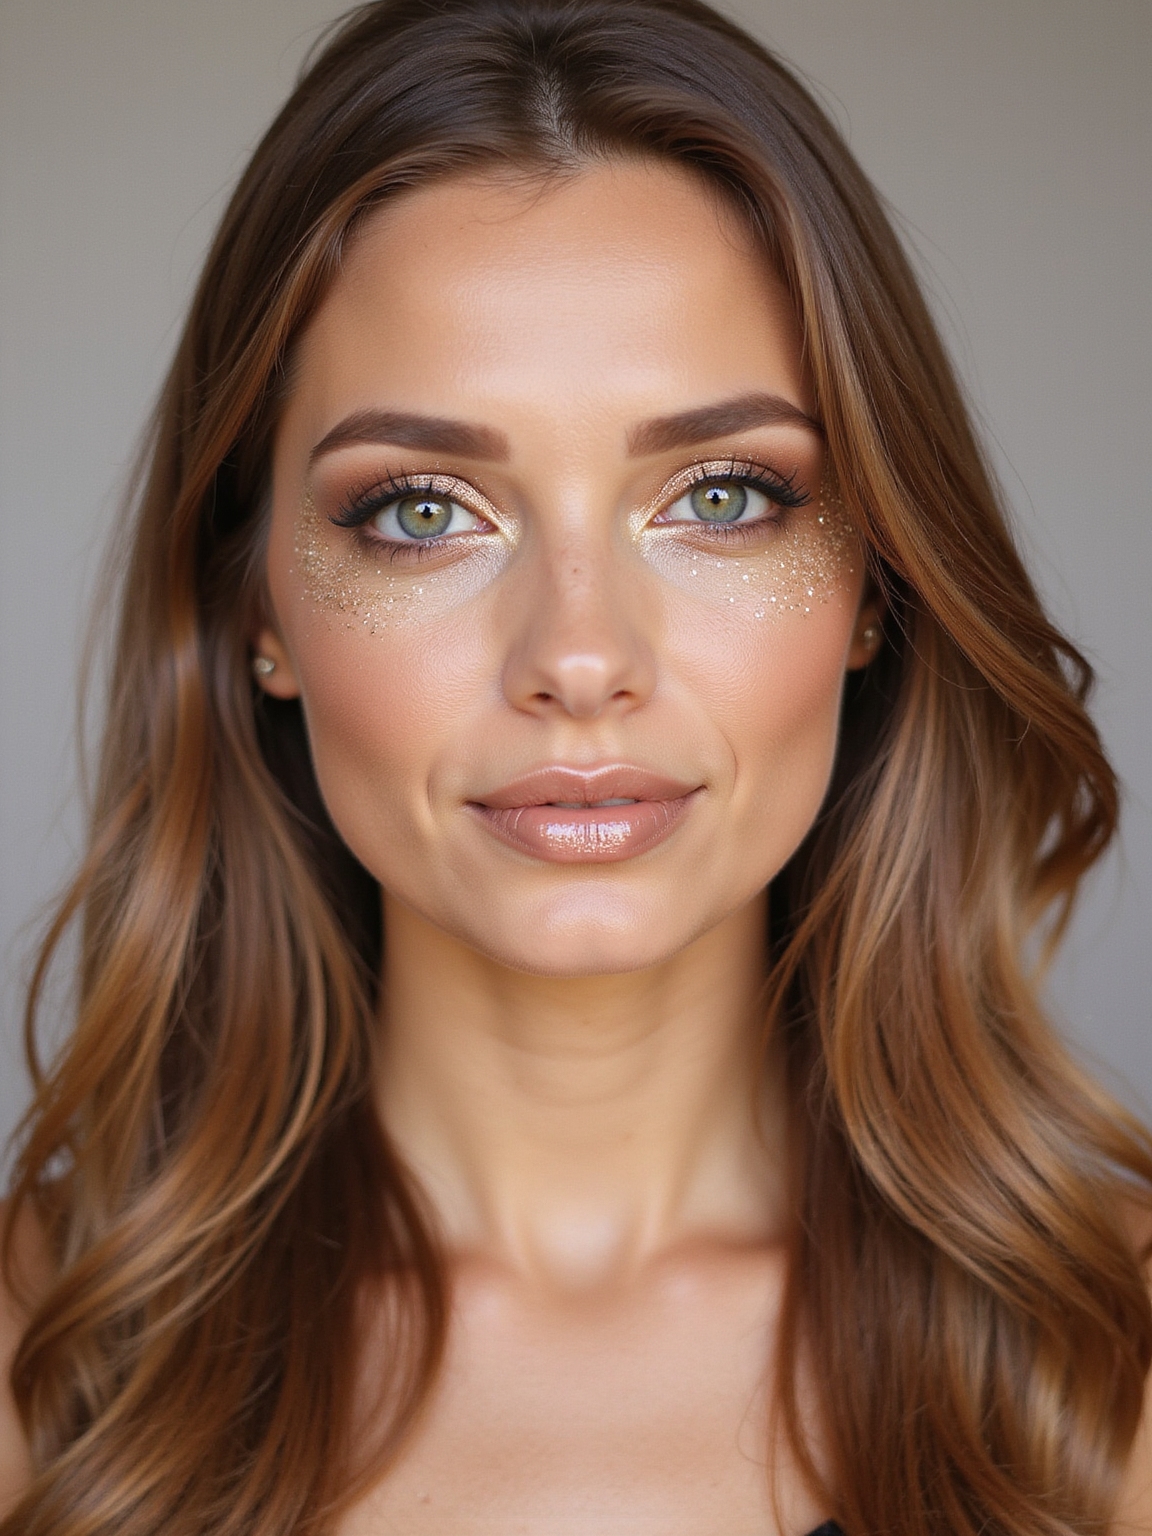
Brighten Tired Eyes With Nude Liner
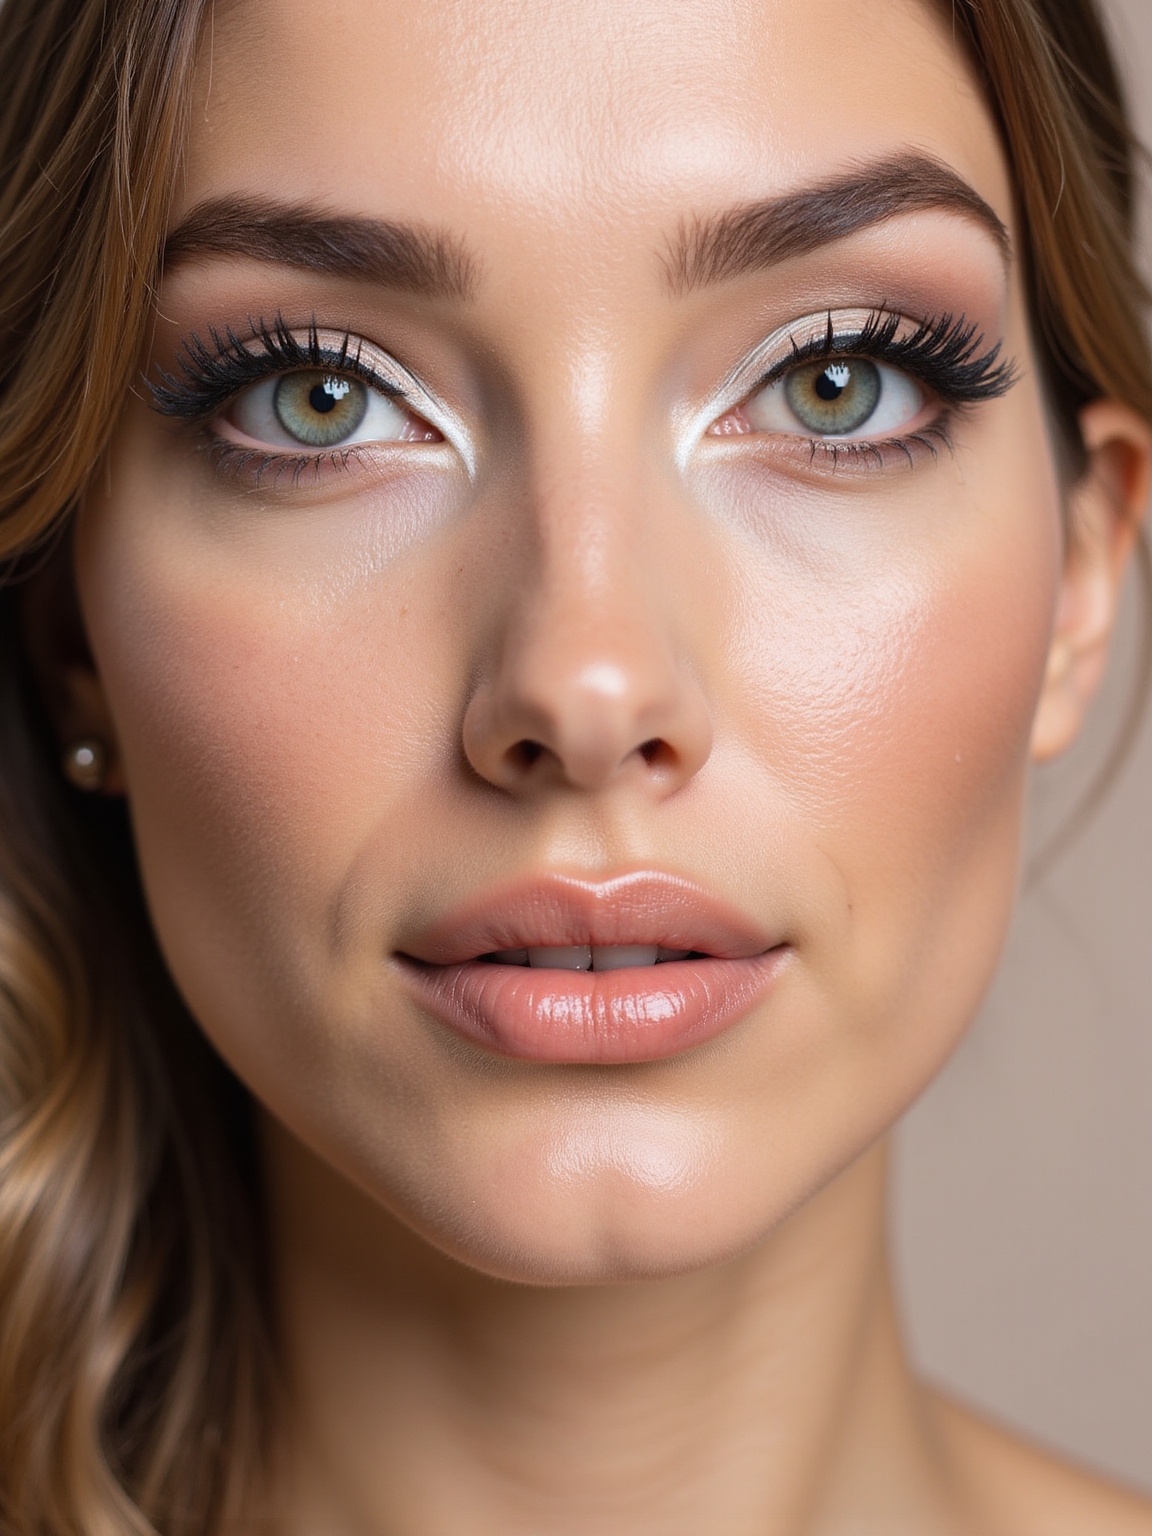
A nude or soft white liner on the lower waterline is the fastest fix for tired-looking eyes, and it takes about five seconds. It cancels the redness on the waterline that makes eyes look small and worn out.
Choose a warm nude for a more natural result; pure white can look harsh and obvious in daylight. Run it along the lower waterline and blink once to settle it.
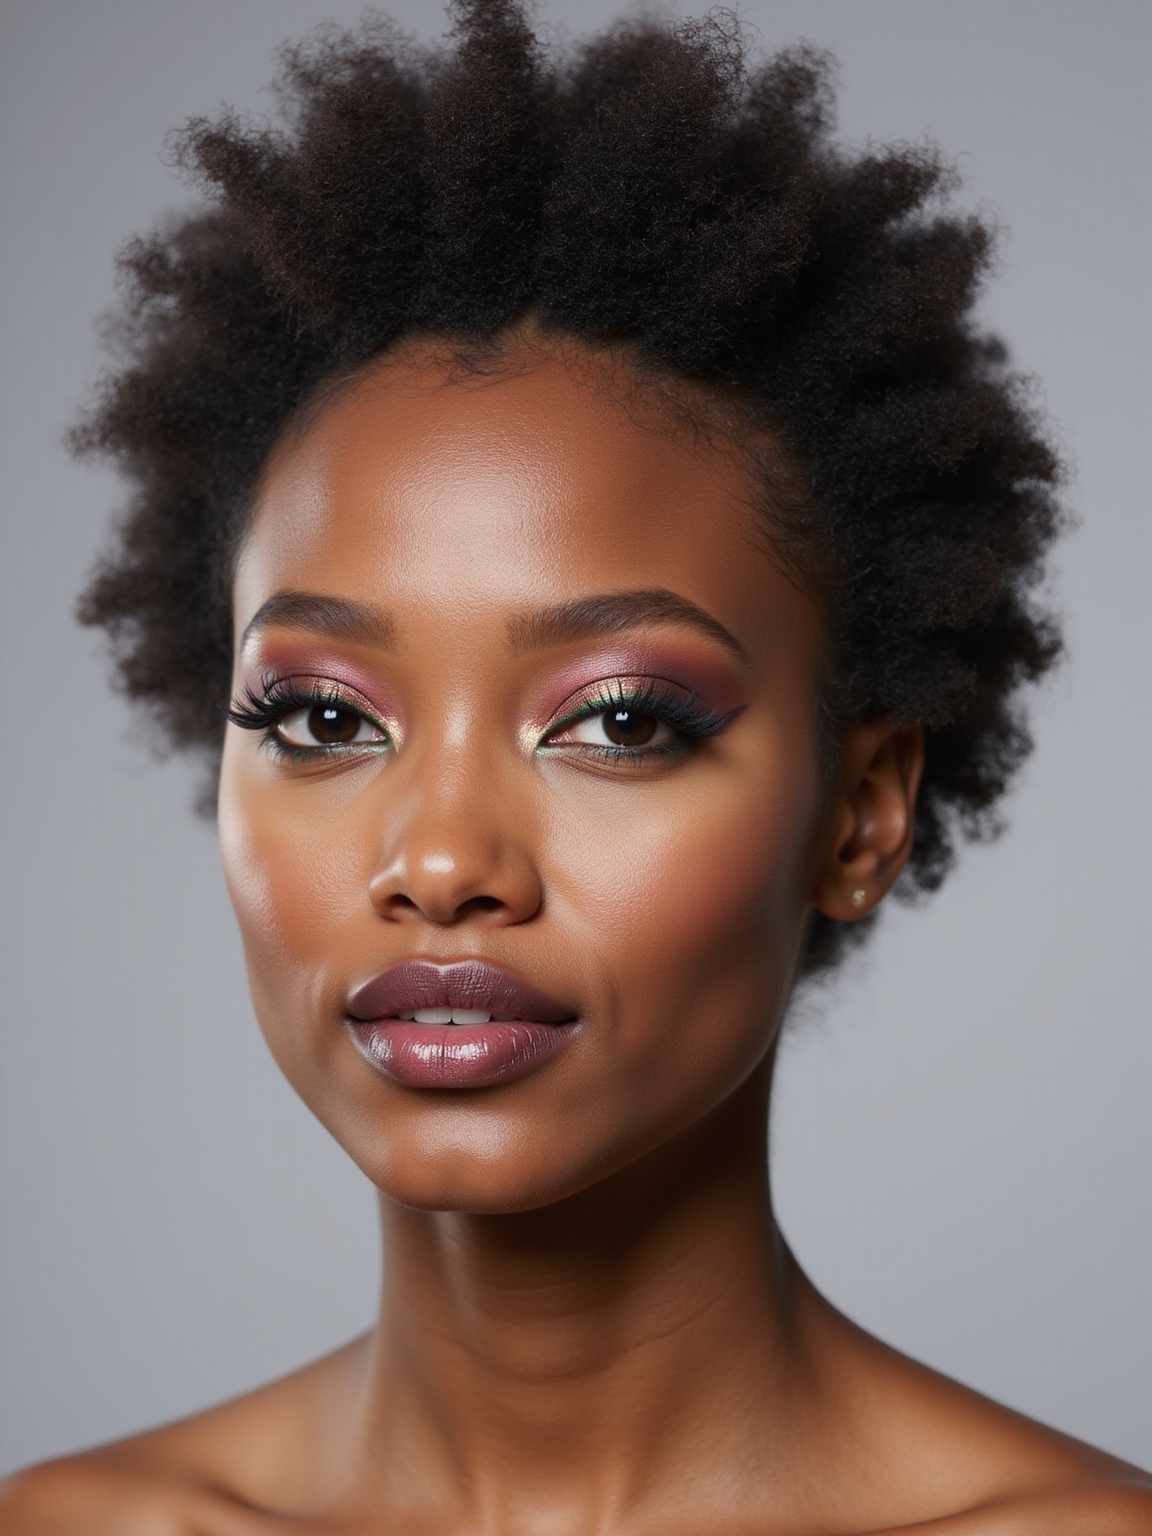
On deeper skin tones, a warm peachy or rosy nude looks more natural than white and still gives that wide-awake brightening effect.
📋Lower-lash kit
- ✓A powder shadow that matches your pencil
- ✓A small pencil or detail brush
- ✓Concealer and powder to tap underneath first
- ✓A cotton swab for clean-up
A One-Brown Monochromatic Eye
You can do a complete, dimensional eye with a single brown shadow if you control how much you use where. It is the best tutorial for travel or a minimal kit.
- Sheer it out with a light hand across the whole lid as your base.
- Pack it on heavier through the crease for depth using the same shade.
- Wet your brush and use the brown as a liner along the upper lashes.
Prep, Press, Place, and Seal for Lasting Wear
Longevity is its own technique, and four steps keep an eye look put from morning to night: prep, press, place, seal. Skipping any one of them is why looks slide or crease.
Prep, Press, Place, Seal
Prep with primer on a clean lid, press cream products on with your finger so the warmth helps them grip, place powder over cream to lock it, and seal liner with a matching powder. Pressing cream shadow on with your finger is the step most people miss.
A light mist of setting spray at the end fuses everything together for the longest wear.
A few terms these tutorials use:
📖Transition shade
A soft mid-tone blended through the crease to bridge your skin and a deeper color.
📖Tightlining
Lining the upper rim at the lash roots so it defines the eye without a visible line.
📖Cut crease
Carving a crisp edge with concealer between the crease color and a clean lid.
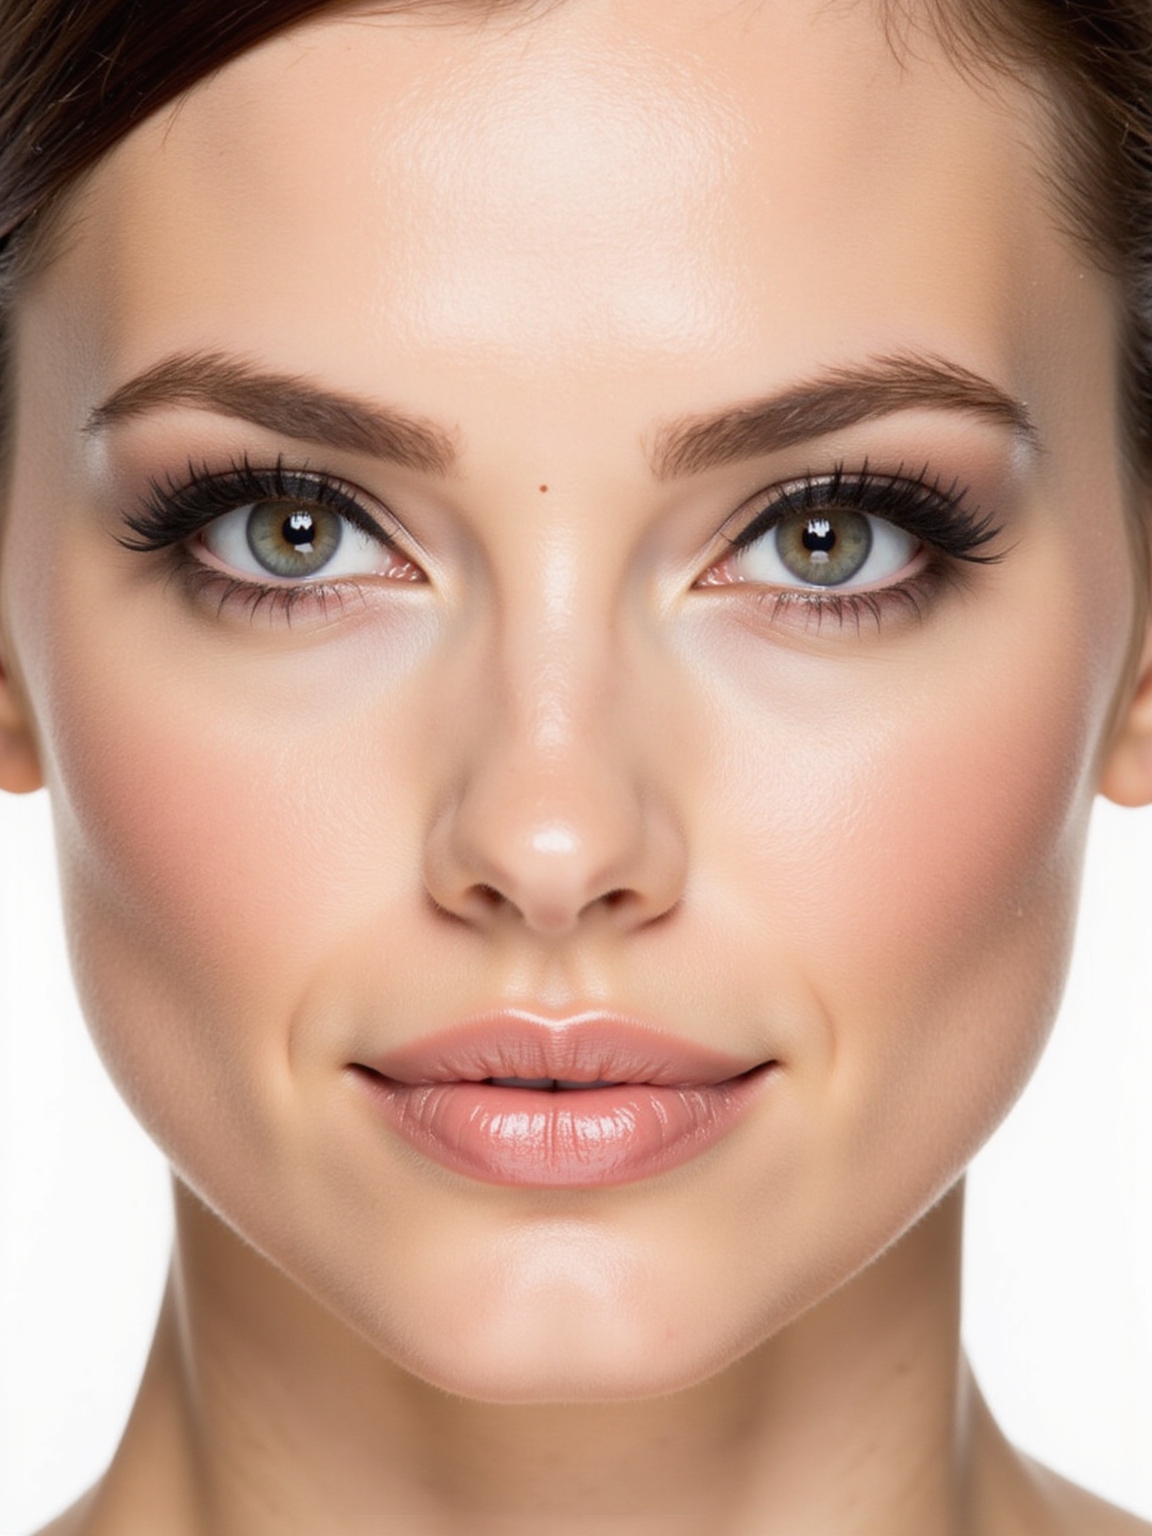
Prep a Clean, Primed, Powdered Lid
Priming and setting is the unglamorous base that decides whether everything on top behaves. A primed lid grips pigment, stops creasing, and makes colors look truer and brighter.
Apply a thin layer of eye primer, or a little concealer, then set it with a dusting of neutral powder so the surface is smooth and tacky-free. That powder step is what gives your brushes something to blend into.
Do this every time and you will notice shadows blend easier, last longer, and stop sliding into the crease, the fix for the most common eye-makeup complaint there is.
Map Liner to Your Eye Shape
There is no single correct wing; the flattering angle depends on your eye shape, and mapping it to your own eyes is the tutorial that changes everything.
- Hooded eyes: keep the line thin and extend the wing past the hood so it shows when open.
- Downturned eyes: angle the wing up sharply to lift the outer corner.
- Round eyes: extend the line straight out to lengthen, rather than flicking up.
Quick check on your liner angle:
1Your lids hood and hide the line when open.
Extend the wing past the hood and keep the line thin so it stays visible.
2Your outer corners angle down.
Flick the wing up more sharply to lift and counter the downturn.
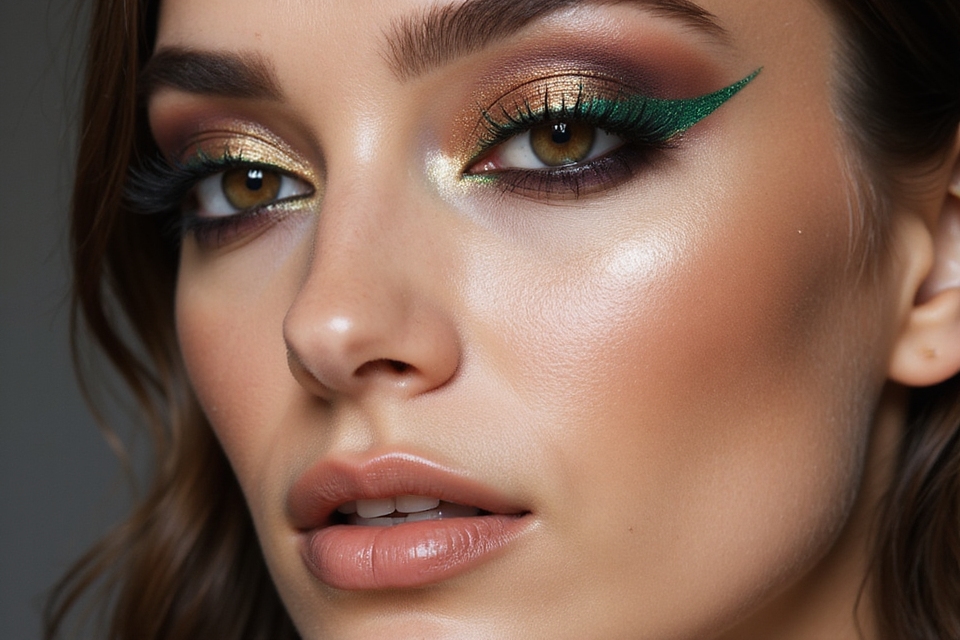
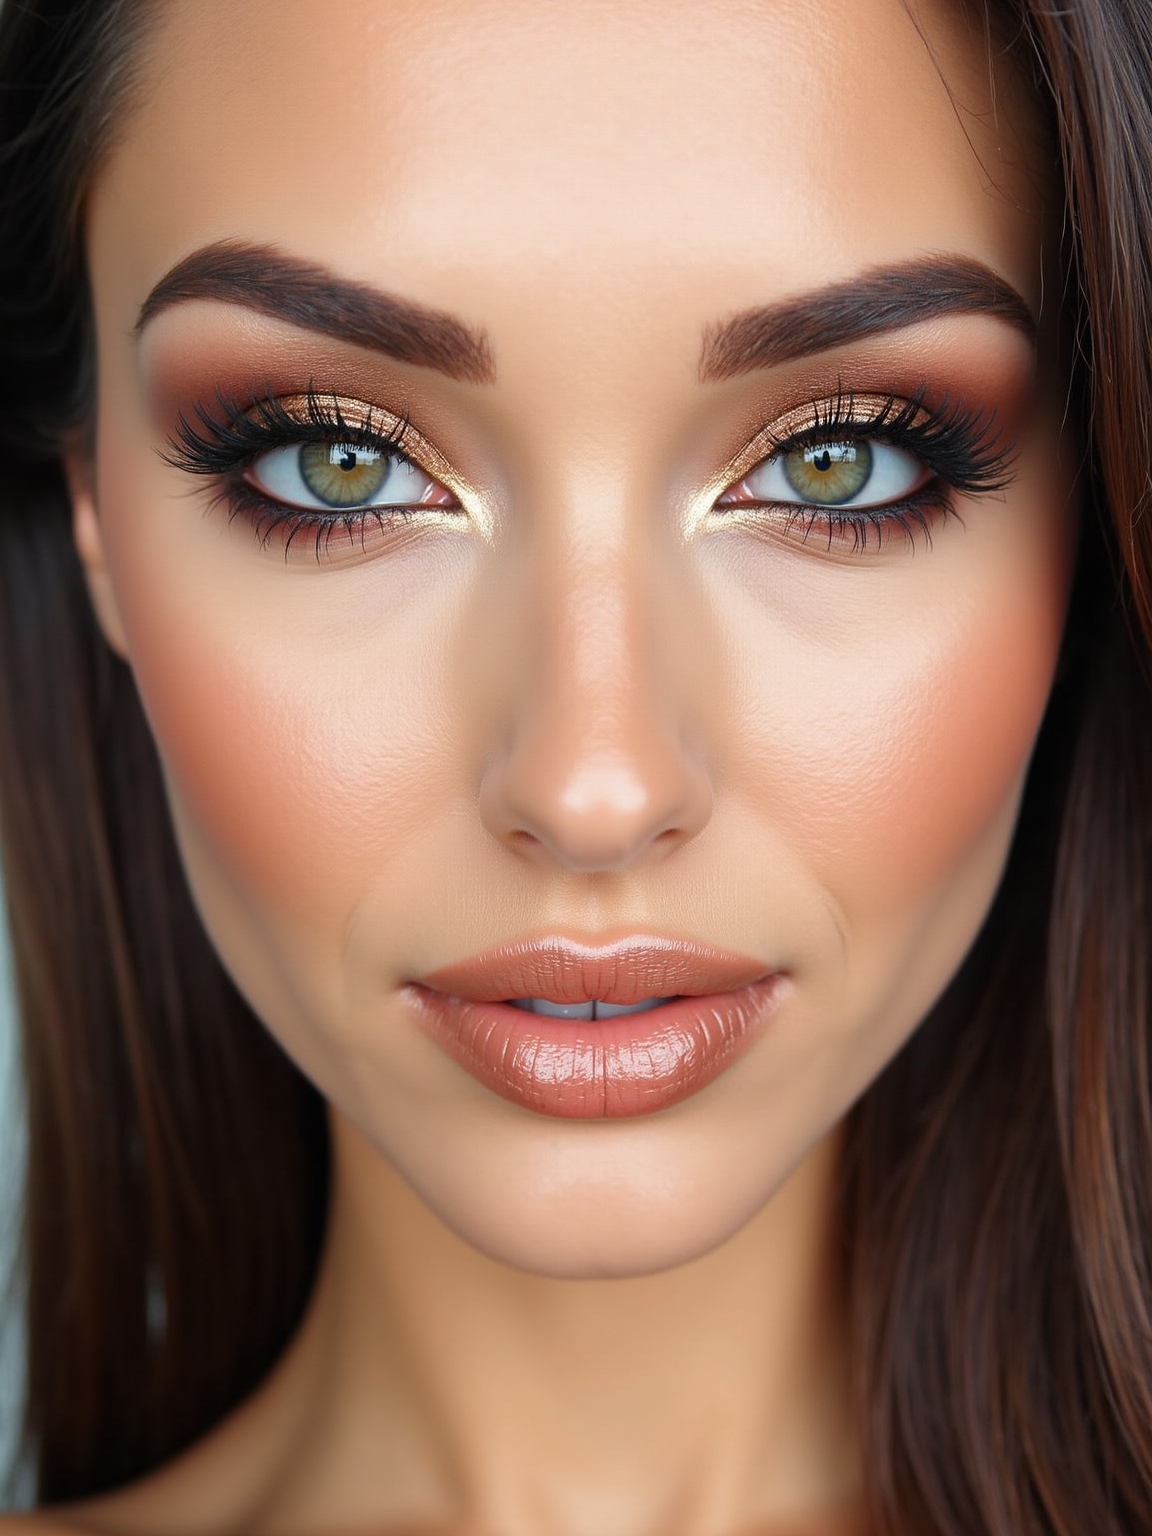
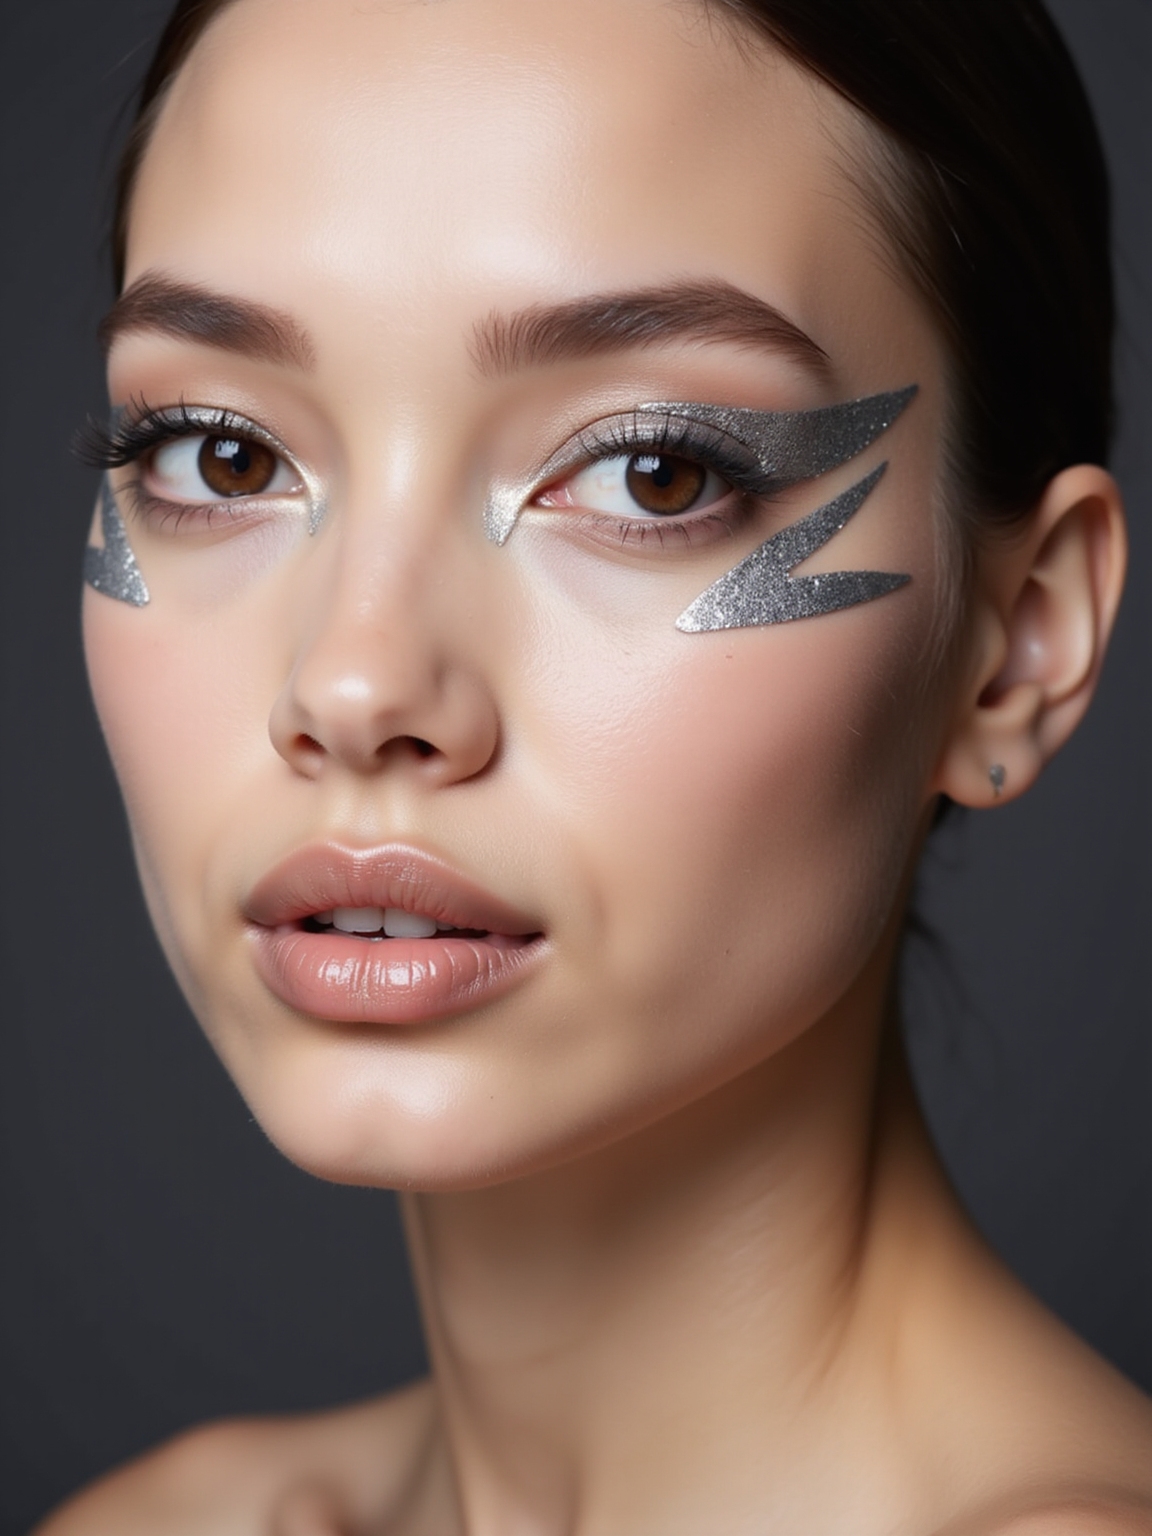
Use Color to Make Your Eyes Pop
Choosing eyeshadow by your eye color is a small trick that makes a real difference, since opposite tones on the color wheel make your iris look brighter:
- Blue eyes pop against warm coppers, bronzes, and peaches.
- Green and hazel eyes brighten with mauve, plum, and burgundy.
- Brown eyes suit almost anything, but deep teal and gold make them glow.
Shade and Blend the Crease Arch
The crease is where an eye look gets its dimension, and shading it well is mostly about brush control and patience. Use a fluffy brush and tap most of the product off before it touches your eye.
Place the shade in the outer half of the crease first, where you want the most depth, then blend inward with small circles so it fades toward the inner eye. Building from the outer corner keeps the depth where it flatters.
Go slowly and in thin layers. A soft, smoothly graded crease is the difference between an eye that looks finished and one that looks flat, and it underpins nearly every look in these tutorials.
Practice Beats Talent Every Time
The thread through all 15 of these is that good eye makeup is learnable: prime first, build in thin layers, blend with a clean brush, and map liner to your own eyes. Master those few fundamentals and every technique here gets faster and cleaner with practice.
Pick one tutorial that has always frustrated you and run through its steps tonight, just to learn the moves. Once the steps live in your hands, you can mix and match them into any look. Try pairing them with a few eye makeup ideas or a fresh eye makeup look to put the skills to work.


