The biggest myth about short hair is that there’s nothing to do with it but wash and go. The opposite is true: a pixie or short bob is the fastest hair to style, because there’s so little of it that a dab of pomade, two pins, or a single clip transforms the whole look in seconds. Short hair doesn’t have fewer options, it has faster ones.
These 15 looks are built for pixies, crops, and short bobs specifically, the slicked-back, the finger wave, the faux bob, the piecey texture, none of which long hair can do half as easily. For each I’ll give you the quick how-to and the one product or pin that makes it work on short lengths. Every one takes under five minutes. Find the one that fits your cut.
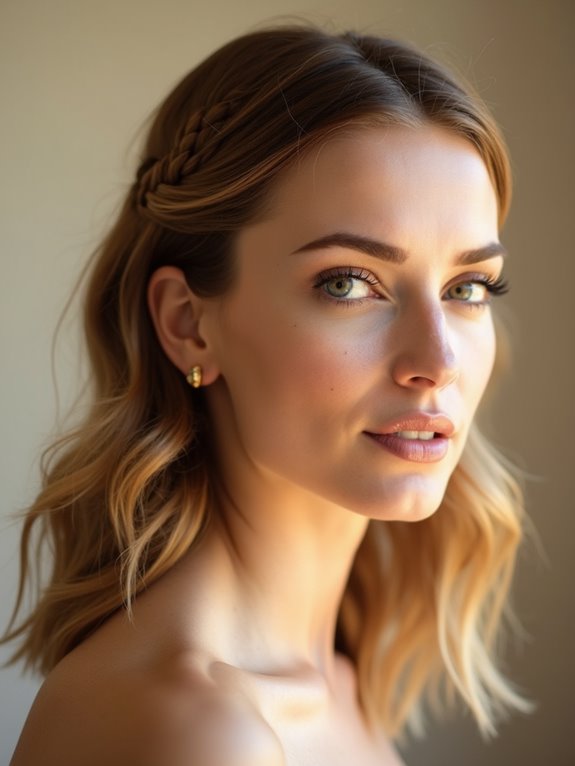
Short Hair, Big Options
- Short hair styles fastest because a little product or one accessory changes the whole look in seconds.
- Texture and hold products do the heavy lifting: pomade, mousse, dry texture spray, and a strong gel for edges.
- A few good clips and bobby pins multiply your options, from a faux bob to a pinned-back twist.
- Short cuts flatter every texture; curly and coily short hair especially thrives with definition and a light hand.
The Twisted Crown That Tucks Bangs
When you’re growing out bangs or just want them off your face, a tiny twisted crown is the short-hair fix, and it takes about a minute. There’s just enough length in the front of a pixie or bob to twist back and pin.
The best fix for grown-out bangs
Take the front sections on each side, roll each one up and back to the crown, then anchor them together with a small bobby pin.
Keep the twists loose so they don’t pull, and on very short hair, two pins criss-crossed hold better than one. It’s the prettiest way to deal with that awkward grow-out stage, and it works on straight and curly short hair alike.
The Hidden Bob, Pinned
If your short hair is a longer bob and you want to test a shorter, sharper one, you can fake it with pins in a couple of minutes, no scissors required:
- Roll the ends of your hair under toward the nape and pin them so the length sits higher, at chin or jaw level.
- Work from the back forward, hiding the pins inside the roll so nothing shows.
- Wave or smooth the hair first for a realistic finish, and check the back so no ends poke out. For real short cuts, my short bob ideas inspire the chop.
Two quick short-hair questions:
1Can short hair really do an updo or a braid?
Yes, just smaller versions. A half-up top knot, a tucked front braid, a low nape twist, and a faux bob all work on pixies and short bobs. You lean on pins and product more than length, but the options are there. The faux bob and finger waves are looks short hair actually does better than long.
2My short hair is fine and falls flat, what helps?
Volume products and texture. Work mousse into damp roots and blow-dry with lift, then add a texturizing paste or dry spray to dry hair for piecey, full movement. Short fine hair takes volume beautifully because there’s no weight pulling it down, so a little product goes a long way.
A Deep Side Part With a Clip
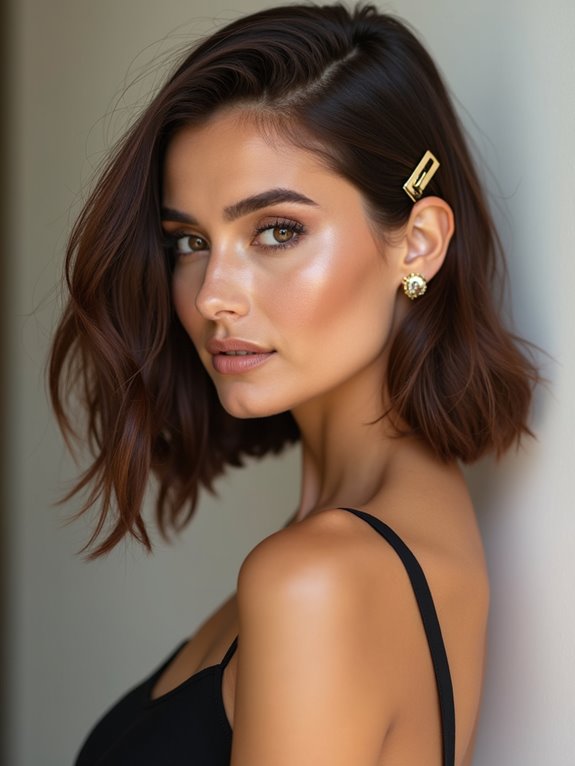
The single fastest way to make short hair look styled is a deep side part and one good clip, the whole look takes ten seconds and reads instantly polished. Short hair is the perfect canvas for a statement clip because there’s nothing to hide it.
It’s the lazy-day style that looks anything but lazy.
- Comb a deep side part, dragging more hair to one side for that sleek, asymmetric line.
- Pin the lighter side back behind the ear with a metallic or pearl clip placed where it shows.
- Smooth the part with a little serum so it stays crisp; one bold clip does all the work.
The Finger-Sculpted Slick Back

The slicked-back look is short hair’s coolest trick, sharp, editorial, and a two-minute style that pixies and short crops wear better than any other length. Pomade is the whole secret.
Why pomade is short hair’s best friend
Work a small amount of pomade or a strong gel between your palms, then sculpt the hair straight back off your face with your fingers, shaping it as you go.
Use just enough product for hold and shine without going greasy, on short hair the smallest amount is plenty. It’s modern and edgy worn fully slick, or soften it by leaving a little texture on top. It’s the look short hair does that long hair simply can’t.
Short hair isn’t the length with fewer options, it’s the one with faster ones. A dab of pomade or a single clip changes everything in seconds.
The Messy Half-Up Top Knot
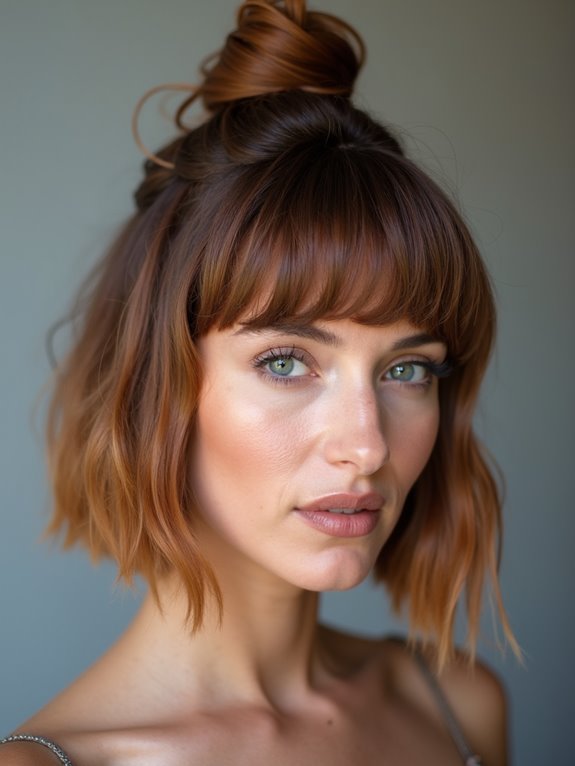
Yes, short hair can do a top knot, a tiny half-up version that’s all the cuter for being small. It gets your front pieces up and adds a playful little detail in seconds:
- Gather just the top section of hair, twist it into a small knot, and secure with a tiny elastic or a clip.
- Leave the rest down, and don’t worry if it’s a half-knot of barely-there hair, that’s the charm on short cuts.
- Tug a couple of pieces free near the face and spritz texture spray so the little knot has grip and looks piecey.
The Second-Day Low Roll
A low twisted roll at the nape is the most elegant thing short hair can do, and it works best on second-day hair, which has the grip to hold a roll that fresh, slippery hair won’t:
- Twist the lower length under and in toward your neck, rolling it into a soft shape, and pin it along the roll.
- On short hair, use plenty of small pins tucked inside the roll, since there’s less length to anchor.
- A mist of texture spray or dry shampoo first gives the roll grip; leave a few face pieces loose to soften it.
The Twist-and-Glide Loose Bend
Soft bends are the most flattering way to wear short hair down, a little movement so it doesn’t sit flat, and the twist-and-glide flat-iron trick gets there in minutes without real curls:
- Take a section, twist it, then glide a flat iron down the twist to set a soft, natural bend rather than a curl.
- Alternate the twist direction on different sections for an undone, piecey wave.
- Separate the bends with your fingertips and a touch of oil so they fall soft and undone rather than styled.
The Tucked Front Braid
A little braid along the front hairline is a sweet way to add detail to short hair and keep the front out of your eyes, and it suits pixies and bobs that have enough length up top to braid.
It’s a small touch that makes a simple short style look considered.
- Take a section at the front, braid a basic three-strand back along your hairline, and pin the end behind your ear.
- Tuck any short ends under the braid or pin them flat so nothing sticks out.
- Keep the braid loose and gentle on your hairline; it’s a pretty alternative to a clip for taming the front.
Voluminous Roots With Mousse

Sometimes the best short style is just your cut with serious root volume, which makes a blunt bob or pixie look full, fresh, and intentional. Short hair takes volume beautifully because there’s no length weighing the roots down.
Mousse is the product that does it.
- Work a palmful of mousse into damp roots, then blow-dry, lifting the roots up and away with your fingers or a brush.
- Flip your head upside down for the last blast of air to maximize the lift.
- A blunt cut especially shines with big roots, where the volume plus the sharp line reads polished and modern.
The Low Nape Pin Twist
This is a tiny, elegant detail for very short hair: twisting the hair at the nape up and pinning it flat for a clean, sculpted finish that looks deliberately styled. It’s the kind of refined touch short hair does so well:
- Gather the lower nape section, give it a small twist upward, and pin it flat against the head.
- Use bobby pins that match your hair color so they disappear into the twist.
- It works as a subtle accent on a pixie or to clean up the back of a short bob for an event.
🅰️Sleek and Sculpted
A slicked-back, a deep side part with a clip, or finger waves read sharp, editorial, and grown-up, and short hair wears them better than any length, but they need the right product (pomade or strong gel) to hold.
🅱️Soft and Textured
Piecey texture, soft bends, or tousled curls read undone and modern and take thirty seconds, but on fine short hair they need a texturizing product to keep movement and grip.
Sculpted Edges With a Spoolie

On short hair, sculpting the edges and any baby hairs is a small move with a big polishing payoff, the detail that makes a quick style look finished and intentional. It’s especially lovely on short curly and coily cuts.
Use a pea-sized amount of a strong-hold gel or edge control on a clean spoolie or an old toothbrush, then sculpt the edges into soft swoops or keep them sleek along your hairline.
Less is more here, a little gel goes a long way, and you can shape baby hairs into delicate curves or just smooth them flat. Be gentle with your actual edges, since they’re delicate, and this turns even a wash-and-go pixie into a finished look.
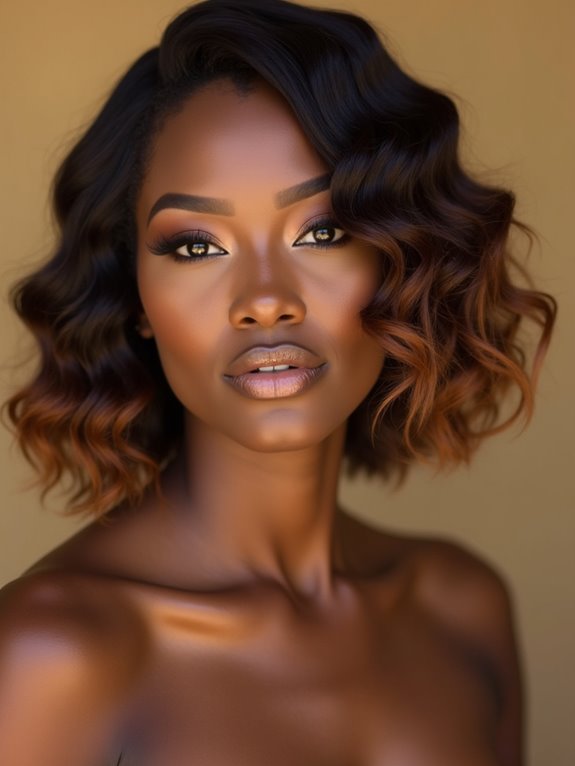
Piecey, Textured Short Hair
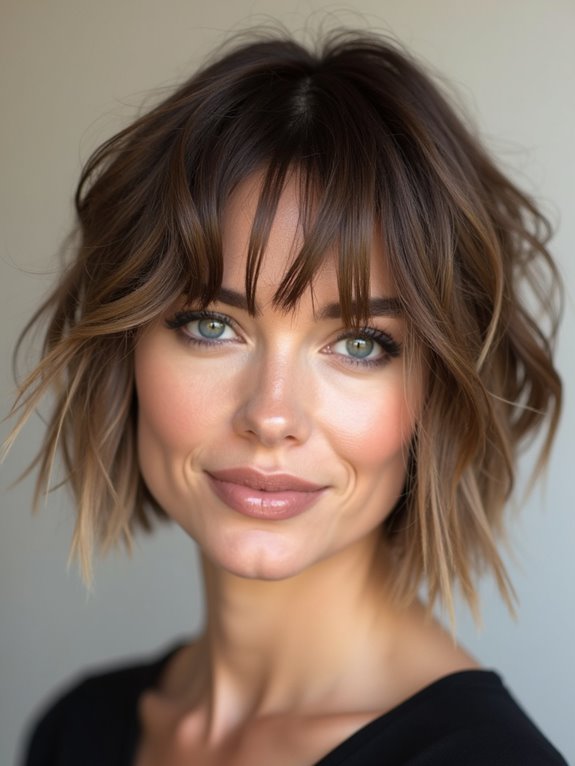
The most modern way to wear short hair down is piecey and textured, separated, undone, and full of movement rather than smooth and flat. It’s the look every cool short cut has, and it takes one product and thirty seconds.
Work a texturizing paste, clay, or dry texture spray through dry hair with your fingers, pinching and separating the ends to define the pieces and rough up the shape. The point is intentional messiness, so don’t smooth it. It suits pixies, crops, and short shags especially, where the layers come alive with a little texture, and it’s the lowest-effort, highest-impact way to style short hair down.
The Teased Side Pompadour
For a bold, retro-cool short style, a side pompadour sweeps the front up and back with height and drama, and short hair is the classic length for it. It’s striking, a little edgy, and faster than it looks:
- Tease the hair at the crown and front for height, then sweep it up and back to one side.
- Pin it in place underneath where the pins won’t show, and smooth the top with a little pomade.
- Keep the sides sleek so the lifted front is the focal point; a strong-hold spray locks the height in.
Not sure where to start? Pick by your cut and mood:
🎯Edgy and cool
A finger-sculpted slick-back or a teased side pompadour.
🎯Pretty and polished
Finger waves, a deep side part with a clip, or a low nape twist.
🎯Soft and everyday
Piecey texture, soft bends, or a half-up top knot.
🎯Natural curls
Refreshed, tousled curls with defined, fluffed roots.
Sculpted Short Finger Waves

Finger waves are the most glamorous thing short hair can do, those sculpted, old-Hollywood S-waves that were practically invented for bobs and crops. They look intricate but are pure product and patience.
Why finger waves were made for short hair
Work a strong gel through damp hair, then use a comb and your fingers to press the hair into deep S-shaped ridges, pinning each wave to hold as it sets.
Let it dry fully (or sit under a dryer) before removing the pins, and the waves hold sculpted and shiny. It’s a showstopper for an event and one of the few looks that truly flatters short hair more than long. For the technique on any length, my short hairstyle guide has more.
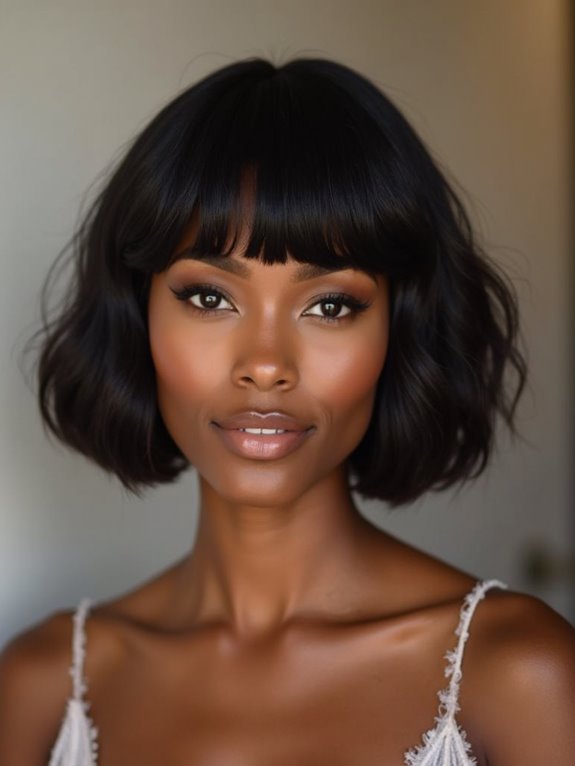
Tousled Short Curls in Seconds
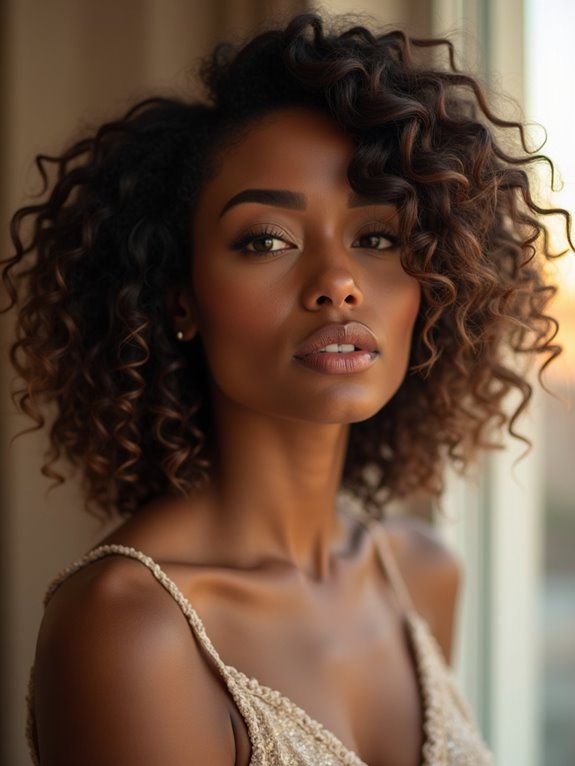
For naturally curly or coily short hair, the fastest beautiful style is just enhancing what’s there, defined, tousled curls that take a refresh and a fluff rather than any real styling:
- Mist with water or a curl refresher, scrunch in a little leave-in or cream, and let the curls spring back to life.
- Fluff the roots gently for volume and shape the pieces with your fingers rather than a brush.
- Keep the product light so short curls stay bouncy, not crunchy; my curly styling guide goes deeper on definition.
How to Get the Look
The thing that makes short hair so fast to style is also the thing that catches people out: with so little length, product does the work that pins and ties do on longer hair. So the real key to all of these is having the right few products and a light hand.
A pomade or clay gives you the slick-back and the piecey texture; a mousse gives you root volume; a strong gel handles finger waves and sculpted edges; and a dry texture spray makes everything else grip and look piecey.
Use a little less than you think, since short hair goes greasy or crunchy fast, and build up if you need more. A handful of good clips and color-matched bobby pins round out the kit and open up the pinned looks, the faux bob, the twisted crown, the nape twist.
Two more things worth knowing. First, second-day hair styles best here too, freshly washed short hair is slippery and won’t hold a twist or a roll, so a little dry shampoo or texture spray fixes that. Second, even though short styles are low-tension, be gentle when you sculpt baby hairs or pin the front, since the edges and hairline are delicate at any length.
Get the products right and keep the hand light, and you’ll have a whole rotation of looks, slick, textured, waved, pinned, that each take under five minutes. Short hair was never the limited option; it’s the fast one. For longer-length ideas, my easy medium-hair styles and my other easy hairstyle looks cover the rest.
Easy Short Hairstyles, Answered
?What are the easiest styles for short hair?
A deep side part with a clip, a finger-sculpted slick-back, piecey texture, and refreshed curls are the fastest, all under two minutes. They rely on a dab of product or one accessory rather than any skill. For something dressier, finger waves or a low nape twist take a little longer but look special, and a faux bob fakes a whole new cut with pins.
?Can short hair do braids and updos?
Yes, in smaller versions. A tucked front braid, a half-up top knot, a twisted crown for bangs, and a low nape twist all work on pixies and short bobs. You use more pins and product and less length, but the looks are absolutely doable, and a faux bob even fakes a shorter cut entirely with strategic pinning.
?How do I add volume to fine or flat short hair?
Mousse and texture are the answer. Work mousse into damp roots and blow-dry while lifting them up and away, flipping your head for the last blast of air. Then add a texturizing paste or dry spray to dry hair for piecey fullness. Short fine hair takes volume well, since there’s no length weighing the roots down.
?Does short hair work for curly and coily textures?
Beautifully. Short curly and coily cuts thrive with definition and a light hand, refresh with water and a little leave-in, fluff the roots, and shape the pieces with your fingers. Sculpting the edges with a touch of gel adds polish. The key across all short curly styles is keeping product light so the curls stay bouncy rather than crunchy.
Short Hair, Endless Easy Looks
If you take one thing from these 15, let it be that short hair is the most underestimated length there is. It does sharp, editorial looks like a slick-back and finger waves that long hair can’t touch, it fakes a whole new cut with a few pins, and it goes from sleek to textured to waved with one swap of product, all in under five minutes. The short-hair myth, that there’s nothing to do with it, is exactly backwards.
Build a small kit, a pomade, a mousse, a strong gel, a texture spray, and a few clips and pins, and keep your hand light, since short hair shows every excess of product. Pick a few of these that suit your cut and your mood, get them automatic, and your short hair will never be a one-look style again. Which one are you trying first?