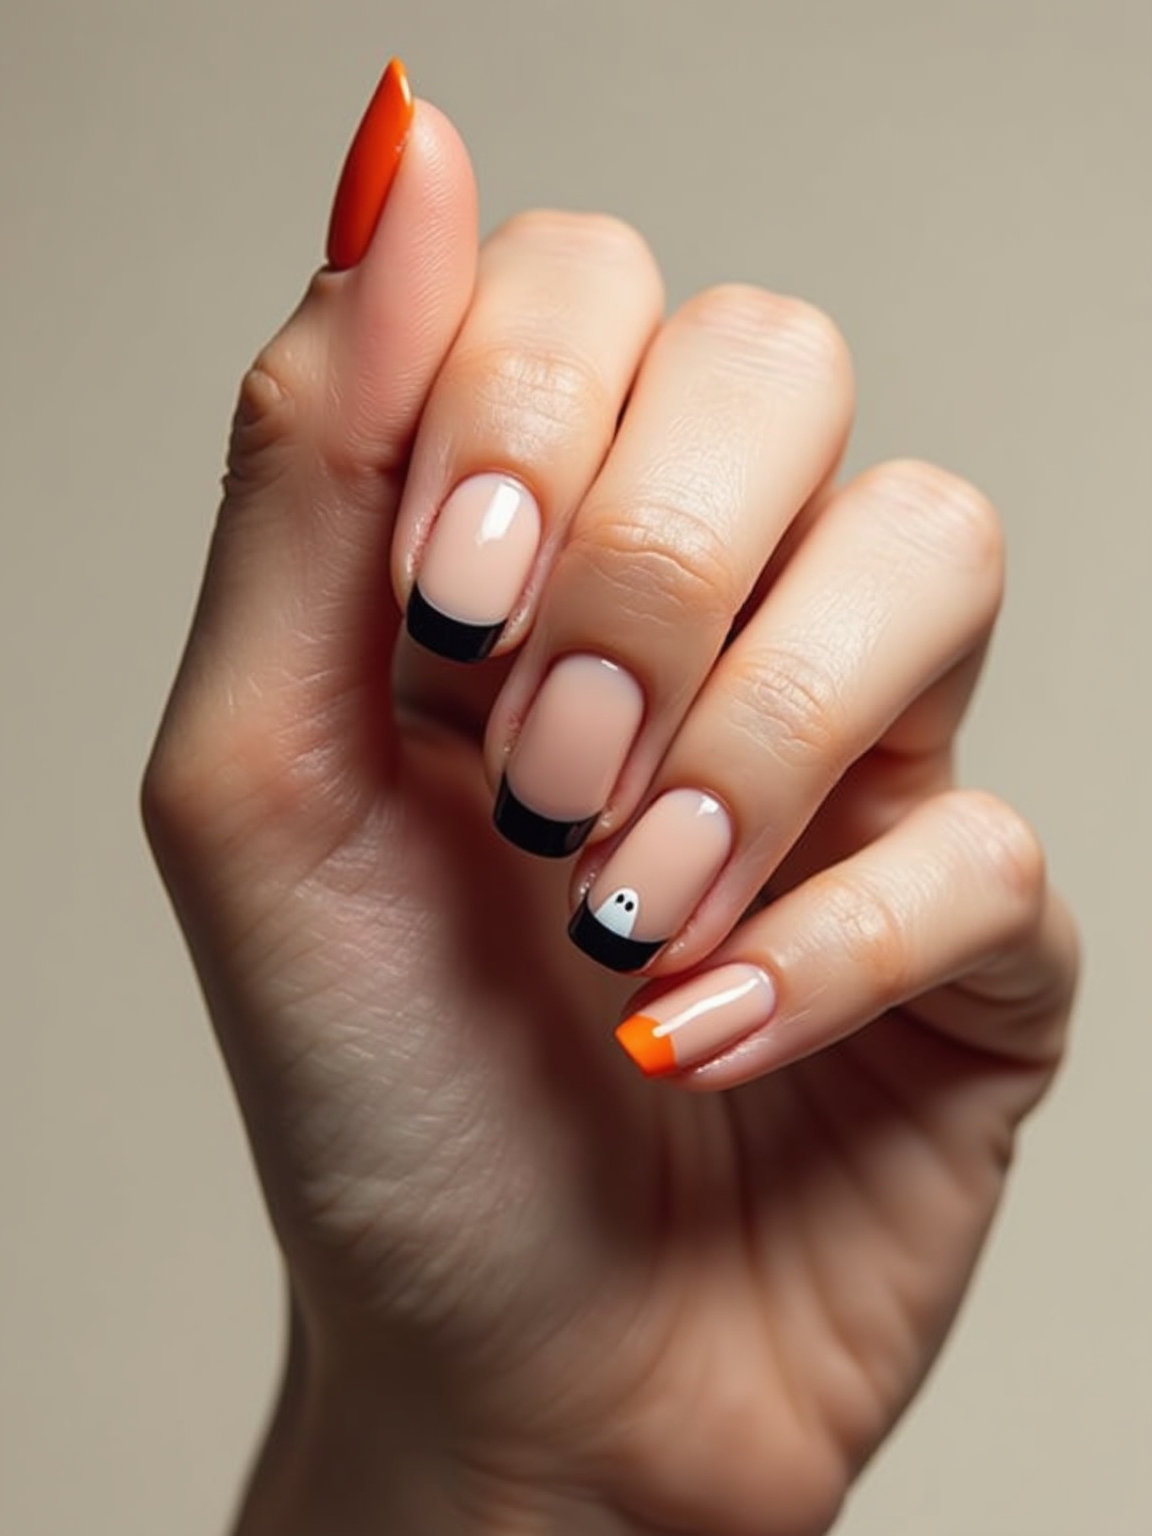
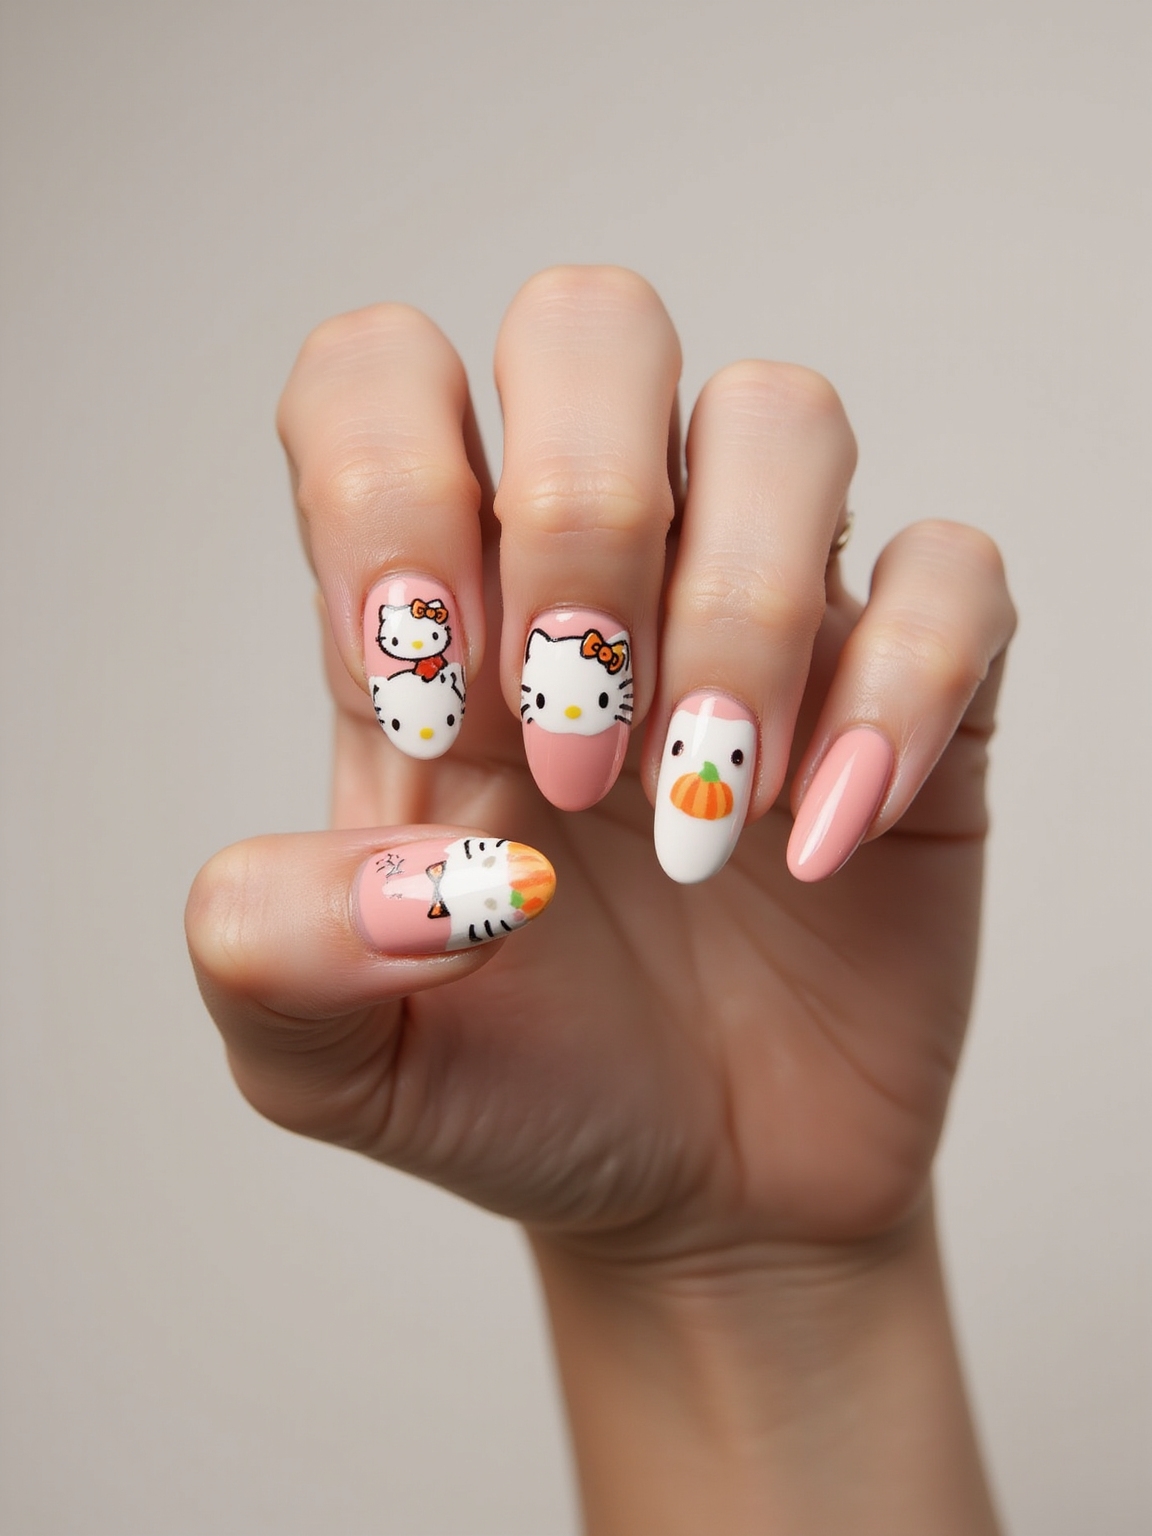
A regular of mine used to think Hello Kitty nails meant committing to a whole cartoon on every finger. Then I painted her a single soft French tip with one small bow on the ring finger, and she has come back for a version of it every few weeks since.
That is the thing about hello kitty nails: the charm scales from a whisper to a full statement, and both can look grown. Below are the designs I actually paint for real clients, from barely-there outlines to sculpted 3D bows, with honest notes on wear, cost, and which ones you can manage at home.
The Short Version
- The most wearable versions use Kitty as an accent on one or two nails at most.
- Decals and stamps get you a clean face in minutes; hand-painting takes practice but lasts longer.
- Budget roughly $8 to $20 for press-ons or DIY supplies, and $45 to $75 for a hand-painted gel set.
Pastel French Tips With Hello Kitty Accents
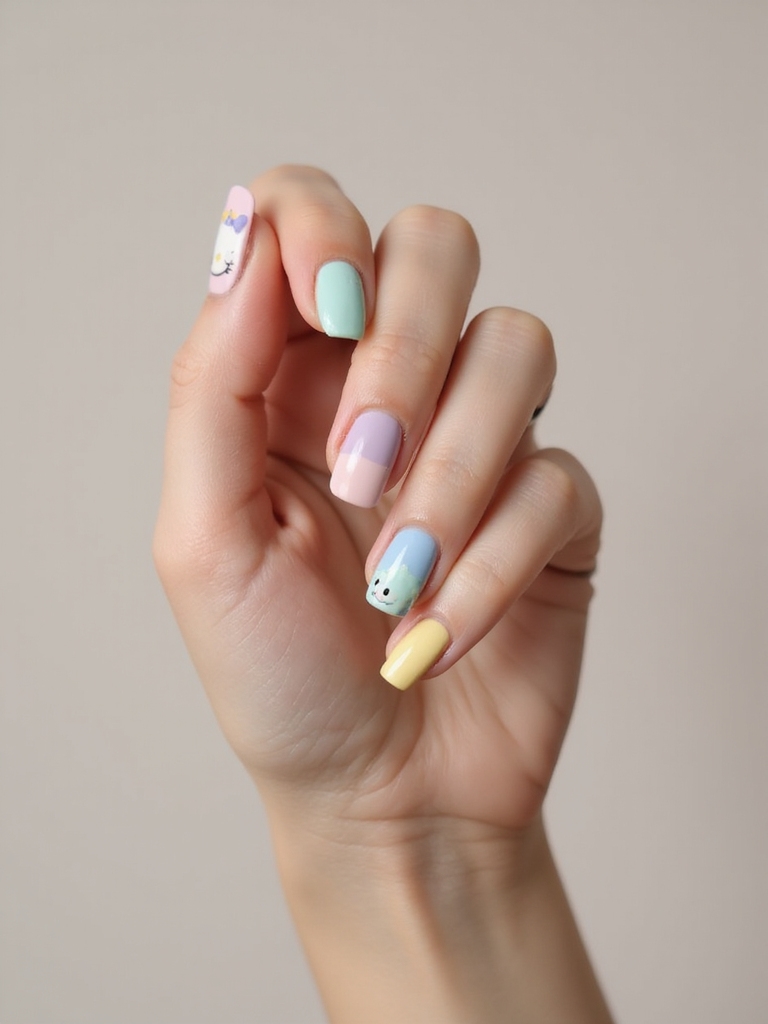
Swapping the stark white of a classic French for a soft pastel is the easiest way to make these look polished and grown-up. I reach for mint, lilac, butter yellow, or baby blue at the smile line, then add a tiny bow or whiskered face on just one or two nails. The clean French shape does the adult work, and the Kitty accent keeps it sweet.
Getting a Clean Smile Line
Keep the lengths short and the smile lines crisp, because a wobbly French undoes the whole polished effect. I use a decal for the face if a client is new to nail art, or a fine brush if she wants it hand-painted. Either way it seals under a glossy top coat and stays photo-ready for about a week in polish.
The rest comes down to proportion, which is where the smile line earns its keep.
Minimalist Outline Hello Kitty Faces
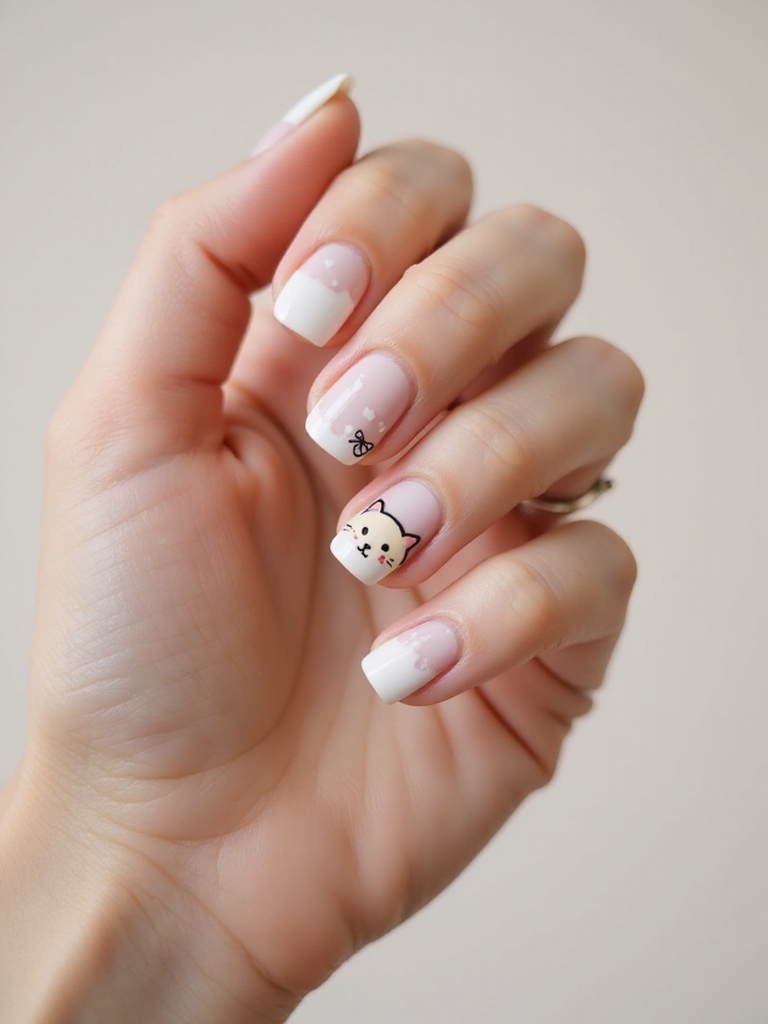
For anyone who finds full nail art too loud, a thin outline is where I always start. I sketch a single line drawing of Kitty’s bow and ears with an ultra-fine brush, and keep the surrounding nail clear so the design has space to sit. Negative-space whiskers keep the whole thing airy and modern.
This one suits short, natural nails and anyone whose job frowns on bold manicures. It is subtle enough to pass at the office and still unmistakable up close. If delicate is your lane, it sits right alongside other barely-there nail ideas you can wear anywhere.
Sculpted 3D Bows and Glossy Pearls
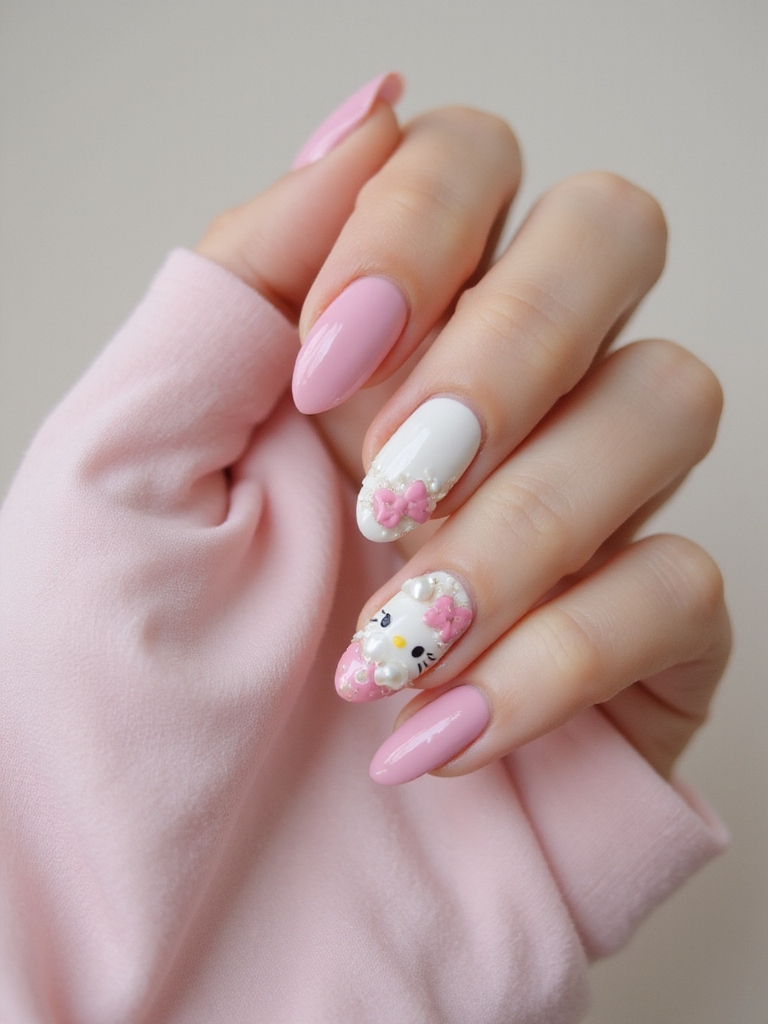
Sculpted bows and glossy pearls turn a simple manicure into a statement set. The catch is bulk. Pile them on and your nails snag on everything you touch. I anchor one 3D bow on each ring finger and cluster a few tiny pearls along a cuticle, then leave the rest of the hand clean so the drama has room to breathe.
These are a commitment. Built in gel or acrylic, a sculpted set like this runs $50 to $75 in a salon chair and wears for two to three weeks, though the raised charms catch on hair and sweaters, so I point anyone with a hands-on job toward a flatter version. If you love dimension, the wider world of 3D nail art has lower-profile options too.
- Anchor one 3D bow per hand so the set stays balanced
- Cluster pearls along the cuticle, where they snag less than at the tip
- Pair a matte base with glossy charms so the pearls catch the light
Pink Chrome Hello Kitty With Charms
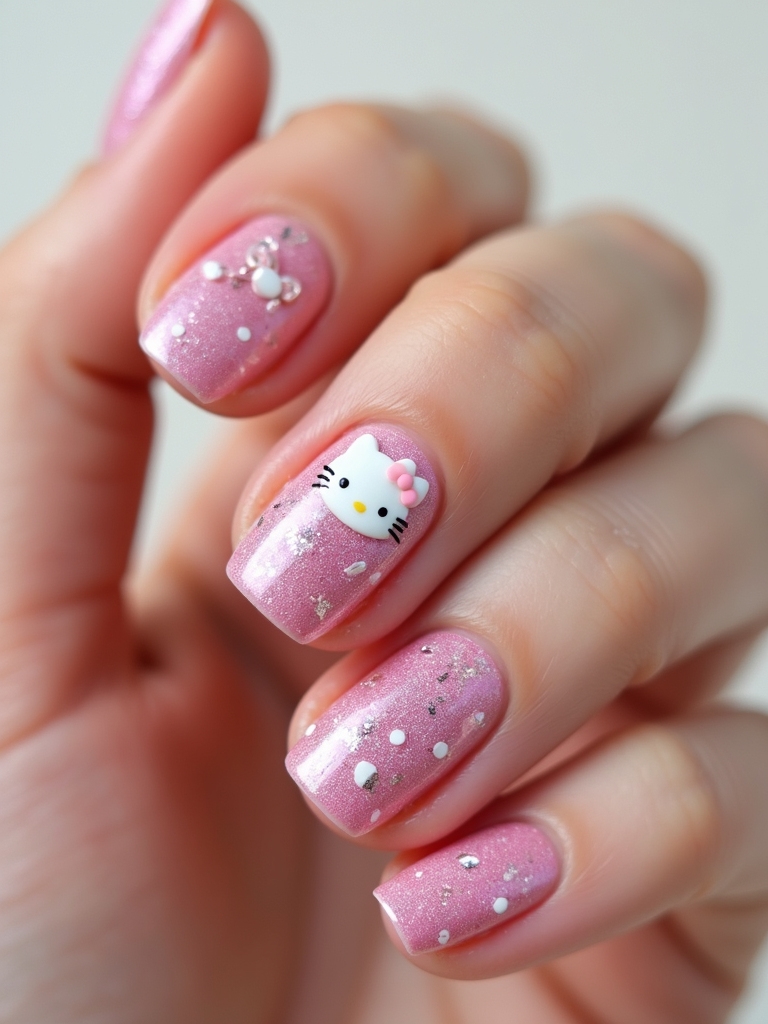
Pink chrome is the finish clients request by name this year. It starts with a gel base, then chrome powder buffed over the top for that mirror shine that catches every bit of light. A soft pink keeps Kitty sweet while the metallic surface modernizes the whole thing. The effect is glassy.
I add crisp bow accents on a couple of nails and, if someone wants more, a few 3D charms for dimension. Chrome lives on a smooth base, since the mirror finish magnifies every ridge underneath, so I buff longer than usual before the powder goes on. The prep is the real work here.
Chrome also needs a good gel top coat to stay glassy; without it the shine dulls within days. Expect a chrome set to run $45 to $65 and last around three weeks with proper capping.
Candy-Striped Hello Kitty Nails
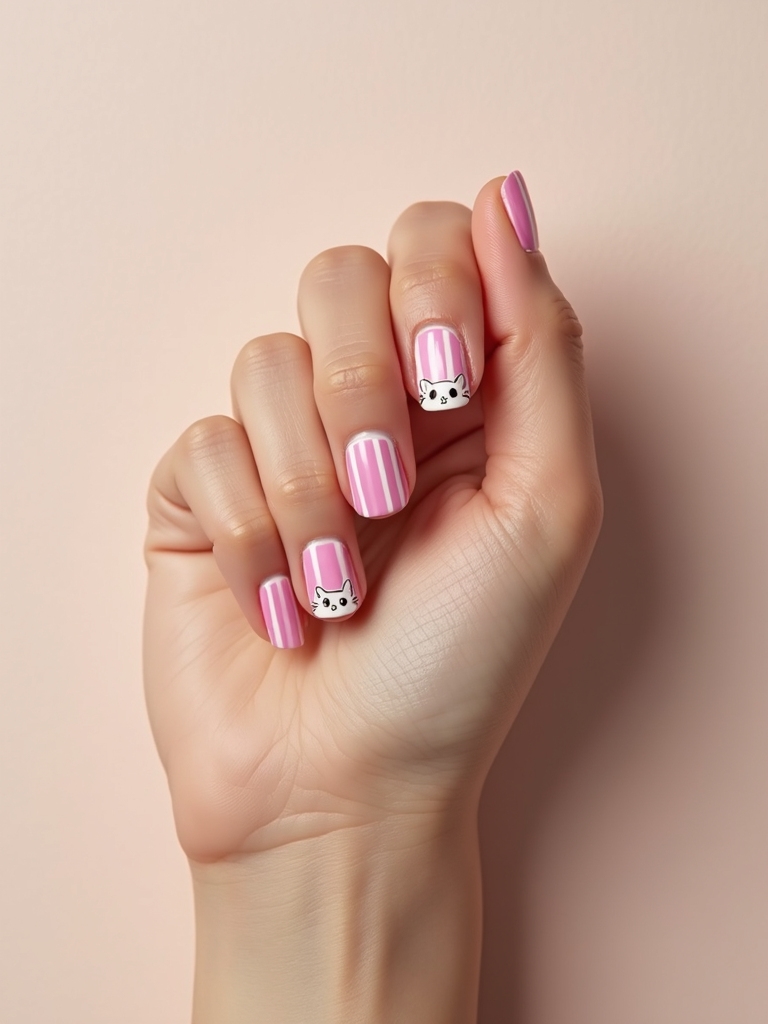
Stripes are the most forgiving pattern for a shaky hand, so they are what I teach first. I pair peppermint or bubblegum stripes with tiny Kitty stickers for cheerful contrast, painting two base coats, then laying the stripes with a thin brush or striping tape for crisp lines.
Tape or Freehand?
Mix pastels, brights, or the classic red-and-pink, and alternate which nails get stripes versus a sticker so the set does not get busy. It is quick and wearable for a weekend or a date.
The finish is where beginners lose it, so keep a top coat handy for the stickers.
Heads-Up
Chrome powder shows every imperfection beneath it. Buff the nail truly smooth and cap the free edge, or the mirror finish will magnify ridges and start to lift early.
Sheer Milk Bath With Kitty Charms
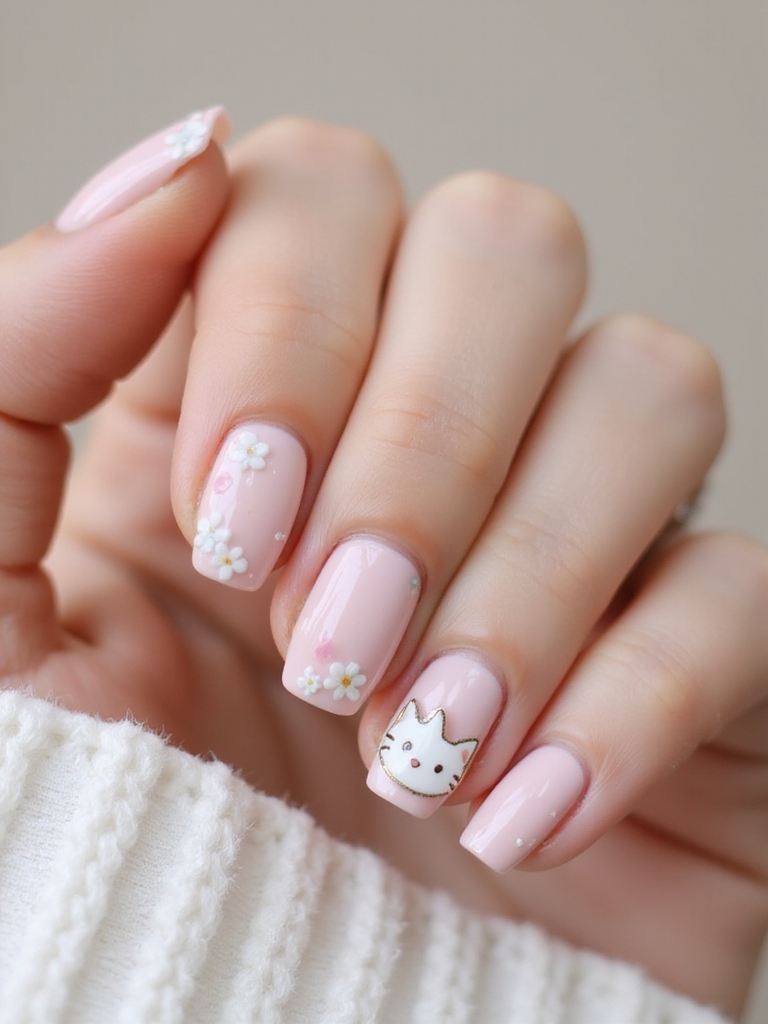
Milk bath nails start with a sheer, milky base that suits deep and fair hands alike. The translucency lets tiny Kitty charms and pressed floral bits float just under the surface like they are suspended in milk. It looks soft and romantic and stays light on the hand.
Why It Works on Every Hand
Build it in thin gel layers, dropping the charms between coats so they sit embedded under the surface. A glossy top coat smooths everything flat. On deeper skin tones, a slightly warmer milky base looks more natural; a cool white can go a little ashy.
That adaptability is exactly why I hand this look to clients across the whole tone range.
Negative Space Kitty Outlines
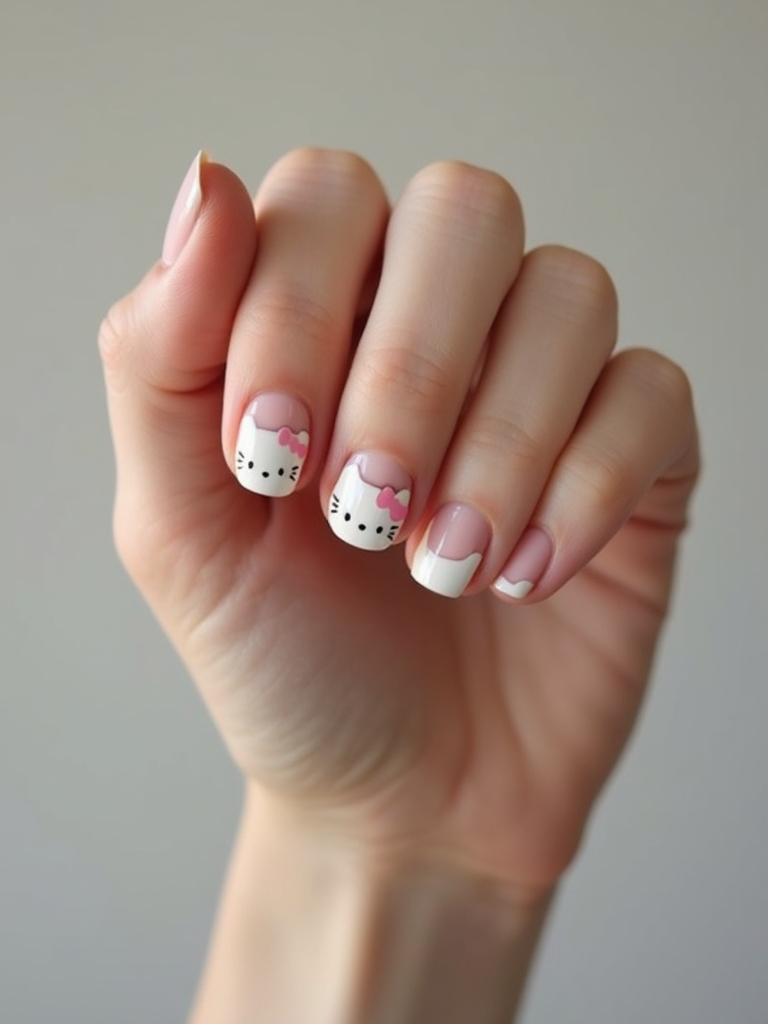
Negative space is the grown way to wear a cartoon. I outline Kitty’s bow, ears, and whiskers in white or black gel and leave the natural nail bare around them. You get shine, shape, and breathing room all at once.
It works beautifully on almond tips with a small side cutout, or as a single accent nail on an otherwise clear set. Because so much nail stays bare, it grows out gracefully, and you will not see an obvious regrowth line for a couple of weeks.
That slow grow-out is the practical reason I suggest it to anyone who cannot get to a salon often. Sealed with a good top coat, a negative-space set stretches comfortably to three weeks.
Not sure which Kitty look fits your week? Match the vibe:
1You need it to pass at work
Go minimalist outline or a sheer milk bath
2You want a statement for a night out
Reach for sculpted 3D bows or pink chrome
Pastel Checkerboard With Kitty Art
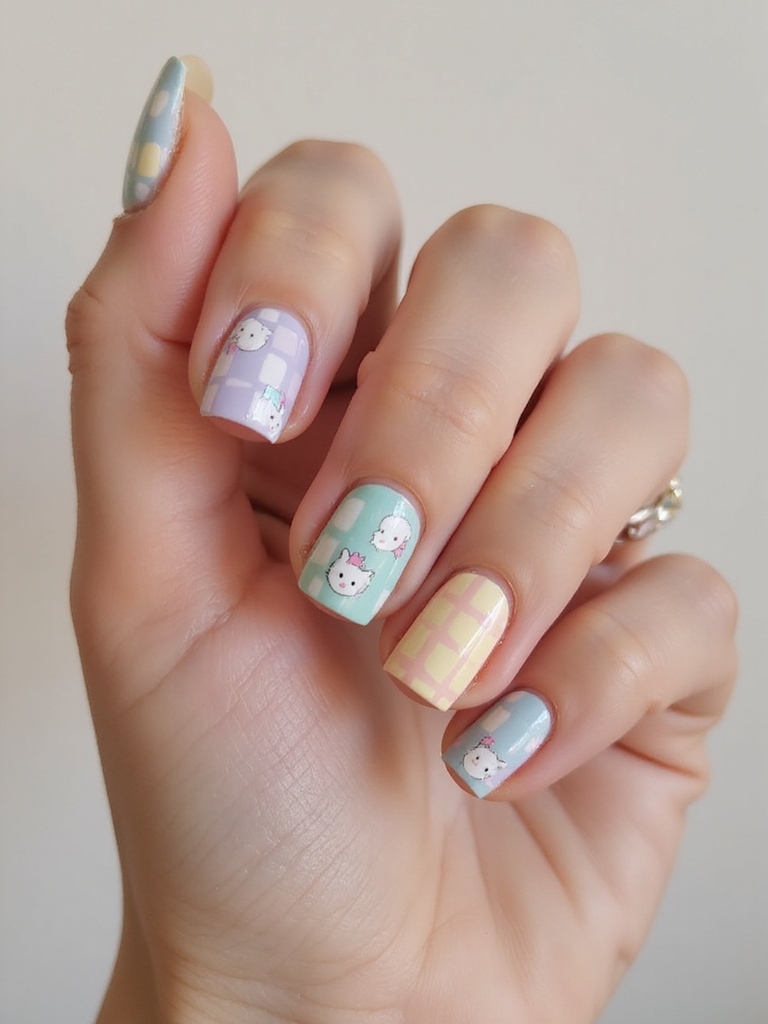
A pastel checkerboard softens a graphic pattern into something sweet. I mix mint, lilac, and buttery yellow squares, anchor them with crisp white outlines, and drop a Kitty accent on one nail so the grid does not feel cold. It works on short or long nails equally.
The whole thing depends on even squares, which means a fine liner and a patient hand, or micro-check tips if full coverage feels like too much.
- Alternate two pastels per nail for a clean checker
- Outline each square with a fine liner so the colors stay sharp
- Place the Kitty accent on a single nail, not every finger
Hello Kitty Ombré Hearts
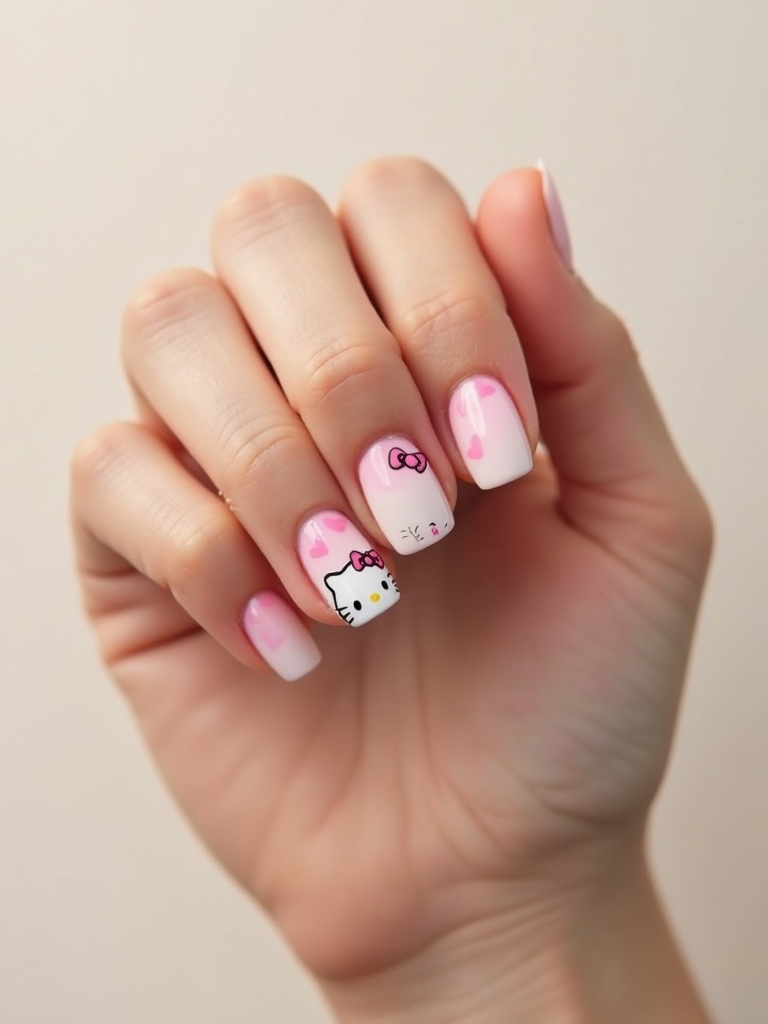
Ombré hearts are what my desk fills up with every February. I blend a blush-to-peony gradient base, layer soft heart silhouettes over it, then drop one crisp Kitty accent to anchor all that sweetness on a single feature nail.
Keep the hearts sheer and varied in size so they look hand-scattered across the nail. Milky pinks, sheer whites, or a lavender tip all work as the base. Stickers are the shortcut; hand-painted bows are the upgrade.
This is a soft, romantic set that suits Valentine’s, an anniversary, or just a pink mood in the dead of winter. In polish it lasts about a week, and in gel closer to three.
Milky Pastel Polka Dots With Kitty Stamps
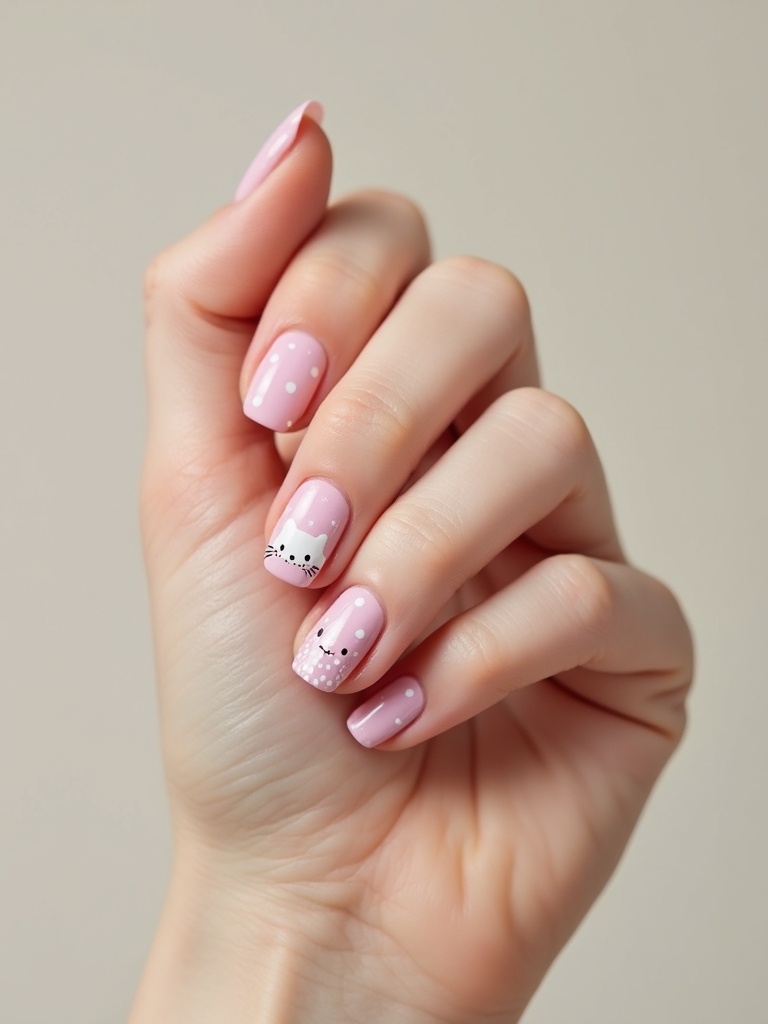
Dots are the most beginner-proof art there is, which makes them my go-to suggestion for anyone painting Kitty nails for the first time. I start with a milky base, scatter pastel confetti dots with a dotting tool, then stamp a tiny Kitty face near a couple of cuticles for a peekaboo effect. Varying the dot sizes keeps it playful and loose, and a top coat locks the whole thing down for the week.
- Use the round end of a bobby pin if you do not own a dotting tool
- Vary dot sizes so the pattern looks hand-done, not printed
- Stamp the Kitty face near the cuticle for a peekaboo look
💡Pro Tip
For a natural gradient, sponge the two pinks on while both are still wet and dab where they meet. Blending dry polish only muddies the fade.
Nude Base With a Red Bow Feature
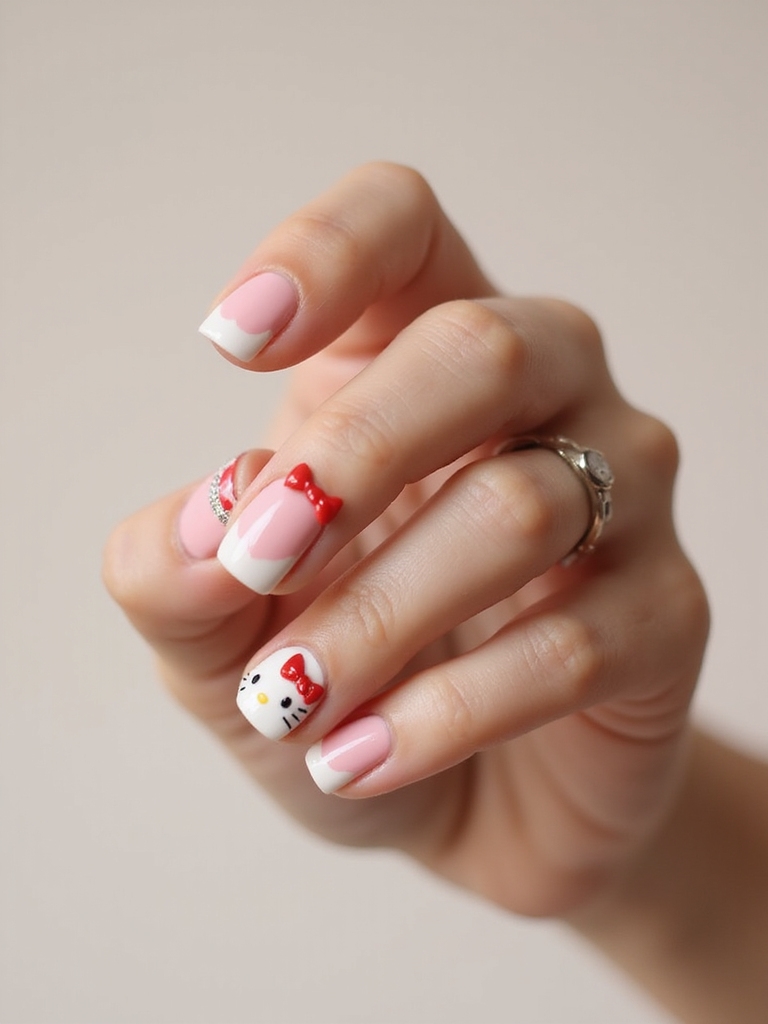
The most elegant way to wear Hello Kitty is to strip her down to one signature: a crisp red bow on a nude hand. I paint soft nude or milky pink across most nails, then dedicate one or two feature nails to a clean red bow with a tiny white highlight. The contrast feels chic and unmistakable without a single whisker in sight.
Keeping It Office-Appropriate
Freehand the bow if you can, or use a stencil for symmetry. The white highlight is what makes it lift off the nail, so do not skip it, or the bow looks flat.
The bare base is what keeps this one so quietly wearable.
Holiday Hello Kitty Nail Ideas
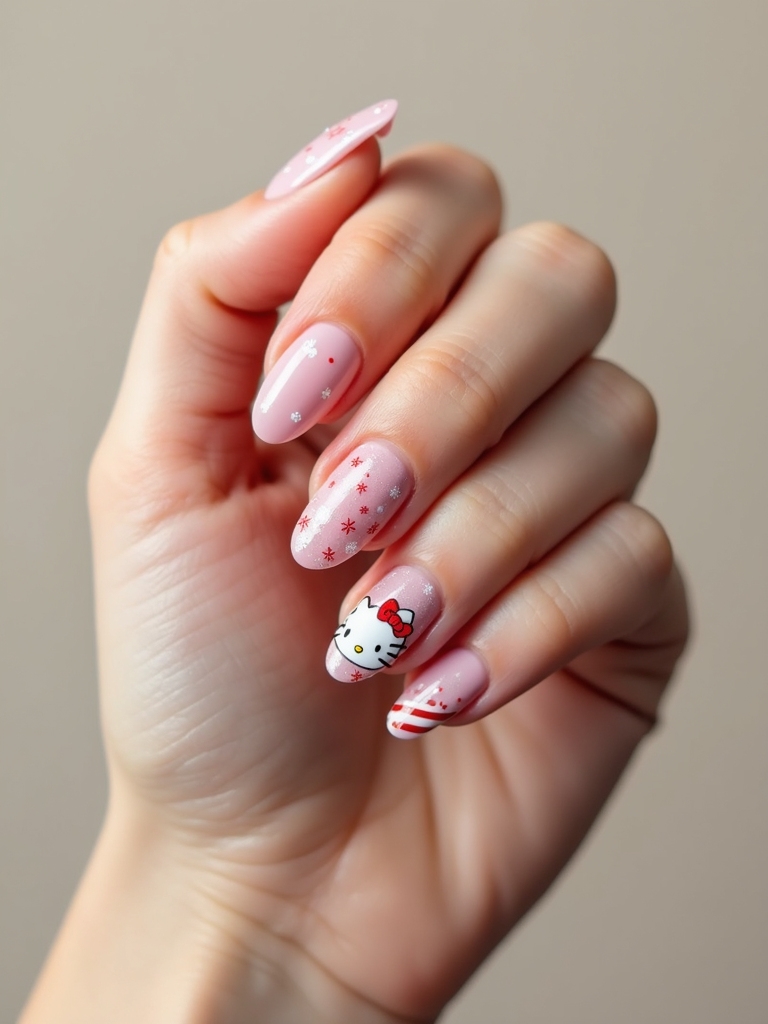
Hello Kitty slots into any holiday as long as you keep the art streamlined instead of cluttered. I rotate a handful of seasonal templates through the year so the theme changes but the effort stays low. The base recipe barely moves.
- New Year: silver confetti tips, a bow of tiny fireworks, and a champagne shimmer base
- Valentine’s: a blush base with scattered red hearts and one Kitty bow accent
- Halloween: matte black with pumpkin-orange moons and whisker decals, covered in full in these Hello Kitty Halloween nails
- Winter holidays: a soft snowflake French with a pearly nose stud and a candy-cane stripe
How to Get the Look at Home
Whichever design you pick, the fundamentals stay the same. Start with clean, buffed nails and a base coat, build your background color fully before adding any Kitty detail, and let every layer dry so nothing smears. Keep decals, a dotting tool, a fine brush, and a clean-up brush with remover within reach, because most of the polish really is in the cleanup.
Seal everything under a glossy top coat and re-cap your tips every few days to stretch the wear. And if hand-painting a face feels like too much on a weeknight, that is exactly what decals and press-ons are for. For a softer everyday palette to build any of these over, a set of baby pink nails makes a perfect base, and a clean French manicure is the other foundation worth mastering first.
Charm You Can Actually Wear
The through-line across all of these is wearability: Hello Kitty lands best as an accent, not a takeover. Pick one or two nails to carry the motif, keep the rest quiet, and the look comes off as playful and grown at any age.
Match the method to your patience, decals and dots for a quick fix, chrome or sculpted bows when you want a statement, and you can wear some version of this all year without it ever feeling juvenile.
Hand-Picked for You