
Why does Korean eye makeup always look so soft and awake? The secret is that it works in the opposite direction from a bold Western eye. Instead of hard lines and heavy shadow, the K-beauty eye leans on dewy, glassy lids, gentle gradients, a soft downturned liner, and light bounced back from the inner corner.
It flatters rather than transforms. It suits monolids, hooded eyes, and every eye shape. Here are the Korean eye makeup ideas people keep asking me for, and exactly how to do each one.
The Short Version
K
o
r
e
a
n
e
y
e
m
a
k
e
u
p
i
s
b
u
i
l
t
o
n
s
o
f
t
n
e
s
s
a
n
d
l
i
g
h
t
.
W
h
e
r
e
a
l
o
t
o
f
W
e
s
t
e
r
n
l
o
o
k
s
s
c
u
l
p
t
a
n
d
d
e
f
i
n
e
h
a
r
d
,
t
h
e
K
–
b
e
a
u
t
y
e
y
e
l
e
a
n
s
d
e
w
y
,
g
r
a
d
i
e
n
t
,
a
n
d
g
e
n
t
l
y
l
i
f
t
e
d
:
g
l
a
s
s
y
l
i
d
s
,
a
s
o
f
t
w
a
s
h
o
f
c
o
l
o
r
,
a
d
o
w
n
t
u
r
n
e
d
p
u
p
p
y
l
i
n
e
r
i
n
p
l
a
c
e
o
f
a
s
h
a
r
p
c
a
t
e
y
e
,
a
n
d
a
b
r
i
g
h
t
i
n
n
e
r
c
o
r
n
e
r
t
h
a
t
o
p
e
n
s
t
h
e
e
y
e
.
I
t
r
e
a
d
s
y
o
u
t
h
f
u
l
a
n
d
f
r
e
s
h
,
a
n
d
a
l
m
o
s
t
a
l
l
o
f
i
t
c
o
m
e
s
d
o
w
n
t
o
s
h
e
e
r
,
b
u
i
l
d
a
b
l
e
c
o
l
o
r
a
n
d
a
l
i
g
h
t
h
a
n
d
.
Glassy, Dewy Lid Sheen

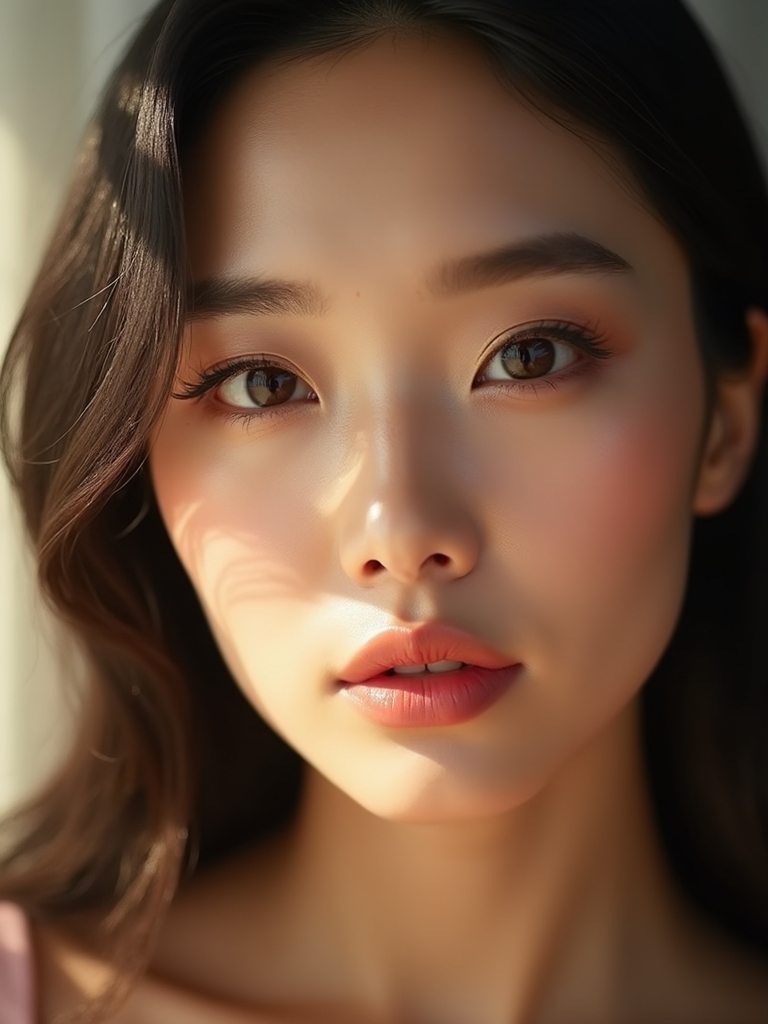
The glassy lid is the most recognizable K-beauty eye, a wet, luminous sheen. It looks lit from within. I press a clear or lightly tinted lid gloss, or a dewy cream shadow, right onto the middle of the lid with a fingertip so it catches the light.
The trick is keeping it hydrated and central, since gloss over the whole lid can crease. It looks fresh and youthful. Any skin tone can wear it, and it pairs beautifully with a soft Korean makeup look.
- Press a lid gloss or dewy cream shadow onto the center
- Apply with a fingertip for the most natural wet sheen
- Keep it central and hydrated so it does not crease
Airy Peach Gradient Wash

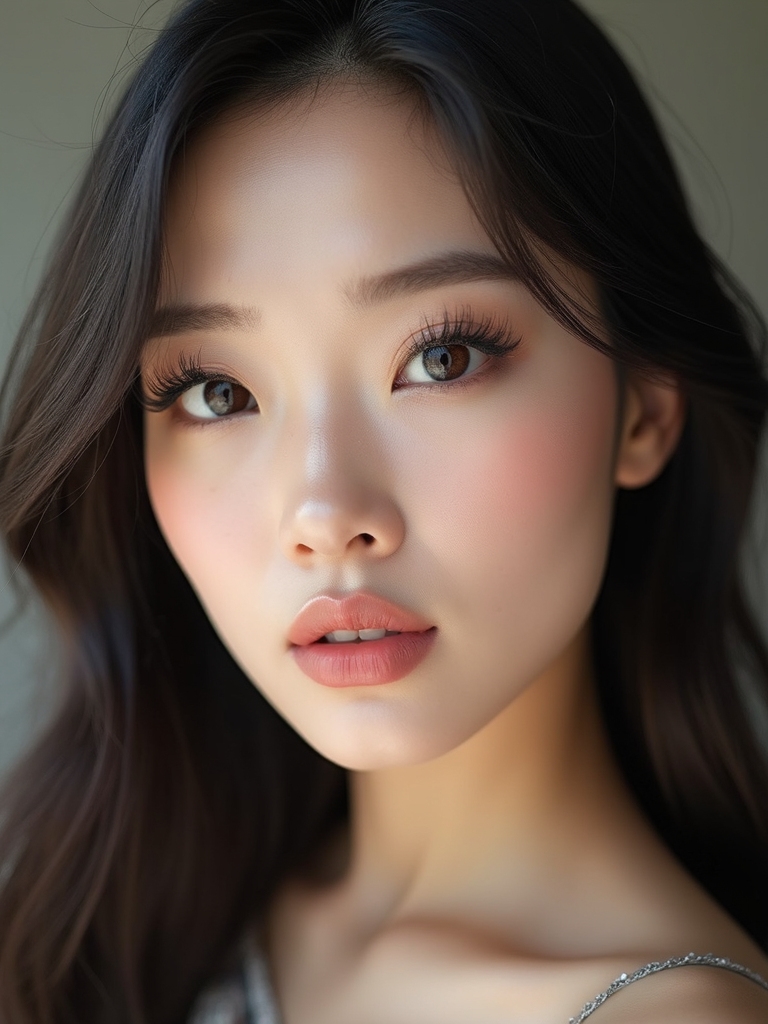
A soft gradient of peach or coral is the everyday K-beauty lid: a peach gradient with color set near the lash line and faded up and out, so it looks like a gentle flush across the eyes. I build it in sheer layers with a fingertip or a soft brush, keeping the edges blurred. On deeper skin, a warm terracotta or brick gradient reads far richer, since a pale peach can disappear.
- Keep the color densest near the lash line, fading upward
- Build it sheer so the gradient stays soft
- Go terracotta or brick on deep skin for real payoff
Sheer Champagne Fingertip Glow
A wash of sheer champagne shimmer is the easiest way to brighten the eye in seconds.
- Tap champagne or soft-gold shimmer onto the lid center
- Use a fingertip so the shimmer stays concentrated and dewy
- A rose-gold or copper shimmer flatters deeper skin best
Soft Downward Puppy Flick

Where a cat eye flicks up, the Korean puppy liner drops down and out at the outer corner for a soft, sweet, wide-eyed look. I tightline the upper lashes to add density, then draw a short line that follows the eye gently downward, skipping any sharp wing. It is especially flattering on upturned eyes that you want to soften, and it keeps the whole look soft and youthful.
- Tightline the upper lashes for subtle density
- Angle the outer line gently down and out
- Skip the sharp wing for a soft, sweet finish
🅰️Glassy and Dewy
Press a lid gloss or dewy cream shadow on for that wet, lit-from-within sheen.
🅱️Velvet and Matte
Use a soft matte shadow for a blurred, powdery finish that never creases.
Separated, Lifted Wispy Lashes
K-beauty lashes are about lift and clean separation.
- Curl hard at the base to open the eye
- Use a lengthening mascara and comb through for separation
- Focus the outer lashes for a soft, lifted flutter
Soft Smoky Lower Puff

The soft puff under the lower lashes, sometimes called aegyo-sal, is among the most beloved K-beauty details.
- Smudge a soft brown or taupe just under the lower lashes
- Add a tiny shimmer on the aegyo-sal to plump it up
- Keep it subtle, since too much reads tired rather than sweet
Subtle Under-Eye Sparkle

A whisper of sparkle just under the eye brightens and lifts. No full glitter needed.
- Pat a fine shimmer along the center of the lower lash line
- Keep it to the middle third so it opens the eye
- Use a pressing motion so the sparkle does not scatter
Straight Brows for a Lifted Eye

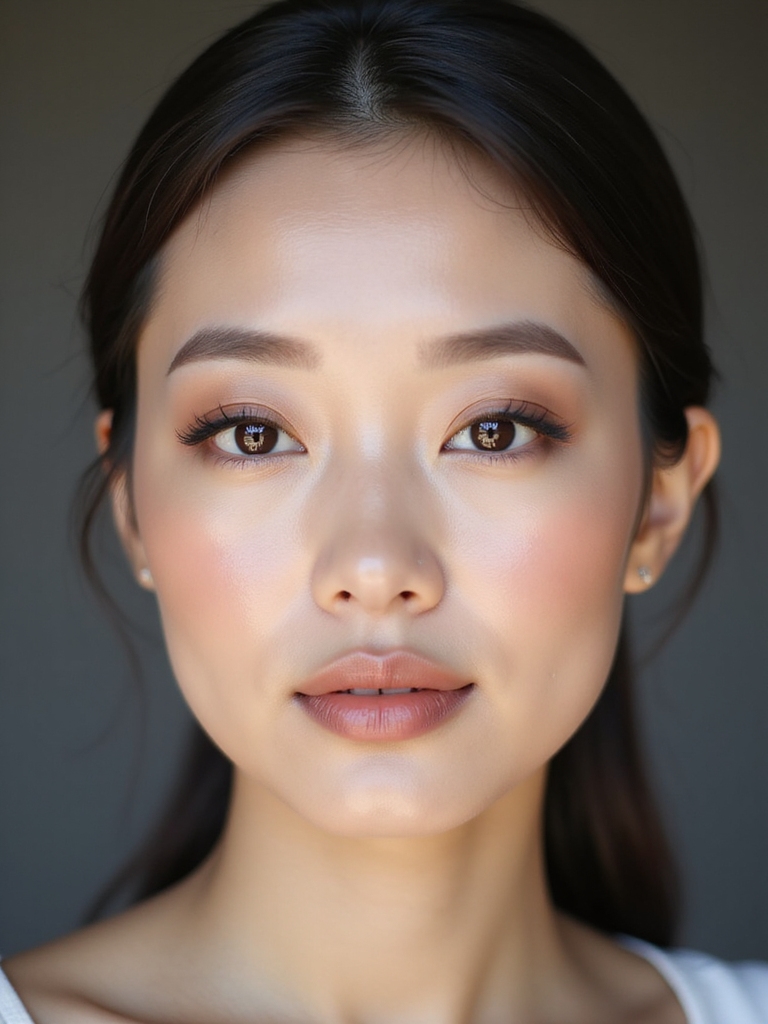
The soft, straight brow is a signature of the Korean look, and it does more than you would think. A gently horizontal brow, brushed up and filled lightly, frames the face in a way that looks youthful and makes the eyes appear more open and lifted. I keep the shape natural and the color soft, since a harsh, arched brow fights the gentle eye underneath. It suits round and long faces especially well by balancing the proportions.
- Brush the brows up and keep the shape soft and horizontal
- Fill lightly, since a harsh brow fights the soft eye
- Straight brows open the eyes and read youthful
Cool Taupe Socket Contour
For a little more depth without drama, a cool taupe worked softly into the socket adds a natural shadow that makes the eye look deeper-set. It is the gentlest contour there is for the eye. Soft, never heavy.
Placing It for Every Eye Shape
I keep it sheer and blended up, so it defines without a hard line. On monolids and hooded eyes, placing the taupe a touch higher than the natural crease keeps the definition visible when the eyes are open.
The whole point is a soft, natural depth that stays far from a heavy smoky eye.
Straight or arched brow? Pick your frame:
🎯Soft and youthful
A gently straight brow opens the eyes and lifts the face
🎯Defined and structured
A soft arch adds a little more shape while staying natural
Soft Rose Monochrome Eyes

A soft rose monochrome look ties the eyes, and often the cheeks and lips, into one gentle color story. On the eye, it means a wash of muted rose on the lid with a slightly deeper rose in the socket.
It is romantic and easy. Everything lives in one soft family, so it is hard to get wrong. A rose or berry tone reads especially pretty and rich on deep skin.
- Wash muted rose across the lid
- Deepen it slightly in the socket for soft depth
- Echo the same tone on cheeks and lips if you like
Nude Liner Tightline Trick

A nude or soft-pink liner on the lower waterline is a tiny trick that makes the eyes look bigger and more awake.
- Line the lower waterline in a nude or soft pink
- It cancels redness and makes the eye look brighter
- Pair it with an upper tightline for subtle definition
A soft rose monochrome eye in four steps:
1Wash
Sweep muted rose across the whole lid.
2Deepen
Press a slightly darker rose into the socket.
3Line
Add a soft downturned line or tightline only.
4Glow
Finish with a pearly inner-corner highlight.
Lifted Cool-Toned Smoky Wing

When a Korean eye does go smoky, it stays soft and lifted rather than heavy. I keep a cool taupe or gray-brown smoke at the outer corner, then blend it upward so it lifts the eye. The color stays sheer and diffused. I skip a hard liner underneath. It is a wearable, grown-up smoky eye that fits the soft K-beauty philosophy, close in spirit to a soft smoky eye.
- Keep the smoke cool-toned and at the outer corner
- Blend up and out to lift the eye
- Stay sheer and skip a heavy lower liner
Pearly Inner-Corner Highlight

The pearly inner-corner highlight is the finishing touch that ties a Korean eye together. A dab of hydrating, pearly shimmer at the inner corner reflects light. It instantly makes the eyes look bigger and more awake.
I use a soft champagne or pearl on most skin tones, and a warmer rose-gold on deeper skin, where a stark white can look chalky. Pat it on with a fingertip so it stays dewy, the same glow you get in a set of glowy makeup looks.
- Dab a pearly shimmer at the inner corner
- Choose champagne or pearl, or rose-gold on deep skin
- Pat it on so it stays dewy, not chalky
Glass-Finished Lifted Lashes

This is the full glassy eye: a wet, luminous lid paired with lifted, separated lashes for a look that is all light and no heaviness.
- Layer a glassy lid over curled, separated lashes
- Keep everything dewy and skip powder on the lid
- Add an inner-corner highlight to complete the glow
If your eyes ever look tired, skip the concealer and add a pearly inner-corner highlight. It opens the eye faster than anything else in the kit.
Velvet Matte Pastel Eyes

For a change from all that dew, a soft velvet-matte pastel is the modern K-beauty alternative, still soft, but with a blurred, powdery finish.
- Wash a matte pastel lilac, mint, or blue across the lid
- Blur the edges so it looks like a soft haze
- Keep the rest of the face fresh so the pastel leads
Adapting Korean Eye Makeup to Your Eye Shape
The reason this approach suits so many people is that it bends to any eye shape. On monolids, place any socket color a little higher and keep it visible with the eyes open, then lean on the glassy lid and inner-corner glow, which need no crease at all. On hooded eyes, the same higher placement keeps color from hiding under the fold.
Downturned eyes look lovely with a slightly lifted outer smoke, while upturned eyes are softened beautifully by the downward puppy liner. Round eyes suit an elongated outer gradient, and almond eyes can wear almost anything.
The soft, buildable nature of every technique here is what makes it so forgiving across shapes. Because nothing depends on a deep crease or a hard line, even eyes that struggle with Western looks can wear it, and it is why K-beauty eye makeup translates onto faces all over the world.
Soft, Dewy, and Made for Every Eye
What ties all of these together is restraint and light. Korean eye makeup does not try to reshape your eyes; it brightens, softens, and lifts what is already there, which is exactly why it works on monolids, hooded eyes, and every shape in between. Sheer color, a dewy finish, a downturned line, and a bright inner corner are the whole toolkit.
Pick one idea to start, maybe the glassy lid or the peach gradient, keep your hand light, and build from there. Once you see how fresh and awake these looks make you appear, it is hard to go back to a heavy eye. Match the shades to your own tone, and this soft approach flatters absolutely everyone.


