
If you want quick eye looks that work every day, I’ve got 15 options you can master fast. I’ll show you one-shadow washes, tightlining, a lazy wing, and soft smokey tricks you can do in minutes.
We’ll use fingertip cream shadows, subtle shimmer, and smart mascara stacking—no advanced tools. Each step is clear, minimal, and beginner-friendly, so you save time and still look polished. Start with the easiest: a one‑shade wash that instantly lifts—then try this next.
One-Shadow Wash for Instant Depth

Start with a clean lid and grab a single, neutral shadow that’s close to your skin tone but a shade deeper.
I tap off excess, then sweep it across the lid with a fluffy brush, stopping just above the crease. I blend edges in small circles. I add a touch under the lower lash line.
I finish by brightening the inner corner with the same shade, lightly. Proper blending techniques flawless blending help create a seamless, professional finish.
Tightlined Lashes for Subtle Definition
Often overlooked, tightlining adds definition without obvious liner. I press a waterproof gel pencil into the upper waterline, wiggling between lashes. I keep strokes short, then blink to transfer a whisper to the roots.
It’s quick, clean, and daytime-safe. Skip flicks or smoky smudging here.
- Use a sharpened gel pencil
- Dry the waterline first
- Lift lid gently, look down
- Seal with a light mascara swipe
For hooded eyes, consider lifting your brow slightly as you tightline to make the lash roots more visible and prevent smudging.
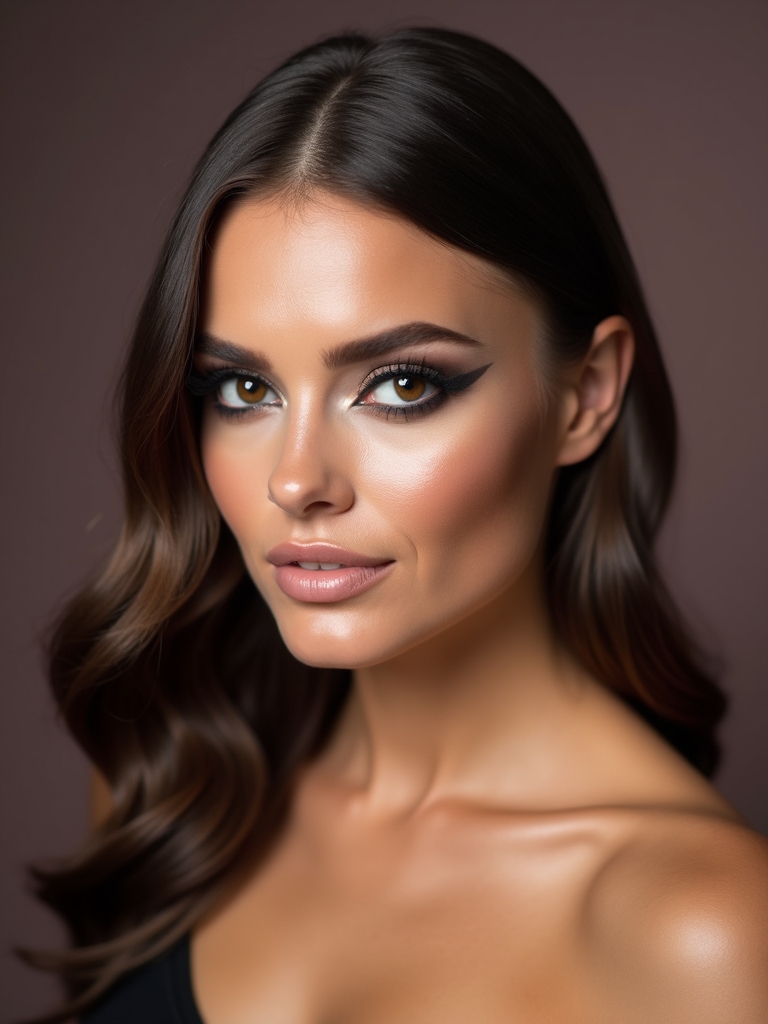
Lazy-Girl Wing With Pencil Liner
Flick and lift with the least effort: I anchor my elbow on a counter, then place a creamy pencil at the outer corner and drag a tiny diagonal tick toward the tail of my brow.
I connect that tick to my lash line with short strokes. I keep the inner corner thin. I soften edges with a fingertip or Q-tip. I lock it with translucent powder. For a more defined finish, you can refine the flick into a sharper wing using a gel or liquid liner for a classic cat eye effect.
Soft Brown Smokey in Three Steps
If a quick wing isn’t your mood, I switch to a soft brown smokey that builds in three easy moves. I keep it simple: cream base, matte brown, and blend. You’ll get depth without harsh lines, fast.
- Tap a nude cream shadow over the lid.
- Press matte medium-brown on the outer half.
- Sweep a clean brush to blur edges.
- Smudge leftover color along the lower lash line.
This approach highlights natural eye shape and works with most skin tones, emphasizing soft, natural definition.
Shimmer Pop on the Inner Corner

I’ll show you how to pick the right shimmer—sheer champagne for fair skin, peachy-gold for medium, and warm bronze for deep.
I tap it right at the inner corner and slightly along the lower tear duct to instantly brighten without fallout.
Want day-to-night? I start sheer for daytime, then layer a bolder metallic or add a touch of glitter at night.
Soft rose and pink tones can be blended into the crease or outer corner for a cohesive look with a pink eye makeup finish.
Choosing the Right Shimmer
Start by choosing a shimmer that’s 1–2 shades lighter than your skin tone so it pops without looking harsh. I reach for finely milled formulas—they reflect light without chunky fallout and blend fast. Stick to neutral undertones for everyday wear.
- Fair skin: champagne or pearl
- Medium skin: soft gold or rose gold
- Tan/olive skin: light bronze or honey
- Deep skin: warm copper or rich gold
Smokey looks are most flattering when you balance shimmer with matte shades for depth and definition, especially around the crease and outer lid for a classic smokey eye finish.
Placement for Brightening
Wondering where to tap that shimmer for instant brightness? I place a tiny dot right at the inner corner, where the upper and lower lids meet. I use a pinky or a small brush, then press, don’t swipe. Keep it close to the tear duct, not past the iris.
Blend edges softly. Add a touch under the inner brow arch. Done—fresh, awake eyes. Korean-inspired eye makeup often emphasizes a softly blended, natural look with brightening accents like inner-corner shimmer for a subtle lift.
Day-To-Night Variations
Slide from desk to dinner by upgrading that inner-corner pop in two quick steps. I keep my daytime highlight soft, then layer a brighter shimmer and sharpen details at night.
Here’s how I switch fast:
- Tap a pearl or champagne shimmer on the inner corner.
- Add a brighter, sparkly topper at night.
- Tightline upper lashes for definition.
- Swap to black mascara and clean edges.
Soft eye makeup creates a subtle, wearable look for everyday wear and can be intensified easily with a few tweaks like a shimmer inner-corner highlight or deeper liner soft eye makeup.
Monochrome Lid and Lower Lash Match
Lean into a monochrome look by matching your lid and lower lash line with the same shade for quick, polished impact.
I pick a neutral cream or powder. I sweep it over my lid, then press the same color along the lower lashes with a small brush. I blend edges softly. I add mascara. Done. It’s cohesive, fast, and flattering on every eye shape.
Monochrome looks are especially effective when you keep product application simple and blended for an effortless finish.
Smudge-and-Go Kohl Rim
I’ll show you how to rim your eyes with kohl for effortless, sultry definition in under a minute.
Line the upper and lower waterlines, then gently smudge the edges with a cotton swab for a soft haze.
To make it last, set the rims with matching shadow, blot excess moisture with a tissue, and finish with a tiny layer of clear primer or setting spray on a brush.
For a fresh, everyday vibe pair this with minimal base and a touch of natural lip color to Embrace Your Beauty with an effortless natural makeup approach.
Effortless Sultry Definition
When you want instant impact without fuss, I reach for a creamy kohl pencil and create a soft rim that makes eyes look deeper in minutes. I trace the upper and lower lash lines, then blur with a clean fingertip for that lived-in haze.
Keep it close to lashes, skip precision, and let softness do the work.
- Choose dark brown or black
- Short strokes, then smudge
- Tightline for extra depth
- Finish with one mascara coat
For an edgier finish, try elongating the outer corners into a subtle fox eye for a sultry, lifted effect.
Long-Wear Smudge Tips
Usually, I lock in that soft kohl rim by prepping lids first: blot any oil, tap on a thin layer of eye primer or a bit of concealer, then set with translucent powder.
Next, run creamy kohl along upper and lower waterlines, then wiggle it into lashes. Soften edges with a cotton swab. To seal, press matching shadow over the line. Finish with setting spray. Touch up only waterline midday.
Asian eyes often benefit from techniques that enhance crease definition and lift the outer corner for balanced shape.
Lifted Outer-V With a Single Shade
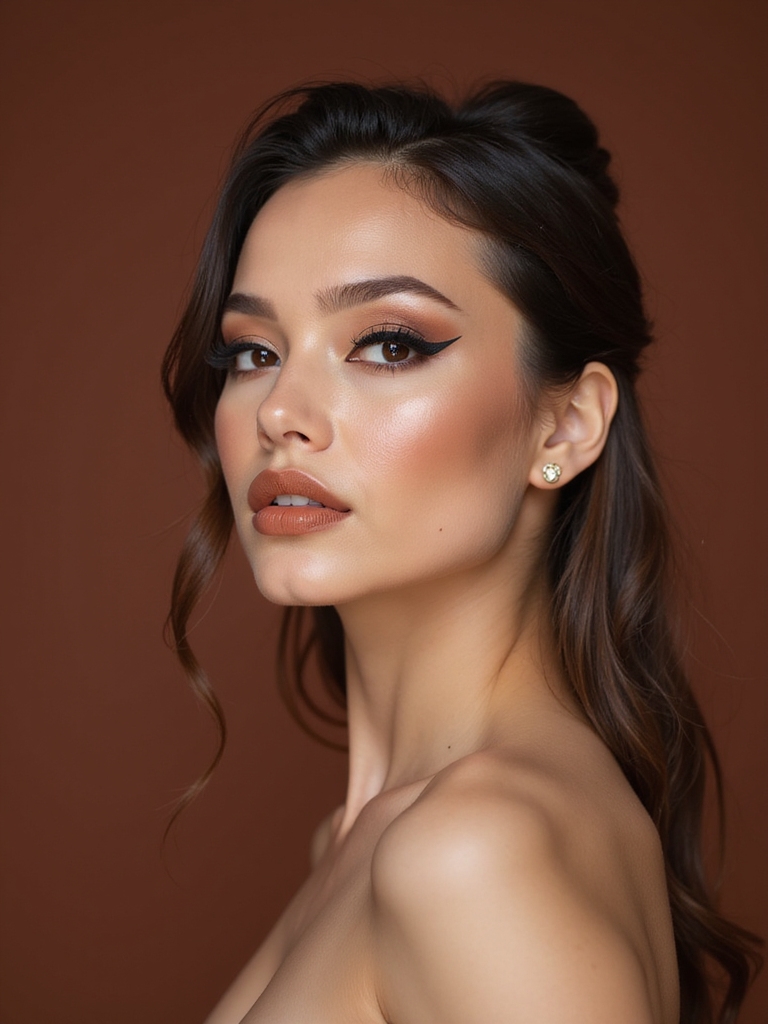
Start by choosing one matte eyeshadow close to your skin tone but a touch deeper, so it shapes without looking harsh.
I press it at the outer corner, then angle it slightly up toward the tail of my brow, forming a soft “V.” I blend the top edge inward halfway across my crease, leaving the lid lighter for lift.
Keep it quick:
- Use a small, tapered brush.
- Tap off excess.
- Build slowly, not wide.
- Soften edges with clean brush.
A little brown shadow can be surprisingly versatile and creates subtle definition when used to sculpt the outer corner in a lifted shape, a common technique in Brown Eye Makeup tutorials.
Sheer Sparkle Swipe for Daylight Glow
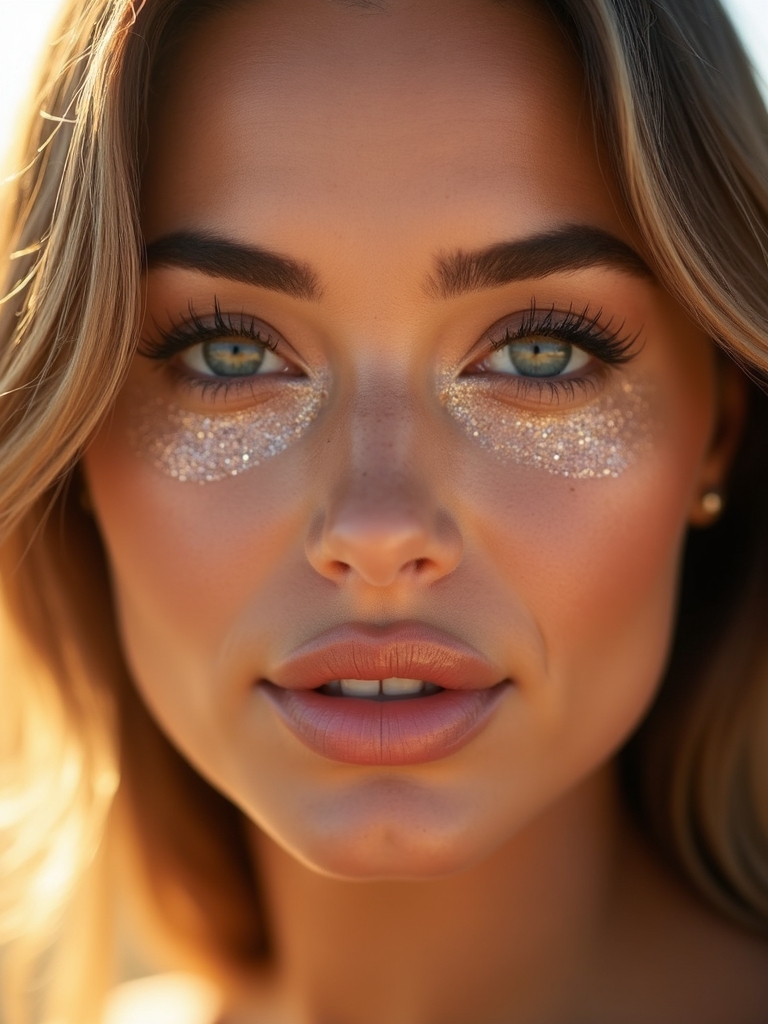
Often, I tap a sheer, micro-fine shimmer across the mobile lid to catch daylight without looking glittery. I use a fingertip, press once, then sweep from inner to center, leaving the outer edge soft.
Choose champagne or peach for warmth, taupe for cool tones. Blend edges with a clean finger. Add tightlined brown, curl lashes, and finish with one light mascara coat. Done in seconds. Many looks can be transformed with a single eye makeup change to suit different occasions.
Under-Eye Accent for a Fresh Twist
I’ll brighten your under-eye fast: run a nude or peach pencil along the lower waterline to lift tired eyes in seconds.
For a fun switch, I’ll add a thin line of colored liner just beneath the lashes—teal, plum, or bronze—to make your eye color pop. Keep it soft by smudging lightly and finish with one coat of mascara on the lower lashes.
Natural light helps reveal the true finish of makeup, so touch up in natural light to ensure a fresh, seamless look.
Brightening Pencil Trick
When my eyes look tired, I grab a nude or soft champagne eye pencil and use it to fake a full night’s sleep. I line my lower waterline, dot the inner corners, and smudge a hair under the tear duct. The effect lifts instantly and looks natural with any look.
- Choose waterproof, creamy formula
- Sharpen lightly for precision
- Blend with fingertip
- Finish with mascara only
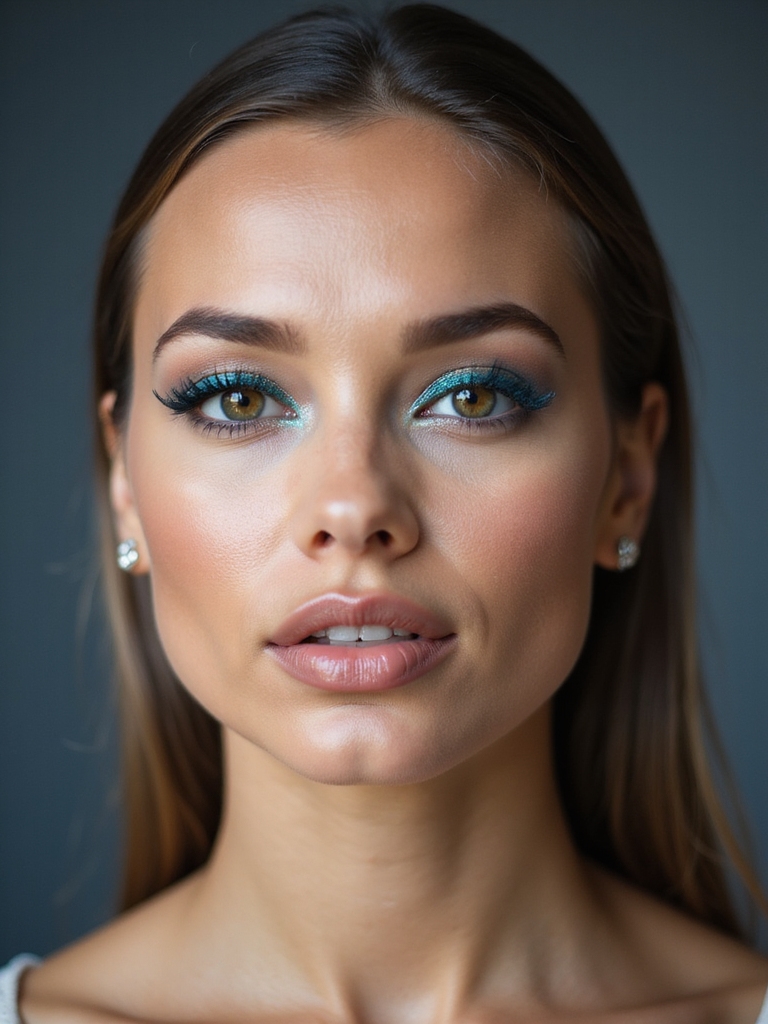
Colored Liner Pop
Sometimes I swap my usual black for a slim swipe of colored liner under the lower lashes to wake up my face fast. Pick teal, plum, or copper to complement your eye color.
Rest your elbow, look up, and draw a thin line from outer third inward. Soften with a cotton swab. Add mascara.
Keep upper lid neutral. Use waterproof for longevity and avoid the inner corner.
Nude Waterline Brightener
Often, I reach for a nude eyeliner to brighten the waterline and make eyes look awake in seconds. I choose a creamy, waterproof pencil and swipe it from inner to outer corner, staying on the lower waterline only. It lifts tired eyes fast and looks natural.
- Pick beige, not stark white
- Sharpen slightly for control
- Clean waterline before applying
- Set with a tiny powder touch
Quick Cream Shadow and Mascara Duo

That bright waterline pairs perfectly with a two-step eye: cream shadow and mascara.
I swipe a fingertip of cream shadow across my lids, then blend upward to the crease in ten seconds. Pick a neutral shimmer or soft matte. Next, curl lashes and apply two mascara coats, wiggling at roots. Clean edges with a cotton swab. Done—polished, fast, and totally beginner-proof.
Soft Halo Eye With Two Shades
For a soft halo eye, I place the darker shade on the inner and outer corners and keep the lighter shade right on the center of the lid to catch light. I connect the darker corners through the crease with a sheer touch so it frames the center without closing the eye.
Then I blend edges in small circles until the gradations look seamless, keeping the center bright and softly diffused.
Shade Placement Basics
Start by mapping where each color goes so the halo looks seamless. I place the deeper shade on the inner and outer thirds of my lid, leaving the center bare. I tap the lighter shade right in the center to create that soft spotlight. Keep the socket tidy and symmetrical for speed.
- Outer third: deep shade
- Inner third: deep shade
- Center lid: light shade
- Lower lash line: mirror placement
Blend for Softness
Usually, I soften the edges before adding more color.
Sweep a mid-tone shade through your crease and outer corner in small circles.
Tap a lighter shade on the center lid.
With a clean brush, blend the borders until they look hazy, not harsh.
Add a touch more depth to the outer corner, then re-brighten the center.
Finish by softly diffusing the lower lash line.
Floating Crease Line for a Modern Look
Although it looks edgy, a floating crease is quick to master: I map a soft line above the natural crease, then refine it.
I use a pencil or shadow, keeping the lid clean for contrast. Short strokes prevent mistakes; a cotton swab fixes edges. Keep both eyes open while sketching to match height.
- Pick a taupe or soft brown
- Use a small angled brush
- Flick upward at the outer edge
- Set with translucent powder
Mascara-Only Stacked for Doll Lashes
Often, I stack mascara in thin, quick layers to fake doll-like volume without falsies. I curl, then wiggle a lengthening formula from root to tip.
I let it dry 20 seconds, add a second coat, then a third just on outer lashes. I comb clumps with a clean spoolie.
For bottom lashes, I tap lightly. Finish by pinching tips to separate.


