I want my manicures to last past the weekend, so I swear by a few clever tweaks: super-clean prep, gentle filing, a whisper of buffing, and a base coat that grips like magic. I cap every edge, keep coats thin, and let them breathe between layers.
Then I baby my nails—top-coat touch-ups, cuticle oil at night, and gloves for chores. It’s simple, a little strategic, and wildly effective—yet one tiny step changes everything…
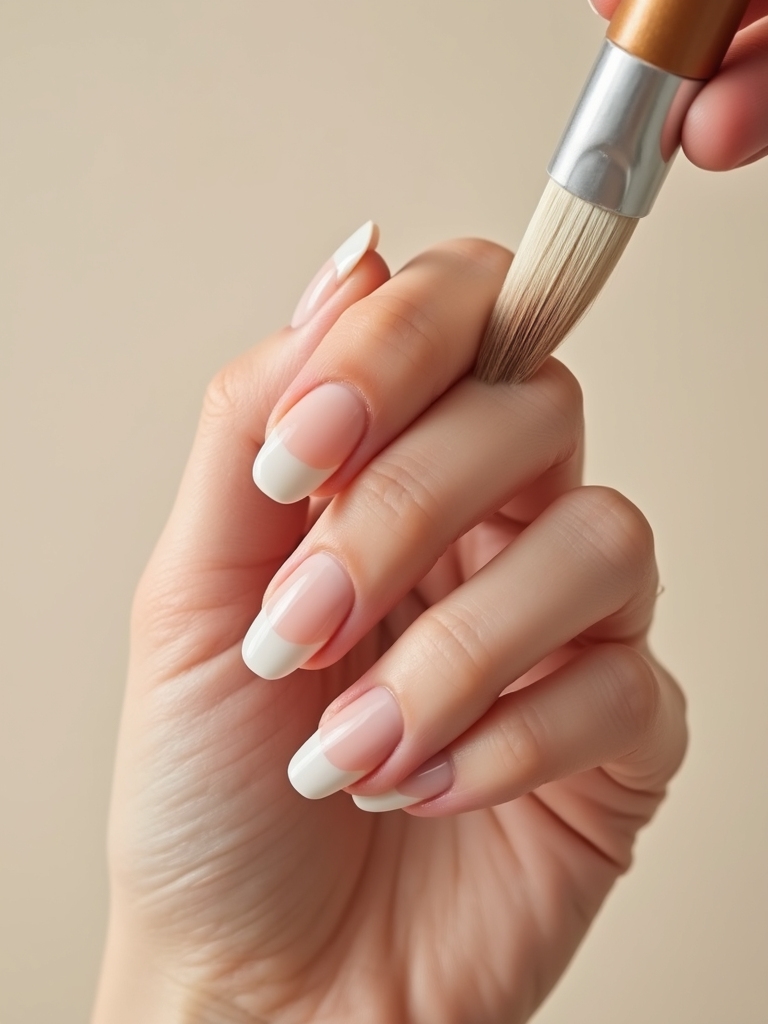
Start With a Thorough, Oil-Free Nail Prep

Let’s kick things off by stripping the nails bare—no oils, no residue, no excuses.
I wash hands with soap, then swipe each nail with isopropyl alcohol or acetone on lint-free pads.
I push back cuticles, scrub under tips, and dust away debris.
Any shine? I gently buff it off.
Finally, I do a squeaky-clean dehydration pass—hello, grippy canvas and longer-lasting polish.
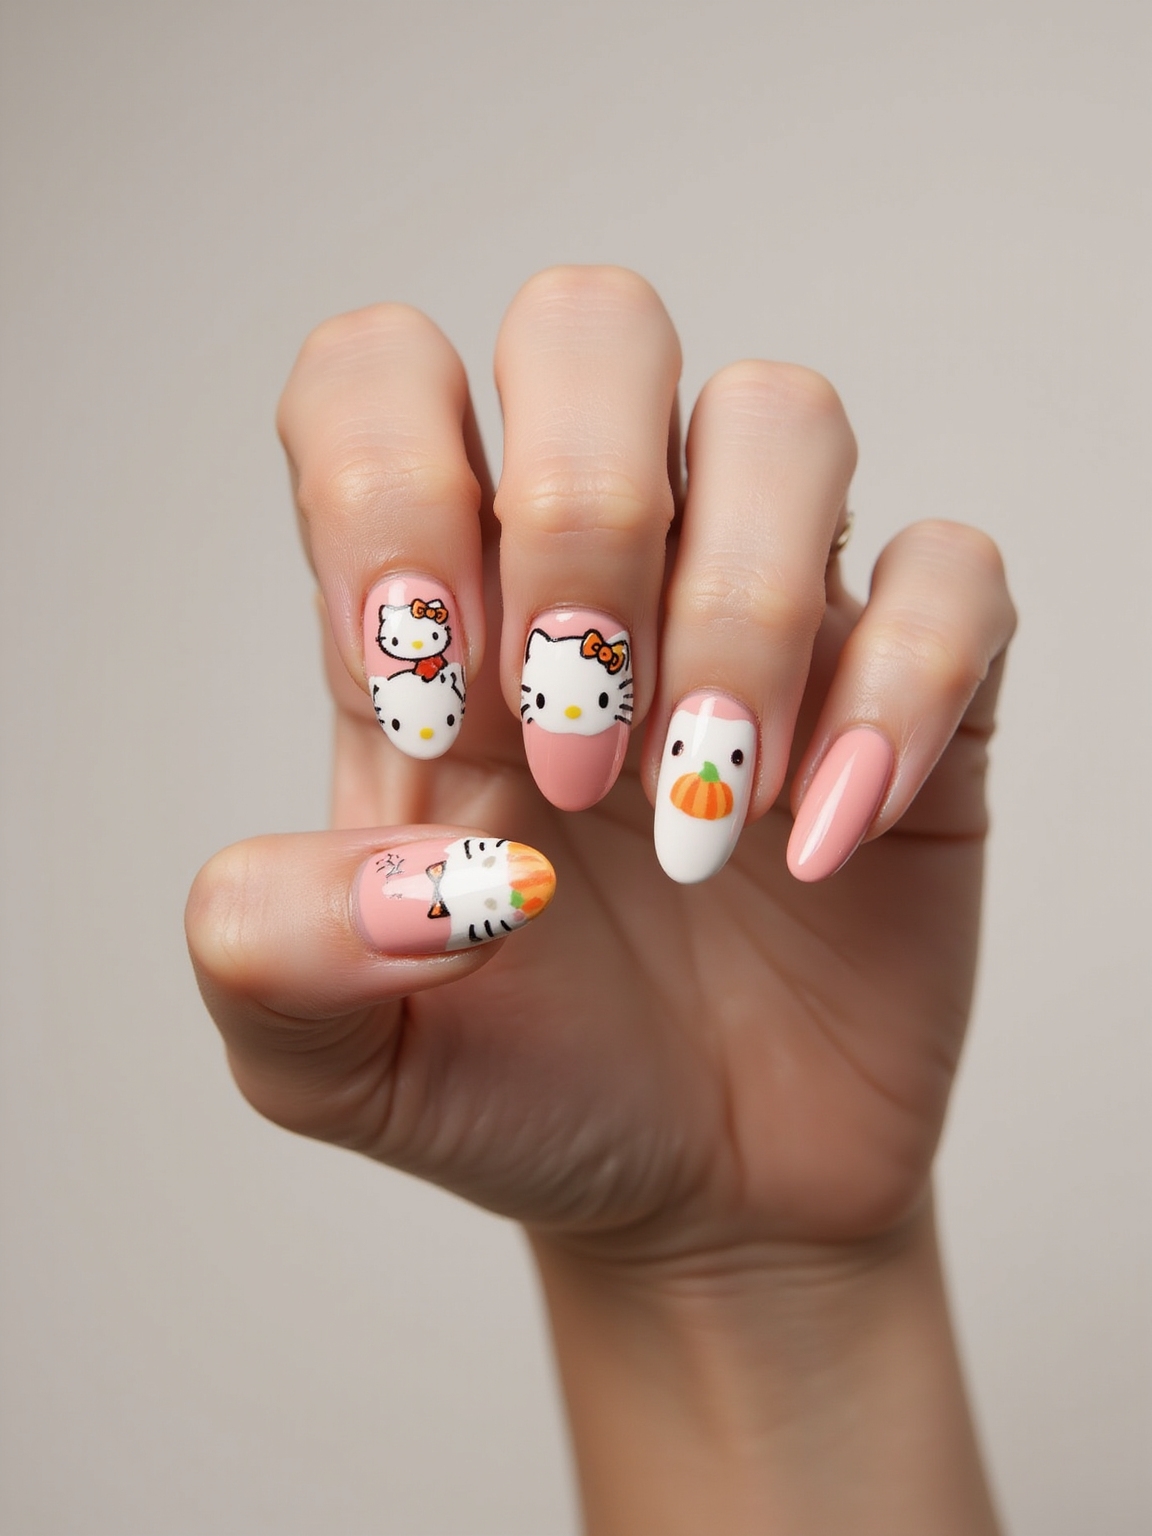
These steps are perfect for creating barely there nails that complement a delicate minimalist look.
Shape and Seal Edges With a Gentle File
Let’s make your nails look like tiny crowns—I’ll show you how to pick the right grit so they don’t snag or split.
I file in one direction only, like a confident brushstroke, to keep edges smooth and strong.
Then I cap the free edge with a few light passes to seal everything in, armor-style.
Short nail designs can inspire the perfect finish, especially when you choose a buffer suited to short nail shapes.
Choose the Right Grit
Sometimes I think of nail files like sandpaper for tiny sculptures—choose the grit and the edges behave.
I reach for 180–220 for natural nails: it refines without shredding.
Coarser 100–150 shapes thicker tips or gels.
Ultra-fine 240+ seals and smooths like a whisper.
I swap worn files fast, keep them clean, and let the right texture do the quiet magic.
Short nails often benefit from frequent, gentle filing to maintain shape and prevent breakage, especially when caring for short nails.
File in One Direction
Usually I treat my nail file like a tiny canoe paddle—one smooth stroke in a single direction, never sawing back and forth.
I guide the tip to shape, then glide along the sides, keeping the angle soft.
This gentle rhythm seals layers instead of shredding them.
Short, light passes prevent heat and splits.
You’ll see cleaner edges, fewer snags, and a manicure that behaves beautifully.
Choose an elegant shape to complement the technique, as Elegant Nail Shapes can elevate the finished look.
Cap the Free Edge
With that one-direction filing mastered, I take it a step further and cap the free edge. I lightly curve the file under the nail tip, sealing layers so polish grips and chips less.
Think of it as armor for your manicure’s frontline—quick, gentle, effective.
- Use a 240-grit file; skip sawing.
- Tilt the nail down; swipe once.
- Brush dust; seal with top coat.
Press-on nails can also benefit from this technique because press-on nail looks rely on a well-sealed edge to stay realistic and long-lasting.
Push Back Cuticles Without Cutting
Let’s gently nudge those cuticles back—no snipping, no drama. I soften them with a dab of cuticle remover or warm water, then coax them with a wooden stick, like tucking in a tiny blanket.
I glide, never dig. A little cuticle oil seals the truce, keeping skin supple and tidy. Your polish stays clear of skin, edges look crisp, and chips don’t stand a chance. A simple minimal nail approach keeps the whole look clean and modern.
Buff Lightly for Better Polish Adhesion
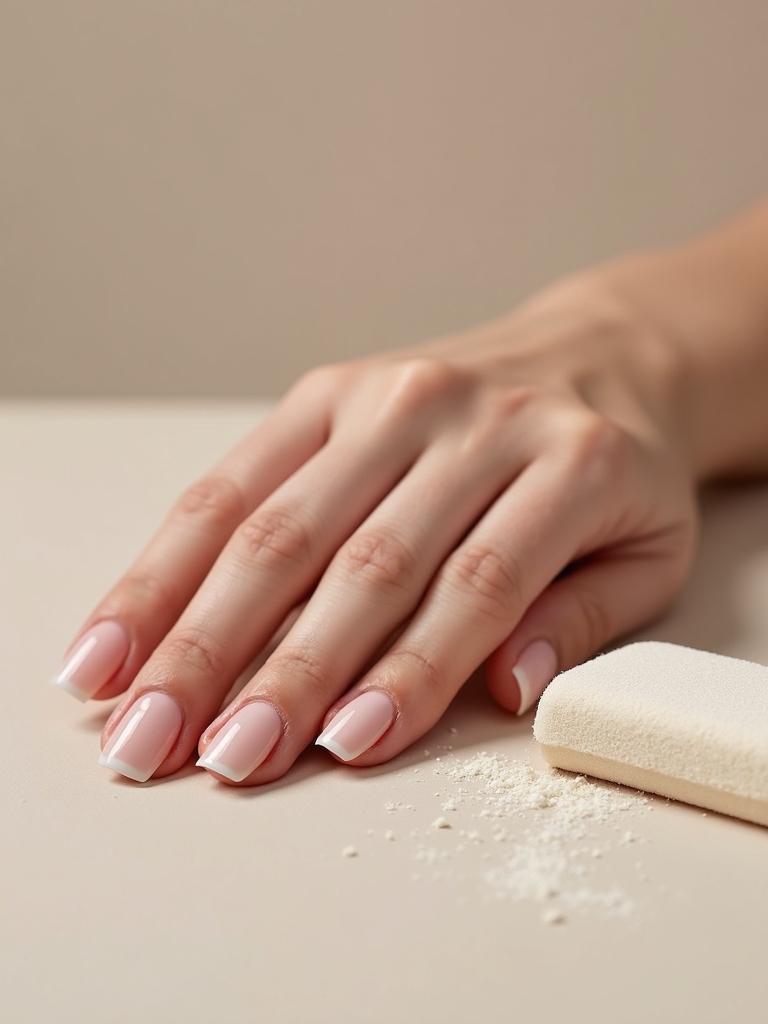
I start by picking the right grit buffer—fine enough to smooth, not scratch.
Then I sweep gentle, even strokes so your nail plate looks satin, not scuffed.
To lock in a silky base that grips polish, I finish with a ridge filler like a secret primer.
Minimalist nail looks favor clean lines and muted tones, which pair especially well with simple nails for everyday wear.
Choose the Right Grit
Ever wonder why polish peels off by day two? I pick the right buffer grit so color clings like a limpet. Fine grits (240–400) smooth ridges without thinning nails. Coarse? I leave it for acrylics. I aim for a satin, not shiny, finish—perfect for grip and longevity.
- 240–320 grit: natural nails’ sweet spot
- 400 grit: final refine
- Avoid below 180: too harsh
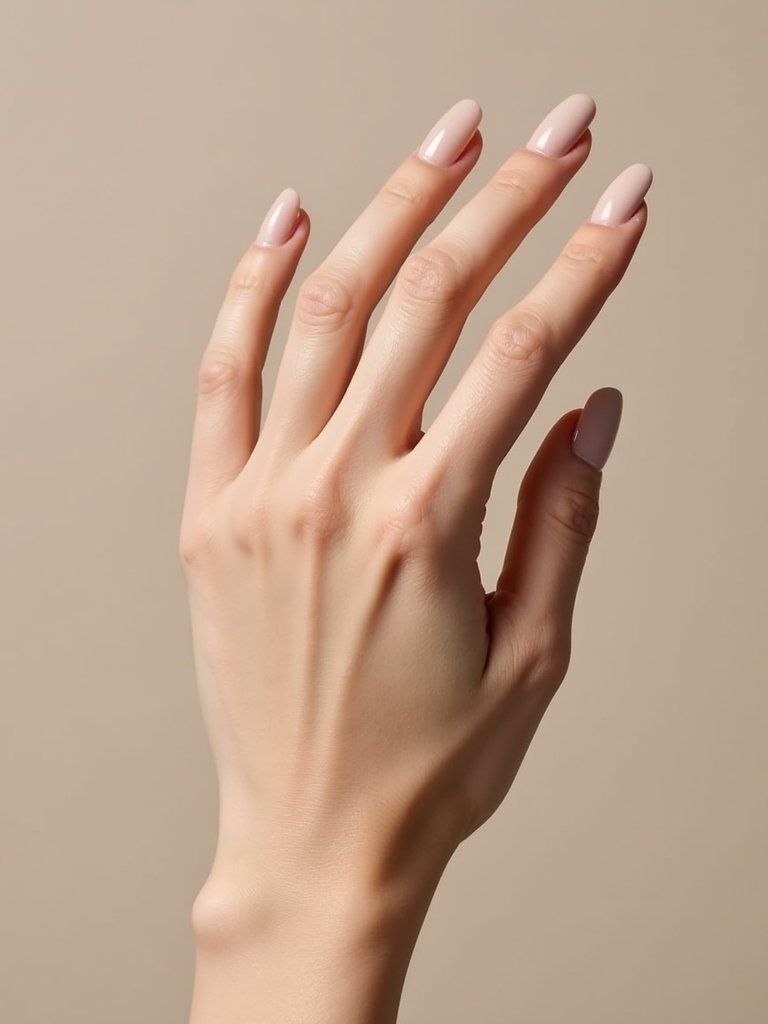
Soft Milky Nails are a subtle trend that complements this routine by offering an understated finish that works well with buffed nails and gentle shaping, especially when you favor milky nails as an everyday look.
Prep With Gentle Strokes
With the right grit picked, I switch to featherlight buffing—just enough to whisper across the nail.
I glide in one direction, short strokes, keeping the pressure airy.
I’m not sanding wood; I’m smoothing a canvas so polish clings like a loyal friend.
I pause between nails, dusting away debris.
Cuticle area? I stay shy.
Smooth, matte, and clean—now your color can truly commit.
Seal With Ridge Filler
Although the surface already feels smooth, I reach for a ridge filler to level tiny valleys and create a seamless base.
I buff lightly—just a whisper—to help polish cling like a love story. Then I seal the filler, letting it set before color. Your manicure lasts longer, looks smoother, and chips think twice.
- Choose a quick-dry, flexible formula
- Buff with ultra-fine grit
- Cap edges for durability
Use a Ph-Balancing Dehydrator or Alcohol Wipe
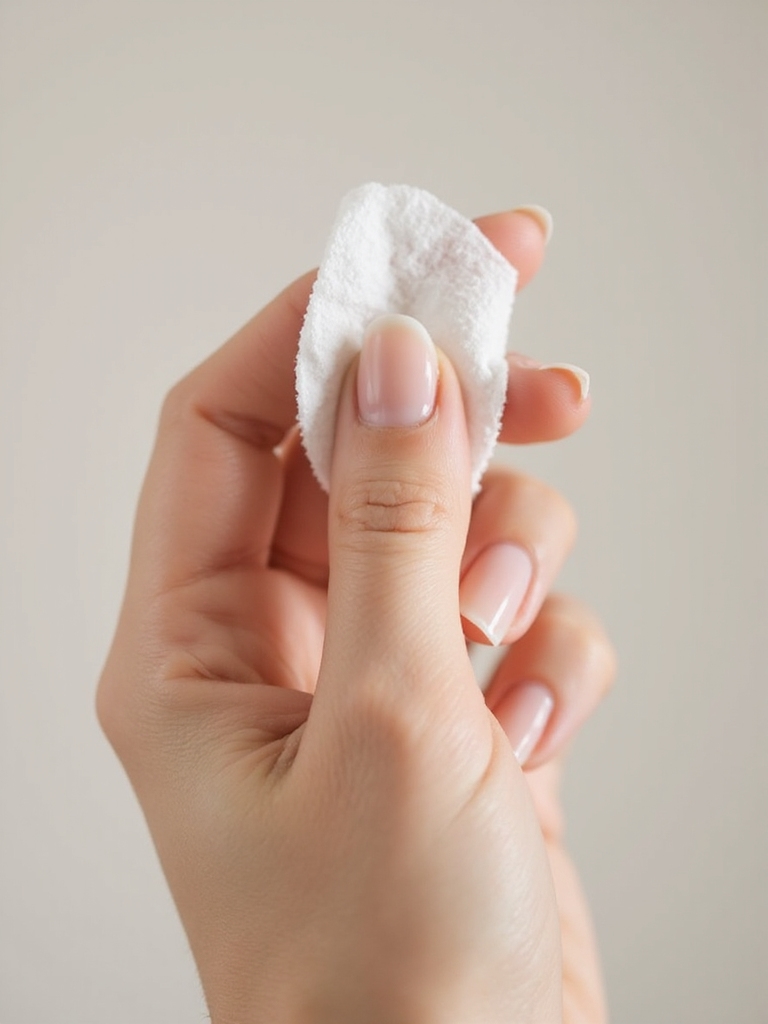
Before polish steals the spotlight, I swipe nails with a pH-balancing dehydrator or a simple alcohol wipe to set the stage. It zaps oils, evens pH, and makes tips feel squeaky-clean—like priming a tiny canvas.
I focus on the nail plate and sidewalls, avoiding skin. If you’re sensitive, choose alcohol. Quick, light passes do it. Then I let them flash-dry—crisp, clean, and perfectly prepped.
Apply a Gripping Base Coat Thinly
I start with clean, dry nail beds so the base coat can actually cling, not slide.
Then I brush on a thin, even layer—think silk stocking, not winter sweater.
You’ll see the polish grip better, last longer, and look smoother instantly.
Clean, Dry Nail Beds
Honestly, flawless polish starts with squeaky-clean, bone-dry nail beds—no oils, no lint, no excuses.
I whisk away residue with non-acetone remover, then wash hands and let them air-dry fully. I swipe dehydrator over each nail and wait a minute. When nails feel cool, not tacky, I know they’re ready to grip base like Velcro.
- Use a lint-free wipe
- Push back cuticles gently
- Avoid lotions pre-polish
Thin, Even Application
With those squeaky-clean nail beds prepped and cool, the real magic starts with a whisper-thin base coat.
I load the brush lightly, then swipe three smooth lanes: center, left, right. Thin layers grip better, dry faster, and resist chips. I cap the free edge, too—like sealing an envelope. If it floods cuticles, I’ve used too much. Think “veil,” not “blanket.”
Paint in Thin, Even Layers and Cap the Free Edge

Sweep on color like a pro by laying down thin, even coats and sealing the tips. I float polish from cuticle to tip, then lightly run the brush across the free edge—like zipping up a tiny armor plate. This locks color and wards off chips without bulk or streaks.
- Cap each layer’s edge for lasting wear
- Keep strokes light, controlled, confident
- Let pigment glide; avoid pooling
Allow Proper Dry Time Between Coats
Although it’s tempting to rush, I let each coat set until it’s touch-dry—about 1–2 minutes for thin polish, longer for shimmers or thick formulas.
I wiggle my fingertips in the air like tiny flags, resisting the urge to stack layers too soon. Patience prevents dents, bubbles, and drag marks. I test lightly with a knuckle, then proceed. Slow layers lock in shine and stretched-out wear.
Choose Long-Wear or Gel-Effect Formulas
Patience pays off, and the right polish makes it last. I reach for long-wear or gel-effect formulas when I want chip-resistant shine without a salon lamp. These pigments hug the nail, flex with movement, and keep color vivid longer. Choose smarter, and your manicure works harder.
- Look for “gel-effect,” “long-wear,” or “extended shine” on labels
- Pair with a compatible base coat for grip
- Cap the free edge for extra durability
Refresh With a Top Coat Every Two to Three Days

Sometimes I treat my manicure like a tiny shield and re-armor it with top coat every two to three days.
I swipe a thin layer across each nail, capping the tips to block chips and boost shine.
It’s a quick ritual—dry in minutes, payoff for days.
Think of it as a sparkle reset button: color looks fresher, edges stay crisp, and compliments keep coming.
Hydrate Cuticles Daily With Oil or Balm

Daily, I tap a drop of cuticle oil (or a pea of balm) around each nail and massage like I’m waking tiny houseplants. Soft cuticles flex instead of crack, so polish clings longer and chips less. I keep minis in my bag and by my sink. You’ll see shine fast—and fewer hangnails.
- Jojoba or squalane soaks in fast
- Vitamin E boosts resilience
- Nightly massage seals moisture
Wear Gloves for Cleaning, Dishes, and Gardening
My freshly oiled cuticles deserve VIP treatment, so I suit them up in gloves for any splashy or gritty task—scrubbing bathrooms, tackling dishes, or digging in soil.
Think of gloves as tiny bodyguards: they block chips, stains, and sneaky abrasions.
I keep pairs everywhere—sink, shower caddy, garden tote—so there’s no excuse. Slip them on, keep polish pristine, and let chores fear your gleaming, unbothered manicure.
Avoid Prolonged Hot Water and Use Non-Acetone Remover
Even when a steamy soak sounds dreamy, I keep my nails out of hot water’s grip—heat swells the nail plate, lifts polish, and invites peeling.
I rinse cool, pat dry, and baby my topcoat. When it’s time to switch shades, I reach for non-acetone remover—gentler, less drying, and kinder to delicate tips.
- Short, cool showers save shine.
- Non-acetone protects overlays.
- Rehydrate with oil after removal.