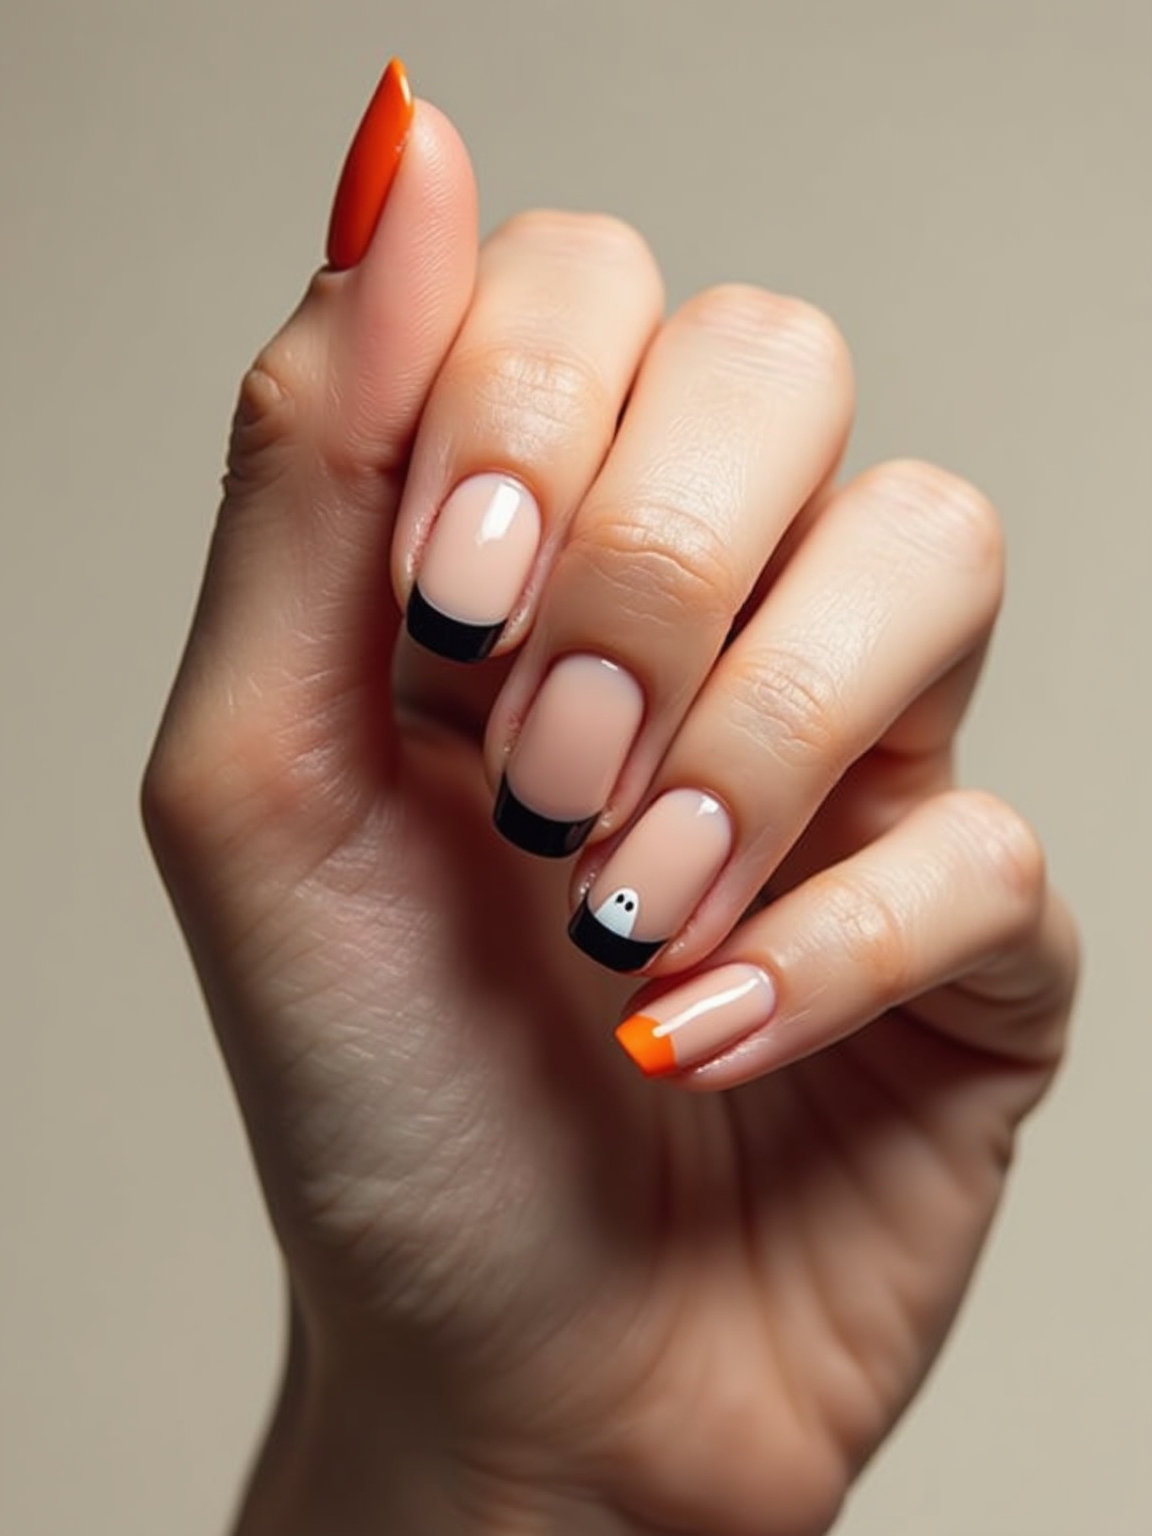
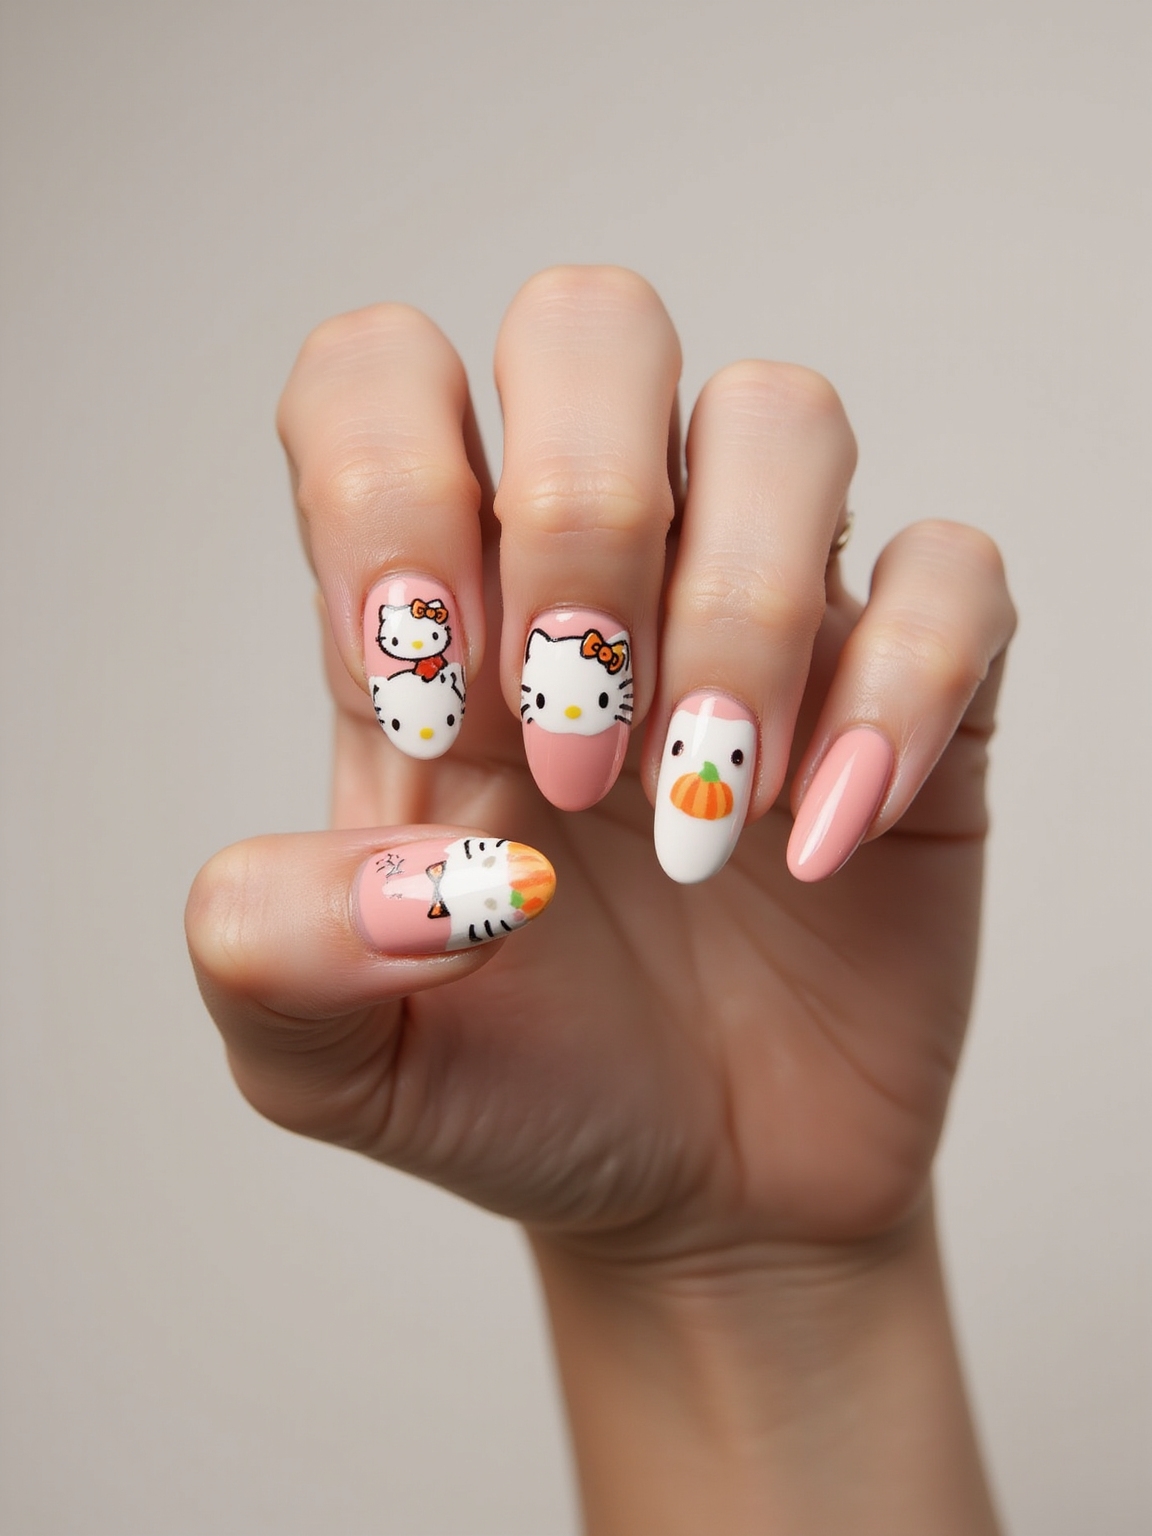
Gold foil is the most forgiving way to wear real metallic shine on your nails, and it looks far more expensive than it is to do. Chrome powder demands a perfect cured surface. Foil is torn metal leaf you press onto tacky gel, and the ragged, uneven edges are the whole charm. There’s almost no way to make it look wrong.
Below are 11 gold foil designs, from a slim gilded French tip to cracked foil over matte navy, each with the base color that flatters it and the trick that makes the foil stay put. Some are quiet enough for the office, others are full occasion glamour. Start with whichever base color already lives in your polish drawer.
Gold Foil Nails, Quick Answers
What are gold foil nails? They use thin sheets of metallic leaf pressed onto tacky gel and sealed, for a bright, slightly textured shine. Torn foil gives organic shards; full sheets crack into a marbled-metal look.
Are they hard to do at home? The foil is forgiving; the trick is timing. Press it onto a tacky adhesive layer, tamp with a silicone tool, and seal fast. Torn, scattered foil hides any unevenness.
How long do they last? Over gel, a foil design holds two to three weeks. Foil lifts at the edges first, so a thick, well-capped top coat is what keeps the shine intact.
Minimal Gilded French Tips

One sliver of gold turns a plain manicure into quiet luxury, which is why a gilded French tip is where I send anyone trying foil for the first time. Trace a thin line of tacky gel along each tip, press on a strip of gold foil, then peel to reveal a bright metallic edge. Over sheer pink or milky nude, it stays clean and modern. Because the tip is small, an uneven line barely registers. It’s a metallic spin on classic french tip nails.
- Paint foil glue or tacky gel only where you want the gold to stick.
- Wait until the glue turns from milky to clear and tacky before pressing.
- Press with a silicone tool, then peel the backing slowly for a crisp edge.
- Seal with a thick glossy top coat, capping the tip so the foil holds.
Black and Gold Foil Elegance
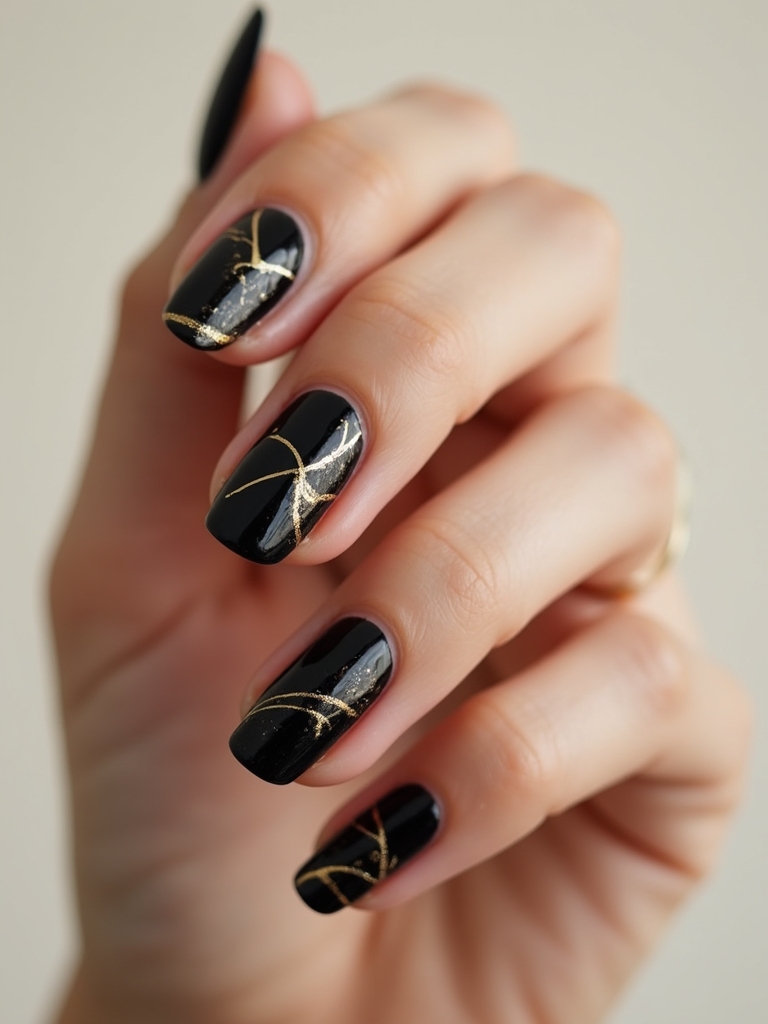
Black lacquer scattered with gold foil is the most dramatic pairing here, and it never looks dated. The high-gloss black makes each fleck of gold glow like an ember, so you need very little foil to make a statement. I keep it to a few torn shards per nail.
Apply the black, cure or dry it fully, then press small pieces of torn foil over a thin tacky layer where you want sparks of gold. Leave plenty of black showing. That breathing room is what keeps it elegant.
This suits any nail length and looks especially rich in the evening, under warm light. On deep and rich skin tones, warm yellow-gold against black is especially striking. Worn with a little gold jewelry, the whole hand looks intentional.
Sheer Nude With Scattered Gold Flakes

The most wearable foil look is also the simplest: a sheer nude base dusted with irregular gold flakes, like champagne catching the light. Keep the flakes tiny near the cuticle and slightly larger toward the tip so the eye travels up the nail. It goes with everything and hides regrowth better than most designs.
Pick a warm or cool nude to match your undertone, then seal well so no flake edge lifts. I point a lot of first-timers here when they want shine without committing to a full design. Layer it over your usual milky nails for a soft, glinting upgrade.
- Reach for pot foil flakes to get that scattered, champagne effect.
- Press the flakes into a tacky layer with a fingertip for even placement.
- Seal twice if the flakes feel raised, so nothing catches.
Marble Veins Accented With Gold Foil

Foil marble threads gold through soft, milky stone for a look that’s luxe but calm. Feather grey or white swirls into a creamy base, then lay razor-thin slivers of gold foil along the veins so they catch light like ore running through rock. The finer the foil line, the more expensive it looks.
Keeping the Veins Fine
Keep the veining airy and off-center, because a symmetrical pattern kills the natural-stone illusion. This one holds up beautifully on longer almond and coffin shapes.
For the foil veins, cut narrow strips and lay them only along the darkest lines of the marble. See marble nails for the base technique before you add any gold.
Emerald Green With Gold Edges

Emerald green with a gold foil edge is pure jewel-box glamour, the nail equivalent of an emerald set in gold. A deep, glossy green base does the heavy lifting, and a thin band of foil along the cuticle or tip finishes it like a bezel. It looks regal without any fussy art.
Best for Occasions
Deep green flatters almost every skin tone, and the gold warms it beautifully on deep and olive skin especially. Keep the foil to one clean edge so the color stays the star.
This is a favorite for the holidays and winter events, when jewel tones feel right. It’s the set I suggest for anyone who wants festive without going near red and green.
Not sure which gold foil look suits you? Two quick questions.
1Do you want shine you can wear to work?
Go minimal: a gilded French tip or scattered flakes over a sheer nude.
2Want a full statement for an event?
Try cracked foil on navy, black and gold, or an emerald bezel edge.
Negative-Space Geometric Foil

Geometric foil uses clean gold lines and blocks over bare nail for something modern and architectural. Map the shapes with striping tape, brush tacky gel inside the lines, and press foil into just those areas so the exposed nail frames the gold. The contrast of shine against bare nail is what makes it feel current.
It elongates the nail and grows out gracefully, since the negative space hides regrowth. Keep the design to two or three nails so it stays sharp rather than busy. For more of this approach, see negative-space nail designs.
Deep Burgundy With Molten Gold Accents

Deep burgundy with molten gold is the coziest look here, like candlelight on dark wine. The muted, brownish-red base makes warm gold foil glow without the drama of black. I love a single burgundy accent nail veined with gold among plainer wine nails.
Apply the foil in soft, irregular pools so it looks molten. This suits fall and winter especially, and flatters warm and deep skin tones. A gel set like this is roughly $40 to $60 at a salon, with two or three weeks of wear.
- Choose a brownish burgundy over a bright one so the gold reads warm.
- Press the foil in loose, irregular pools for a molten look.
- Add gold to just one or two nails to keep it balanced.
| Base color | Gold placement | Mood |
|---|---|---|
| Sheer nude | Scattered flakes | Everyday, subtle |
| Black or navy | Torn shards or cracked sheet | Evening, bold |
| Burgundy or emerald | Veins or a bezel edge | Occasion, rich |
Soft Pink Ombré With Gold Highlights

A soft pink ombré brushed with gold highlights is the romantic end of foil, all blush gradient and delicate shimmer. Fade a pale pink from cuticle to a lighter tip, then press small gold flecks along the tips where the light would naturally catch. It’s feminine and quiet, and it suits shorter nails as easily as long ones.
- Sponge the pink ombré and cure it before adding any foil.
- Place gold at the tips or one focal point only.
- Keep the flecks tiny so the look stays soft and quiet.
- Seal with a glossy top coat for a smooth, blended finish.
Matte Navy With Cracked Gold Foil

Cracked gold foil over matte navy is the most striking texture play in the set: a full sheet of gold pressed over the base cracks into a mosaic of shards, like gilded stone. The matte navy underneath shows through the cracks and makes the gold look even brighter. A little goes a long way here.
Press a whole piece of transfer foil onto a tacky layer, then lift it so it fractures into an organic crackle. Seal glossy over the navy, or matte the navy separately first for the deepest contrast. Save it for a couple of accent nails, since cracked foil carries a hand on its own.
- Use full-sheet transfer foil to get the cracked effect.
- Press hard, then peel to fracture the foil into shards.
- Cap the edges thickly, since cracked foil lifts easily.
A few foil terms worth knowing before you shop.
📖Transfer foil
A thin metallic sheet on a plastic backing, pressed onto tacky glue, then peeled away.
📖Foil flakes
Loose metallic shards in a pot, used for a scattered, champagne-like look.
📖Foil glue
A milky adhesive that dries clear and tacky; the surface the foil actually sticks to.
Milky White Cloud Nails With Gold Ripples
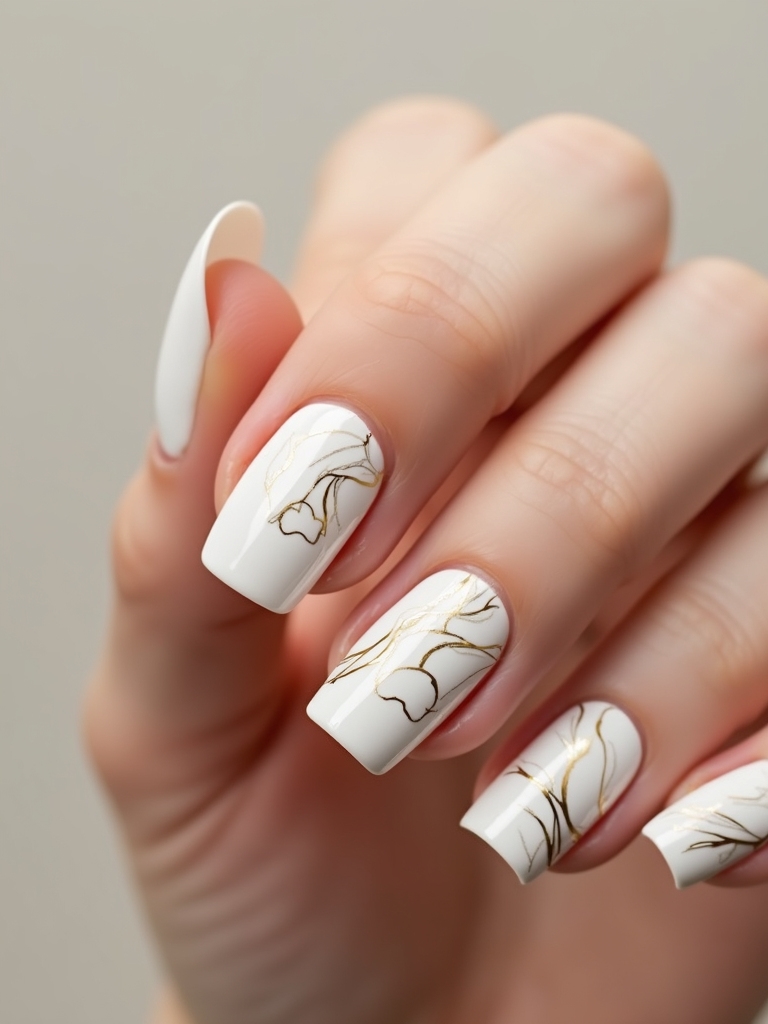
Cloud nails swirl sheer white into a milky base for a soft, dreamy sky, and thin gold ripples through them add just enough shine. The effect is airy and modern, and it photographs beautifully. I keep the gold to a few loose ripples so the clouds stay the focus rather than the metal.
- Build a milky, semi-sheer base and swirl in soft white clouds.
- Lay thin gold foil strips in loose, curved ripples, not straight lines.
- Keep the design light and uncrowded for the dreamy effect.
- Seal with a glossy top coat so the surface stays smooth.
Tortoiseshell With Gold Traces

Tortoiseshell nails blend amber, caramel, and deep brown into that classic warm mottle, and a few gold foil traces lift the whole thing into luxury. The gold picks up the warm tones and makes it look like polished horn set with metal. It’s rich, wearable, and looks expensive in a very quiet way.
Build the tortoiseshell with sheer brown and amber dabs blurred together, then add thin gold traces through the darkest patches. It flatters warm and deep skin tones especially, and suits almond and oval shapes. This is a lovely fall look when you want warmth without a bright color.
- Dab sheer amber and brown, then blur the edges while still wet.
- Add gold only in the darkest spots, not all over.
- Keep everything warm-toned so the gold blends in.
What to Expect
Gold foil is one of the easier nail techniques to learn, but it rewards patience with the glue. Foil sticks only to a properly tacky surface, so paint the adhesive, let it turn from milky to clear, and press within its working window. Torn and scattered foil forgives mistakes. Clean lines and cracked full sheets take a little more practice. A silicone tamper gives the cleanest press.
On cost, a foil design at a salon runs about $35 to $60 depending on how much art is involved, while a DIY kit of transfer foil, glue, and top coat is roughly $15 to $25 and covers many manicures. Over gel, expect two to three weeks of wear, and cap every edge thickly, because foil lifts from the corners first. When you take it off, soak in acetone rather than picking, which drags your top layer with it.
Pick Your Gold and Press
The best thing about gold foil is how little it asks of you. Nail the glue timing and a thick top coat, and every look here is within reach, from a whisper of flakes on nude to a full cracked-metal statement on navy. The foil does the glamour; you just place it.
Start with the base color already sitting in your drawer and try the scattered-flake version first, since it’s the most forgiving. Once the pressing feels natural, work up to veins, bezels, and cracked sheets. Your hands are the easiest place to test a little gold.
More Ideas Here