
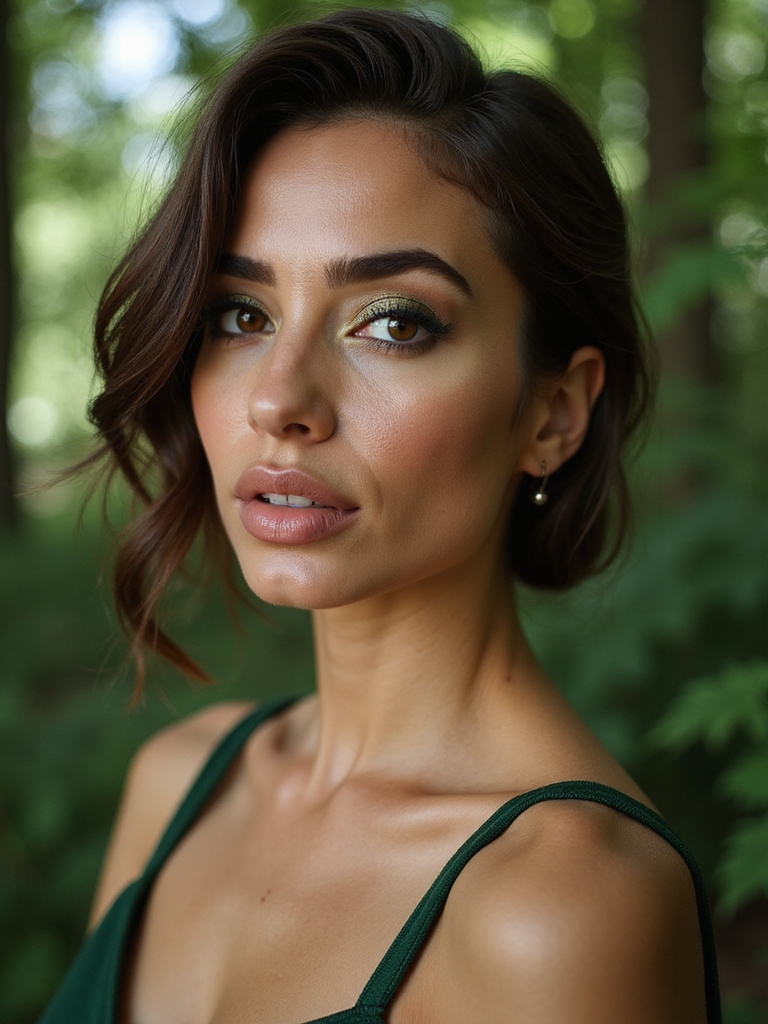
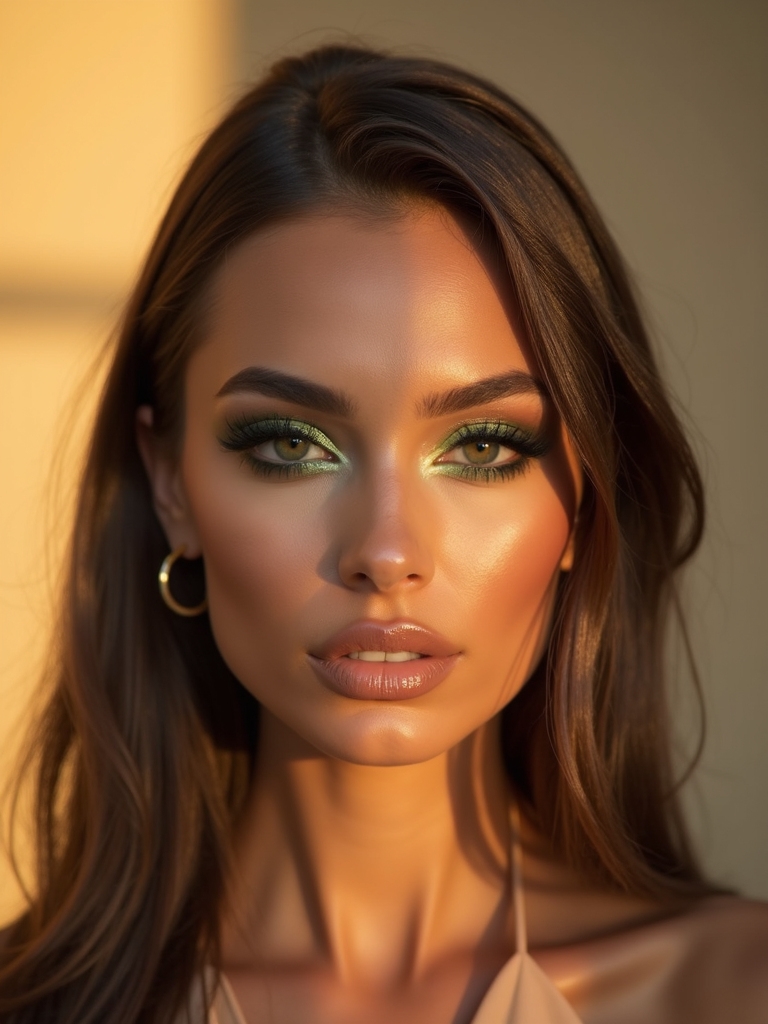
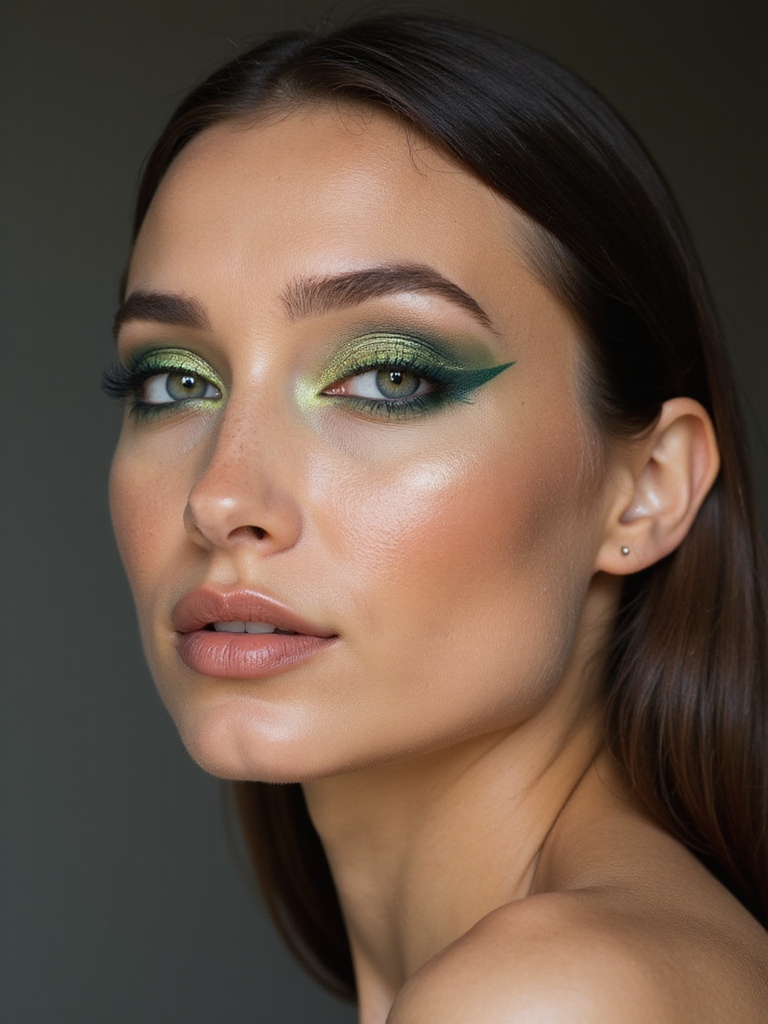
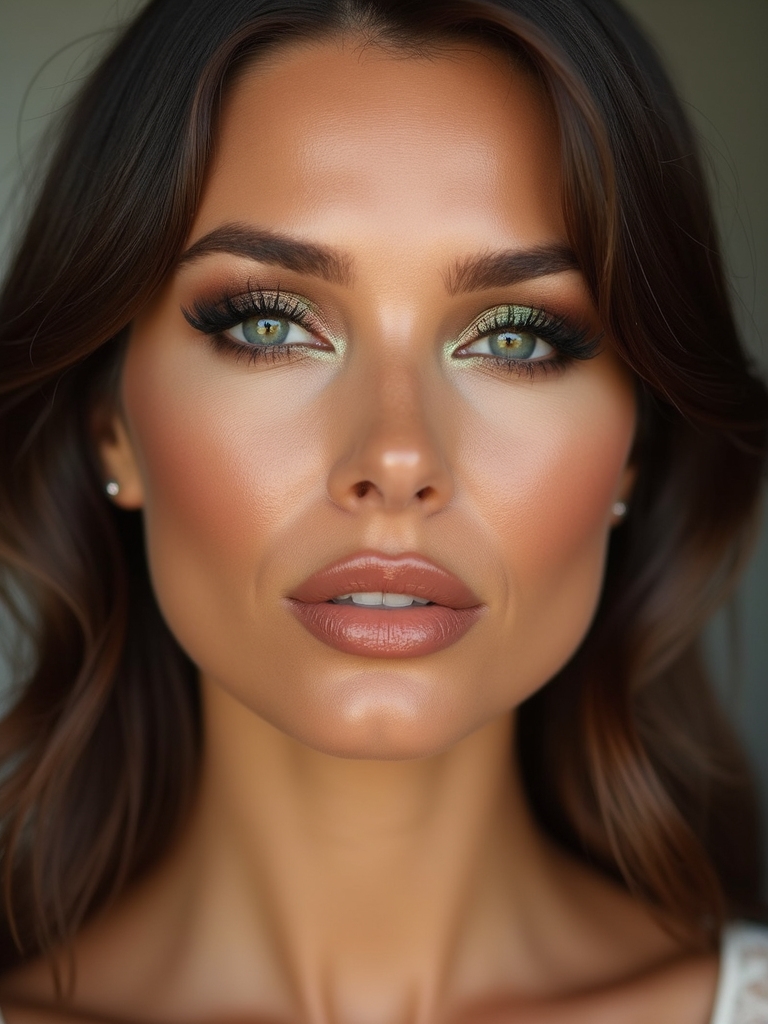
There’s a moment when you press a deep emerald onto the lid and it catches the light like sea glass, and you remember why green is the most underrated eyeshadow color there is. It isn’t just for green eyes, and it isn’t only a spring shade. From mossy matte to foiled olive to neon lime, green spans the whole year and flatters every eye color, often more than the safe browns most people default to.
Below are 15 green eye looks, from a sheer sage wash to a full emerald-and-gold duochrome, each with the technique and the skin tones and eye colors it flatters most. Whatever your coloring, there’s a green here that will make your eyes look brighter and more awake.
Green Eye Makeup, the Short Version
- Green flatters every eye color, and it’s especially striking on brown and hazel eyes, where it makes the warm tones pop.
- Match the green to your undertone: warm olive, khaki, and bronze-green suit warm and deep skin; cool mint, seafoam, and emerald flatter cool tones.
- Foiling green pigment, pressing it onto a sticky base, gives the brightest, most metallic payoff.
- A green eye reads modern with clean, glossy skin and a neutral lip, so keep the rest of the face simple.
Sheer Soft Sage Wash
The gentlest way into green is a sheer sage wash: a soft, grayed-green swept lightly over the lid for a hint of color that’s barely there but unexpectedly fresh. Sage is a muted, dusty green, so it looks sophisticated rather than bold, which makes it the perfect starter green for anyone who thinks colored shadow isn’t for them.
Build it sheer with a fluffy brush and keep it just on the lid, blending the edge soft. It flatters every eye color and suits cool and neutral skin especially, though a slightly warmer sage works on deep skin too.
This is the green I hand nervous clients first, because it wears as easily as a neutral but quietly more interesting. Pair it with clean skin and a nude lip.
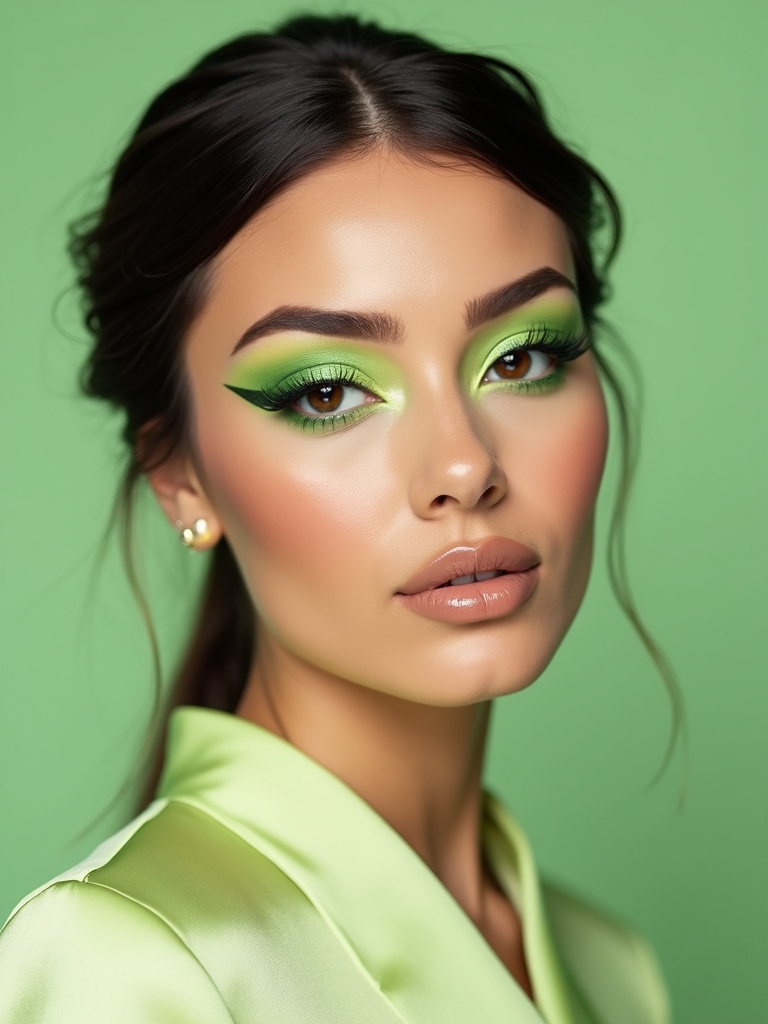
Emerald Winged Eyeliner
Swapping black liner for a deep emerald green is the easiest way to add color without a full eyeshadow look. A crisp emerald wing along the lash line catches the light and makes the whites of your eyes look brighter, and it’s especially striking on brown and hazel eyes, where green makes the warm flecks pop. Use a gel or liquid emerald liner for the sharpest, most saturated line.
- Line the lash line and wing it out for a pop of color.
- Emerald makes brown and hazel eyes look brighter.
- Use gel or liquid for the most saturated line.
- Leave the lid clean so the liner is the only color.
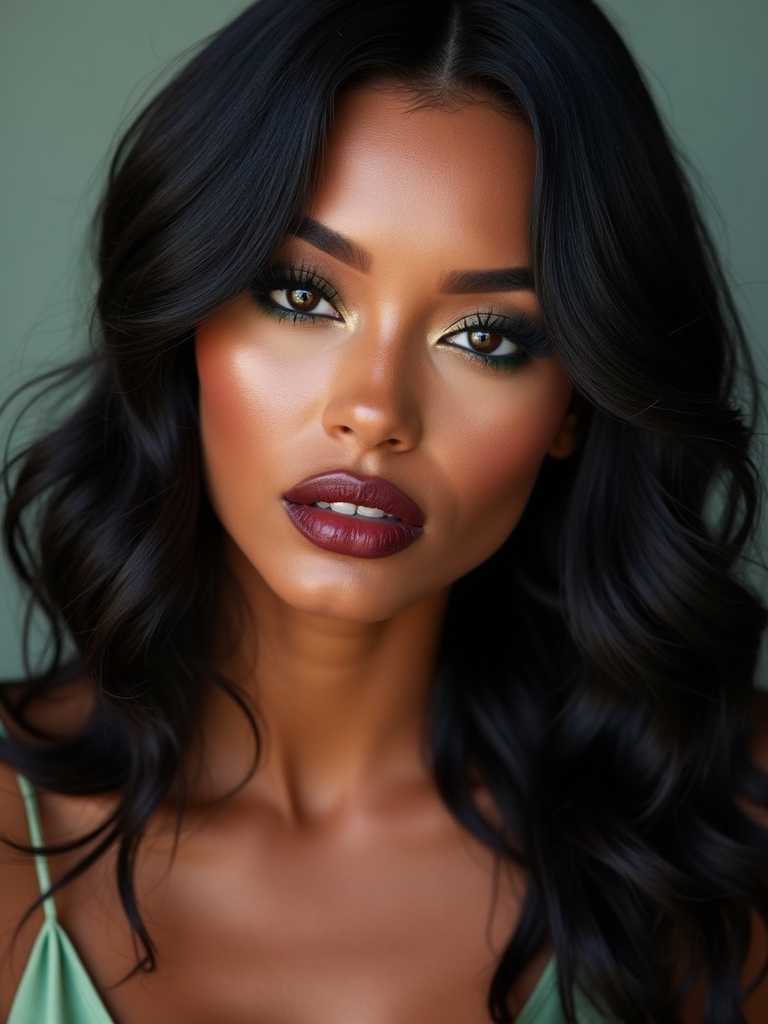
Mossy Matte Smoky Eye
A mossy matte smoky eye trades the usual black or brown for a deep, earthy moss green, giving you all the drama of a smoky eye with an unexpected, modern twist. Matte green looks sophisticated and grown-up, and the earthy tone flatters warm and deep skin beautifully.
Build it like any smoky eye, deepest in the outer corner and blended up through the crease, then smudge moss under the lower lashes to close it in. Keep the lid matte throughout for that soft, foggy finish.
- Build moss green deepest in the outer corner, then blend up.
- Smudge a touch under the lower lashes to match the top.
- Keep it matte for a soft, foggy smoky finish.
- Earthy moss flatters warm and deep skin especially.
How to build a green smoky eye.
1Prime the lid
Set a primer and a neutral base so the green blends smoothly.
2Deepen the outer V
Press matte moss into the outer corner and blend inward.
3Build the crease
Windshield-wiper a fluffy brush through the crease to diffuse it.
4Line and smoke
Smudge green under the lower lashes and coat the lashes.
Soft Sculpted Olive Glow
Olive green is the most wearable green there is, a warm, brownish green that works almost like a neutral but with more life. Swept over the lid and blended into the crease, it sculpts the eye softly while adding a warm, glowy depth. On warm, olive, and deep skin, it looks especially natural, since it echoes the warmth in the complexion.
Add a little shimmer to the center of the lid for a glow, keep the skin dewy, and you have a soft, polished everyday look. It’s the green I lean on when someone wants color that still feels like a neutral. See soft glam makeup for a lighter version.
Mint Inner-Corner Highlight

A pop of mint green in the inner corners is the smallest green trick and one of the freshest: a dab of pale, cool mint where you’d usually put a champagne highlight opens the eyes and adds an unexpected wash of color. It’s subtle enough for day and looks especially bright on cool and fair skin. On deep skin, a slightly more saturated mint shows up better than a pale one.
- Dab pale mint in the inner corners to open the eyes.
- It’s an unexpected swap for a champagne highlight.
- Cool, fair skin loves a pale mint; deep skin, a brighter one.
- Keep the rest of the eye neutral so it stays fresh.
A Warm Green Tightline
Tightlining the upper lash line in a warm green, like khaki or olive, is a subtle way to wear color that most people won’t consciously notice but everyone will register. It makes the lashes look denser and adds a soft green depth to the eye without a full shadow look.
The Subtle Green
Use a waterproof green pencil on the upper waterline, pressing it into the lash roots. A warm green flatters more eye colors than a cool one here, and it’s especially good on brown eyes.
It’s the quiet green, the one I do on clients who want something different but understated. Pair it with a coat of brown or green mascara to tie it together.
“Green mascara sounds intimidating but wears like a secret. On brown and hazel eyes especially, a coat of deep forest-green mascara looks almost black from a distance and only reveals its color when the light hits, so your eyes look brighter without any obvious color.”
Khaki Cut Crease
A khaki cut crease carves a sharp line into the crease and fills the lid below with a warm, muted khaki green for a bold, editorial eye. The crisp cut edge and the earthy green together look modern and high-fashion, and khaki’s brown undertone keeps it wearable rather than costume.
Carve the crease with concealer, set it, then press khaki onto the lid below for the brightest payoff. It suits every eye color and glows on deep skin, where the warm green sits beautifully against a rich complexion.
- Carve the crease with concealer and set it first.
- Press khaki onto the lid below for a bold, clean cut.
- Khaki’s brown undertone keeps it wearable.
- Looks especially rich on deep skin.
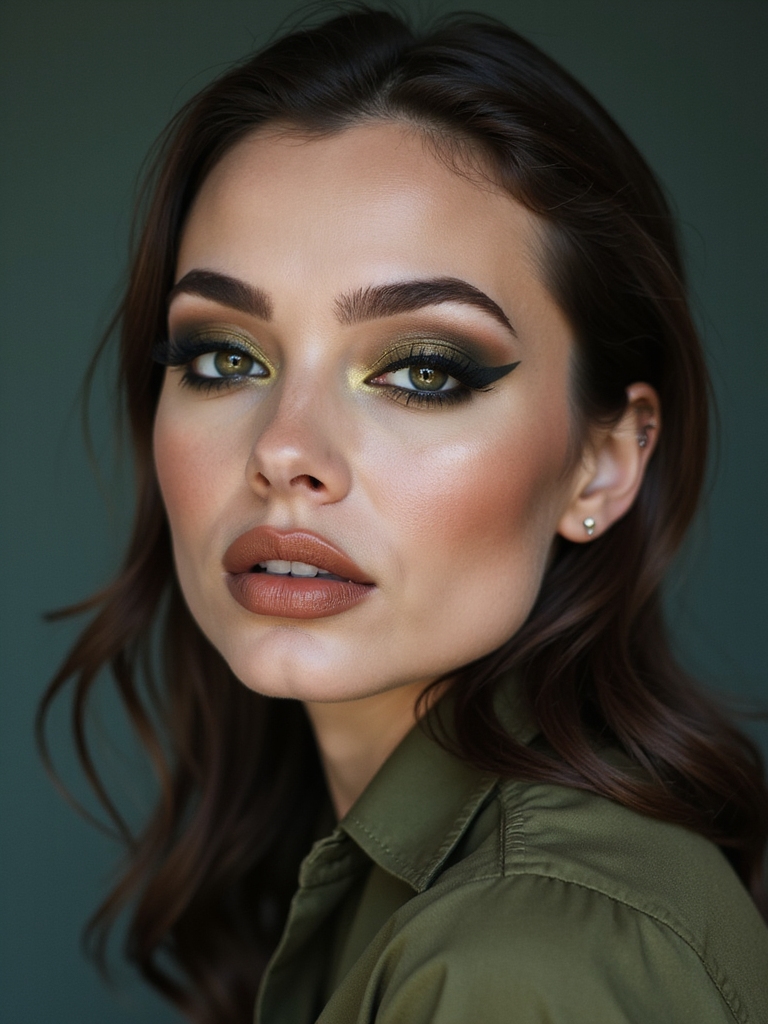
Lime Neon Graphic Shapes

For a bold, playful look, lime neon green drawn in graphic shapes, a floating line above the crease, a bright underliner, or a geometric flick, is festival-and-party energy at its best.
Neon lime pops hardest against a matte skin base and looks incredible on every skin tone, especially deep skin, where bright neons truly shine. Use a neon pigment over a white base so the color stays true and bright, and keep the shape clean and graphic so it reads intentional.
- Draw lime in a graphic line, underliner, or flick.
- Lay it over a white base so the neon stays true.
- Neons look incredible on deep skin especially.
- Keep the shape clean so it reads modern, not messy.
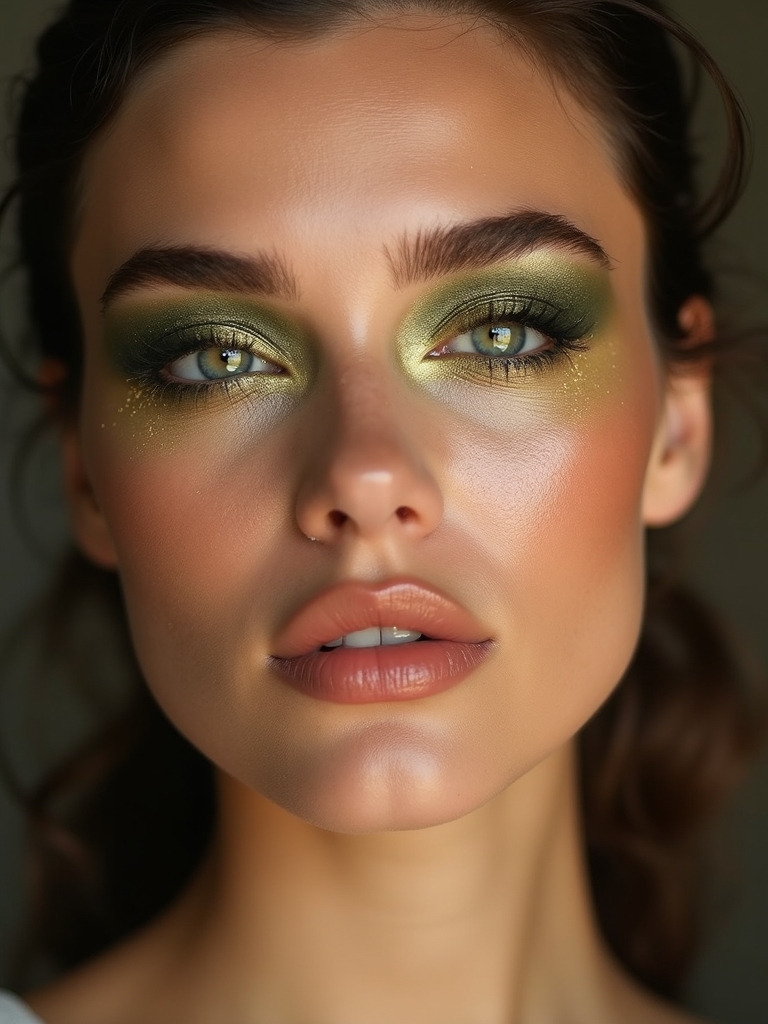
Foiled Olive Shimmer Lid
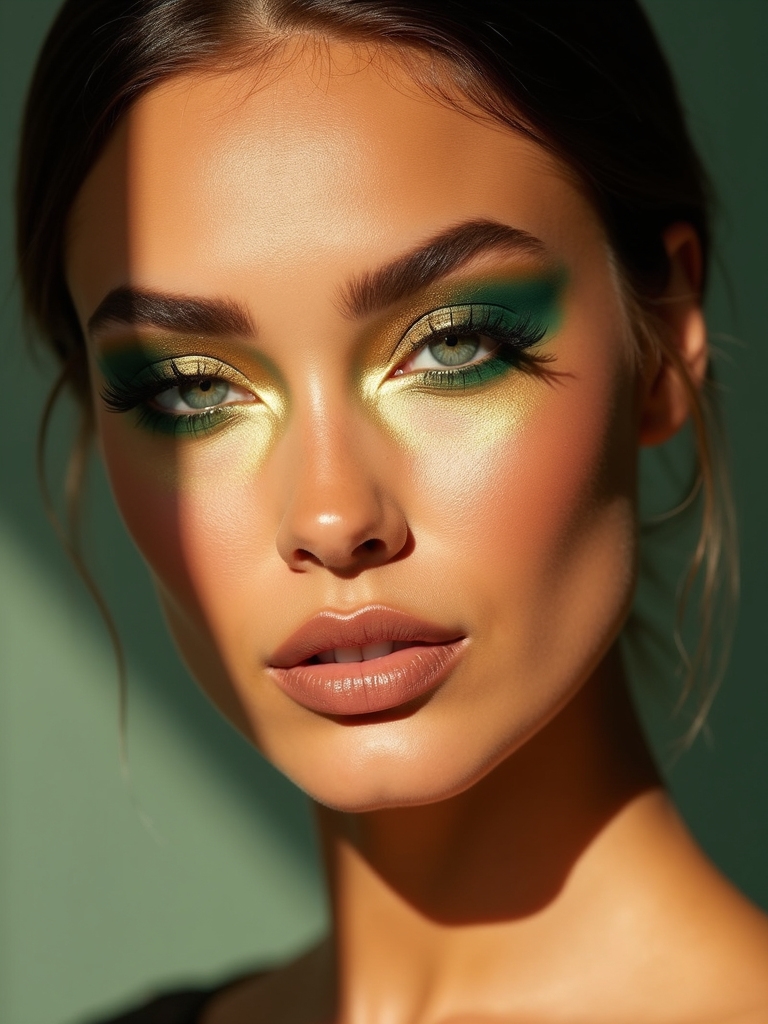
A foiled olive lid is green at its most luxe: a metallic olive pressed on wet so it looks like liquid metal, catching light with every blink. Foiling packs the pigment tight for a bright, reflective finish that a dry shadow can’t match, and olive’s warmth makes it flatter almost everyone.
Dampen a flat brush or use a sticky base, then press the olive pigment onto the lid rather than sweeping. Let everything else stay understated so the metallic lid is the star. It pairs beautifully with a warm bronze makeup lower lash line.
- Press metallic olive onto a damp or sticky base, don’t sweep.
- Foiling gives a bright, liquid-metal finish.
- Keep everything else understated so the lid leads.
- Warm olive flatters almost every skin tone.
Which green is your green? A quick match.
1Warm, olive, or deep skin?
Olive, khaki, moss, and bronze-green bring out your warmth.
2Cool or fair skin?
Mint, seafoam, emerald, and teal stay crisp and bright on you.
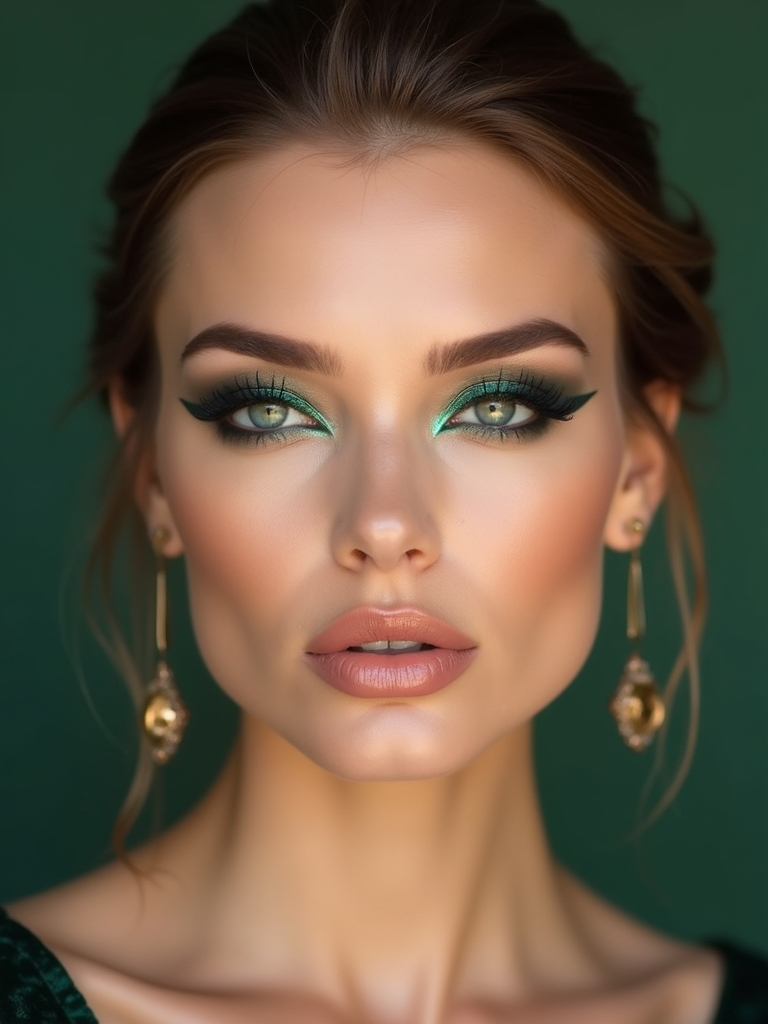
Teal-to-Emerald Ombré
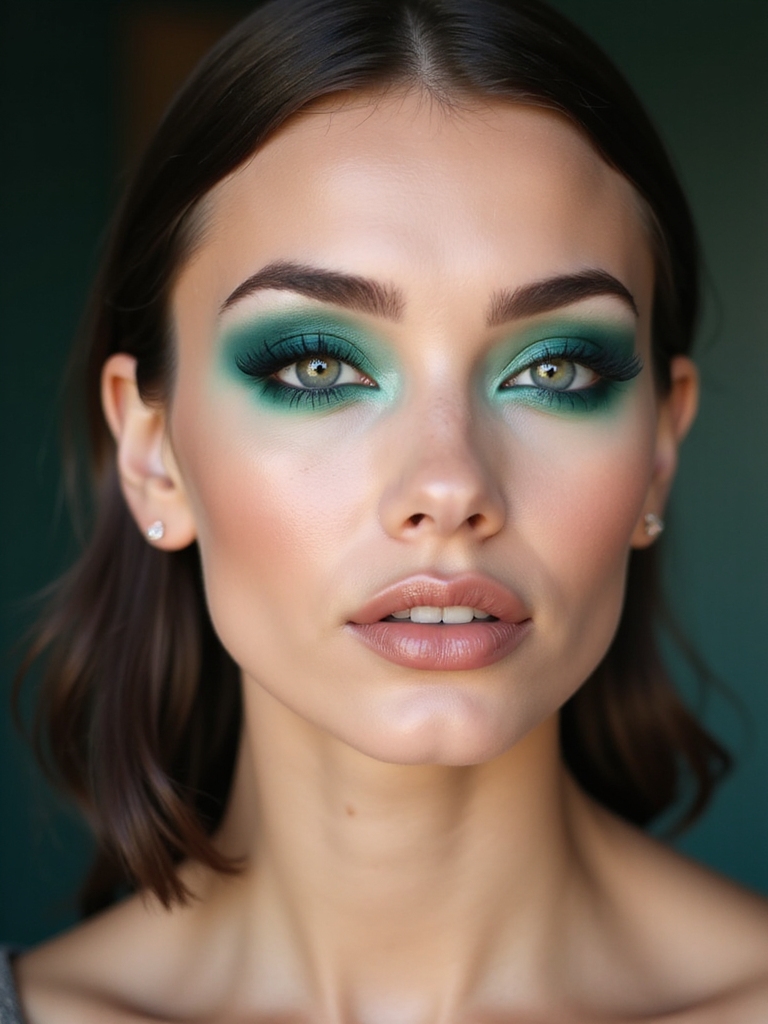
A teal-to-emerald ombré blends two jewel-green tones across the lid, teal at the inner corner deepening to emerald at the outer, for a rich, dimensional eye that shifts as you move. The gradient keeps it from looking flat, and jewel greens flatter every eye color, making brown and green eyes especially vivid.
Blend the two shades where they meet so there’s no hard line, and keep both saturated for the jewel effect. It’s a striking evening look, and it photographs beautifully on every skin tone.
- Blend teal at the inner corner into emerald at the outer.
- Diffuse where they meet so there’s no hard line.
- Jewel greens make brown and green eyes vivid.
- A rich, dimensional look for evening.
Soft Pistachio Monochrome
A pistachio monochrome look carries a soft, warm-green pastel across the lids and a hint on the cheeks for a fresh, modern, tonal effect. Pistachio is gentle and a little unexpected, and the monochrome approach makes it look intentional rather than experimental. It’s spring-fresh but works year-round.
Use cream formulas for a soft-focus finish, keep it sheer, and blend well. Pistachio suits warm and neutral skin especially; on deep skin, a slightly deeper green-pastel shows up best. Keep the lip nude so the green stays the focus.
Jade Smudged Lower Lash Line
Smudging a rich jade green along just the lower lash line is a low-effort, high-impact way to wear green, adding a pop of color that frames the eye from below. It’s unexpected and modern, and because it’s only on the lower line, it takes seconds and suits even the most makeup-shy.
Use a jade pencil or a wet brush with green shadow, smudging it softly along the lower lashes. Keep the upper lid clean or just add mascara, so the green stays the accent. Jade flatters every eye color and looks especially bright against brown eyes.
It’s the green I suggest to anyone who wants to try color without committing to a full lid, and it’s an easy one to build confidence with. A little goes a long way.
Emerald-to-Gold Duochrome
An emerald-to-gold duochrome uses a special shifting pigment that flips between deep emerald and warm gold as the light moves, so your eye looks like it changes color when you blink. It’s the most eye-catching green here, endlessly dimensional, and the gold shift makes it flatter warm and deep skin as well as cool. Press the duochrome onto a black or emerald base to make the shift pop, and hold everything else back so the color play leads.
- Press duochrome over a dark base so the shift pops.
- The gold flip flatters warm and deep skin.
- Keep the rest of the eye simple so the color leads.
- The most dimensional, eye-catching green here.
👍Why duochrome green works
- +Shifts color as you move for a dimensional, expensive look.
- +The gold flip flatters warm and deep skin, not just cool.
- +A little pigment covers the whole lid.
👎What to watch
- –Needs a dark, sticky base to show its full shift.
- –Cheap duochromes can look patchy, so quality matters.
- –Fallout is common, so tap off excess and do your eyes first.
Airy Seafoam Spotlight
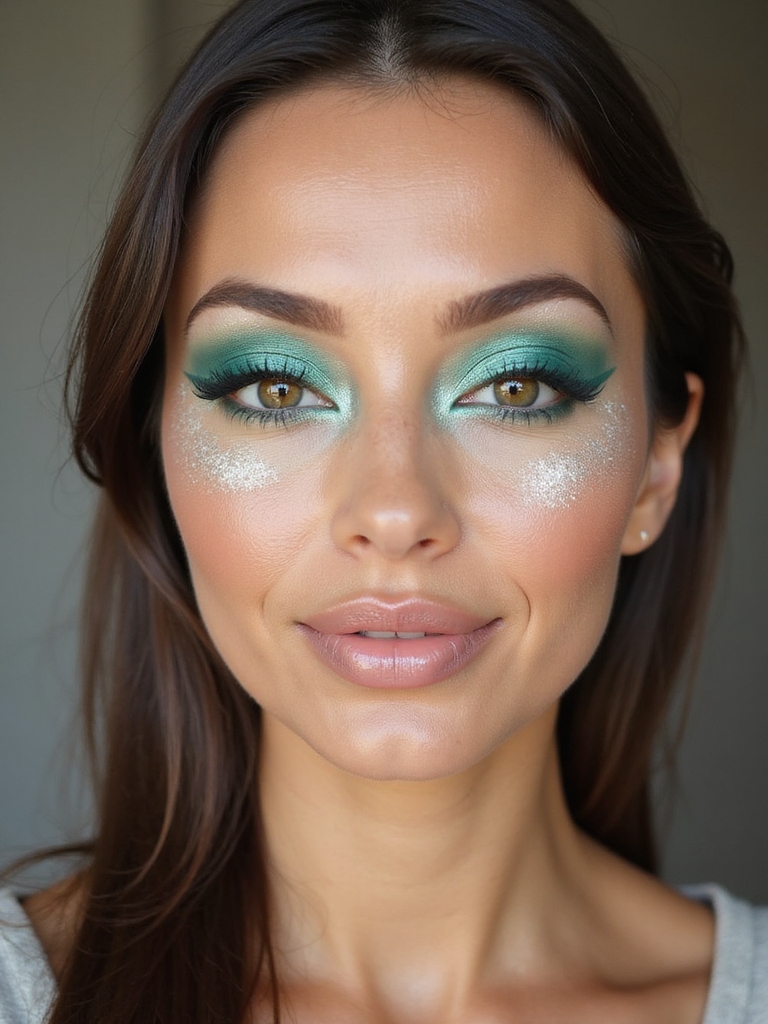
Seafoam green is a pale, cool, slightly blue-green that looks airy and modern, and placed as a spotlight in the center of the lid it makes the eyes look wide and luminous. The soft, watery color is fresh and unexpected, perfect for spring and summer.
Making Seafoam Show Up
Build a neutral or soft green base, then press bright seafoam into the center of the lid, over the iris, so it catches the light like a spotlight. Blend the edges so the pop sits softly in the middle.
Seafoam suits cool and fair skin most naturally; on deep skin, a more saturated seafoam over a primer shows up brighter and stays true. Keep the skin dewy to match its fresh feel.
Warm Hunter Green and Bronze
Pairing a deep hunter green with warm bronze is the coziest green look, all rich, autumnal depth. The bronze warms the cool hunter green and ties it to the skin, so the combination flatters warm, olive, and deep skin beautifully and photographs rich and expensive.
Green for Neutral Lovers
Build bronze through the crease and outer corner, then pat hunter green across the lid so it glows against the warm frame. The two deep tones together look luxe and grown-up, ideal for fall and evening.
This is the green I recommend most to anyone nervous that green won’t suit them, because the bronze makes it feel familiar and warm. It’s a green even devoted neutral-wearers love.
What to Expect
Green is one of the most flattering and least-used eyeshadow colors, and the biggest surprise for most people is how wearable it is. The trick is matching the green to your coloring: warm olive, khaki, moss, and bronze-green flatter warm, olive, and deep skin, while cool mint, seafoam, emerald, and teal suit cool and fair tones.
And green flatters every eye color, doing the most for brown and hazel eyes, where it makes the warm tones pop, though it’s lovely on blue and green eyes too.
None of it costs much: a single good green shadow or liner runs about $8 to $22, and one versatile shade, like olive or emerald, goes a long way. To make any green pop brightest, lay it over a primer or a white base and press rather than sweep, especially for foiled and neon finishes.
Keep the rest of the face simple, clean skin and a neutral lip, so the color leads. Try an olive wash or an emerald liner first, and you may find green becomes your new neutral.
Green Eye Makeup Questions, Answered
?Does green eyeshadow only suit green eyes?
Not at all. Green flatters every eye color, and it’s often most striking on brown and hazel eyes, where it makes the warm flecks pop. On blue and green eyes it adds a pretty, tonal depth. The shade matters more than your eye color: match the green to your skin’s undertone and it will flatter you.
?What green eyeshadow suits deep skin?
Warm, saturated greens look incredible on deep skin: olive, khaki, moss, bronze-green, and bright neon lime all glow. Layer bright shades over a primer or white base and press the pigment on for full payoff. On deep skin, richer, more saturated versions of pale greens like mint and seafoam show up better than the palest ones.
?How do I make green eyeshadow more pigmented?
Foil it. Dampen a flat brush with setting spray, or use a sticky base, then press the shadow onto the lid instead of sweeping. Pressing packs the particles together for a bright, saturated finish. A white or colored base underneath also makes greens, especially neons, read truer and bolder.
?What lip goes with a green eye?
Keep it soft so the eyes lead: a nude, warm pink, peach, or your-lips-but-better shade all work. For a bold evening green like emerald or duochrome, a deeper nude or soft berry balances it. Save a competing bright lip for days when the green eye is minimal.
?Is green eye makeup hard to pull off?
It’s easier than it looks. Start with a sheer olive or sage wash, which wears like a neutral, or a green liner, which is just a color swap. Save cut creases, duochromes, and neons for once you’re comfortable. Matching the green to your undertone does most of the work for you.
Make Green Your New Neutral
The thread through all of these is that green is far more wearable than its reputation suggests. There’s a green for every eye color and every skin tone, from a barely-there sage wash to a full duochrome, and it flatters the warm tones in brown and hazel eyes in a way no brown shadow can. The only real trick is matching the shade to your undertone and pressing your pigment for the brightest payoff.
Start small if green feels like a leap: an olive wash, an emerald liner, or a smudge of jade on the lower lash line. Once you see how it brightens your eyes, you may reach for green as often as your neutrals.


