
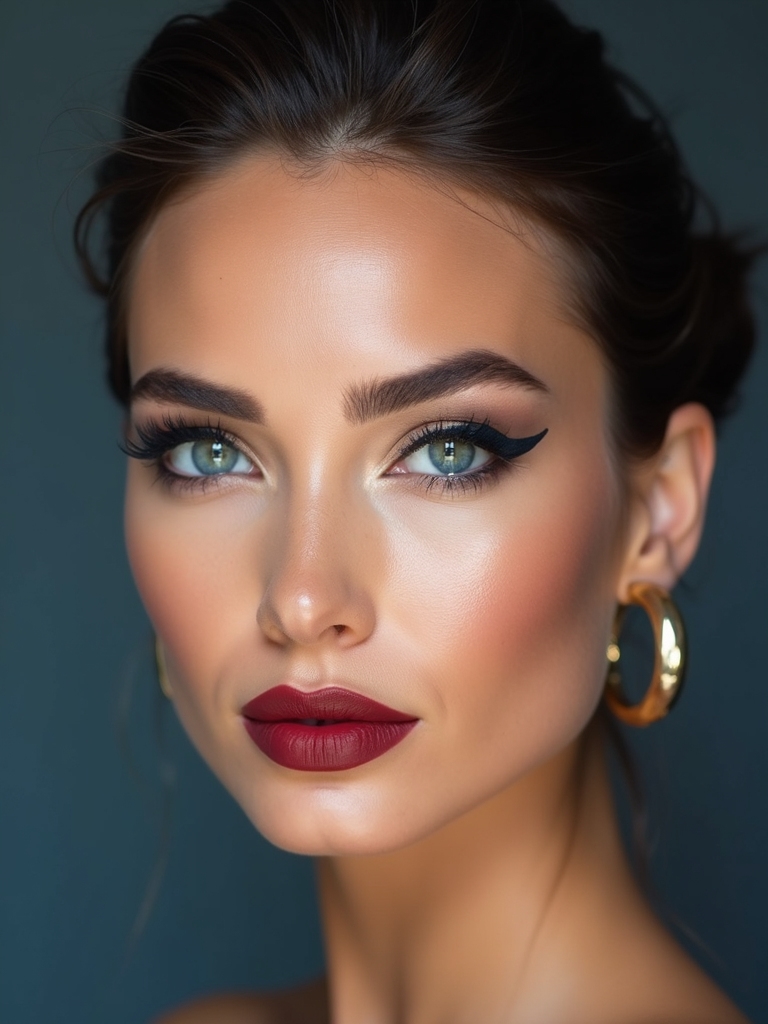
An hour before her ceremony, a bride sat in my chair, hands shaking too much to hold a liner brush, certain her wings would end up crooked in every photo. I mapped both eyes with tiny dots first, connected them, and her face changed the second she opened her eyes in the mirror. That’s the magic of cat eye makeup: a flick of liner, often from a single $8 to $20 pencil, that lifts the whole face in about five minutes.
Cat eye makeup has outlasted every other liner trend because it works on everyone, with the right approach. Below are fifteen winged looks, from a barely-there kitten flick to a graphic double wing, each with how it’s done, the eye shapes and skin tones it flatters, and the small tricks that make a wing crisp, even, and built to last the night.
Map the Wing to Your Eye
| Eye shape | Wing approach | Why |
|---|---|---|
| Hooded | Map and draw with your eyes open, aim the flick up | So the wing shows when your eye is open, not hidden in the fold |
| Round | Extend the wing long and lifted toward the brow tail | Elongates and adds a feline lift to a round eye |
| Almond | Follow your natural lower lash line out and up | The most forgiving shape; almost any wing suits it |
Prep, Map, Sketch, Fill
Before any specific look, the method is what saves you from crooked wings, and it never changes. Every clean cat eye I draw follows the same four steps, which is what makes both sides match even when your hands aren’t steady.
Learn this once and every wing below gets easier, because you’re building structure before you commit to a single line.
- Prep: a swipe of primer or setting powder on the lid so the liner glides and stays.
- Map: place a tiny dot where each wing will end and where it’ll connect to your lash line.
- Sketch then fill: lightly connect the dots into an outline, check both sides, then fill it solid.
The Soft Kitten Wing
The kitten flick is the most wearable cat eye there is. It’s a tiny, soft wing that lifts the eye without shouting. I recommend it to anyone nervous about liner, since a short flick is far more forgiving than a long, sharp one, and even if it goes slightly wonky, nobody will ever notice on a flick this small.
- Line the upper lash line thin, thickening just slightly toward the outer corner.
- Flick the tiniest wing upward, no longer than a few millimeters.
- Smudge it the faintest bit with a brush for a soft, daytime finish.
The foolproof wing, step by step:
1Map it
Dot where each wing ends and where it meets your lash line, eyes open.
2Outline
Lightly connect the dots into a hollow wing shape and check both sides match.
3Fill and set
Fill the shape solid, then press a matching shadow over it to lock it down.
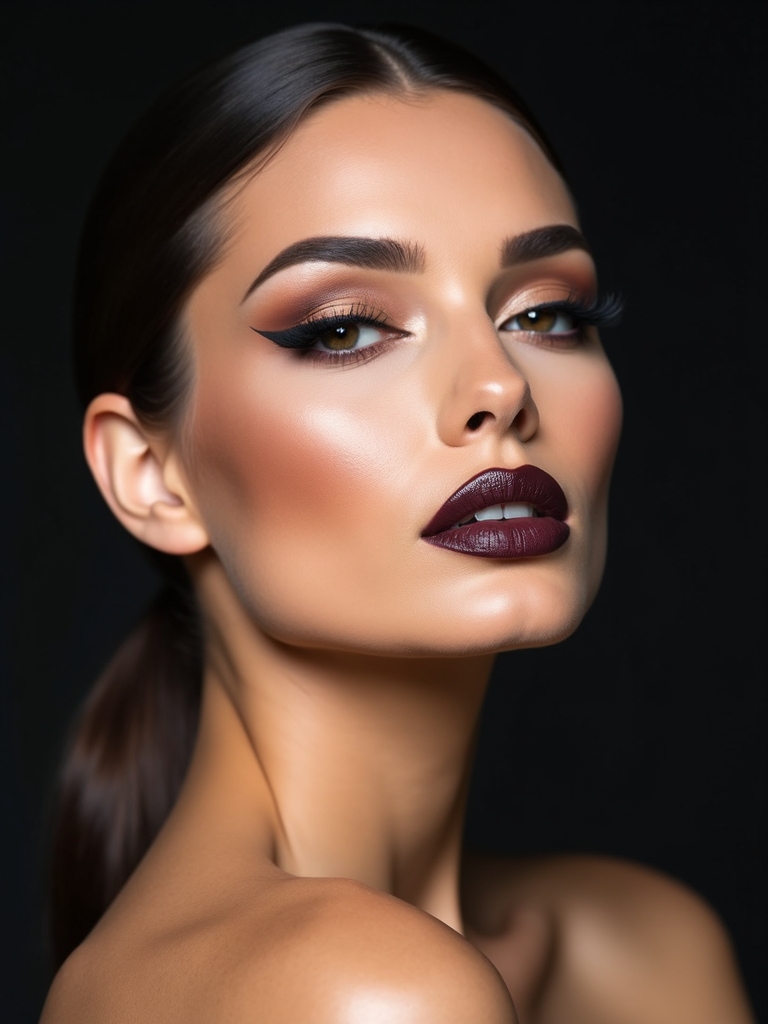
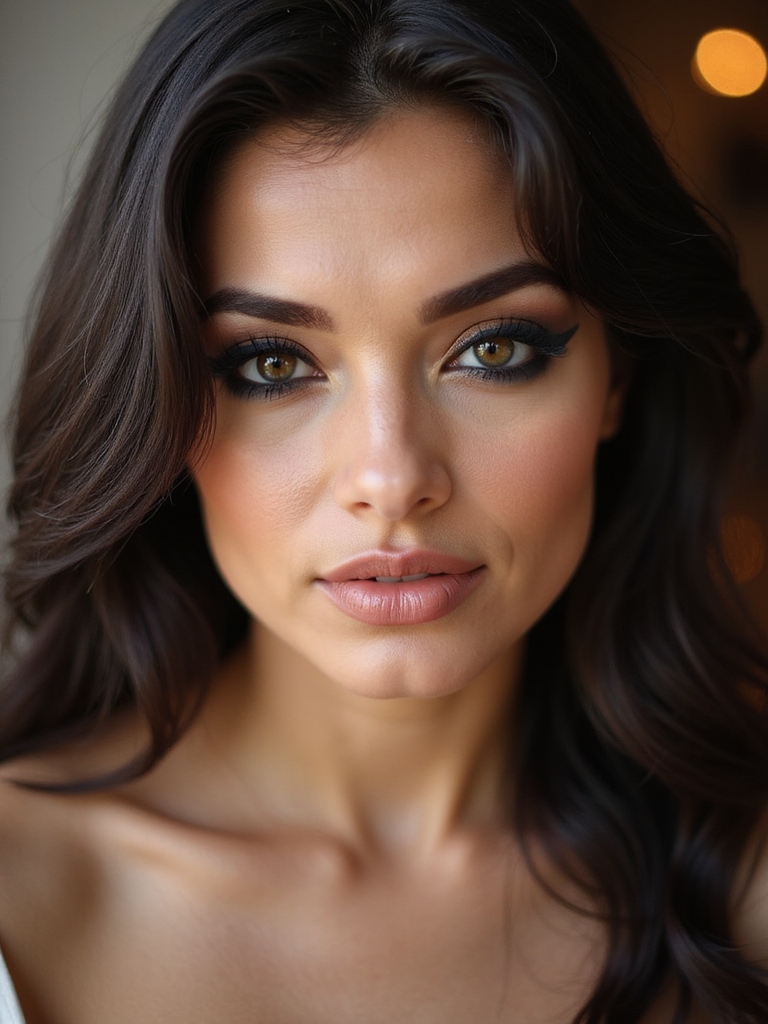
The Smoky Lifted Wing
When you want a cat eye with more drama, blending soft shadow around a wing gives you a smoky, lifted effect that still keeps the sharp flick. It’s the marriage of a smoky eye and a cat eye. Pure evening drama.
- Draw your wing first, then smudge a deeper shadow along the lash line and outer corner.
- Blend the shadow up and out, following the angle of the wing.
- Keep the very tip of the flick clean and sharp so it cuts through the smoke. See more smokey eye makeup.
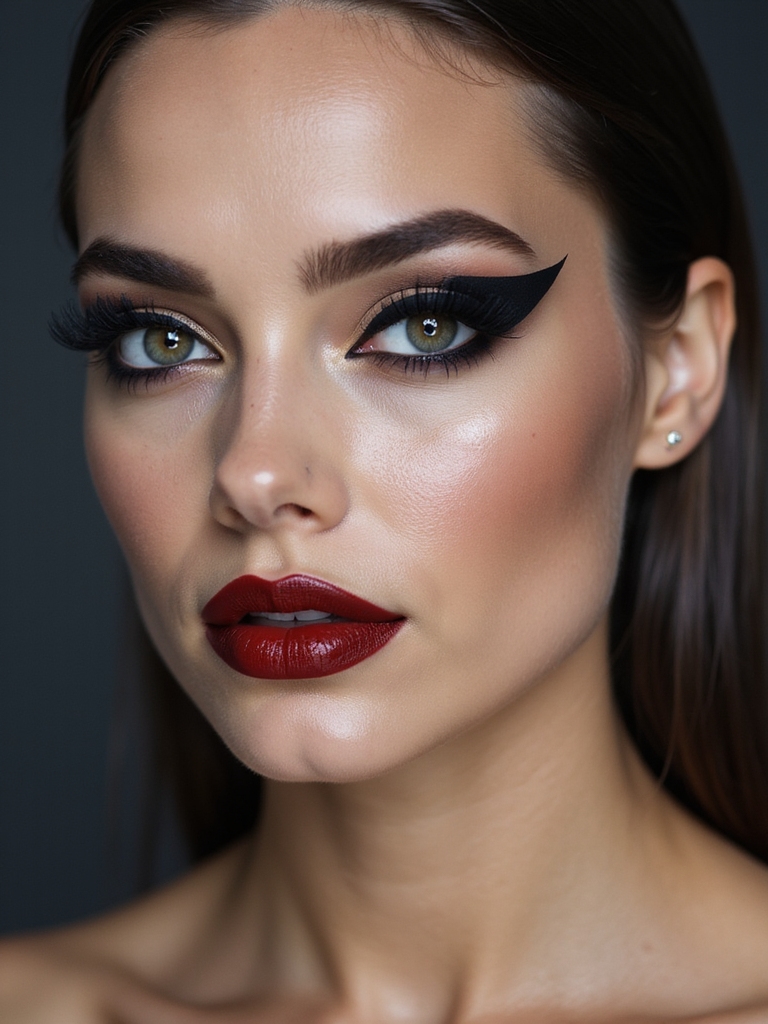
The Dual Crisp Wing
The double or dual wing is a bold, editorial take where a second line of liner traces above or below the main wing, often in a contrasting shade. It turns a classic cat eye into graphic art. Save it for nights out and creative occasions.
Precision is everything here, so map both lines carefully and keep them parallel. A thin gap of bare skin between the two lines is what makes the effect read clean and intentional rather than messy, so resist the urge to fill it in.
Two things people get wrong about cat eyes:
❌ Myth: You need a steady hand and natural talent
✅ Reality: You need a method, not talent. Mapping with dots first makes anyone’s wings even, shaky hands included.
❌ Myth: Cat eyes don’t work on hooded or monolid eyes
✅ Reality: They absolutely do; you just map and draw with your eyes open and aim the flick upward so it shows.
Negative-Space Cat Eye
The negative-space cat eye leaves a deliberate sliver of bare lid between two lines of liner, using your own skin as part of the design. It’s modern and graphic. The gap actually opens up the eye, which is why it flatters more than you’d expect.
- Draw your usual wing along the lash line and flick it out.
- Add a second curved line above it, following the crease, leaving bare skin between.
- Keep both lines crisp, since the whole look depends on clean edges around the gap.
Tightlined Gel Flick
For a cat eye that survives heat, tears, and a long day, a tightlined waterproof gel flick is the most durable build. Tightlining means pressing liner into the roots of your upper lashes, which makes them look fuller and gives the wing a smooth, gap-free base.
Gel liner with a fine brush is the most controllable and longest-wearing combination, especially the waterproof formulas.
- Tightline the upper waterline first to darken the lash base.
- Build the wing on top with waterproof gel liner and an angled brush.
- Lock it down by pressing a matching dark shadow over the liner so it never moves.
👍Reach for liquid when you want
- +The sharpest, most precise tip for a crisp wing
- +Fast, intense color payoff in one pass
- +A graphic, defined, high-contrast edge
👎Reach for gel when you want
- –More forgiving, blendable working time before it sets
- –An easy smudge into a soft, smoky wing
- –The longest wear, especially in waterproof formulas
Smudged Kohl Wing
Not every cat eye needs a razor-sharp edge, and a smudged kohl wing trades precision for a soft, smoky, undone look that’s lovely on its own terms. A creamy kohl pencil is the easiest tool for this, since it’s made to be blended before it sets.
- Draw the wing with a soft kohl pencil, a little thicker than usual.
- Smudge the edges with a brush or fingertip while it’s still movable.
- Set with a touch of dark shadow so the softness lasts without sliding.
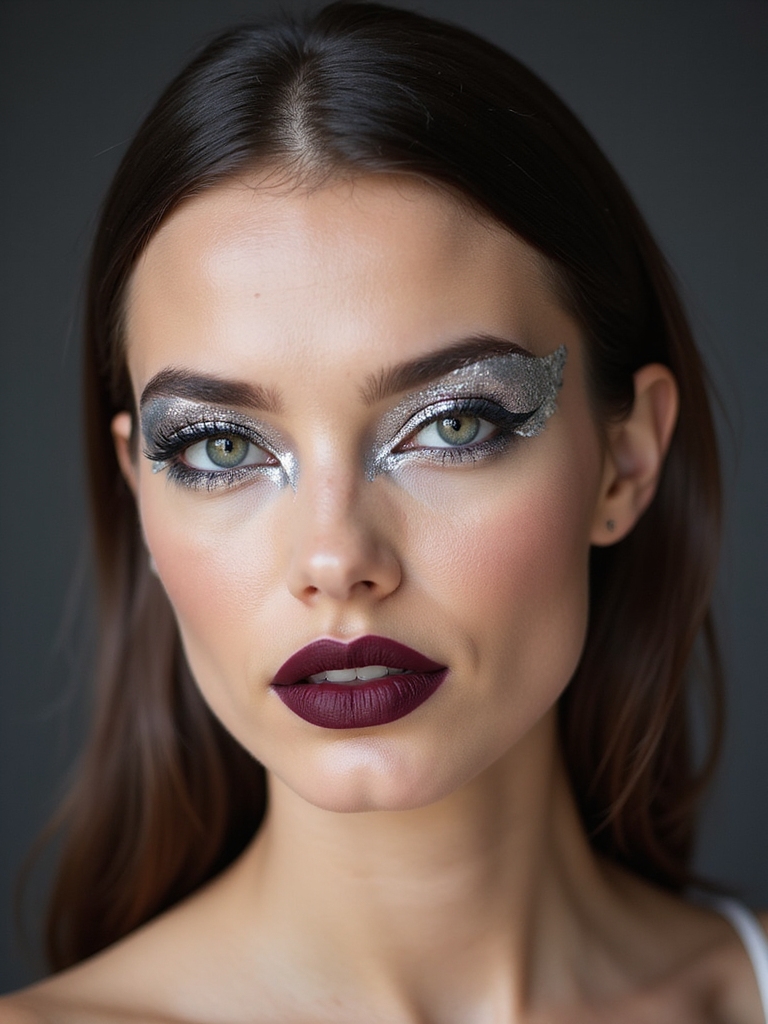
Matte Wing With a Touch of Sparkle
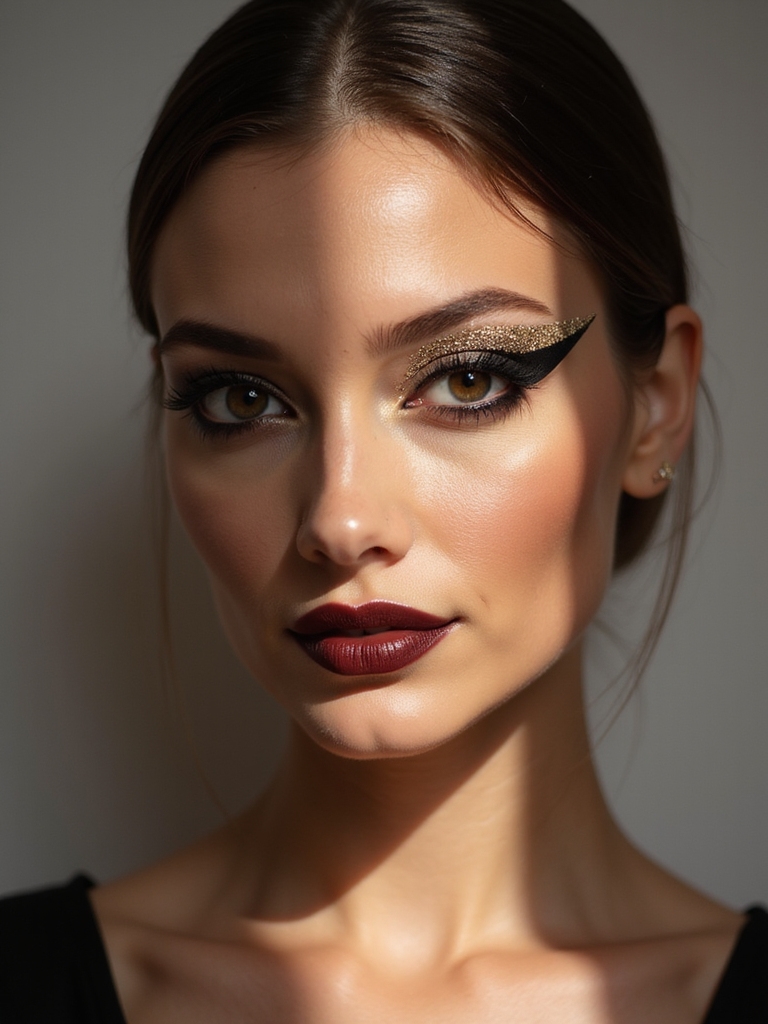
Pairing a clean matte black wing with a single, controlled hit of sparkle gives you party glamour without a full glitter lid. The contrast between the flat matte liner and one shimmering accent is what makes it feel deliberate.
- Lay down a crisp matte wing as your base and let it set fully.
- Press a small amount of glitter or a shimmer topper onto the center of the lid only.
- Keep the sparkle contained so the sharp wing stays the focus.
Heads-Up
Don’t draw your wing with your eye shut if you have hooded or downturned eyes. The angle changes completely when you open up, and a wing mapped closed often disappears into the fold. Always check it with your eye open.
Foiled Metallic Wing
A foiled metallic wing swaps flat liner for a high-shine, liquid-metal finish that catches the light from every angle. Gold, bronze, and copper foils are especially striking, and they read beautifully warm against deep and medium skin tones.
- Draw the wing shape first with a cream or gel base in a matching tone.
- Press a metallic foil or pigment over the tacky base with a flat brush.
- Seal the edges with a clean brush so the shine stays put and crisp.
Floating Crease Wing
The floating crease wing draws a soft line of color above your natural crease that mirrors and extends the wing, framing the eye twice. It’s an editorial favorite and a clever trick for hooded eyes, since the floating line shows even when a lash-line wing disappears.
- Draw your lash-line wing as usual along the upper lashes.
- Trace a soft, blended line of shadow or liner above the crease, lifting it at the outer corner.
- Echo the wing’s angle so both lines flick the same direction. Helpful for hooded eye makeup.
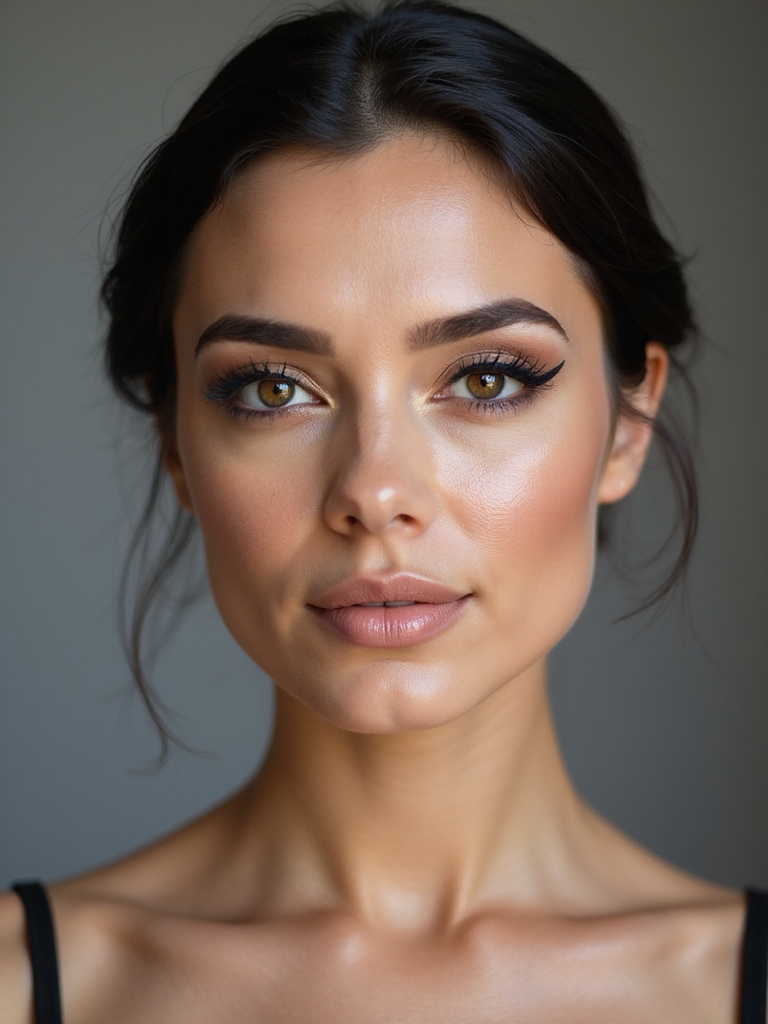
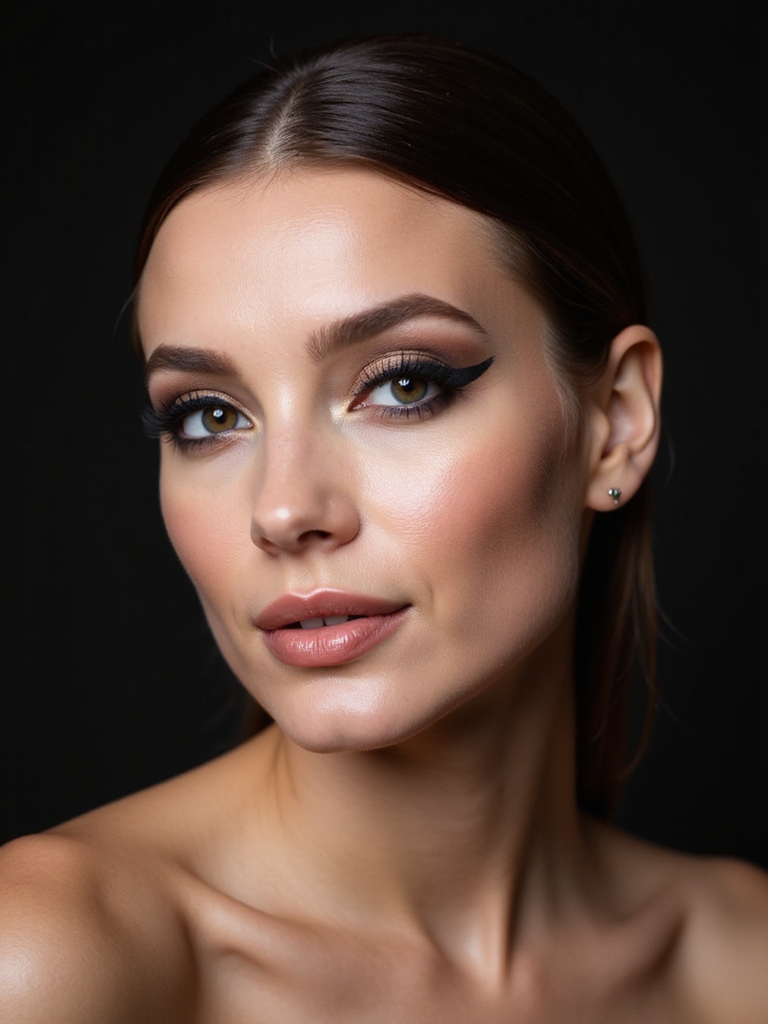
Soft Matte Brown Wing

If black liner feels too harsh, a soft matte brown wing gives you the same lifting, flattering shape in a gentler tone. Brown reads softer and more natural. That makes it perfect for daytime, work, and anyone who finds that black liner hardens their look or reads a little severe in unforgiving office light.
It’s especially lovely on lighter eyes and warmer skin tones, where deep brown flatters more than stark black. Build it exactly like a black wing, just with a dark brown liner, and the overall effect is sophisticated and easy to wear anywhere.
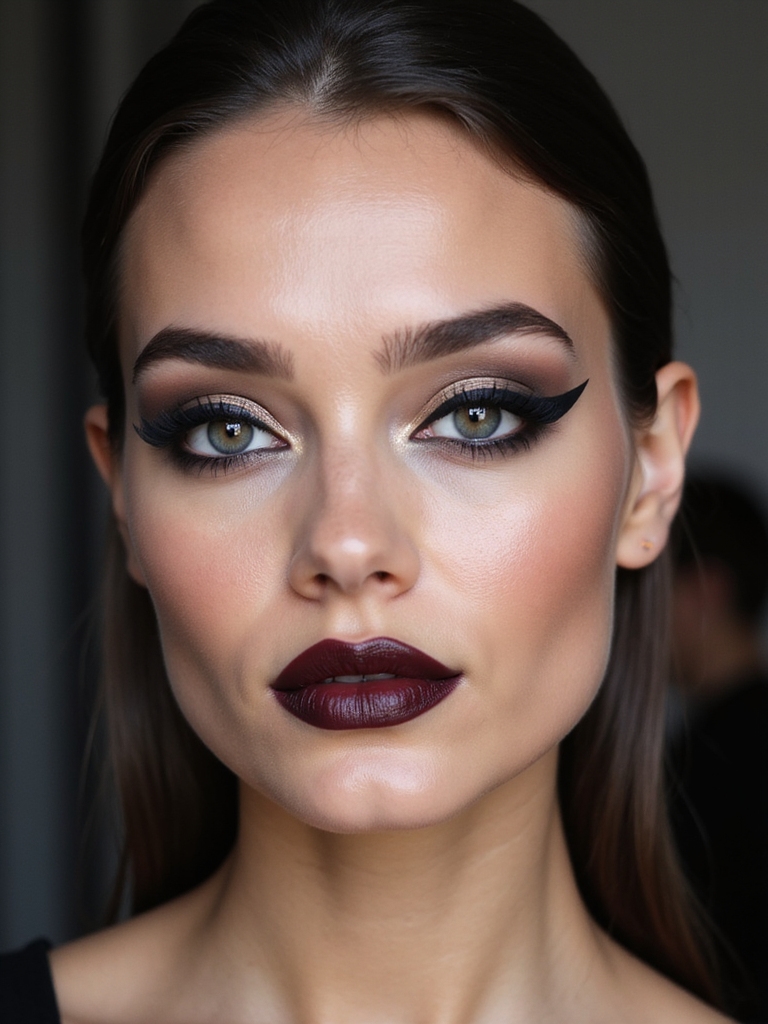
Lower-Lash Feline Flick
Extending liner along the lower lash line and flicking it to meet the upper wing creates a bold, fully feline eye that’s all drama. This is a sixties-inspired statement, the kind of doe-eyed look that frames the whole eye in liner.
Keep the lower line thin
The trick is keeping the lower line thin and precise so it elongates rather than closing the eye in. Connect it to the upper wing at the outer corner, or leave a small gap for a more open, modern version.
On deeper skin tones, a rich espresso or a deep plum on the lower line can read even more striking than black, picking up warmth and looking less stark. Whatever shade you choose, smudge the inner portion the tiniest bit so the lower line frames without harshness.
Two-Tone Taped Wing
A two-tone wing blocks two colors into one shape, maybe a black base with a pop of color on the tip, for a playful, graphic effect. It’s a fun way to try color without going all-in on a bright lid, since the liner shape keeps it contained.
A piece of tape laid along your lower lash line and angled toward your brow gives you a razor-sharp edge to work against, which is how people get those impossibly crisp wings. Dab the tape against the back of your hand first to dull the stickiness before it goes near delicate skin.
Draw your base color along the lash line, then add the second shade at the tip or as a thin line above. Peel the tape off slowly once everything is dry, and you’ll have a clean, color-blocked wing that looks far harder to do than it is.
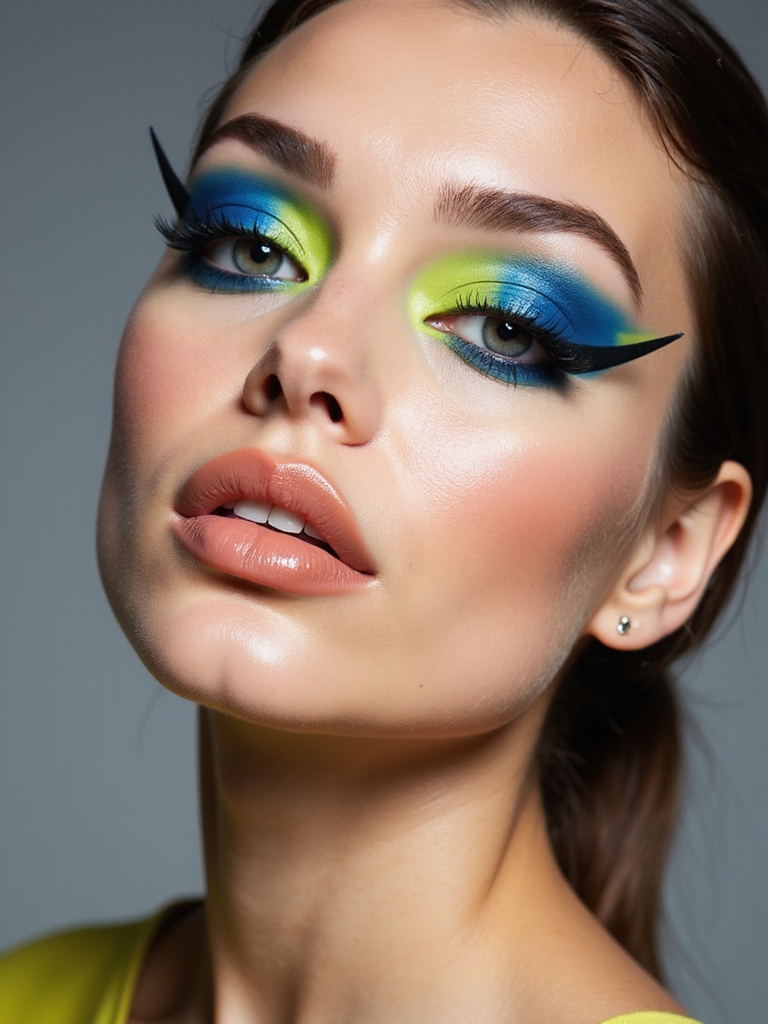
Three-Shade Blended Wing
For something truly artistic, a three-shade wing blends a gradient of color through the liner shape, like a tiny sunset along your lash line. This is advanced territory, usually built with cream or pigment liners that blend before they set, and it’s a showstopper for events and shoots.
Choose three tones that melt into each other, such as deep plum into berry into gold, and apply them in sections along the wing. Work fast and blend the seams with a small brush while the product is still movable, since blended liner has a short working time.
Set the whole thing well, because a multi-shade wing represents real effort you’ll want to protect. This is the look I save for clients who want their eyes to be the entire story, and it photographs incredibly.
Monochrome Terracotta Wing
A monochrome terracotta wing keeps the whole eye in one warm, earthy tone, with the liner matching a soft wash of the same shade across the lid. Terracotta and warm rust flatter nearly everyone. They feel modern and editorial without ever shouting.
Warm tones flatter most skin
Wash the terracotta shadow over the lid first, then draw the wing in a matching liner or a deeper version of the tone. Keeping everything in one color family is what gives it that polished, intentional, monochrome effect.
This warm, tonal approach is especially beautiful on deep and olive skin, where rust and terracotta glow against the complexion. It’s proof that a cat eye doesn’t have to be black to be striking, and it’s one of the easiest modern updates to a classic wing.
Maintenance & Care
A cat eye is only as good as its staying power, so a few habits keep your wing crisp from morning to midnight. Always start with a primed, powdered lid so the liner has something to grip, and reach for a long-wear or waterproof formula if you’re out for a long day or a teary event like a wedding.
Setting the liner with a matching powder shadow pressed gently over the top is the single best trick for stopping smudging and transfer, and it costs nothing extra. Tuck a cotton swab and a dab of micellar water into your bag to tidy any travel along your lower lash line without redoing the whole eye.
Caring for the skin and lashes under all that liner matters too. Always remove your cat eye gently at night with a proper eye-makeup remover rather than scrubbing, since the delicate skin around your eyes is easily stressed and tugging can pull out lashes.
A good liner brush, washed regularly, lasts for years and gives you far more control than a worn-out felt tip, so it’s worth the small investment. Treat your tools and your skin well, and your wings will get sharper and faster every single time you draw them.
Your Signature Flick
The cat eye endures because it’s endlessly adaptable: soft or sharp, black or terracotta, barely-there kitten flick or full graphic double wing, there’s a version for every face, mood, and skill level. Master the mapping method and the rest is just choosing which wing fits your day.
Start with the soft kitten flick until the motion feels natural, then work your way toward the bolder wings once you feel sure of the motion. Once you find the wing that feels like you, it becomes the five-minute trick that lifts your whole face, the one piece of makeup you could do in your sleep.


