The most-requested manicure in any salon isn’t the wildest one. It’s the clean, simple set that goes with everything and never looks dated, the kind you can wear to a job interview and a wedding in the same week.
Basic nails are the foundation every other look is built on, and getting them right is a real skill. Here are the simple, chic nail styles worth mastering, from a foolproof glossy nude to a soft beige ombre, plus how to keep each one looking neat.
Basic Nails, Quick Guide
| Look | Best for | Effort |
|---|---|---|
| Glossy nude or milky sheer | Goes with everything, every day | Low |
| Negative space or clear coat | Fresh, minimal, grows out clean | Very low |
| Beige ombre or almond beige | Polished, slightly dressed-up basic | Medium |
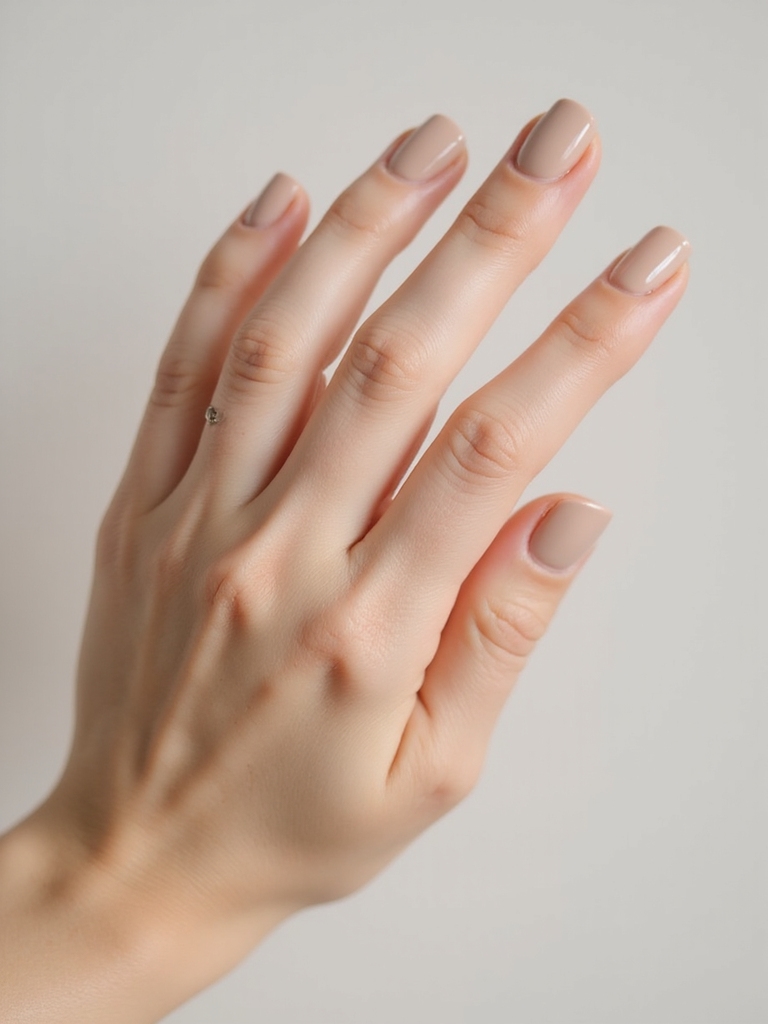
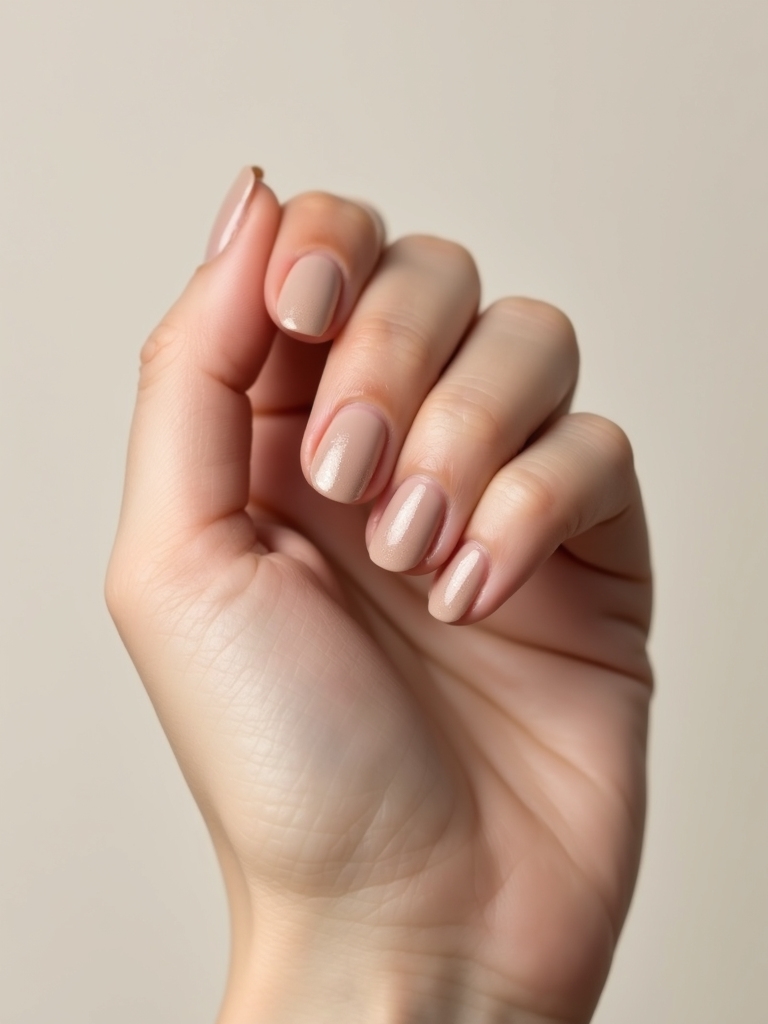
Glossy Nude in Two Coats
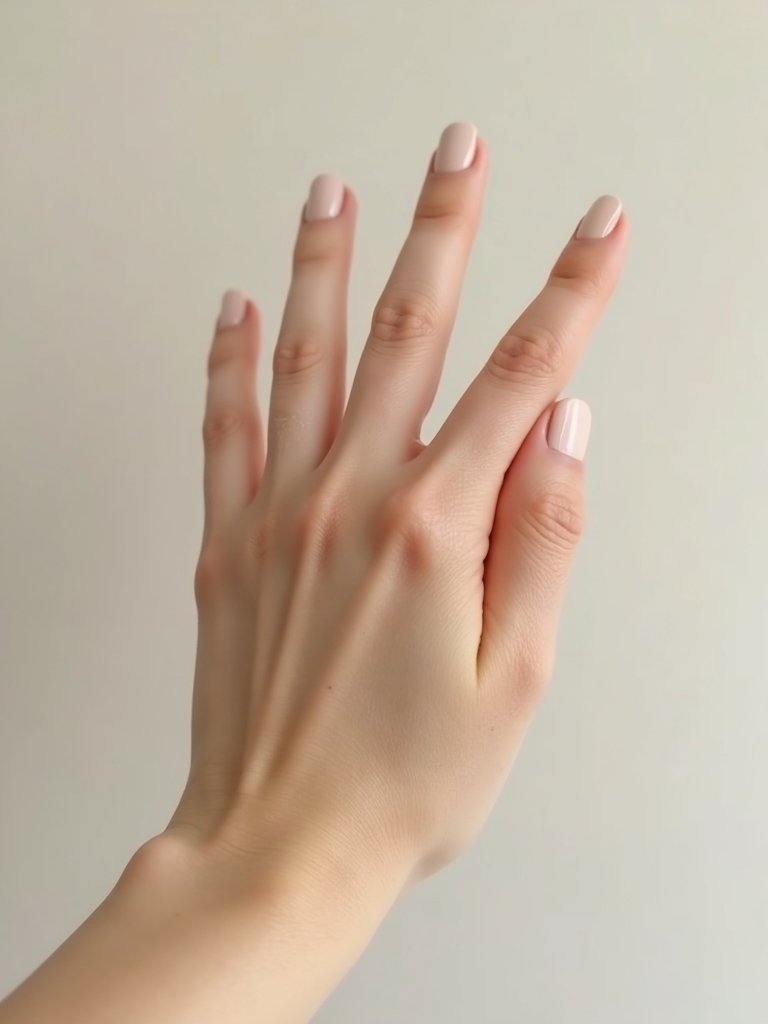
The glossy nude is the workhorse of basic manicures, and the two-coat method is what gets it even and rich instead of patchy. Pick a nude that matches your skin’s depth, and the result looks like a polished version of your own nail. A gel set runs about $30 to $45; at home a good polish does the job for a few dollars.
- Match the nude to your skin: pick warm caramels for deep skin, soft beiges for fair.
- Apply two thin coats, letting the first dry, for even color without streaks.
- Seal with a glossy topcoat; the shine is what makes a plain nude look pricey.
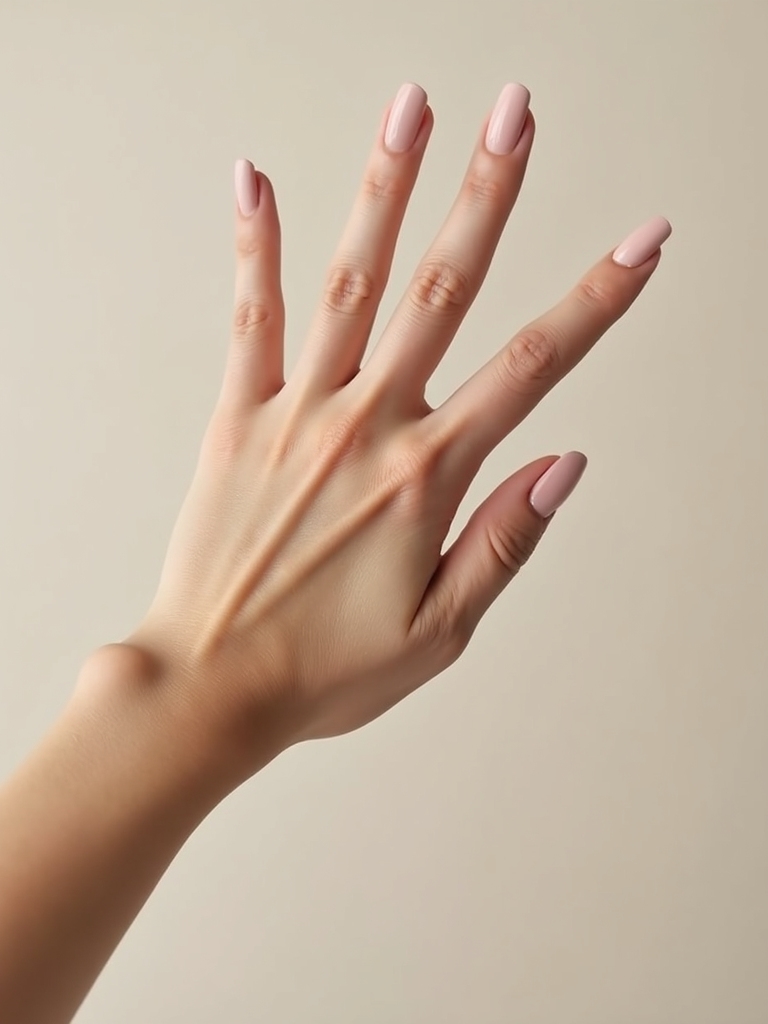
Milky Peachy Sheer Layers
A milky peach is the warmest of the simple shades, a soft, slightly creamy tint that brightens the hand without reading as real color. Built up in sheer layers, it looks fresh and healthy. The color whispers instead of shouts. That’s exactly why it stays a year-round favorite.
- Build two or three sheer coats for an even, milky finish.
- Warmer peach tones flatter most skin and look especially good in summer.
- Keep nails short and rounded to lean into the soft, fresh feel.
ℹ️Good to Know
On a bare or sheer nail, grooming shows more than color. Tidy cuticles, an even free edge, and a glossy topcoat are what separate a basic manicure that looks expensive from one that looks unfinished.
Crisp Negative-Space Nails
Negative space turns your own bare nail into part of the artwork, which makes it one of the cleanest basics going. A clear base with a thin painted line, or a little half-moon left unpainted, looks modern and architectural with almost no product on the nail. Less really is more here.
The whole look depends on precision, so the painted edges have to be crisp and even. A fine brush and a slow, steady hand matter far more than the color you choose.
It’s a smart pick for growth, since the clear sections hide regrowth, and it works on short nails where busier art would look cramped.
Soft-Cornered, Chip-Resistant Nails

Sometimes the most basic upgrade is the shape, not the color. A soft-cornered square, often called squoval, rounds off the sharp corners that snag and chip, giving you a tidy, durable nail that holds polish longer.
This shape is the unsung hero for anyone hard on their hands. The gentle corners resist catching on fabric and breaking, which is exactly why I steer clients who work with their hands toward it at the nail desk.
Pair it with any of the simple shades here and you get a manicure that stays neat for days. File in one direction to a soft square, then round the corners just slightly with the file held flat.
👍Why basics win
- +Go with every outfit and every occasion.
- +Grow out cleanly with little visible regrowth.
- +Quick to do and quick to fix at home.
👎What to weigh
- –Flaws in shape and cuticles show clearly.
- –Sheer shades need two or three coats to look even.
- –Less room to hide chips than a bold color.
Crisp Corners in Natural Tones
On the flip side, a crisp-cornered nail in a natural tone gives a sharper, more deliberate basic. The clean corners look structured and polished. In a soft beige or nude they stay understated while still looking intentional.
This is the basic for someone who likes a little edge in their simplicity. The defined shape adds backbone to a quiet color, so the manicure looks designed rather than plain.
Keep the sidewalls clean and the free edge even, since on a bare-toned nail any unevenness in the shape stands out more than it would under bold color.
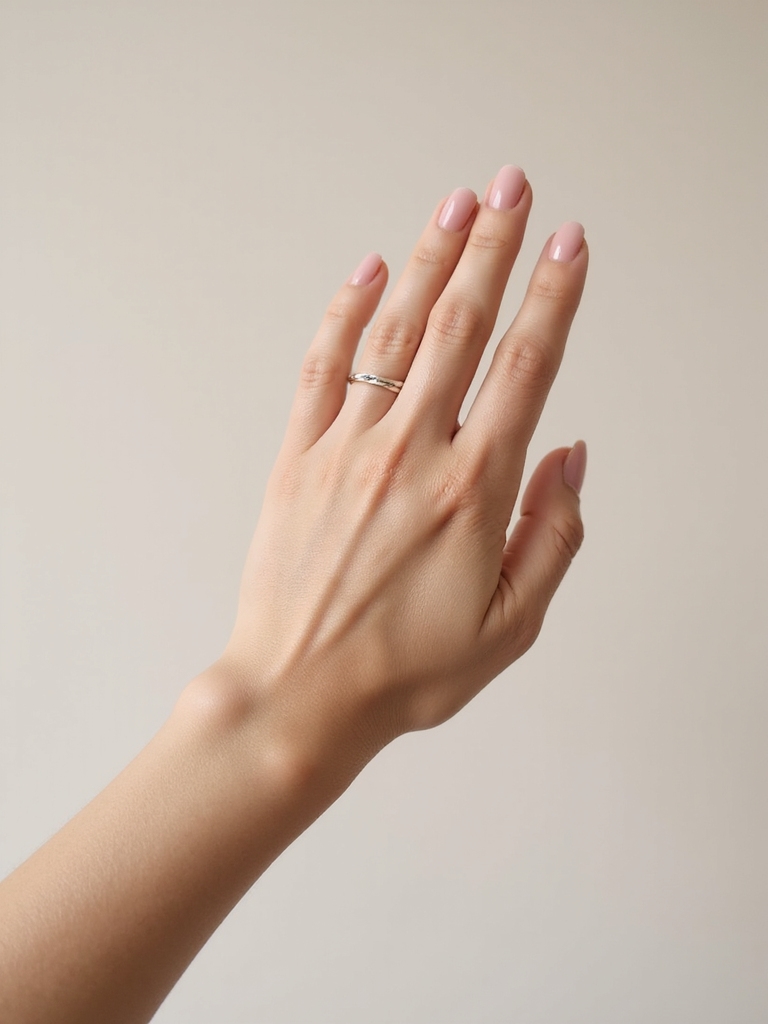
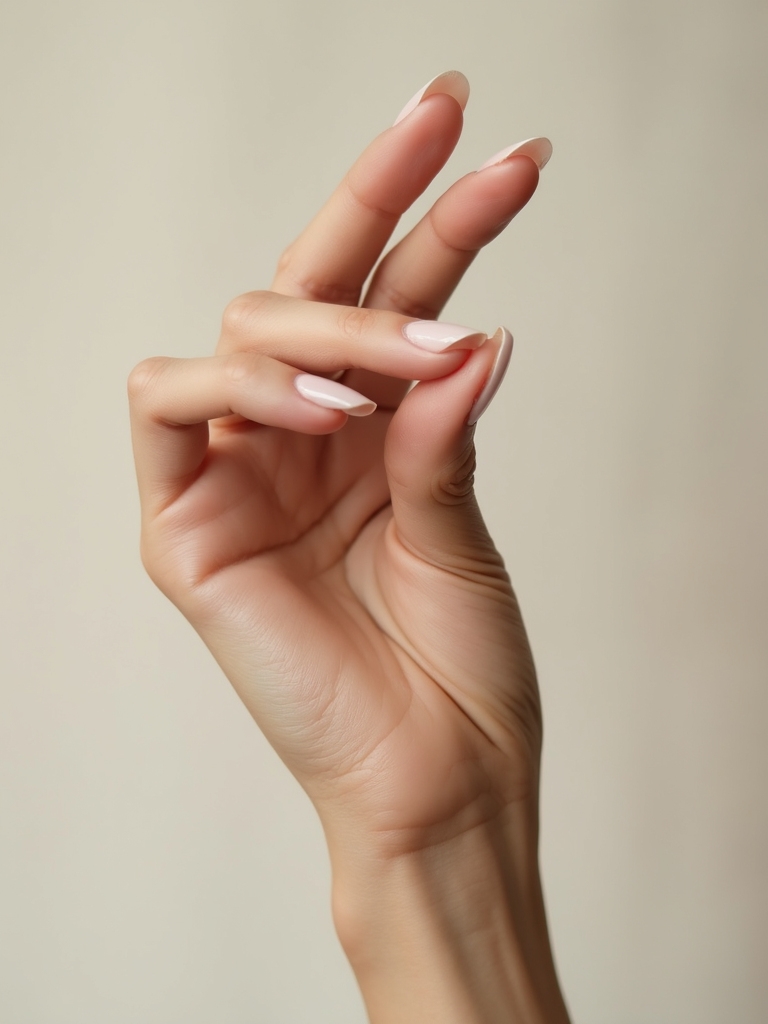
Creamy Translucent Glossy Finish
A creamy translucent finish sits between a milky shade and a clear coat, giving just enough opacity to even the nail while keeping that soft, see-through quality. The high-gloss top makes it look like the nail itself is simply in great condition.
- Choose a milky, translucent formula rather than a fully opaque one.
- Two thin coats even the tone while keeping the translucency.
- A glossy topcoat is essential; it’s what gives the healthy, lacquered look.
“If you only build one habit, make it daily cuticle oil. Basics live and die on the health of the natural nail, and oiled cuticles do more for a simple manicure than any single polish you can buy.”
Glassy Buffed Natural Nails

Sometimes the most basic look is no polish at all. Buffing the natural nail to a soft shine gives a clean, healthy finish that needs zero dry time and never chips. It’s the ultimate low-maintenance manicure. Perfect for people who can’t sit still.
- Use a fine buffing block lightly; over-buffing thins and weakens the nail.
- Finish with cuticle oil for that natural, glassy sheen.
- Ideal between polished manicures to let the nails breathe.
Glossy Beige-to-Taupe Ombré
When you want a basic with a touch more interest, a soft ombré from beige into taupe adds quiet depth. The gradient stays in neutral territory, so it looks polished and grown-up rather than flashy.
Blending Two Neutrals
Because both shades are close in tone, the blend is forgiving and the regrowth barely shows. People notice it without quite knowing why your hands look so good. That’s the magic of a neutral gradient.
Ask your tech to sponge the two neutrals together while wet for a soft transition. At home, a makeup sponge dabbed along the nail does the same trick with a little patience.
A Clear Coat and Tidy Cuticles
Never underestimate a single clear coat over really tidy cuticles. It’s the most basic manicure of all, and on healthy, well-groomed hands it looks remarkably polished. The secret isn’t the polish; it’s the grooming underneath.
Why Cuticle Care Comes First
Clean, pushed-back cuticles and a smooth free edge do all the work here. A clear coat then adds shine and a hint of protection, pulling the whole look together in under five minutes.
This is what I recommend to anyone who swears they’re not a nail person. Park a bottle of cuticle oil next to the sink, swipe it on daily, and a plain clear coat will always look intentional. Try it for two weeks.
A Thin Shimmer Topcoat
For the smallest possible step up from bare, a thin shimmer topcoat adds a barely-there sparkle that catches the light. Worn over a nude or even alone on a natural nail, it keeps things firmly basic while giving a hint of polish for an evening out.
The key is restraint: a fine, subtle shimmer rather than chunky glitter, so it stays elegant. One coat is plenty, and it pairs with any of the simple shades above when you want a little more.
- Choose a fine micro-shimmer, not a dense glitter, to keep it understated.
- Wear it solo on bare nails for the easiest hint of shine.
- Layer one coat over a nude when you want a quiet evening upgrade.
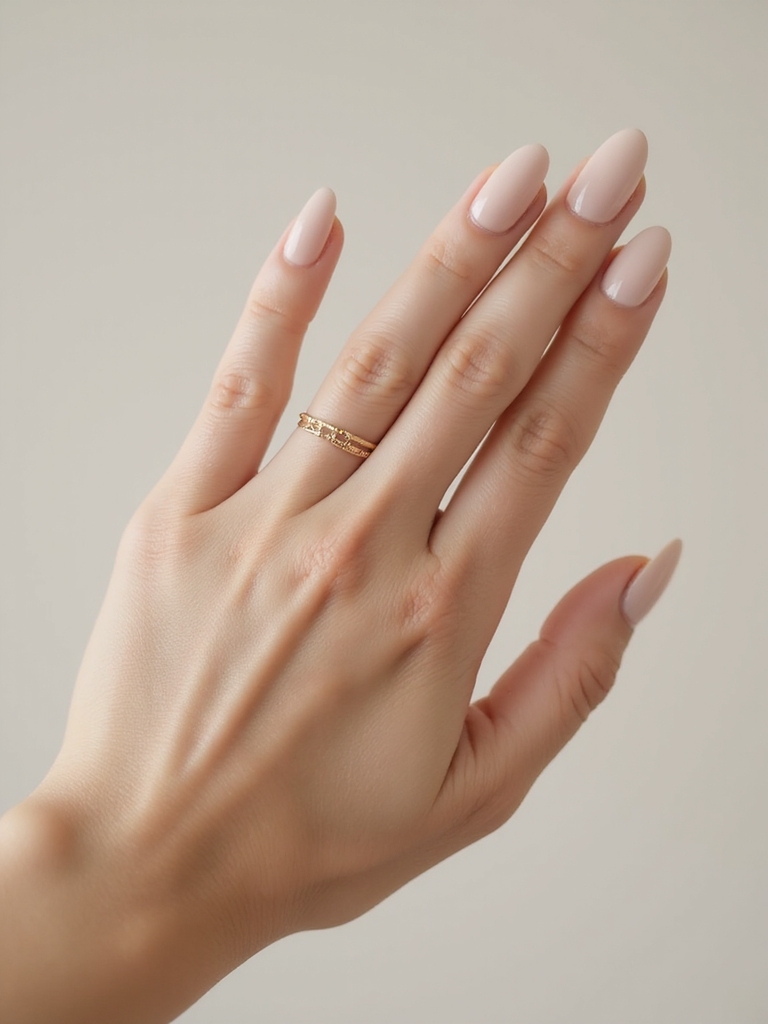
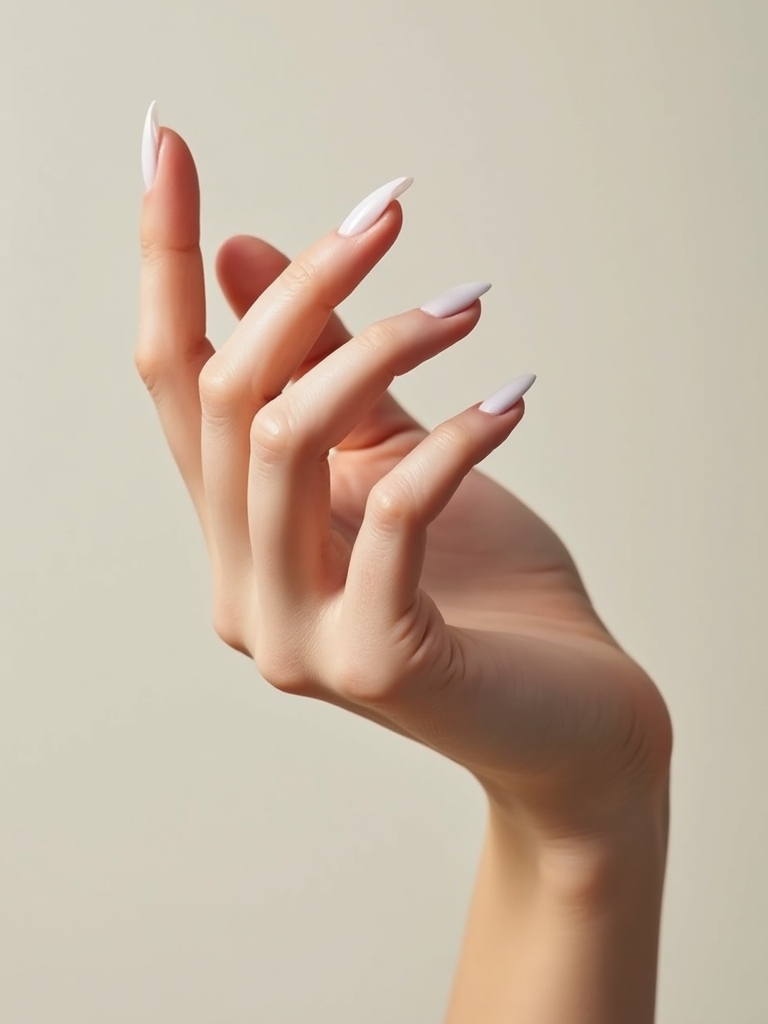
Subtle Beige Almond Elegance
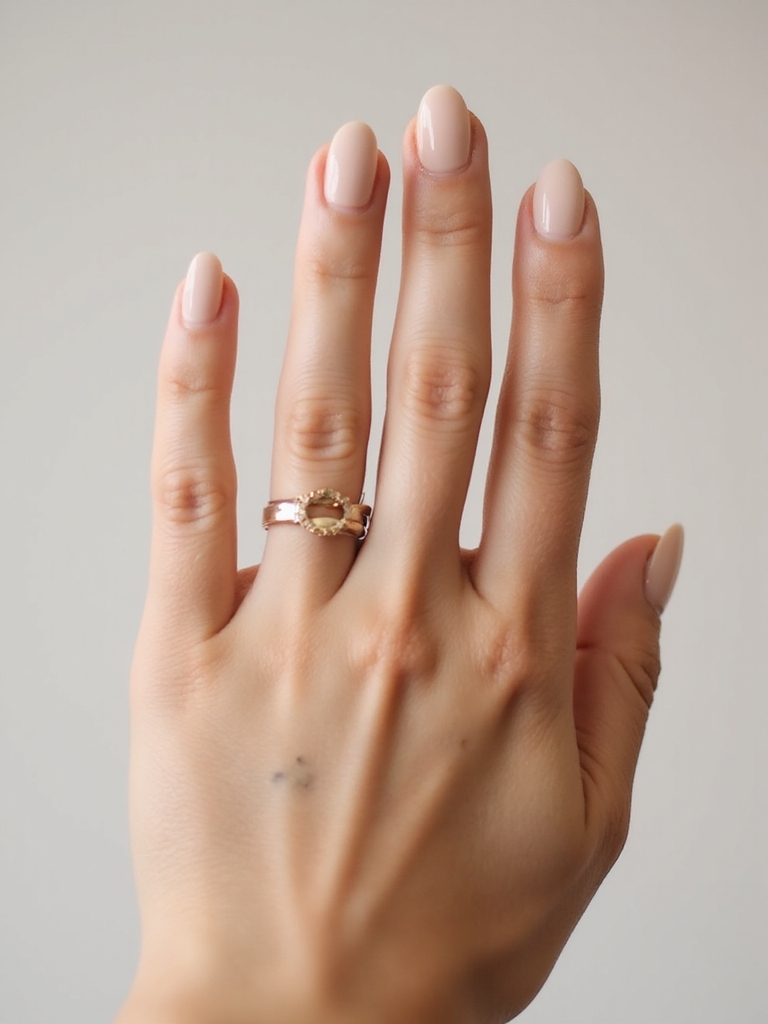
A soft beige on an almond shape is the most refined of the basics, the look that turns simple into quietly luxe. The tapered almond lengthens the fingers while the neutral beige keeps it understated, which is why it’s a favorite for brides and anyone who wants polished hands that won’t date.
- Pick a beige that matches your undertone so it reads natural, not muddy.
- The almond shape suits longer nails; keep it modest for everyday wear.
- A shaped gel almond set runs $40 to $60 and lasts two to three weeks.
How to Keep a Basic Manicure Neat
A basic look has nowhere to hide, so upkeep is the whole game. The good news is that the habits are small and quick. The single biggest one is daily cuticle oil, which softens the skin around the nail and keeps the whole manicure looking fresh far longer than the polish alone would.
Beyond that, it’s about protecting the surface. Cap the free edge with every coat, wear gloves for dishes and cleaning, and keep a bottle of your exact shade for quick touch-ups. None of it takes more than a minute, and together these habits stretch a simple manicure from a few days to well over a week.
- Cap the free edge with polish and topcoat to stop tip chips.
- Wear gloves for chores; water and detergent lift polish fast.
- Refresh the topcoat at home every few days for lasting shine.
Choosing Your Everyday Basic
With so many simple options, the right basic comes down to your lifestyle, not just the prettiest swatch. If you’re rough on your hands or short on time, a buffed nail, a clear coat, or a soft-cornered shape will serve you better than a sheer that needs careful touch-ups. If you want a little polish, a glossy nude or milky peach gives the most return for the least effort.
Think of these looks as a small wardrobe rather than a single outfit. I tell clients to keep two on rotation: one true no-fuss option for busy weeks and one slightly dressier basic, like a beige almond or a soft ombre, for when they want to feel a touch more put-together. Between them you’re covered for almost any day.
Basic Nail Questions
?What nude shade should I pick for my skin tone?
Match the depth and undertone, not a one-size beige. Deep skin glows in warm caramels and rich nudes, medium skin suits soft tan tones, and fair skin reads cleanest in pink-beiges. Swatch near your fingertip rather than your hand to judge the match.
?How do I make a simple manicure last longer?
Prep is everything. Push back cuticles, lightly buff the surface, and cap the free edge with each coat of polish and topcoat. Refreshing the topcoat every few days at home and wearing gloves for chores both add real days to the wear.
?Are basic nails worth getting done at a salon?
They can be, especially in gel for two to three weeks of chip-free wear, but basics are also the easiest looks to do well at home. If your cuticles and shape are tidy, a careful at-home glossy nude rivals a salon set for a fraction of the cost.
?Why do my nude nails look streaky?
Streaks come from coats that are too thick or rushed. Sheer and nude formulas need two or three thin layers, each allowed to dry before the next. Build the color gradually and finish with a glossy topcoat for an even, smooth result.
?What’s the lowest-maintenance basic of all?
A buffed natural nail or a single clear coat over tidy cuticles. Neither chips in a way that shows, both take five minutes, and they keep your hands looking neat while letting the natural nail rest between polished manicures.
Master the Basics First
There’s a reason these simple looks never go out of style: they work everywhere, suit everyone, and let your hands look polished without any fuss. Master a clean glossy nude and tidy cuticles, and you’ll always have a manicure that fits the moment.
Pick the one basic that matches your week, whether that’s a two-minute clear coat or a soft beige almond, and try it on your next round. Once the simple version looks this good, everything else is just a bonus.