People hear milky nails and picture plain white polish. It’s not that at all. Milky nails are semi-sheer, that soft, cloudy white you can still see the natural nail through, like a drop of milk stirred into clear gloss.
That translucency is exactly why they look so clean and expensive. Below are the milky nail looks worth trying, from a glazed pearl finish to a jelly milk and a half-moon, plus how to get that semi-sheer glow without streaks.
What Milky Nails Actually Are
- Milky nails are semi-sheer, not opaque white; you see the nail through them.
- The look lives on translucency, so thin coats and a glossy top are key.
- They flatter every skin tone and grow out softly with no harsh line.
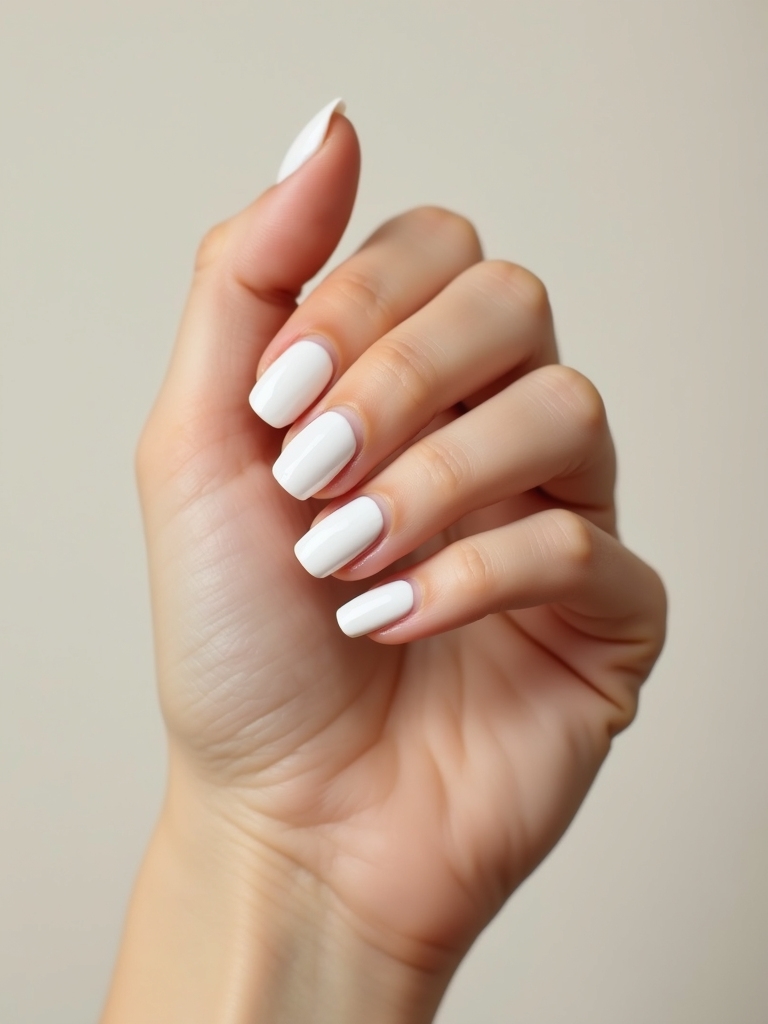
Sheer Milky Glossy Nails
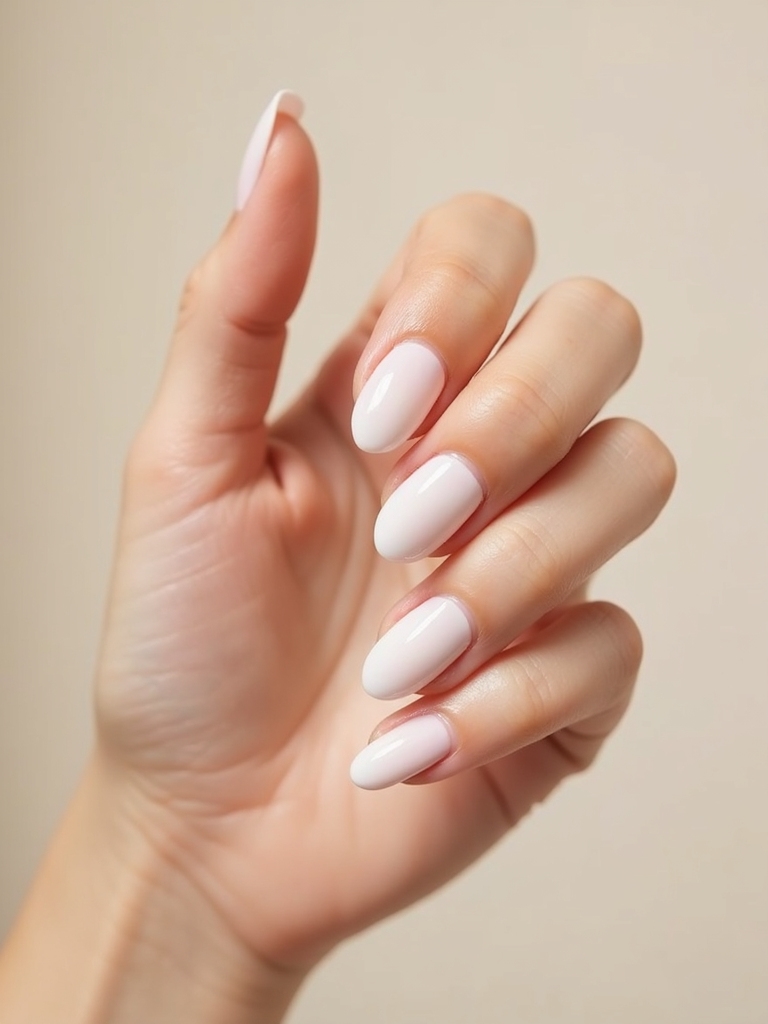
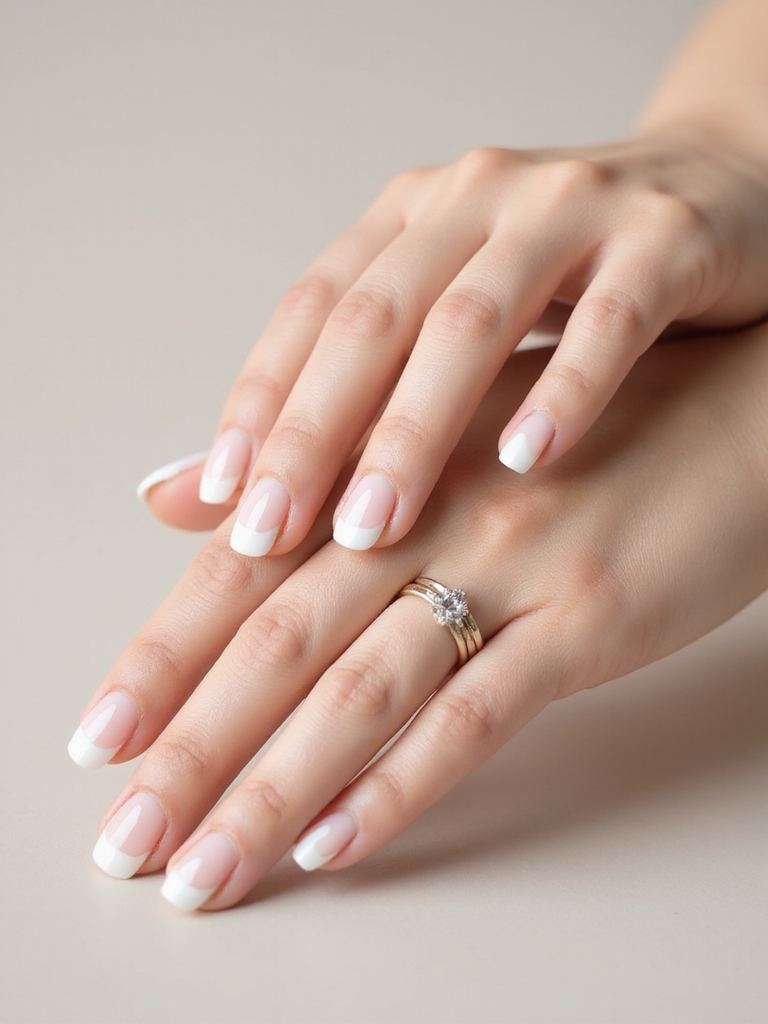
The classic milky manicure is a sheer, cloudy white buffed to a high gloss, the one that started the whole trend. Built in thin layers, it evens out the natural nail while staying see-through, so it keeps real depth and a fresh, clean finish.
Why Gloss Is Everything
Gloss is non-negotiable here. The semi-sheer white can look chalky on its own, but a thick glossy topcoat turns it into that wet, glassy finish that makes the look so popular. This is where milky nails live or die.
It suits any skin tone and any length, and it’s what I hand anyone after a clean look that still photographs soft and expensive. A gel version runs about $35 to $50, lasting a good two to three weeks.
Pearly Chrome Milky Nails
Adding a pearl chrome powder over a milky base gives that glazed-donut shimmer everyone loves. The fine pearlescent finish catches the light with a soft, lit-from-within glow that stops well short of full metallic shine, which keeps it firmly in clean-girl territory.
- Buff a pearl chrome powder over a milky base and seal with no-wipe topcoat.
- Keep the shimmer subtle; pearl, not glitter, is the goal.
- Flattering on every hand and especially pretty on shorter nails.
If your milky polish ever looks chalky, it’s almost always too few coats or no topcoat. Build it thin, then seal it glossy, and the chalk turns to glass.
Pearly Milky Glazed Finish
The full glazed finish takes the pearl idea further, for that wet, ceramic-glaze look that seems almost iridescent in the light. It’s milky nails at their most polished, the version that looks straight off a salon menu.
- Layer a milky base, then an even sweep of fine pearl chrome.
- A no-wipe glossy topcoat locks the glaze and stops it clouding.
- Refresh the topcoat at home around week two to keep the shine.
Sheer Milky Jelly Nails
Jelly milk nails crank up the translucency, building several sheer milky coats for a squishy, glass-like finish that glows. This is the see-through end of the family. The natural nail shows clearly through a soft white veil, and that transparency is the whole charm, like frosted glass you can almost look into.
- Layer three or four sheer milky coats, skipping any opaque base.
- The more translucent it stays, the more jelly-like it looks.
- Finish with a thick glossy top for that squishy, wet shine.
Heads-Up
Resist fixing a thin or patchy spot with one thick coat; semi-sheer milky polish will streak and bubble. Let each thin layer dry, then add another. Patience is what gives the look its smooth, glassy finish.
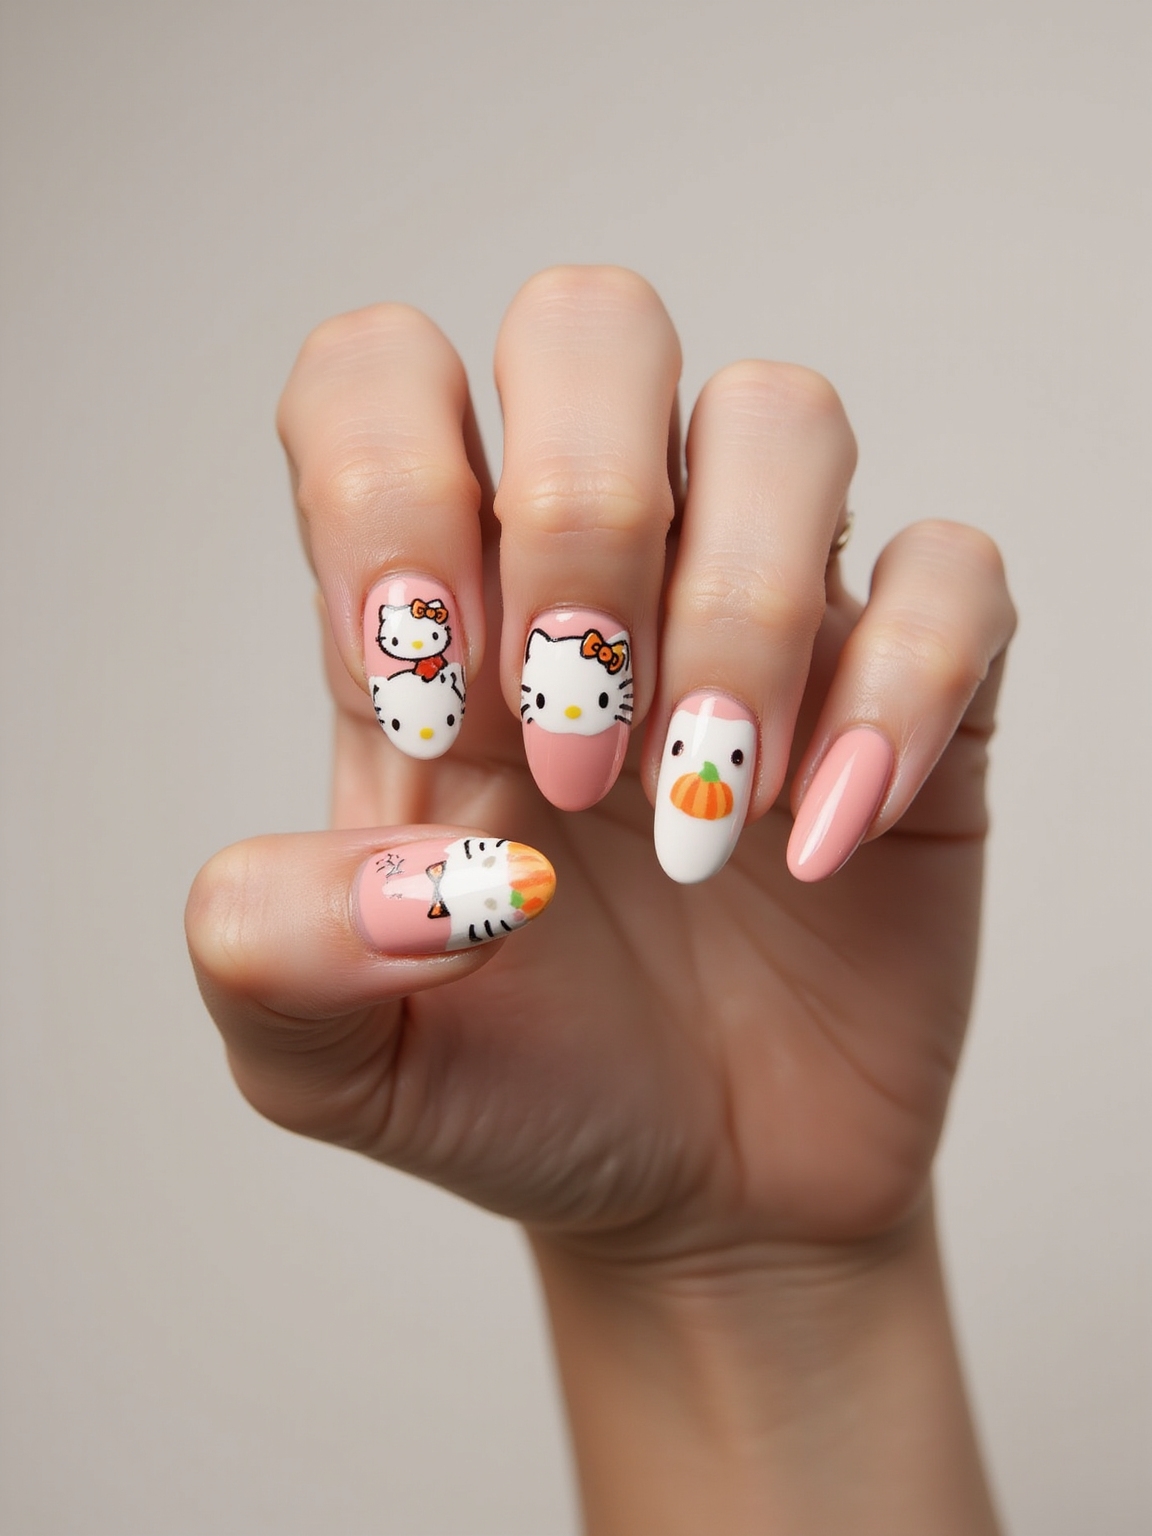
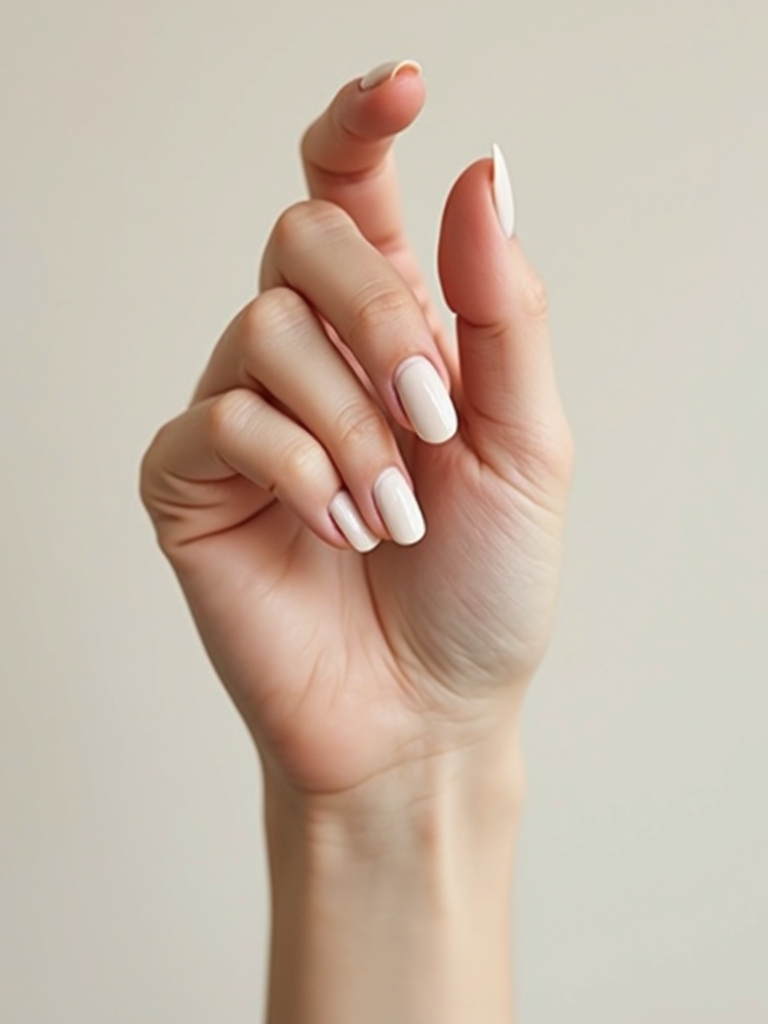
Sheer Milky Pink Glow
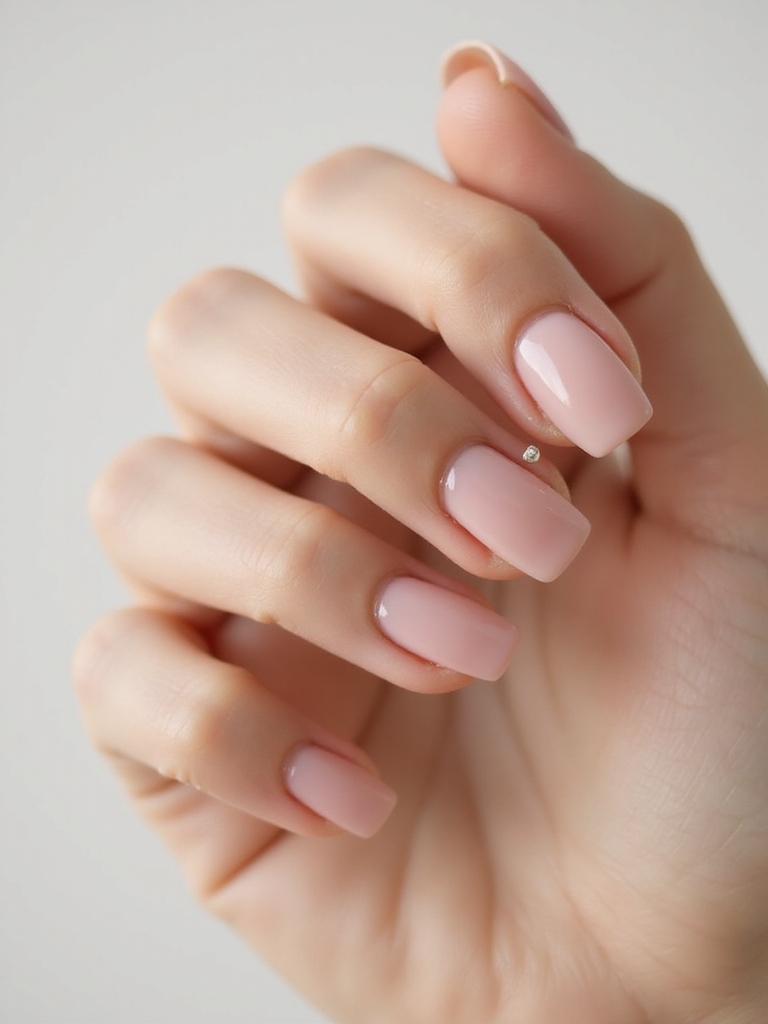
A drop of pink warms the milky base into the prettiest, healthiest version of the look. Milky pink reads like your nails but better, that lit-from-within flush that suits absolutely everyone and works for everything from work to a wedding.
On deeper skin, nudging the pink slightly warmer keeps it looking lit and healthy, while a cooler milky pink suits fair skin best. It’s the most universally flattering shade in the whole milky family, and the one I reach for when someone wants color so soft it barely registers as polish at all.
- Choose a sheer pink with a milky, semi-opaque base.
- Warm the pink for deep skin, cool it for fair, to keep it natural.
- Two to three thin coats build the soft, even glow.
Soft Sheer Milky Gradient
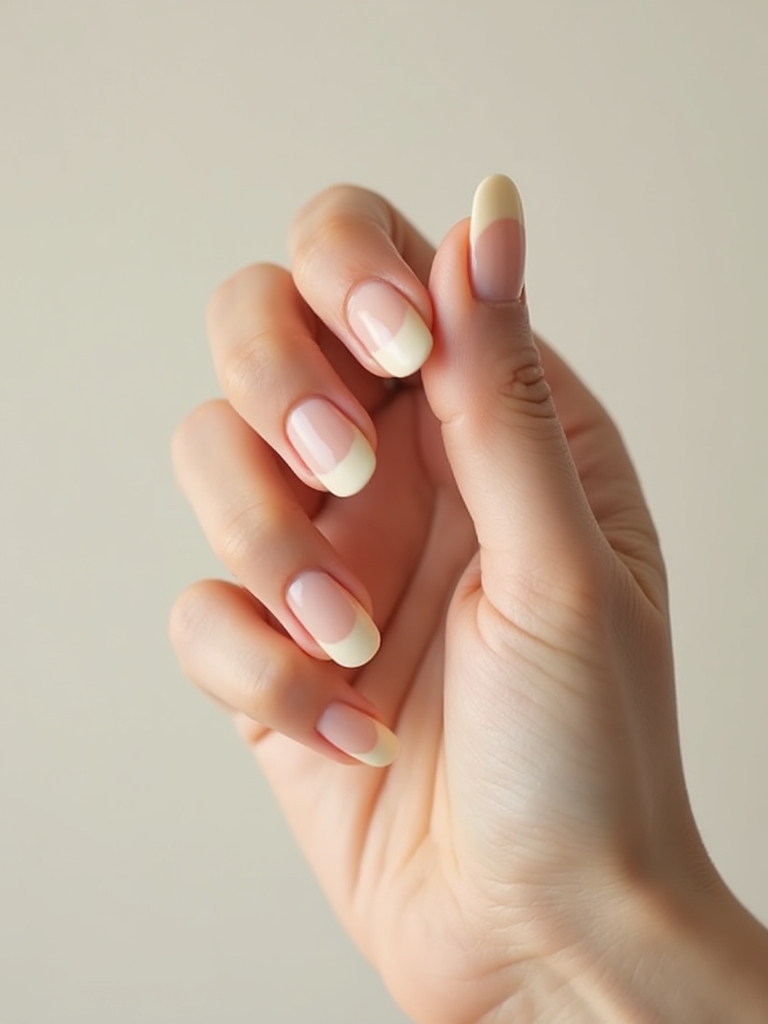
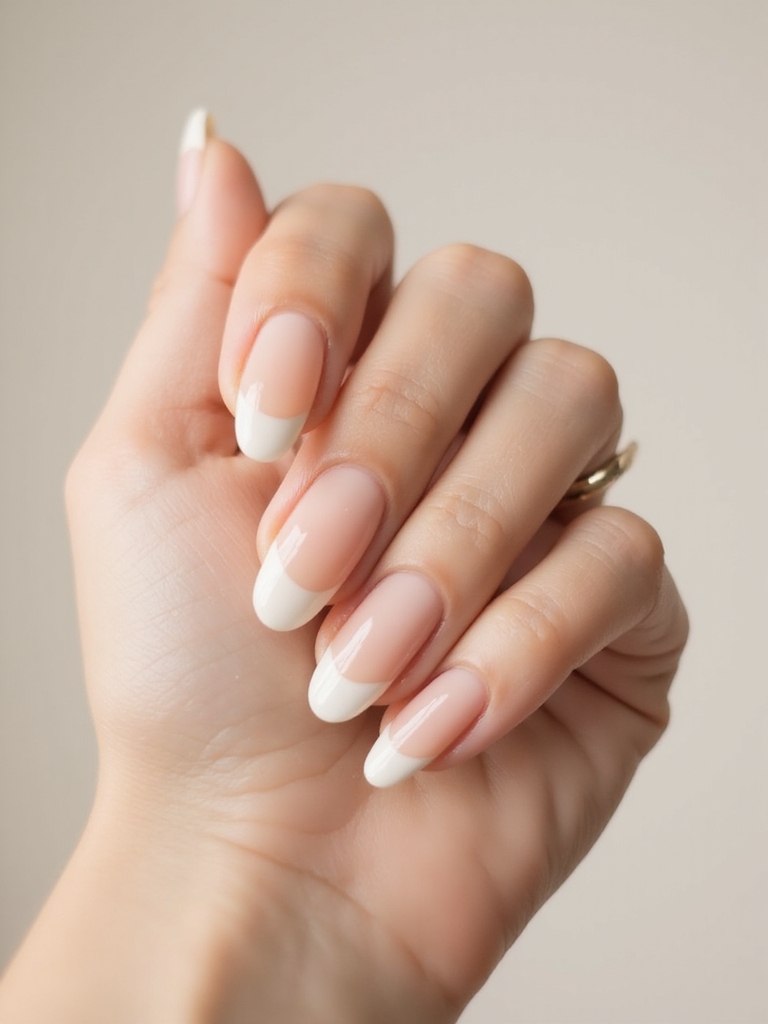
A milky gradient fades a sheer milky white from the tips down into nearly bare nail at the cuticle, a soft, modern twist on the French. The result is barely-there but polished, with all the cleanness of milky nails and none of the hard lines.
Sponge the milky shade onto the tips and blend upward while wet so the fade stays soft. Because there’s no defined line, regrowth practically disappears, making it one of the longest-wearing looks here.
It’s a favorite for anyone who loves a French but wants something softer and more current. Keep the whole thing glossy so the gradient melts together smoothly.
The milky terms worth knowing.
📖Semi-sheer
Translucent enough to see the natural nail through the color.
📖Glazed / pearl chrome
A fine pearlescent powder over milk for that glazed-donut glow.
📖Jelly
A squishy, very translucent build of several sheer coats.
Milky Marble With Whisper-Thin Veins
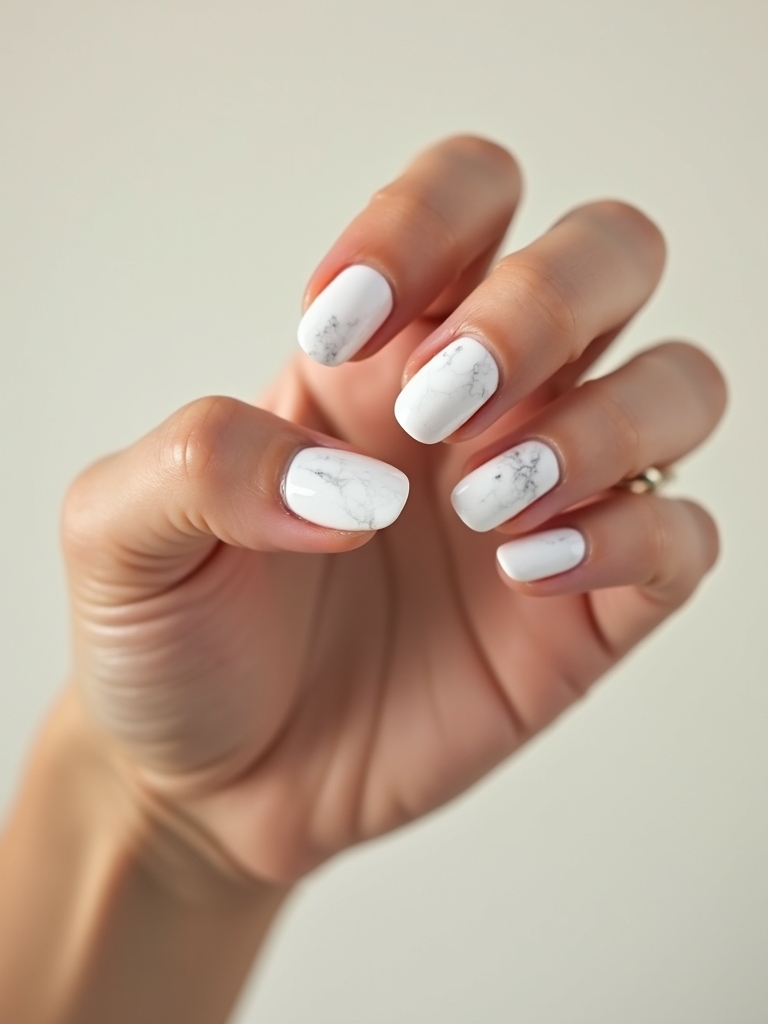
Milky marble adds the faintest grey veins to a milky base, like polished stone or fine porcelain. The veining stays subtle and elegant, so it keeps the clean minimal feel while adding just enough interest to feel custom.
- Drag a thin brush or fine line through wet milky polish for veins.
- Keep the veins faint and grey; bold lines break the soft effect.
- Add veining to just an accent nail or two for balance.
Subtle Pearlescent Milky Sheen
For the softest shimmer, a subtle pearlescent sheen over milky white adds a quiet, opal-like glow that shifts gently in the light. It’s softer than chrome, just a whisper of shine, perfect for anyone who wants understated dimension.
The effect comes from a fine pearl topcoat layered over the milky base. Worn on short, rounded nails it has that soft, opal-shell quality. It’s the most low-key way to add interest to a plain milky manicure, and the shimmer stays so fine that it reads as expensive depth rather than glitter.
Almond-Shaped Milky Glow Nails
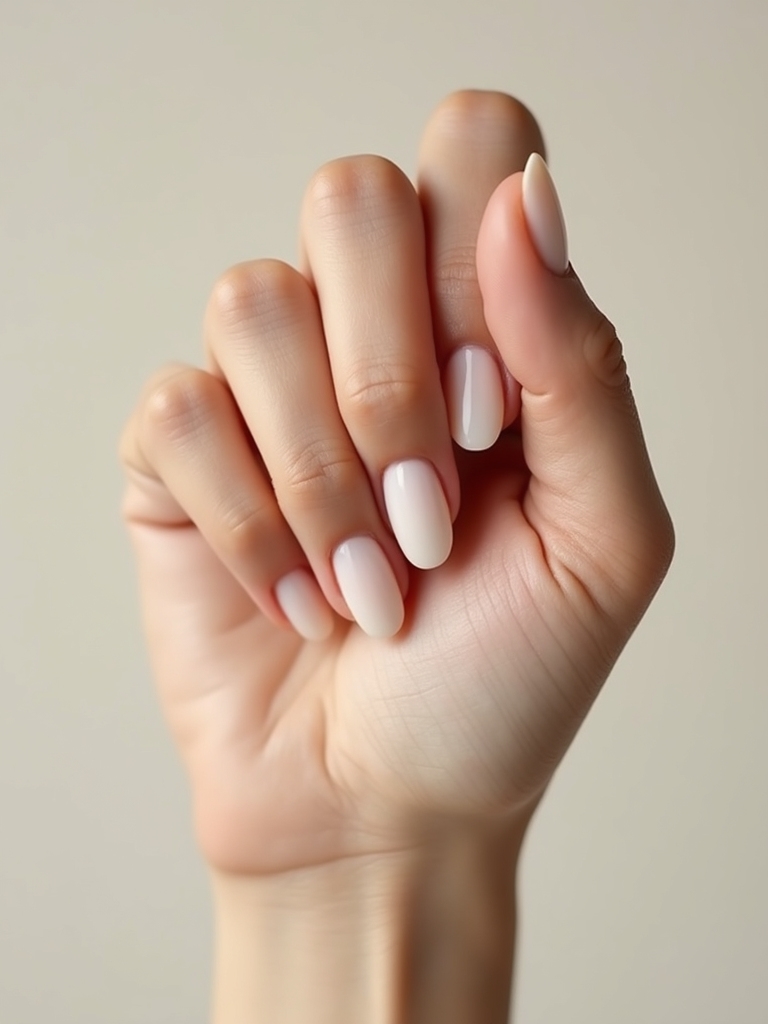
On an almond shape, milky nails look their most elegant, the tapered tip lengthening the fingers while the soft glow keeps it understated. It’s the combination that turns a simple milky manicure into something quietly luxurious and bridal-worthy.
- The almond shape suits longer nails and slims the hand.
- A milky pink or white glow keeps the long shape soft, not severe.
- Glossy topcoat is essential for that lengthening, lit-up finish.
Milky Half-Moon Negative Space
Leaving a bare half-moon at the base while painting the rest milky is a modern, architectural take. This negative space detail keeps the look minimal while adding a clean graphic edge, and it grows out beautifully since the bare moon hides regrowth.
The trick is a crisp, even curve at the cuticle, which a steady hand or a little stencil makes easy. Against the soft milky white, the negative space reads intentional and chic, a deliberate design detail.
- Leave a clean bare crescent at the base of each nail.
- Keep the milky color crisp where it meets the negative space.
- Grows out softly, since the bare moon disguises new growth.
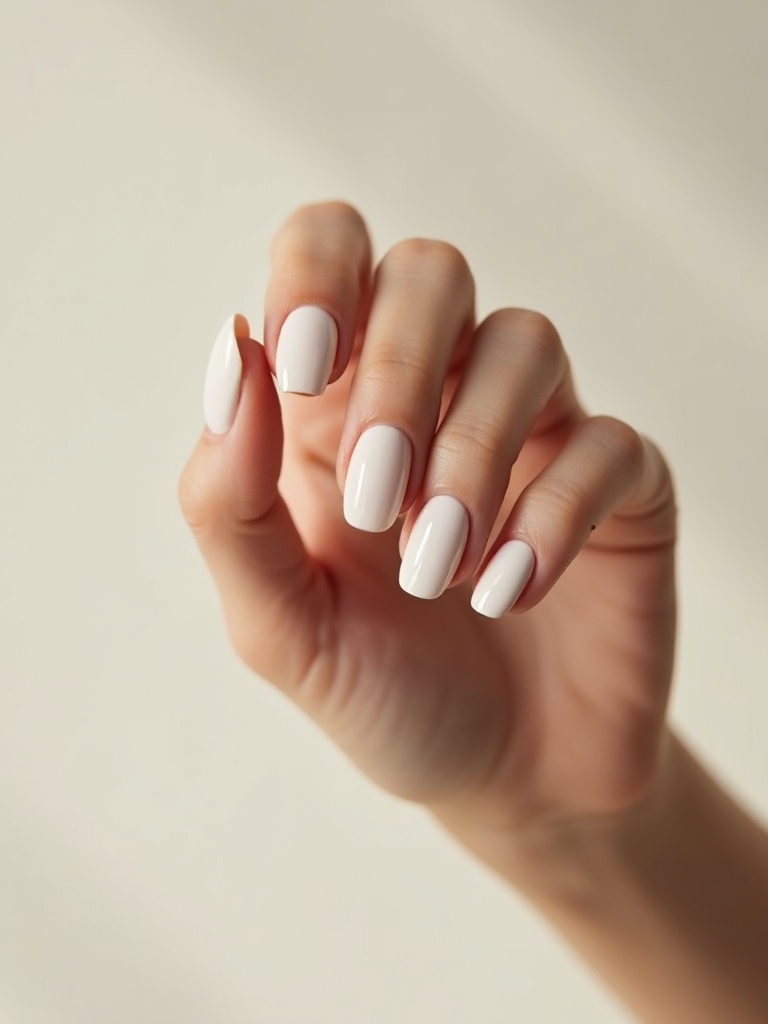
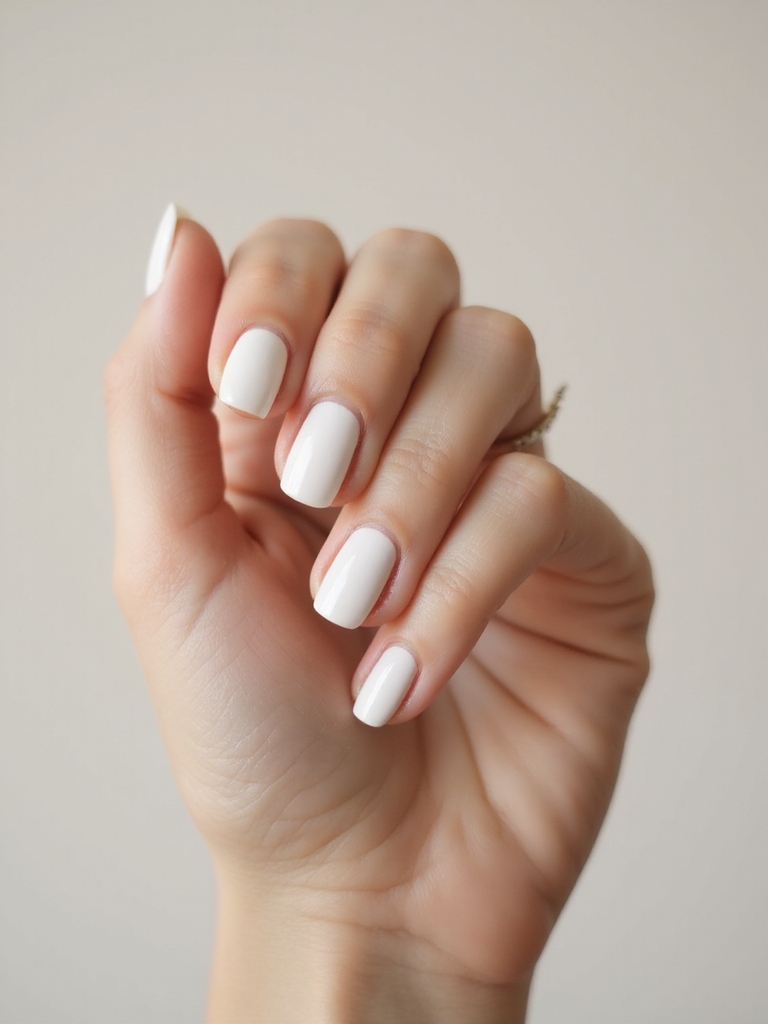
Short Rounded Milky Mani
Milky nails might be at their most charming kept short and rounded. On a neat, short nail the soft white looks clean and natural, like truly healthy nails rather than a manicure, which is the whole appeal of the clean-girl aesthetic.
Short milky nails are also the most practical, holding up to typing and daily life while still looking polished. The bareness means chips and regrowth barely show, so they stretch beautifully between appointments.
It’s the version I push hardest with busy clients who use their hands all day and still want that soft, expensive finish. Low fuss, high payoff. The whole thing takes about twenty minutes to paint at home.
How to Get the Milky Look Right
Because milky polish is semi-sheer, application is everything; this is the look where a rushed coat shows instantly. The rule is thin, patient layers: two or three sheer coats that build the soft white evenly, since one thick coat goes streaky and patchy. Let each layer dry before the next.
Prep matters just as much. On a semi-sheer nail, every bit of overgrown cuticle and ridge shows through, so tidy cuticles and a lightly buffed surface are the foundation. Finish with a glossy topcoat, and re-cap the free edge to slow chips. I tell first-timers that milky nails are ninety percent prep and gloss, not the polish itself.
- Build the color with two or three thin sheer coats.
- Tidy cuticles first; the sheer finish hides nothing.
- Seal with a glossy topcoat and re-cap the tips at home.
Who Milky Nails Suit Best
Milky nails are about as universal as a manicure gets. The soft, semi-sheer finish suits the full range of skin tones, and tuning the base, cooler white for fair skin, milky pink or warm cream for deep skin, keeps it looking natural on everyone. Length is just as flexible, from a short rounded mani to a long almond. These are the most foolproof shades in the clean-girl playbook.
They’re an especially smart pick if you want something that goes with everything, grows out without an obvious line, or has to read polished but office-appropriate. The one honest catch is that the bareness rewards effort: on tidy, healthy nails milky polish looks expensive, while dry or ragged cuticles show through the sheer finish.
Keep up a daily cuticle-oil habit and the look takes care of itself. I tell clients that’s the single thing that separates a great milky mani from a flat one.
The Cleanest Manicure There Is
Milky nails earned their popularity honestly: that soft, semi-sheer glow looks clean and expensive on everyone, goes with everything, and grows out without a fuss. Whether you keep it classic, add a pearl glaze, or try a half-moon, the translucent finish is what carries the look.
Save the milky version that fits your nails and your week, get your cuticles tidy, and let that quiet, glassy glow do the rest. It’s the manicure that always looks right.