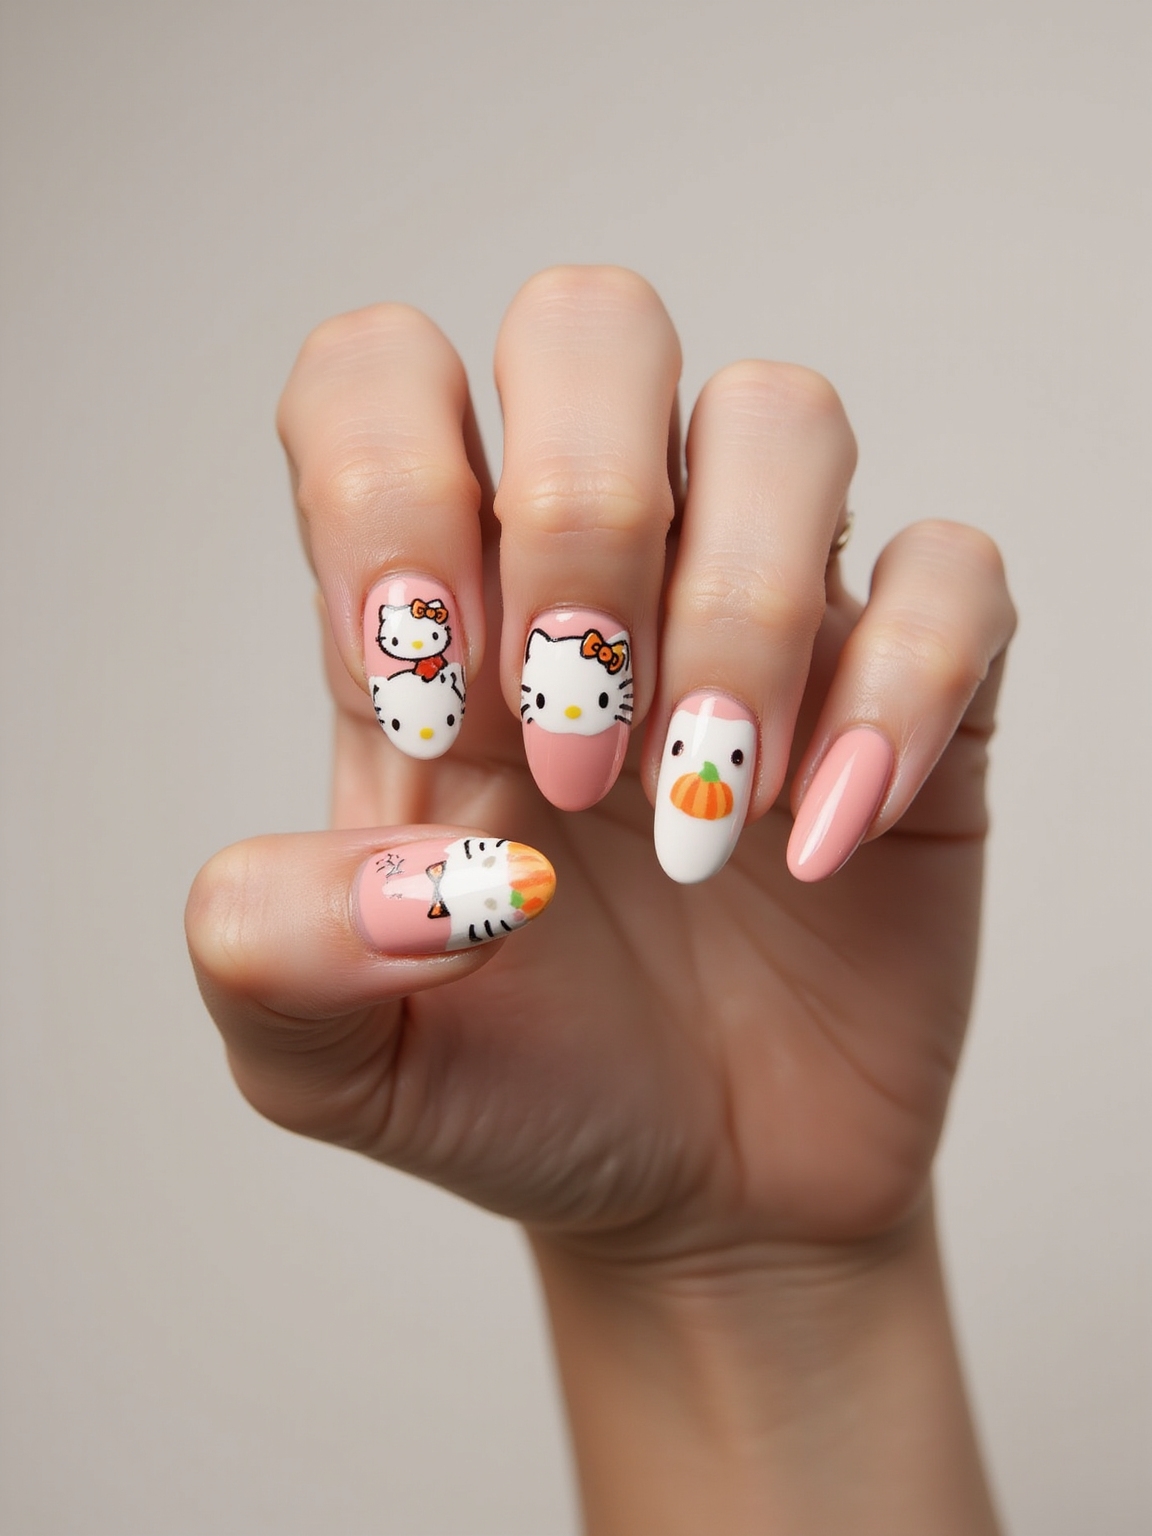
Every December a client sits down at my desk, spreads out a dozen saved photos, and says the same thing: she wants festive, but she does not want to look like a gift bag. That tension is the whole game with Christmas nails. The fun is in finding the version of holiday that still feels like you.
This roundup covers eleven looks that hit that balance, from the quietest gold accent to a full ornament cluster. For each one I have noted who it suits, how long it lasts, roughly what it costs, and how it wears on deeper skin, so you can book or DIY with a real plan instead of a guess.
Before You Pick a Look
- Warm metallics, deep reds, and cranberry flatter every skin tone, so choose by depth rather than the bottle.
- A gel manicure lasts two to three weeks, while press-ons get you party-ready in about an hour.
- Keep busy art to one or two accent nails so the whole set looks polished, not cluttered.
Frosty Silver Glittered Tips

Silver glitter tips are the gateway drug of holiday nails. You keep a bare or milky base, then load shimmer onto just the tips so it looks like frost crept up your nails overnight. It is festive without commitment, and it grows out gracefully because the sparkle sits at the free edge where regrowth shows least.
Build it with a fine, reflective glitter. Chunky flakes snag on sweaters and lift early. A good gel manicure version holds for two to three weeks and runs about $40 to $60. The silver pops cool and bright against deep skin, and on fair hands it looks delicate, like icy lace. Clients ask me for this one most when they want festive but reversible.
Cozy Red and Green Plaid

Plaid is the nail equivalent of a flannel blanket, and it is everywhere this season. Thin crisscrossed lines of red, green, and white over a neutral base give you full holiday spirit on one or two accent nails while the rest stay simple. It looks far harder than it is.
This is a design I would book, not rush at home. The thin striping needs a steady hand and a fine liner brush. Expect a salon set with art to run about $50 to $80. If you DIY, paint plaid on just one nail per hand and keep the others a solid cranberry or red nails shade.
- Use a striping brush and let each color dry before crossing over it
- Anchor the look with a glossy top coat so the lines stay sharp
- Limit plaid to one accent nail if you are doing it yourself
The line between festive and costume is restraint. One hero nail beats ten busy ones every single time.
Delicate Gold Minimalist Accents

If gift-bag energy is your fear, this is your look. A sheer or nude base wearing a single thin gold line, a tiny star, or a small foil fleck looks expensive and grown-up. It is the manicure I steer professionals toward when they want a nod to the season that still works in a boardroom. A simple gel version costs around $35 to $50.
Choosing Your Base Shade
Gold flatters universally, but the base shade matters most for harmony. On deeper skin, a warm caramel or chocolate base makes the gold glow, while fair hands love a milky pink or clear coat underneath.
Because the design is so minimal, you can stretch the wear. The art will not look grown-out the way a full color does, so a careful gel set can quietly last past three weeks.
Evergreen Glossy French Tips
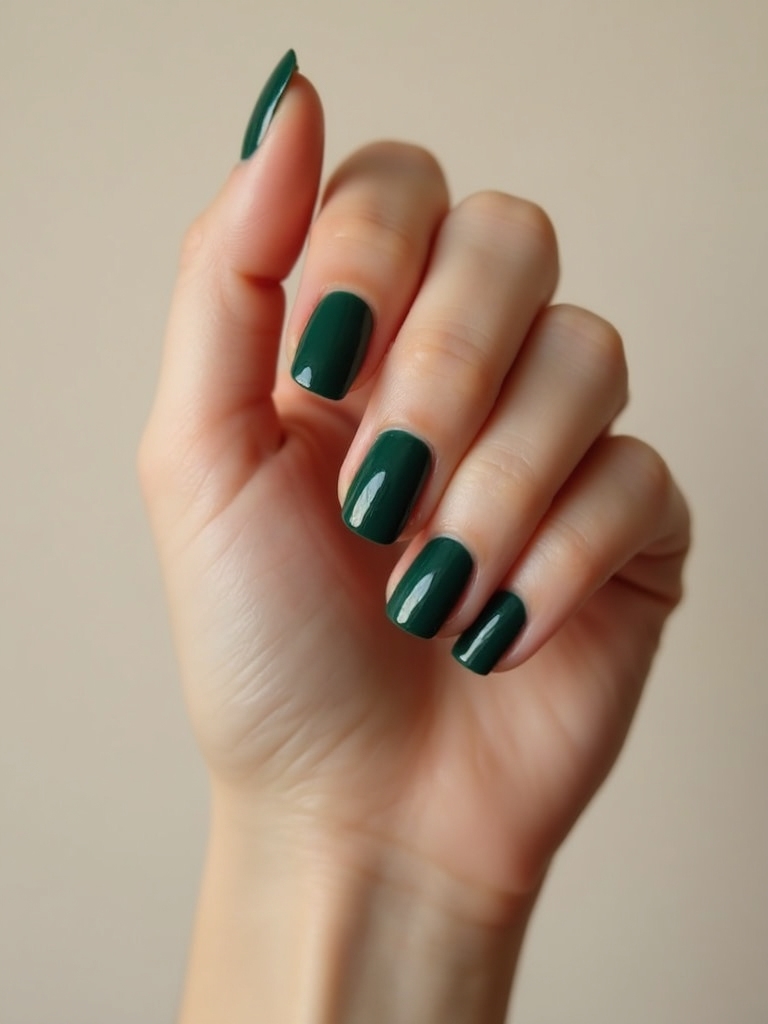
The classic white french goes festive when you swap the tip for a deep evergreen. It keeps all the polish of a french tip nails look but quietly signals the season. A high-gloss finish makes the green look like glass, which is the whole appeal.
Green flatters across skin tones, and a forest or pine shade especially suits warm and deep complexions. Keep the smile line clean and thin so the look stays elegant. This one carries you from the office party straight to Christmas dinner without a single eyebrow raised.
- Use a tip guide or steady angled brush for a crisp smile line
- Top with a glossy, not matte, coat for that glassy shine
- Try a micro gold line where the green meets the base for extra detail
| Option | Rough cost | How long it lasts |
|---|---|---|
| Gel manicure with simple art | $45 to $70 | Two to three weeks |
| Press-on set at home | $10 to $20 | Up to one week |
| Regular polish, painted yourself | Cost of the bottle | Three to five days |
Latte Brown Gingerbread Nails

The latte trend met the holidays and gave us gingerbread nails. Think warm browns and caramels with tiny white icing swirls or dots, cozy and a little sweet. Clients ask me every year how to do festive without the kitsch, and this is my answer. It is one of the freshest takes this December and photographs beautifully against a mug of cocoa.
Keeping It Chic, Not Kitsch
Brown shades are a quiet superpower on deep and medium skin, where chocolate and espresso tones look rich and intentional. On fair skin, a softer mocha keeps it from looking muddy.
Add the white icing detail to one or two nails only. A whole hand of swirls tips into novelty, while a single accent keeps it chic and editorial.
Red Berry Dots and Leaves

Holly is the most literal Christmas motif, and done with a light hand it is honestly charming. A few red berry dots and small green leaves clustered near the cuticle or a corner give you a hand-painted, cottage feel. The trick is restraint. Aim for a sprinkling, not a full wreath.
- Use a dotting tool for perfectly round, even berries
- Cluster the holly in one corner rather than across the whole nail
- Pair the art with nude or white nails so the berries stand out
Not sure which design fits you? Match it to your week:
1Back-to-back parties and a New Year’s night out
Icy chrome or frosty silver glitter tips
2Office by day, family dinner by night
Cranberry velvet or evergreen french tips
3You want festive but understated
Delicate gold accents or gingerbread brown
Rich Cranberry Velvet Matte

When you want one solid color that screams holiday in the most sophisticated way, reach for cranberry in a matte finish. The deep berry-red is dramatic and timeless, and the velvety matte texture feels modern and expensive. This is my pick for anyone who finds nail art fussy but still wants a festive hand.
- Apply two coats of a true cranberry for full, even depth
- Finish with a matte top coat to kill the shine and add the velvet feel
- Re-cap the matte coat weekly, since matte finishes dull faster than gloss
Icy Mirrored Chrome

Chrome nails bring the disco-ball factor for anyone whose Christmas rolls straight into New Year’s. I buff a lot of chrome at the nail desk in December. A mirror-finish silver looks futuristic and catches every light in the room, which makes it a favorite for party season. It is cool-toned, so it flashes especially bright against deep skin and warms up tired winter hands with sheer shine. A chrome gel set usually runs $50 to $75.
- Chrome needs chrome powder buffed over a gel base, so book this one
- Ask for a no-chip gel underneath to keep the mirror finish clean
- Love the metallic? See more chrome nails for year-round ideas
Ornament-Inspired Jeweled Clusters
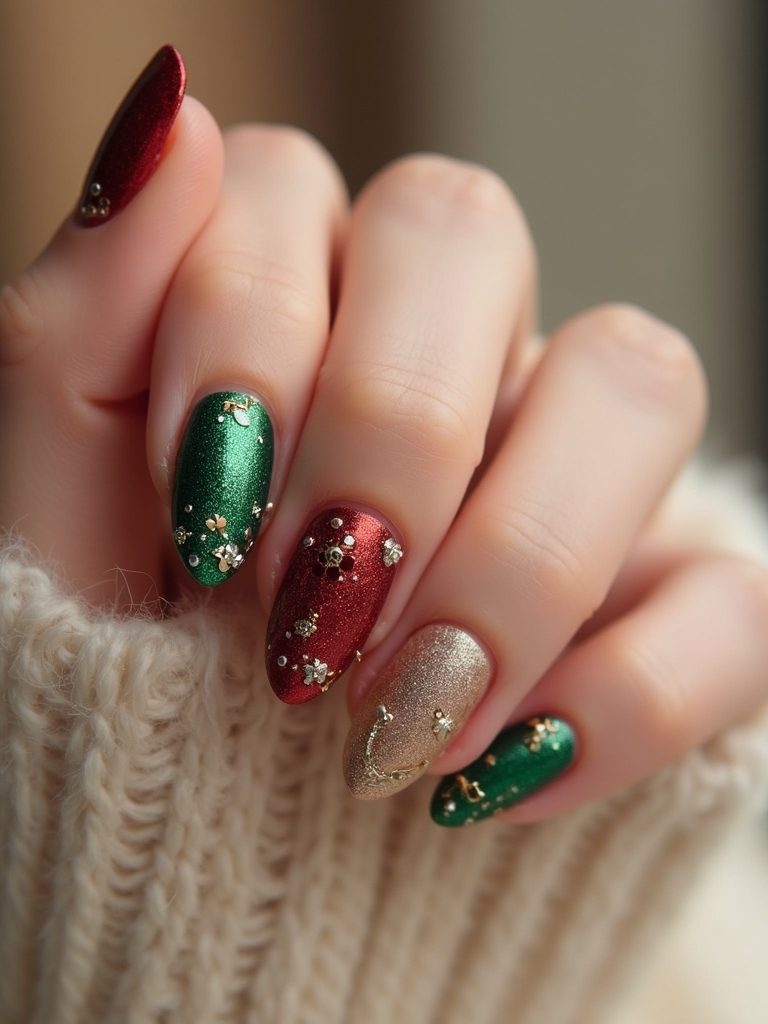
This is the maximalist showstopper of the bunch. Tiny rhinestones clustered like a spray of ornaments turn one accent nail into a piece of jewelry, usually over a deep red, green, or black base. It is bold and definitely a statement, so save it for the nail you point with most.
Real talk from the desk: jeweled nails catch on everything. Gems pop off when you reach into a coat pocket or scrub a roasting pan, so this is a look for a specific event, not the nail you live in for three weeks. Keep the clusters to one or two nails and let a glossy elegant nails base do the rest.
Toy Soldier Nail Art

For the crowd who loves a theme, nutcracker and toy-soldier nails are pure joy. A little red coat, gold buttons, and a tall hat painted on an accent nail bring a storybook charm that kids and grandmas both adore. This one rewards patience. It is detailed character art, so it really is a salon or skilled-DIY project.
- Keep the soldier to one nail and frame it with solid red or gold
- Use a very fine detail brush for the buttons and face
- Seal heavily with top coat, since raised paint chips at the edges
Frosty White to Blue

For a wintry look that skips red and green entirely, a frosty white-to-blue gradient feels like a snow scene on your nails. The soft fade from icy white into pale blue is calm and pretty, and it carries well past Christmas into the deep-winter months. Add a dusting of fine shimmer and it looks like fresh powder.
- Sponge the gradient on in thin layers for a smooth blend
- Dust fine iridescent glitter over the fade for a snowy sheen
- Carry the palette into January with more winter nails ideas
Common Mistakes to Avoid
The biggest holiday-nail regret I see at the desk is going too busy. Glitter on every nail, plus plaid, plus gems, looks chaotic and ages fast in photos. Pick one hero element, give it one or two accent nails, and let solid color carry the rest. Restraint is what separates festive from frantic.
The second mistake is timing. Booking your set the morning of a party leaves no room for a fix if a nail lifts, and gel needs a moment to fully cure before you are wrapping gifts and tugging on gloves. Book two or three days ahead, bring your inspiration photos, and ask your tech what is realistic for your nail length and lifestyle.
Pick One Hero and Keep It You
If you take one thing from all eleven looks, let it be this: the most beautiful Christmas nails choose a single idea and wear it with confidence. The chicest designs are the simplest ones. A solid cranberry, one glittered accent, or a thread of gold says holiday far more elegantly than every motif at once.
Save the photos that actually feel like you, think about how your hands really move through a busy December, and bring that to your tech. Want to keep the season going into January? Slide your palette toward those cool winter blues and let the festive fade gently into the new year.