
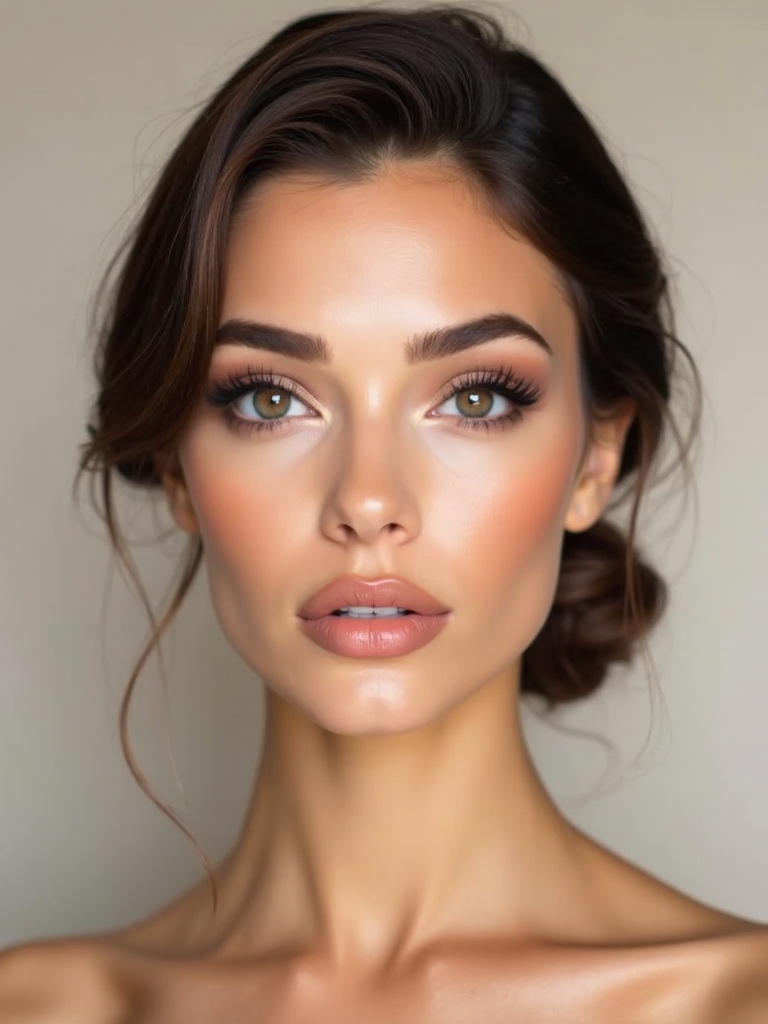
I love how a round face can look sculpted without looking harsh, and I’m sharing 17 foolproof tweaks that lift, lengthen, and glow in all the right places. Think whisper-thin contour, upward blush draping, airy arches, and a wing that subtly stretches the eye.
I’ll show you where to spotlight, where to keep it matte, and how to set edges so they stay crisp. Ready to see how small changes make major impact?
Strategic Contour to Gently Elongate
Sweep light and shadow with intention: I place a cool-toned contour just under my cheekbones, along the temples, and a whisper under the jaw to nudge the face upward and inward.
I map a soft diagonal from ear to mid-cheek, stopping before the smile. I blend upward, never down.
A tiny nose edge contour and chin tuck refine proportions. Feather, don’t stamp. Balance beats heaviness.
For softer transitions, consider pairing these contours with a smoky eye to harmonize the look and draw attention upward.
Highlighter Placement for Lifted Glow
Because glow can double as architecture, I place highlighter where light naturally lifts: the tops of my cheekbones, just above the arch of the brow, and a pinpoint on the inner corner of the eyes.
I add a kiss on the cupid’s bow and a slim ribbon down the bridge of my nose.
Cream textures melt in, powders lock it. Blend edges—no stripes, just lift.
Softly blended products work best to keep features harmonious, especially when aiming for low contrast makeup across the face.
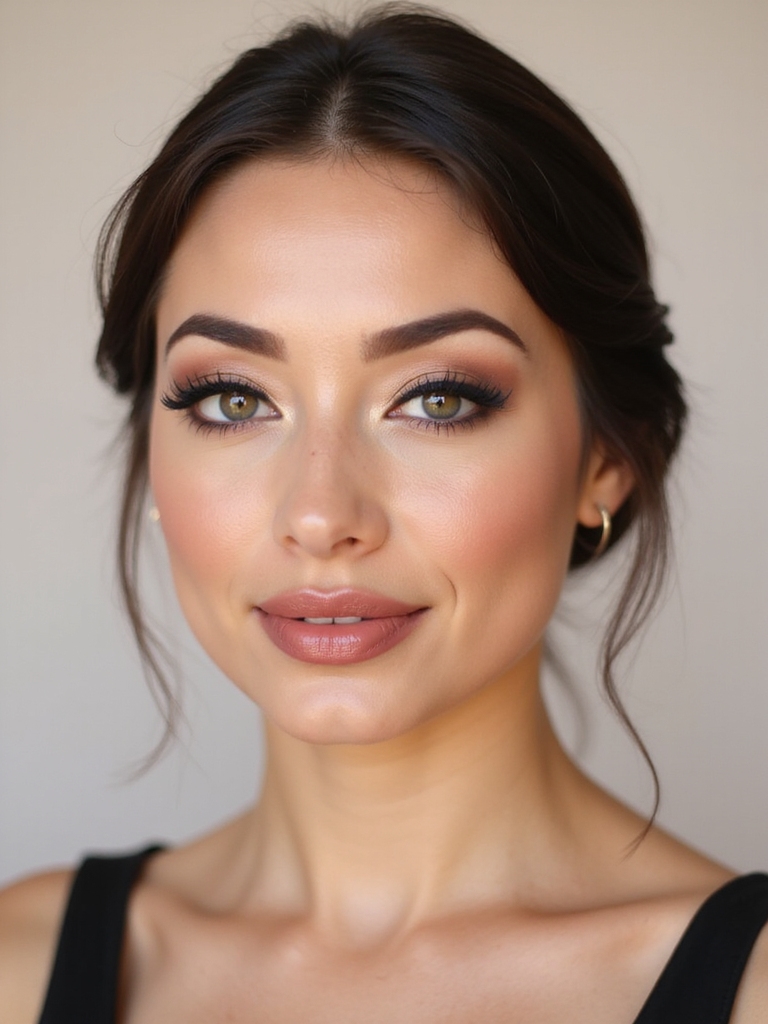
Softly Tapered Brows With Higher Arch
While round faces are already sweetly balanced, I use softly tapered brows with a higher arch to carve lift and intention.
I map the start, arch, and tail, then sketch feathery strokes for a seamless rise. I keep the front airy, arch precise, and tail crisp—not heavy.
A cool-toned pencil defines; a clear gel locks.
The result: instant verticality, sharper structure, confident symmetry.
Formal makeup emphasizes harmony and polished finishes, so I balance brow lift with complementary eye and cheek techniques to maintain overall facial proportion.
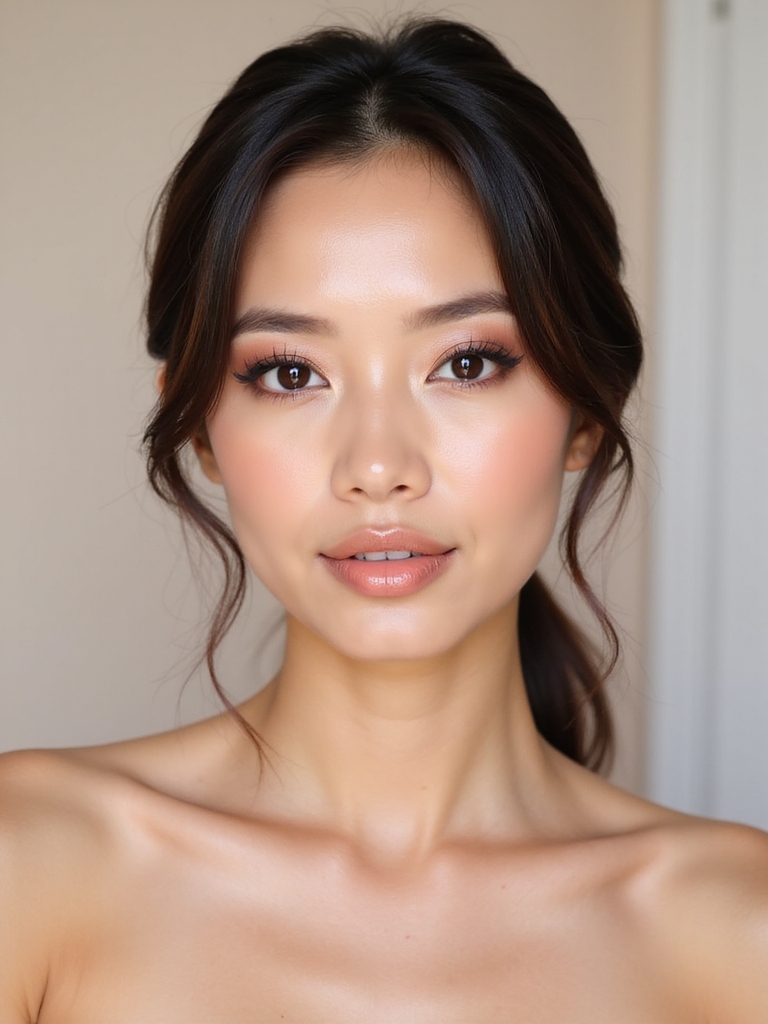
Upward-Focused Blush on High Cheekbones
From the high points out toward the temples, I place blush like an arrow pointing up. This lifts your cheekbones and sharpens the face’s edges without heaviness.
I tap cream or soft matte powder, then feather it backward, never dropping below the apple. Short, upward strokes keep the energy bright.
I blend with fingertips or a fluffy brush, leaving a clean, radiant lift. Effortless everyday makeup often focuses on quick, simple steps for everyday makeup that suit busy mornings.
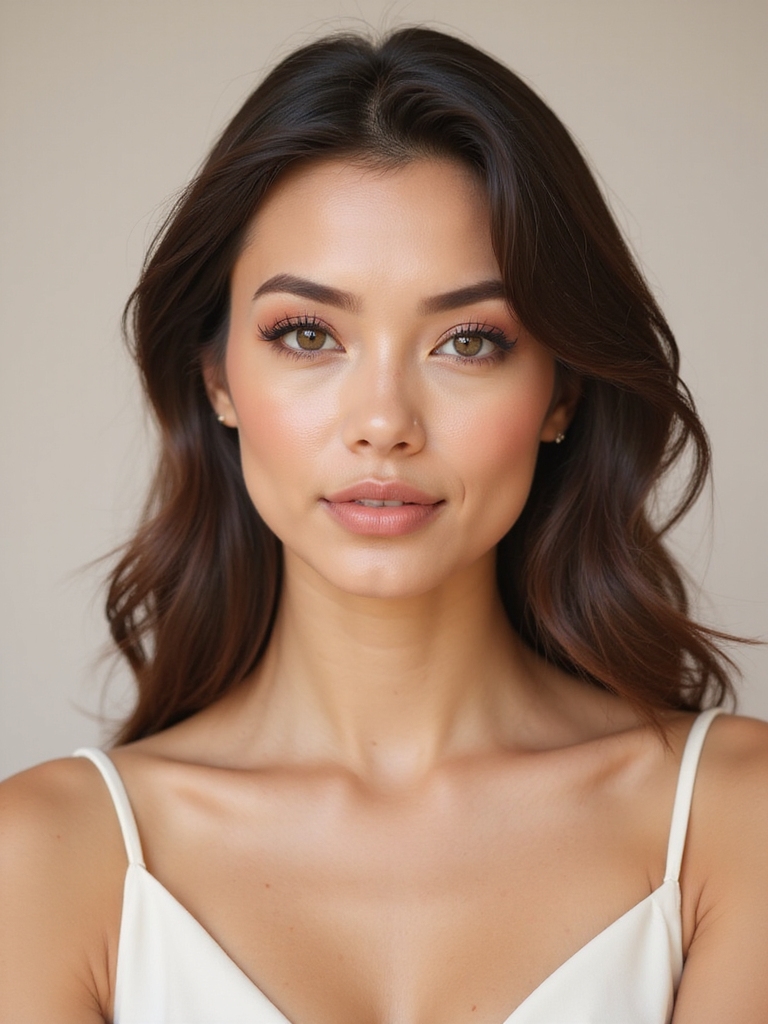
Monochrome Nude Glam for Seamless Balance
That lifted blush sets the stage, and now I mirror that energy with monochrome nude glam for harmony from lid to lip. I pick one nude family—peach, beige, or rose—and keep tones consistent.
Sheer satin on lids, diffused taupe in creases, creamy nude lipstick, tapped on cheeks as a veil. Soft highlight kisses temples. Everything blends upward, sculpting balance without heaviness.
Effortless, sultry, seamless. A gentle contour and upward blending help create a subtly elongated silhouette with lifted cheeks for a naturally balanced finish.
Elongated Eyeliner With Subtle Wing
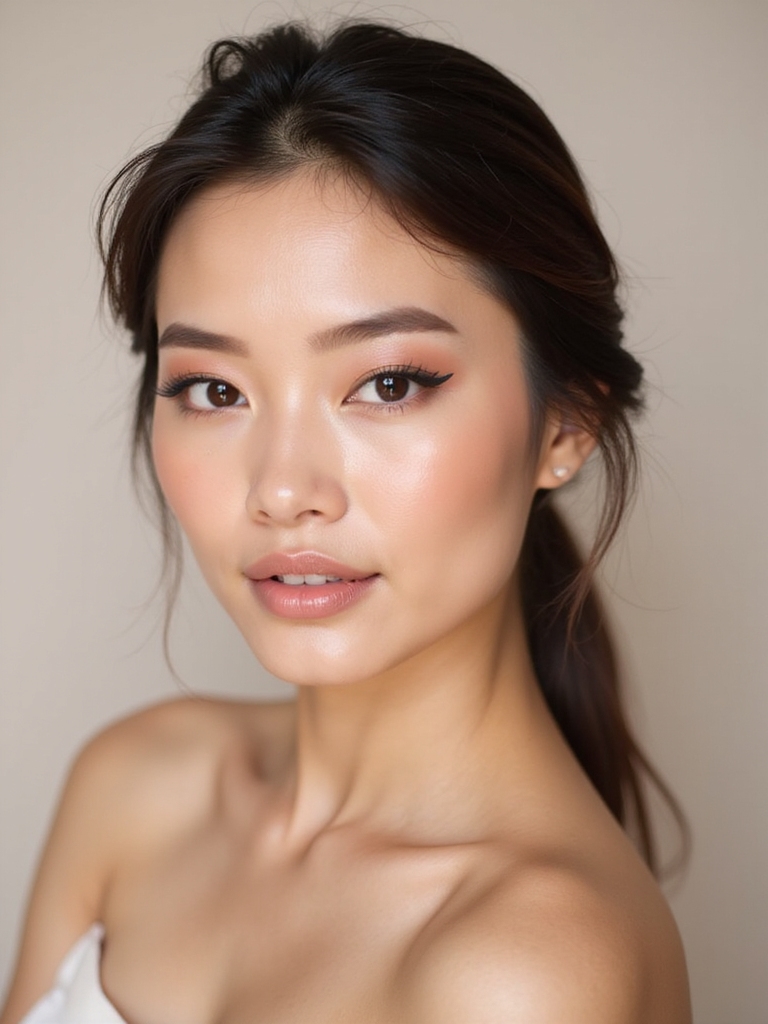
Let’s stretch those eyes with an elongated liner that lifts, not widens. I angle the wing slightly upward from the outer corner—think soft flick toward the tail of your brow—to create length without dragging the eye down.
Then I balance the lower lash line with a whisper of shadow or tightliner, keeping it lighter than the top so the gaze stays lifted and sleek. Sultry makeup often focuses on enhancing features with smoky depth and confident finishes, especially techniques like Sultry Makeup that emphasize allure and confidence.
Wing Angle Placement
Trace your liner like you’re sketching a secret smile—angled slightly upward toward the tail of your brow, not straight out. I keep the wing slim and airy, letting it lift the outer corner without stealing the show.
Here’s my quick guide:
- Start at mid-lash, glide outward, then flick.
- Match angles on both eyes using your brow tail.
- Soften the tip; keep the inner line whisper-thin.
Bold and Playful Makeup Looks to Try Tonight adds that experimenting with color can make even subtle wings pop, especially when paired with crazy makeup accents.
Lower Lash Balance
Sometimes the secret lift comes from below: I balance an elongated top line and subtle wing by kissing the lower lash line with soft shadow, not heavy liner.
I tap taupe or cocoa just at the outer third, then smudge upward to meet the wing. A pinpoint of nude pencil on the waterline opens everything.
Mascara? Only outer lower lashes. Boom—instant length, lift, and sleek symmetry for round faces.
Party looks often benefit from a touch of glam party makeup to make the eyes pop without overwhelming the face.
Gradient Eyeshadow to Add Depth
Kick things up with a gradient eyeshadow that sculpts depth and draws eyes upward. I lay a soft blending shade in the crease, then sweep a deeper tone on the outer V to elongate. A bright pop on the inner corner pulls light forward and lifts.
- Prime so colors grip and blend cleanly
- Blend edges upward, not outward
- Add shimmer center for 3D lift
Concert nights call for bold finishes that last under hot lights and long sets, so consider long-wear products to keep the look intact.
Sculpted Lips With Overline at the Cupid’s Bow
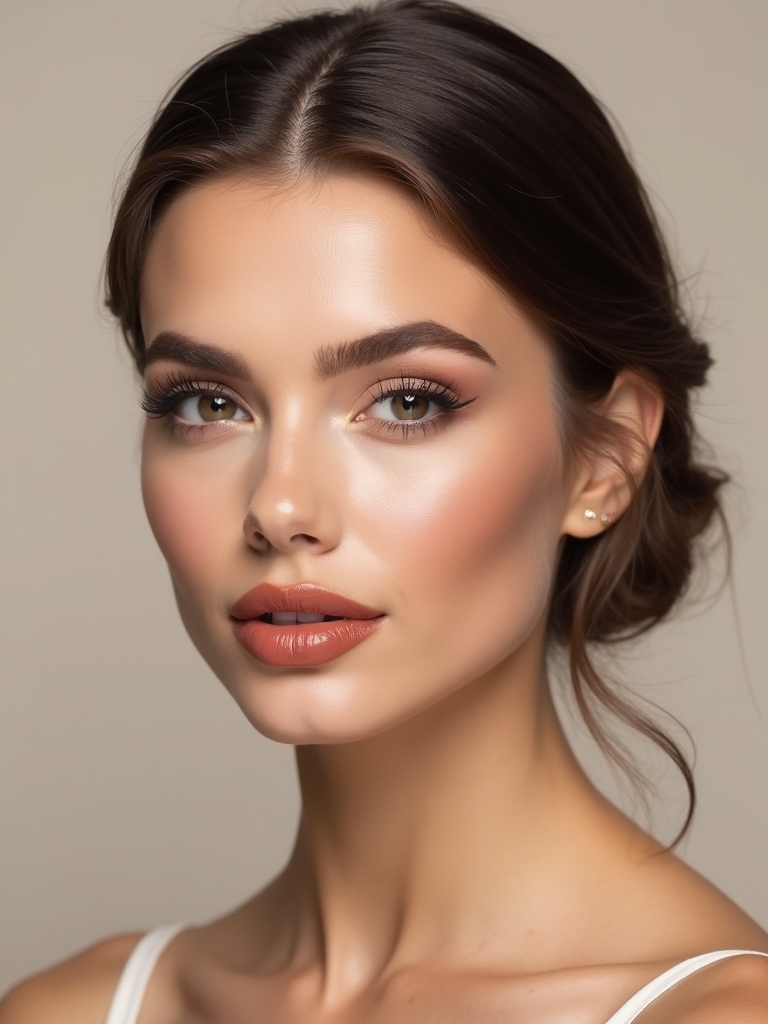
Let’s give your pout a spotlight by sharpening that Cupid’s bow—think crisp peaks that balance a round face.
I’ll show you a subtle overline: trace just outside the top V’s and center, then taper back to your natural corners for believable fullness.
Ready? Grab a liner that matches your lip tone and let’s sculpt.
Effortless ABG style often includes a bold lip and defined features, so consider emphasizing the lips with technique variations like precise overlining for ABG style balance.
Defining Cupid’s Bow
A sharp Cupid’s bow can slim a round face and make lips look sculpted without heavy contouring. I start by tracing the peaks with a crisp pencil, then fill to lock the shape. I keep edges clean and bold, playful yet precise.
Try these quick moves:
- Sketch an “X” to map the peaks.
- Define edges, then fill.
- Pop highlight on the dip.
Subtle Overline Technique
Slip past your natural lip line—just a whisper—right at the Cupid’s bow to fake lift and structure without shouting “overlined.” I trace micro-millimeters outside the peaks, tapering back to the real edges as I curve down, so the center looks plush while the sides stay sleek.
Then I blur with fingertip, set with matte liner, and pop a gloss dot center. Balanced, sculpted, irresistible.
Center-Part or Side-Part Hair-Makeup Harmony

While hairlines steal the spotlight, I’m matching the energy with makeup that balances a round face from center part to side swoop.
I read the parting, then tune features to harmonize angles and curves without piling on product.
- Center part: mirrored brows, crisp liner, balanced blush placement.
- Deep side part: lift one brow, flick liner higher, offset highlight.
- Soft side: diffused liner, airy blush, whispery lip.
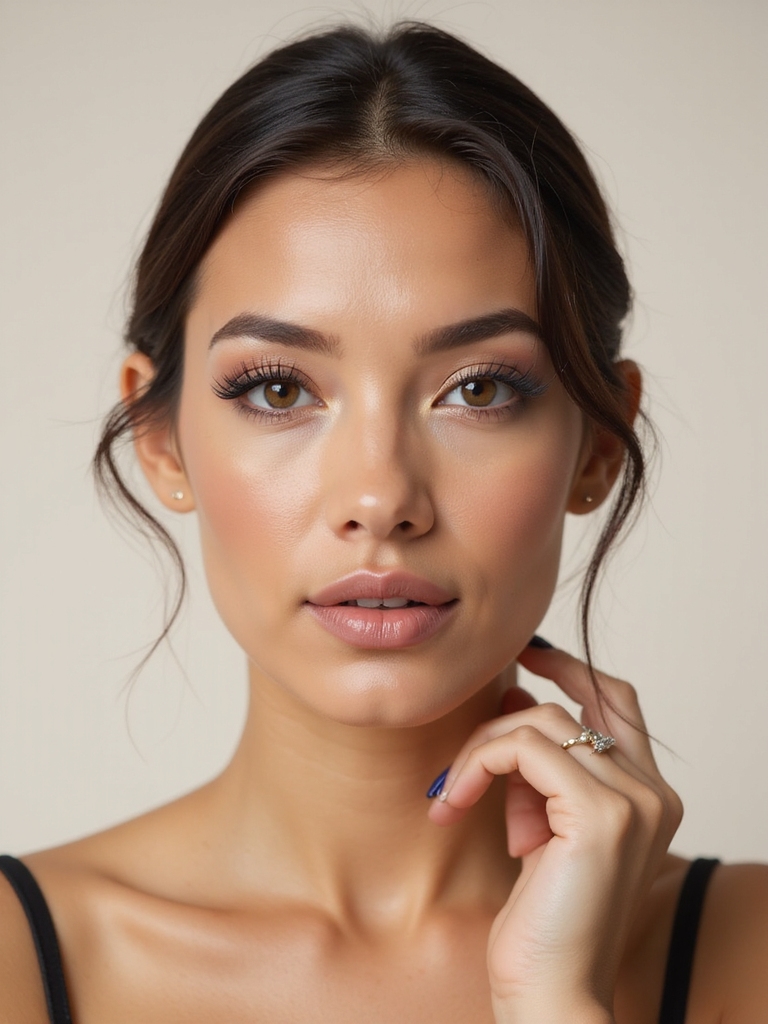
Under-Painting for Natural Dimension
Let’s under-paint for soft, sculpted magic: I place sheer contour just under cheekbones and along the temples so your round shape looks naturally snatched.
Then I drape blush higher—swept from apples to the outer cheek—to pull everything upward.
A whisper of highlight on the tops of cheekbones, brow bones, and the bridge lifts the face without shouting.
Sheer Contour Placement
Sweep in subtle structure: I map a whisper-thin contour before foundation—under-painting—to coax natural shadows on a round face without harsh lines.
I tap cream beneath cheekbones, along temples, and just under the jaw, then veil with skin-tuned base.
The effect? Fresh, soft dimension that reads effortless.
- Cheekbones: tiny crescent from ear forward
- Temples: diffuse upward, not inward
- Jawline: skim lightly, avoid center
Strategic Blush Draping
Contour set the stage; now I pull blush into the spotlight to sculpt without heavy lines.
I sweep a sheer cream from outer cheek toward temple, then drape a whisper across the apples—soft, not stripey.
I blend upward, keeping the center clean to slim.
Layer a peach or rose, then tap a deeper tone near hairline.
Feather edges.
Fresh, lifted, naturally dimensional.
Lifted Highlight Zones
While blush brings warmth, I bank light first. I under-paint cream highlight where lift matters, then veil with sheer foundation so it glows from within. It elongates my roundness without harsh lines.
- Tops of cheekbones, curving to temples—instant vertical lift.
- Bridge of nose, not the tip—keeps length, avoids bulb.
- Inner eye corners and brow tails—opens, raises, brightens.
Precision Concealing to Slim the Center
Zero in on the bullseye: I place a bright, creamy concealer down the center—between the brows, along the bridge of the nose, a touch on the Cupid’s bow, and a slim stripe on the chin—to pull light inward and subtly slim a round face. I tap, not drag, keeping edges feathered.
Then I set with a whisper of powder. Boom—instant vertical focus, seamless, snatched, camera-ready.
Bronzer Veil Along Temples and Jaw
Concealer’s pulling light inward—now I balance it with warmth. I sweep a sheer bronzer veil along my temples and skim the jaw, letting soft shadow frame your roundness without harsh stripes. I blend in upward strokes so edges disappear and glow stays.
- Whisper at temples: light, seamless arcs
- Skim under jaw: subtle depth, not lines
- Bridge with cheeks: connect, then diffuse
Fluttery Lashes Emphasizing Outer Corners
Often, I coax the eye upward with fluttery lashes that flare at the outer corners, elongating round eyes without heavy liner.
I stack wispy clusters from the midpoint outward, leaving inner corners airy.
A subtle curl lifts, then I press mascara just on tips for weightless drama.
If you love contrast, try a demi band; it wings softly, adds lift, and keeps eyes bright.
Strategic Setting to Keep Edges Crisp
With edges sharp and lift locked in, I set with intention. I lock lines, not blur them. I press, don’t sweep, so architecture stays bold and balanced. I target shine-prone zones and anchor every flick, hinge, and cheek lift.
My moves are crisp, quick, confident.
- Press powder along contour seams
- Trace a fine veil under wings
- Seal smile lines, chin, and temples
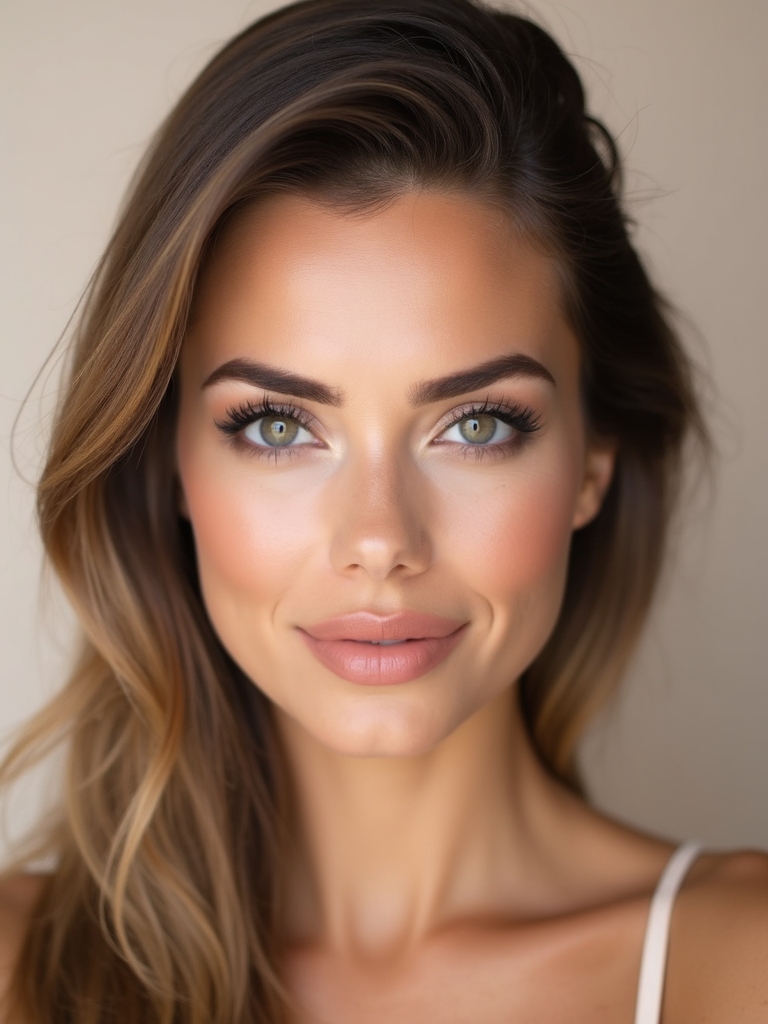
Dewy vs. Matte Mix for Controlled Structure
Let’s play architect with finish: I place glow where I want fullness and matte where I want control.
I keep the high points dewy to lift, then set the perimeters and center with matte to sculpt.
You’ll get bounce where it flatters and structure where it counts.
Strategic Dew-Matte Placement
Blending dew and matte is my secret sauce for sculpting a round face without heavy contour lines. I place glow where light naturally kisses and keep structure crisp where I want lift. Precision makes the magic.
- Dew on tops of cheekbones, brow bones, cupid’s bow
- Matte on sides of nose, under cheekbones, jawline
- Satin bridge highlight; matte temples to subtly slim
Balancing Glow and Control
Sometimes I treat glow like a spotlight and matte like stage crew—each has a job, and timing matters. I dial sheen onto high points—brow bone, tops of cheeks, cupid’s bow—then lock edges with velvet powder to carve lift.
T-zone? Controlled, not chalky. I blend cream highlight into matte bronzer softly, then mist. You’ll get structure, bounce, and zero slip. Shine sings; matte conducts.


