
Here’s the honest truth about Beetlejuice makeup: the messier and more imperfect it looks, the better it works. This is the rare Halloween look where blotchy, smudged, and decayed is exactly the goal, which makes it forgiving for anyone who can’t paint a clean line.
The aesthetic runs from full undead-and-mottled to a quick green-and-black wink you could wear to the office. Below are thirteen takes on the spooky look, with the products that actually pull them off and how to wear them on any skin tone.
The Spooky Look in Brief
Beetlejuice makeup is built on green, black, white, and a deliberately grimy, decayed finish. Imperfection is the whole point, so smudging, blotching, and patchiness all work in your favor rather than against you.
You can scale it from a full SFX-style undead face to a subtle green smoky eye for everyday. The same core palette, sickly greens, stark monochrome, and a touch of grime, carries every version, so pick your intensity and build from there.
Mottled, Sickly Undead Skin

The foundation of the full look is skin that looks anything but healthy. A mottled, sickly base uses patchy greens, grays, and yellows stippled unevenly over a pale foundation, so the complexion looks drained and slightly rotten. The unevenness is the point. Embrace the mess.
Stippling for Texture
Build it with a damp sponge, dabbing cream face paints in blotches rather than blending them smooth. A light hand with a stippling sponge gives that textured, diseased finish without looking like solid color.
This is the base every other element sits on, so set it well with powder. On deep skin, lean into grays and sickly greens over a slightly lightened base rather than chasing a stark white, which can look unnatural.
Mildewed Haunted Temples

Detail at the temples and hairline takes the look from costume to convincing. Shading the temples with mildewed greens and grays, as if mold is creeping in, adds dimension and a truly eerie, statue-like quality. It’s the kind of small touch that lands in photos. Takes about five minutes and changes everything.
Use a small brush and a deep, dusty green to carve hollow shadows at the temples and along the cheekbones, then smudge so it looks grown-in rather than drawn-on.
- Work deep greens and grays into the temples and under the cheekbones.
- Smudge the edges so the ‘mold’ looks organic, not outlined.
- Keep it concentrated at the hairline and temples for a statue effect.
How far do you want to take it?
1Full undead
Mottled skin, veins, and moldy hairline; commit to SFX-style face paint and setting powder.
2Just a wink
A green smoky eye or office-friendly wash; themed but wearable in seconds.
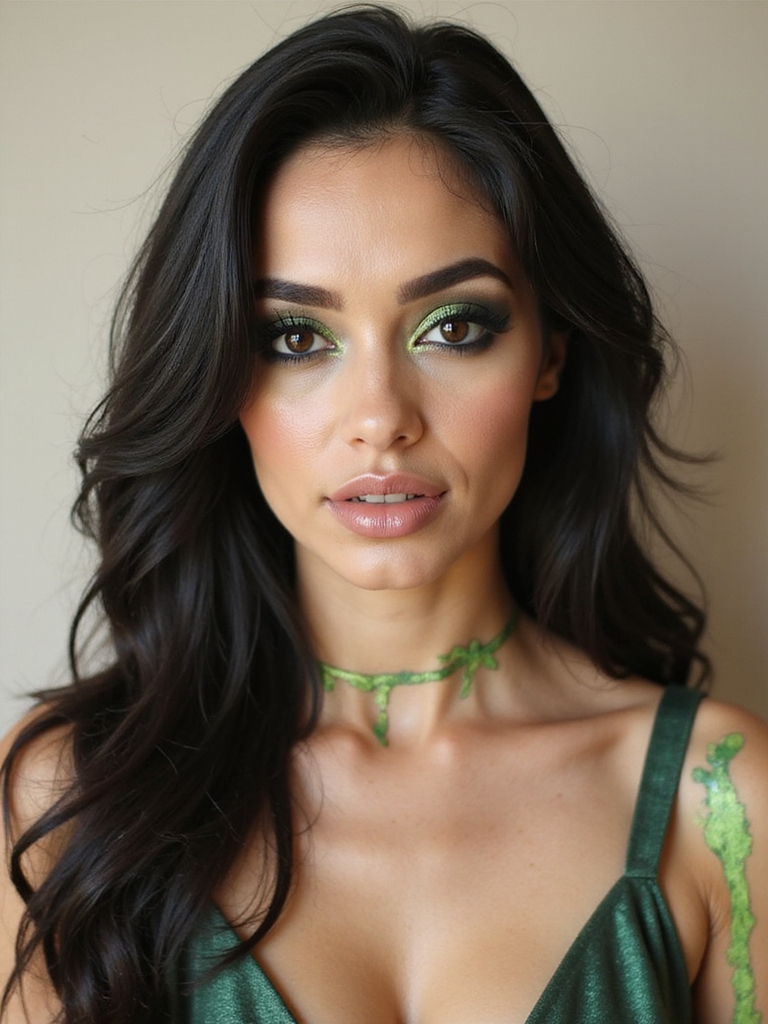
Neon Slime Blacklight Glam

For a party that promises a blacklight, UV-reactive neon takes the look to another level. Neon green slime details that glow under blacklight turn a spooky face into a showstopper the moment the lights drop, which makes this the move for a club or rave Halloween.
Use UV-reactive face paints, which look bright green in normal light and glow electric under UV. Drip and streak them like slime around the eyes and down the cheeks for that dripping, toxic effect. A set of UV face paints runs about $15 to $30 and lasts several Halloweens.
Graphic Black-and-White Smoky Eye

The stripes are the signature, so a graphic black-and-white eye nods to the look without full-face commitment. Stark white on the lid against a heavy black smoky eye in the crease gives that high-contrast, theatrical stare the aesthetic is known for. It’s loud but quick.
When a client wants spooky that still reads as makeup and not a mask, this is what I steer her toward. Keep the white crisp and the black smoked out for drama, and the monochrome does all the work.
- Pack white shadow or paint flat onto the lid first.
- Smoke black heavily through the crease and lower lash line.
- Add a tiny graphic stripe detail at the outer corner for the theme.
The secret to this look is permission to be messy. The blotchier and more uneven the skin, the more convincingly undead it reads, so a shaky hand is an advantage here.
Haunted Moss-Green Smoky Glam
When you want spooky to still read glam, a moss-green smoky eye is the sweet spot. Deep, mossy green smoked around the eye looks haunted and atmospheric while staying wearable. It’s the look I suggest to clients who want eerie but not full SFX, since it photographs moody yet still flatters.
- Blend a deep moss green around the whole eye, soft at the edges.
- Add black in the outer corner for depth and a haunted feel.
- Pair with pale, slightly sickly skin to keep the theme.
Toxic Neon-Green Cut Crease

For a sharper, more graphic eye, a toxic neon-green cut crease brings serious impact. The crisp cut line plus a vivid, almost radioactive green lid feels like something out of a haunted lab, bold and a little unhinged in the best way.
Getting the Crease Sharp
Carve the crease with concealer on an angled brush, then pack a bright green pigment onto the lid for that toxic glow. The sharper the line, the more striking the effect.
Neon greens show up brightest over a white base, which matters most on deep skin where a sheer neon can otherwise lose its punch.
“Set every cream layer with powder before adding the next, especially on a full undead face. Unset cream paints slide and muddy together, and on a long Halloween night that’s the difference between a look that lasts and one that melts off by ten.”
Smoky Ultraviolet Beetle Glam

Beetles shimmer in purples and greens, and an ultraviolet beetle eye leans into that iridescent quality. A smoky purple base with a duochrome shimmer on top catches green and violet as you move, like a beetle’s shell, which ties to the theme in a more abstract, glam way.
It’s the most flattering look here for an evening event, since the jewel tones suit everyone and the shimmer reads festive rather than gory.
- Smoke a deep violet around the eye as your base.
- Press a green-purple duochrome shimmer over the lid.
- Keep skin glowy rather than decayed for the glam version.
Mossy Smudged Haunted Contour

Instead of a warm sculpting contour, the haunted version uses smudged green and gray to hollow the face out. Sinking the cheeks, temples, and jaw with cool, mossy shadow makes the face look gaunt and otherworldly, which is what separates a real Beetlejuice look from a costume-shop one.
- Use cool greens and grays, never warm bronzers, to hollow the face.
- Concentrate it under the cheekbones, temples, and jaw.
- Smudge hard so it reads as shadow, not stripes.
ℹ️Good to Know
UV-reactive paints look like ordinary bright colors in daylight and only glow under blacklight. If your party has UV lighting, they transform the whole look; if not, they just read as vivid neon, so check the venue first.
Ghostly White Skin With Veins

For maximum eerie, a ghostly white base with visible veins looks properly corpse-like. A pale, powdery base topped with faint blue and green veins drawn at the temples and neck gives that drained, just-clawed-out-of-the-ground effect that anchors a full costume. The veins are what tip it from pale makeup into something properly corpse-like, so it’s worth the extra few minutes.
- Set a pale base fully so the veins don’t smear.
- Draw veins with a thin brush in muted blue-green, lightly.
- Less is more; a few veins read better than a road map.
Damp, Moldy Rotten Hairline

The hairline is where a spooky look often falls apart, so treating it as part of the design pays off. A damp, moldy effect along the hairline, with greens and grays blurred into the roots, sells the idea that the whole figure has been left to decay. It bridges the makeup and the hair.
Use a cream paint and a sponge to dab moldy tones where the skin meets the hair, keeping it damp-looking with a touch of gloss. It’s a small detail that makes the difference between a face that looks made-up and one that looks truly undead.
Gothic Bride With Decay

Combining elegance with rot makes the gothic bride one of the most striking takes here. A romantic, veiled look undercut with decay, smudged dark lips, hollowed eyes, and a sickly pallor, plays beauty against horror for a hauntingly pretty effect that photographs beautifully.
- Start with a soft, pretty base, then add decay so the contrast lands.
- Smudge a deep berry or black lip and let it bleed slightly.
- Pair with a veil and a goth-leaning dark eye to complete it.
A Quick Office-Friendly Version

Not every Halloween calls for full SFX, and a subtle nod works when you still have to show up to work. A wash of green on the lid, a smudgy black liner, and a slightly pale lip reads as a wink to the theme without scaring your coworkers, and it wipes off in seconds if you need it to.
- Swipe a sheer green shadow over a normal everyday eye.
- Smudge a soft black liner for a hint of grunge.
- Skip the pale base; just a muted lip keeps it office-safe.
Playful Mint-Cream Beetlejuice

For a cuter, less scary spin, a playful mint-cream take keeps the green-and-black theme but swaps gore for charm. Soft mint shadow, graphic black details, and clean skin give a stylized, cartoonish version that suits anyone who loves the theme but skips the gore.
This is a great pick for a daytime event or for teens and anyone squeamish about the gory side. I reach for it most with younger clients. Keep the skin fresh and dewy, and let the mint and a few crisp black graphic lines carry the reference.
It’s also the most beginner-friendly look here, since there’s no texture or SFX to master, just pretty pastel makeup with a themed twist.
Beetlejuice Makeup Questions
?Is Beetlejuice makeup hard for beginners?
It’s one of the more forgiving Halloween looks, because messy and uneven is exactly the goal. Blotchy skin and smudged details read as decay, so you don’t need clean lines. Start with the green smoky eye if a full undead face feels intimidating.
?What products do I need for the full look?
Cream face paints in green, gray, white, and black, a stippling sponge, setting powder, and a small detail brush cover most of it. UV-reactive paints are optional for blacklight parties. Most of the looks here use the same core kit at different intensities.
?How do I make it last all night?
Set each cream layer with powder before adding the next, and finish with a setting spray. Cream paints slide as they warm up, so locking each step down is what keeps a full face intact through a long, sweaty Halloween night out.
Make It as Spooky as You Dare
What makes this aesthetic so fun is its range. The same green-black-and-grime palette stretches from a full corpse transformation to a playful mint eye, so there’s a version for every comfort level and every kind of Halloween night.
Save the look that matches your plans and your nerve, gather your greens and a setting powder, and lean into the mess. With this one, imperfect really is the goal, so let yourself have fun with it.


