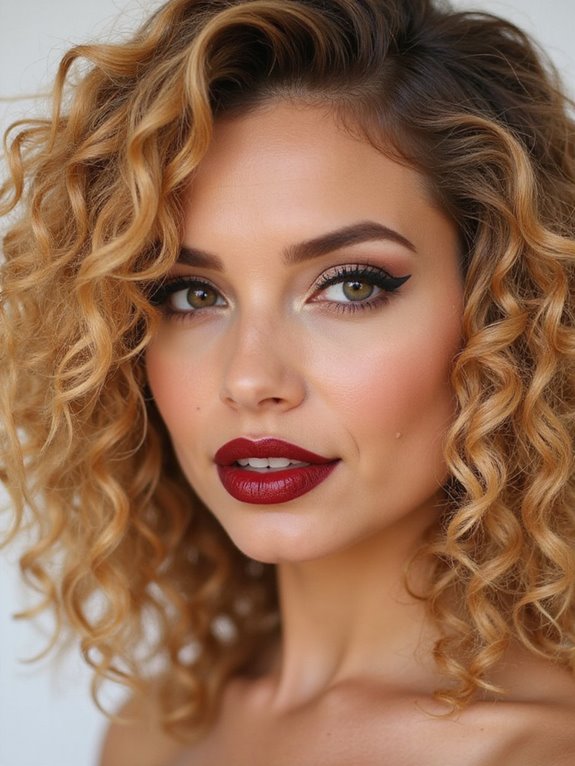
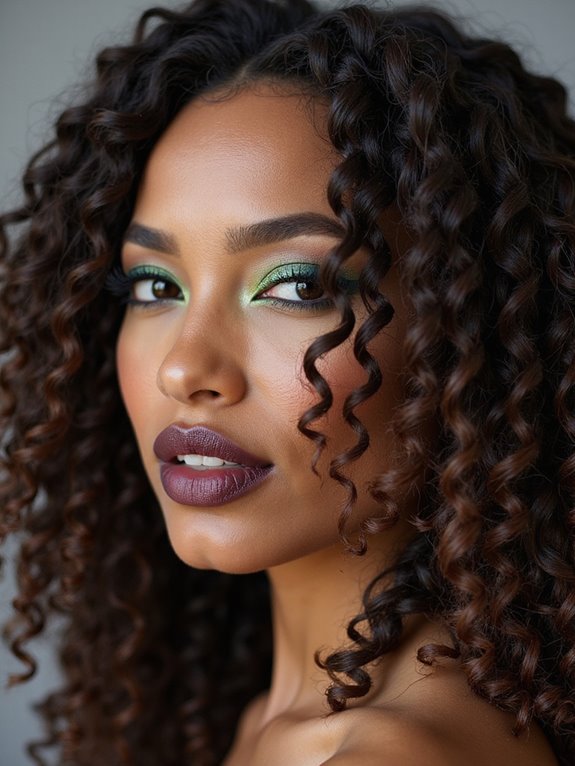
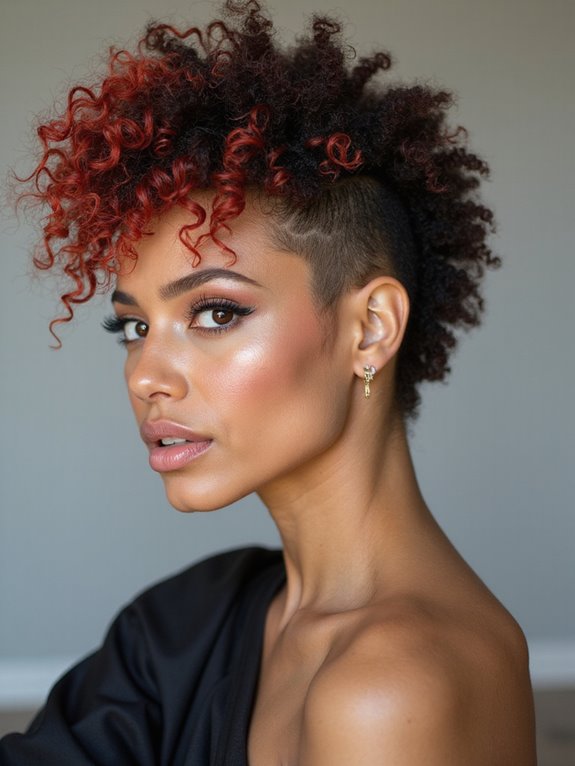
The first curly wig I ever customized for a client took twenty minutes of plucking and a careful baby-hair edge, and when she turned to the mirror she actually gasped. Nobody at her event guessed it was a wig, including her own sister. That is the whole game with curly wigs: the hair matters far less than how you blend it.
A natural-looking curly wig comes down to a handful of techniques, not luck or an expensive unit. Customize the hairline, get the density right, lay your edges, and keep the curls hydrated, and the rest is just styling. Here is how to make a wig truly yours, plus twenty ways to wear it once it reads as your own hair.
Natural Curly Wigs, Answered
How do I make a curly wig look real? Customize the hairline, pluck the part for natural density, lay your baby hairs, and keep the curls hydrated. Those four steps do most of the work.
Human hair or synthetic? Human hair lasts longer and styles like your own but costs more. Synthetic holds its curl with zero effort but cannot take heat. Choose by budget and how much you want to restyle.
How long does a curly wig last? A cared-for human hair wig lasts a year or more, while quality synthetic lasts a few months of regular wear. Gentle detangling and a satin wrap at night extend both.
Choosing Your Curly Wig and Finding Your Match

Before any styling, the right wig sets you up to win. Start with your lifestyle: do you want a grab-and-go unit you barely touch, or one you can restyle and even heat-style yourself? That answer points you to synthetic or human hair faster than anything. From there, look for a curl pattern that mirrors your own, a cap construction that suits how often you will wear it, and a length you will actually live in.
Price ranges widely, so set expectations early. A basic synthetic curly wig can start around $30 to $60, while a quality human hair lace unit runs $150 to $300 or more. You are paying for realism and longevity, so buy the best you can afford for how often you plan to wear it.
I tell clients to be honest about that last part. A daily wig earns a splurge. A once-a-month look does not. A curly frontal wig with a natural finish is worth the splurge if a believable hairline is your priority.
- Match the wig’s curl pattern to your own for the easiest blend
- Pick synthetic for low effort, human hair for restyling and heat
- Buy the best cap you can afford if you will wear it often
Understanding Curl Patterns, From Coily to Wavy

Curly wigs come in the same range as natural hair, from loose 2b waves to tight 4c coils, and matching that pattern to your own is the single biggest factor in a believable blend. A wig two or three pattern steps away from your leave-out will always read as separate hair, no matter how good the install.
If you wear your hair out around the wig, choose a unit that mirrors your natural curl pattern as closely as you can. If you tuck all your hair away, you have more freedom to experiment with a different texture, since nothing has to blend. Knowing your own pattern first, then shopping to it, saves you the disappointment of a beautiful wig that never quite looks like yours.
- Loose waves (2b to 3a): soft, beachy units that move easily
- Springy curls (3b to 3c): defined ringlet and spiral patterns
- Tight coils (4a to 4c): kinky curly units that blend with natural Black hair
🅰️Human Hair
Looks and moves most like your own hair, takes heat and color, and lasts a year or more, but it costs more and needs real upkeep.
🅱️Synthetic
Holds its curl with almost no effort and costs far less, but it cannot take heat and wears out in a few months of regular use.
Prepping and Customizing a New Curly Wig

A wig straight out of the package almost never looks natural, and that is normal. The hair is uniform, the hairline is too perfect, and the curls are often coated in product from manufacturing. Your job is to break up that factory finish. Start by detangling gently from the ends up with a wide-tooth comb, then co-wash or condition to soften the fibers and revive the curl.
Once it is clean and detangled, you can move on to the hairline and density work that actually sells the look. My standard advice for a first wig is to budget a full hour for this prep, because it is the difference between a unit that looks bought and one that looks grown.
- Detangle from the ends up with a wide-tooth comb, never yank from the roots
- Co-wash or condition to soften fibers and bring the curl pattern back
- Air-dry or let it set fully before you cut, pluck, or style
Customizing the Wig Hairline

The hairline is where a wig gives itself away, so this is where your time pays off most. A natural hairline is never a straight, dense line; it is slightly irregular, a touch softer at the edges, and shaped to your own face.
Where Realism Lives
Decide on your part and how deep you want it, then tailor the front to frame your features. If your wig has lace, this is where you tint it to your scalp tone and trim it carefully along the hairline so no edge shows.
Take it slow and step back often. You can always remove more, but you cannot put hair back, so customize in small passes rather than one aggressive go.
ℹ️Good to Know
Plucking the hairline and part is the single most realism-boosting thing you can do to a wig, and it is free. A too-dense, perfectly even hairline is the number one giveaway, so thin it out gradually before you ever worry about products.
Plucking for Natural Density

Most wigs come far too dense at the hairline and part, which reads instantly fake because real hair thins gradually toward the edges. Plucking fixes it. Using tweezers, pull a few hairs at a time from the part and along the hairline to create subtle, uneven density that mimics how hair actually grows. The goal is variation, not bald patches, so work slowly and check in the mirror often.
This one technique, more than any product, is what gives a wig that believable, this-is-my-hair look. In my chair, plucking is the step I refuse to skip. It takes patience. It is also free. Pair it with a softly laid edge and a hydrated curl, and even people who know you wear wigs will have to look twice.
- Pluck a few hairs at a time from the part and hairline, never in clumps
- Aim for gradual, uneven density, the way real hair thins at the edges
- Stop sooner than you think; you cannot replace what you over-pluck
Installing and Securing It Comfortably
How you put the wig on matters as much as how you customize it. Start by protecting your own hair. Braid it flat or cornrow it down, then cover it with a wig cap so nothing peeks out and your edges stay protected.
A secure, comfortable foundation is what lets you forget you are wearing a wig at all. Adjust the cap straps so it sits snug but never tight, and position the hairline a finger’s width behind your own so the front looks like it grows from your skin.
Securing it without damage is the part people rush. Elastic bands, a few well-placed clips, or a wig grip hold most units beautifully with zero glue. If you do use adhesive, keep it off your natural hairline and remove it gently, since the skin and baby hairs there are fragile.
I tell clients to treat a wig like a hat with hair, not a permanent fixture. The whole appeal is that you take it off at night, let your scalp breathe, and protect the hair growing underneath.
Baby Hairs, Shaping, and Care That Keep It Natural
Once the hairline and density are set, a few finishing techniques lock in the realism. Lay your baby hairs by selecting a thin section at the front, working in a little gel, and molding soft, small curls along your hairline to frame your face, going light so they look natural rather than painted on.
Then shape the unit itself: snip a few layers to break up the uniform length, and texturize the ends so the curls move like real hair instead of sitting in one solid block. A light edge control protects your own delicate hairline underneath, so go gentle there too.
Care is what keeps all that work looking fresh. Curly wigs dry out faster than your own hair, since they have no scalp feeding them oil, so hydration is everything.
Mist daily with a water-based refresher, seal with a drop of light oil on human hair, and use sulfate-free, wig-safe products while avoiding heavy silicones that flatten the curl. Detangle gently with a wide-tooth comb or a Denman, and at night, pineapple the curls into a loose high ponytail or wrap in satin to fight friction and tangles.
Styling Tips: 20 Ways to Wear It
Once your wig reads as your own hair, the styling options open right up. Wear it out and full for everyday, or fluff the roots by tipping your head forward and separating strands with your fingers for extra volume. Try a chic half-up half-down, a high or low curly ponytail, a side part for drama, or a deep part for a fuller crown.
A protective-style updo or a soft bun dresses it up for an event, and a pineapple does double duty as a daytime look and overnight protection.
From there, mix in accessories and refreshes to stretch your looks even further. A headband, a silk scarf, or a few decorative pins change the whole vibe in seconds, while a curl refresher and a touch of mousse revive second and third-day curls. Add face-framing pieces, a wash-and-go finish, or a deep-conditioned wet look, and a single curly wig easily gives you twenty distinct natural-looking styles.
The freedom is the point, which is exactly why so many people who could grow this look still reach for natural styling inspiration for Black women to keep it fresh.
Curly Wig Questions, Answered
?How do I keep a curly wig from looking dry and frizzy?
Hydrate daily with a water-based curl refresher, seal human hair with a drop of light oil, and use sulfate-free, wig-safe products. Avoid heavy silicones, which weigh curls down, and wrap in satin at night.
?How do I detangle a curly wig without ruining the curl?
Work from the ends up with a wide-tooth comb or a Denman brush, with conditioner or a detangling spray in. Never brush a dry, knotted wig from the roots, which stretches and breaks the curl pattern.
?Can I protect my own hair under a curly wig?
Yes, and you should. Braid your hair flat or wear a wig cap, moisturize your scalp and edges, and keep any edge control or glue off your natural hairline as much as possible to avoid tension and breakage.
?How do I make the part look like real scalp?
Pluck the part for gradual density, tint any lace to match your scalp tone, and dust a little skin-tone powder along the parting. Those three steps turn an obvious wig part into a believable scalp.
Make the Wig Truly Yours
A natural-looking curly wig is not about the most expensive unit; it is about the work you put into blending it. Match your curl pattern, soften the factory finish, customize and pluck the hairline, lay your edges, and keep the curls hydrated, and almost any wig can pass as your own hair.
Start with the hairline and density, since that is where realism is won or lost, and build your skills from there. Take your time on the first one, be gentle with the delicate hair underneath, and before long you will have a wig you forget you are even wearing, plus a dozen ways to style it on a whim.
Related Reads