Messy hair is the look everyone wants and few admit to working at, because the best undone styles take a little know-how. The trick is always the same: texture and a few deliberate choices, not actually skipping the styling.
These messy hairstyles run from beachy waves and bedhead bobs to undone buns, braids, and chignons, each one designed to look better the less you appear to try. Every one comes with how to fake that effortless finish on purpose.
Key Takeaways
- Texture is everything: second-day hair, salt spray, or dry shampoo is what makes messy hold its shape.
- Pull out strategic face-framing pieces, not random ones, to keep it flattering.
- Pancake braids and tug buns wider so undone reads full, not flat.
- A few tricks (a wrapped elastic, a little crown lift) keep messy from tipping into sloppy.
- Messy styles are perfect for stretching washes, since they improve on day two and three.
Tap your hair length to find your easiest messy look.
Short hair
A textured pixie or a bedhead bob, both styled with a little matte paste and left rough.
Medium hair
A wavy shag, a tousled low chignon, or an effortless half-up twist.
Long hair
Tousled beach waves, a pulled-apart fishtail, or a casual crown braid.
I want it up and out of the way
A rumpled top knot, an undone bun, or messy space buns.
Messy Hairstyles to Try
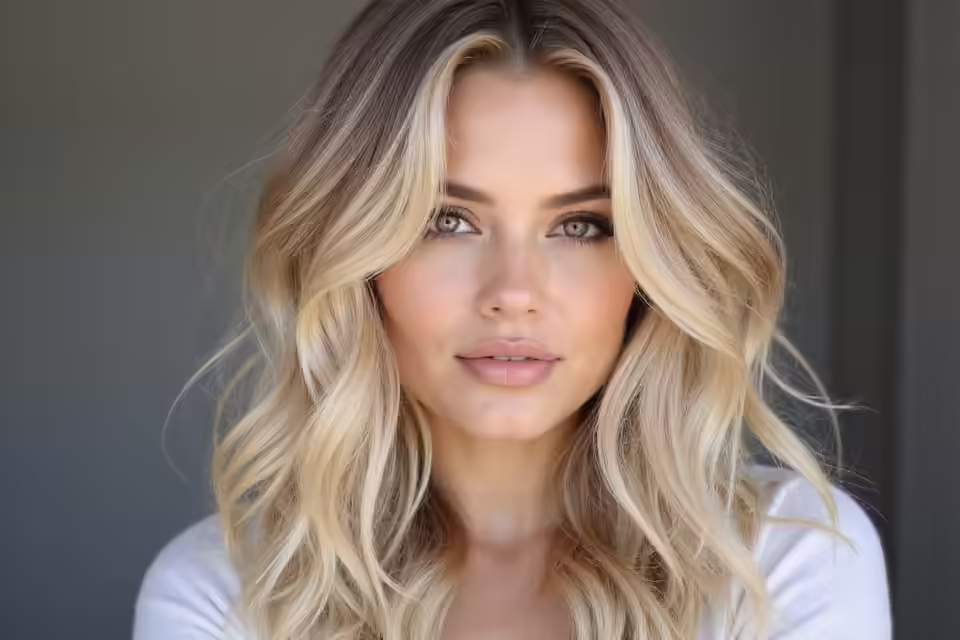
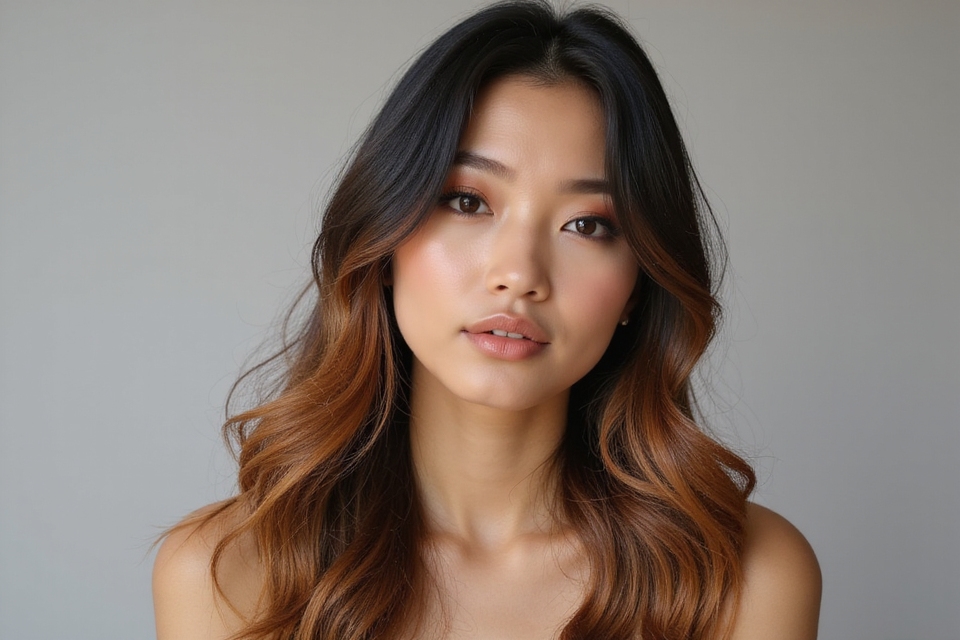
Tousled Beach Waves
Tousled beach waves are the original messy look, all soft, undone bends where no two pieces match. The secret is grit, not polish: texture is what separates beachy from simply unbrushed.
Mist a sea-salt spray through damp hair and rough-dry until most of the water is gone, then bend random sections with a wand, leaving the ends out for that piecey tip.
Scrunch as it cools and break the waves apart with your fingers so they fall in soft, irregular bends rather than uniform curls. The rougher and more random, the more authentically beachy it reads.
Undone Bun With Face-Framing Pieces

The undone bun looks thrown together, but the face-framing pieces are what actually make it work. Pull a couple out and even the messiest bun reads intentional rather than lazy.
Build it on day-two hair
Gather a loose, low bun on second-day hair, which has the grip a clean bun lacks, then tug it wider and leave pieces out at your temples. Resist smoothing it down; the softness is the whole point.
Lived-In Low Ponytail
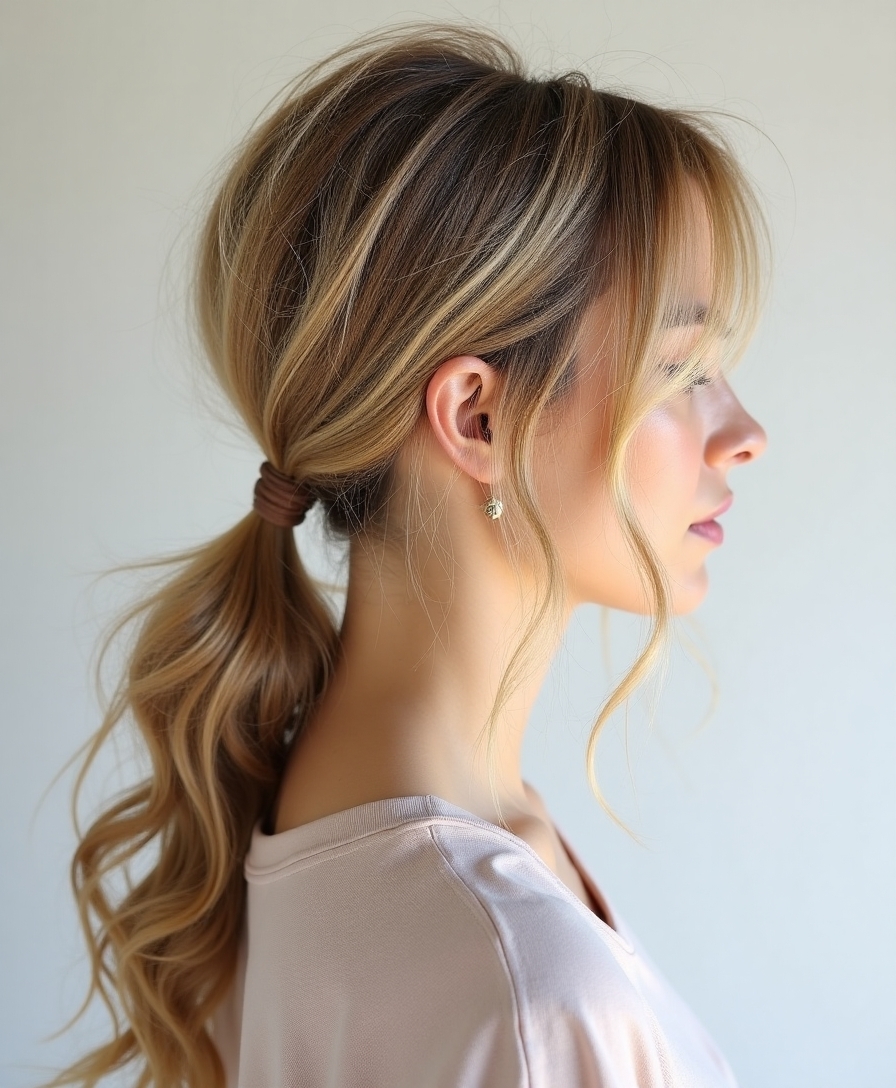
A lived-in low pony is the five-second option, softened with texture and a couple of loose pieces so it never looks like you just scraped it back. It is the everyday hero of messy hair.
Tie it low on textured hair, because clean hair slips and falls flat, then wrap a strand over the elastic to hide it. That one move instantly lifts it from gym to chic.
Pull out the two pieces at your temples to frame your face, and give the crown a gentle tug so the top is not flat against your head.
For more ways to wear an undone pony, these messy ponytail ideas go further into low, high, and braided versions.
Textured Pixie Cut

A pixie is messy hair’s easiest win, because piecey, textured styling is the entire point of the cut. There is almost nothing to fight; you just enhance what the cut already does.
Rake a little matte paste through dry hair, push it where you want it, and leave the texture rough and separated. No brush, no fuss, no flat spots.
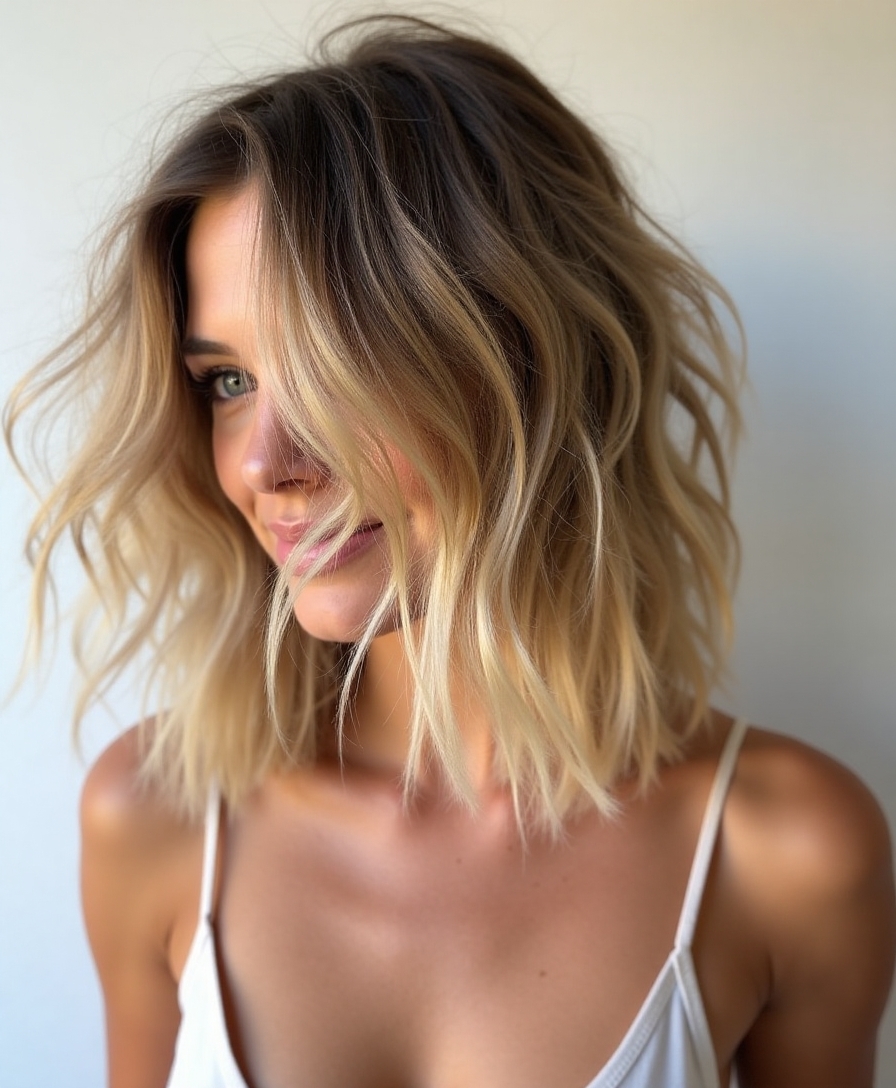
Bedhead Bob Style

The bedhead bob leans all the way into undone, treating slept-on texture as the look rather than a problem to fix. It is cool, low-effort, and a little rebellious.
Spritz dry shampoo and texture spray through, then tousle with your fingers and bend a few pieces with a flat iron if you want more shape. The goal is rumpled, not neat.
It is at its best on second or third-day hair, which makes it a perfect wash-stretching style, and a quick finger-tousle revives it each morning.
Loose Bohemian Braids
Loose boho braids are messy and romantic at once, especially when you pancake them wide for that soft, undone look. They suit festivals, weekends, and anytime you want pretty without effort.
- Braid loosely rather than tight.
- Pull the edges apart for fullness and a soft, airy feel.
- Leave wispy pieces out, and wear over waves for the full boho effect.
Effortless Half-Up Twist
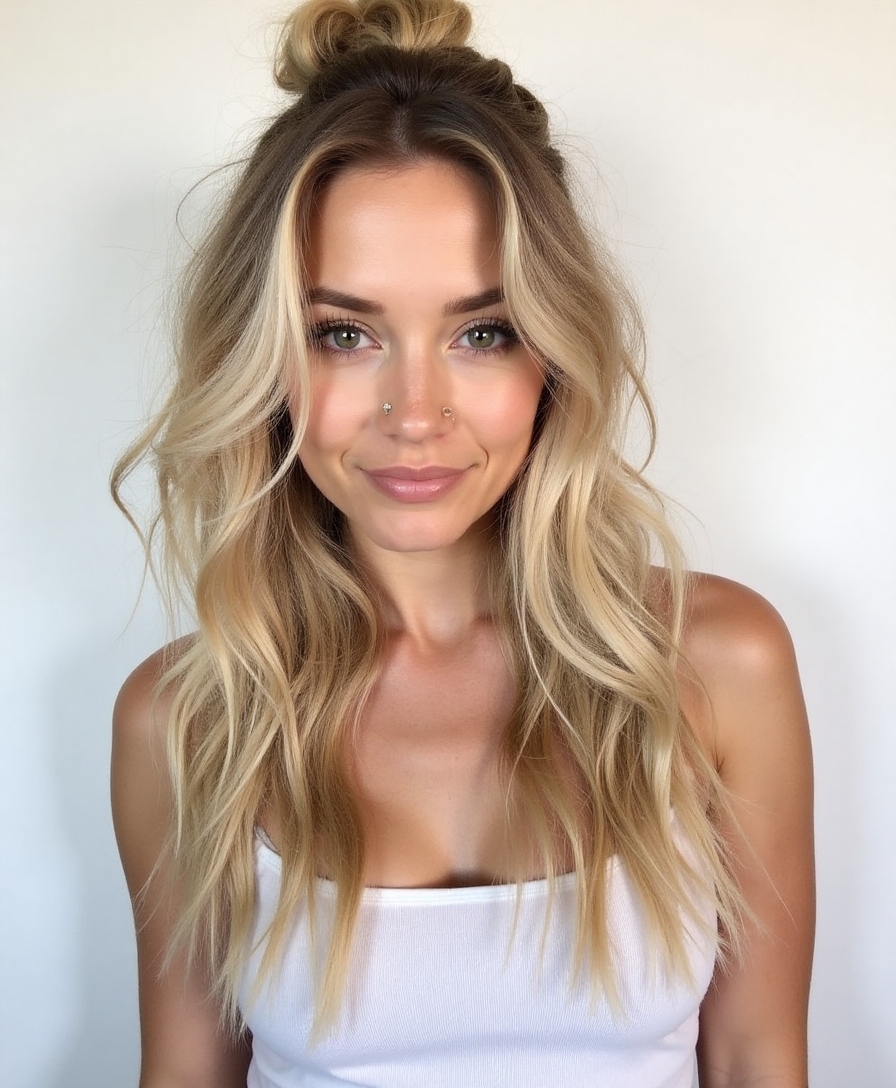
The half-up twist lifts the front off your face while leaving the rest undone below, so it is the quick fix that still looks deliberately styled.
Twist the front sections back, pin them loosely, and leave the lengths textured. Pull a few pieces out around the face so it frames rather than scrapes back.
Rumpled Top Knot
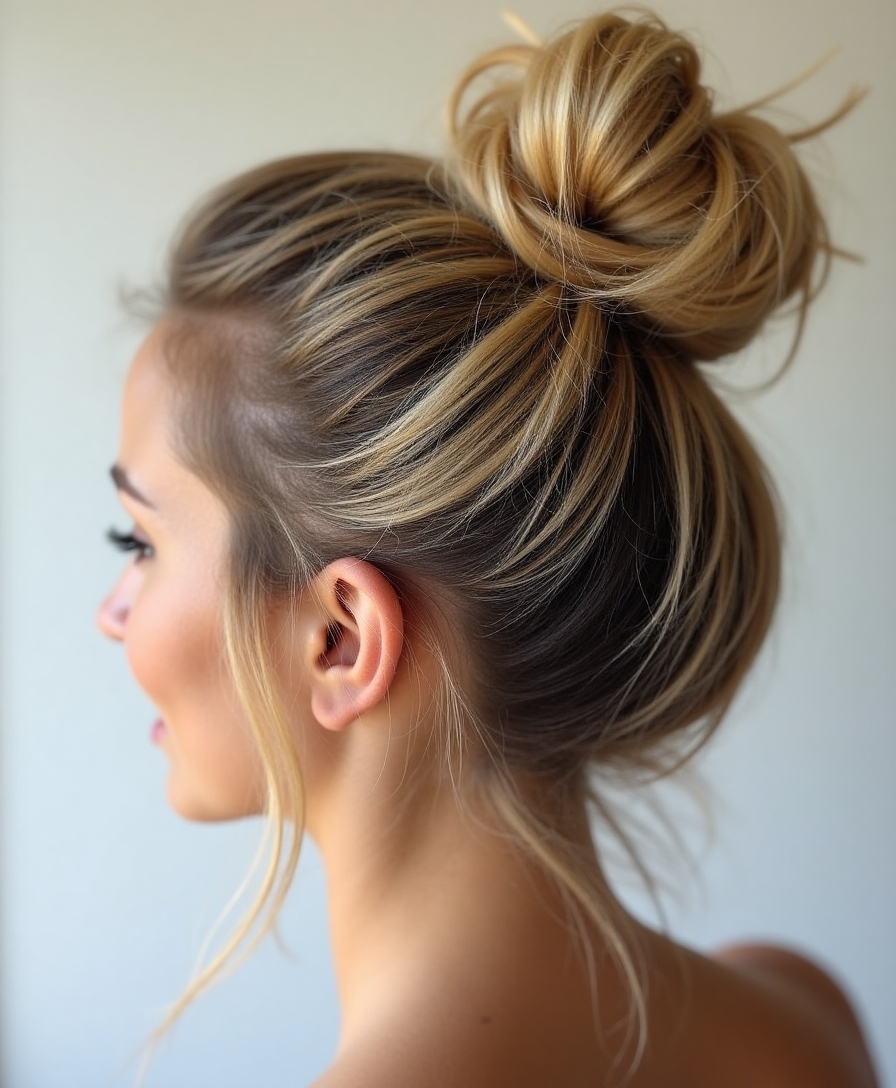
A rumpled top knot is messy hair at its most carefree, a high knot that is meant to look slept-in rather than sculpted. Height and texture are what carry it.
Tease the crown lightly first for lift, then gather a high knot and leave it deliberately loose. The tease is what keeps the top from going flat, which is the usual giveaway of a tired knot.
Tug pieces out around the knot and at your hairline so it looks undone on purpose, not unravelling. A little texture spray gives fine hair the grip to hold it.
It is the fastest way to look pulled-together when you are anything but, and it works on second-day hair better than fresh, clean strands.
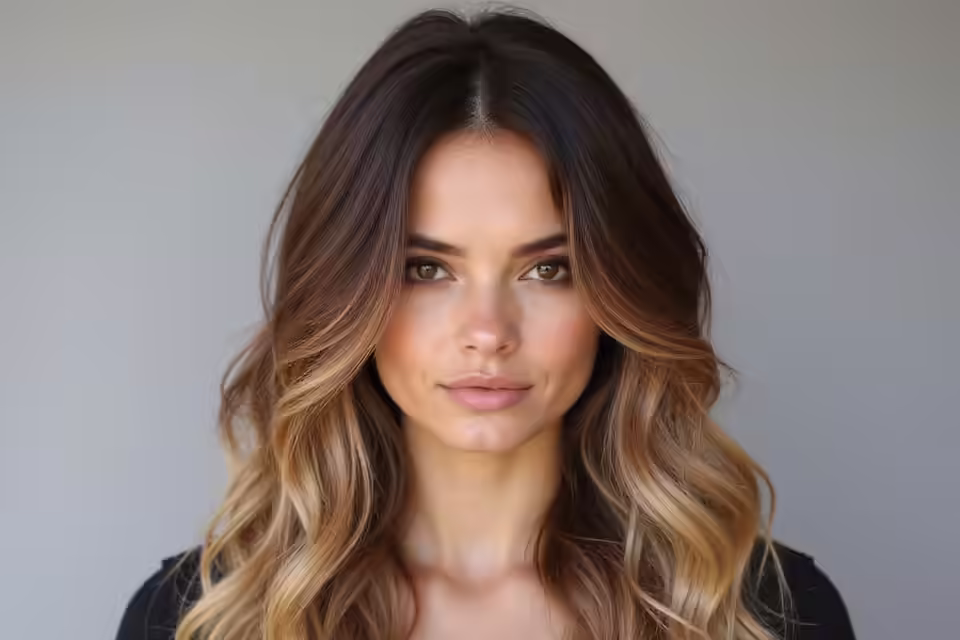
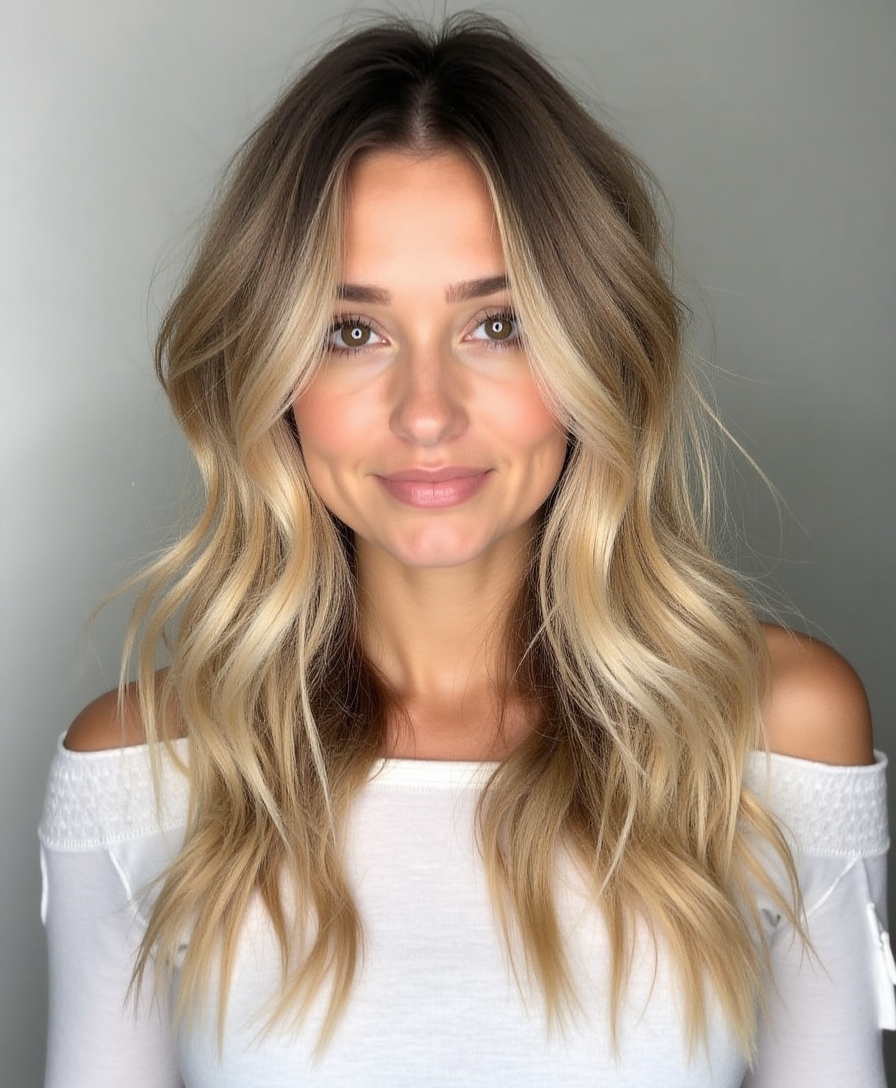
Windswept Side Sweep
The windswept sweep looks like a breeze just caught your hair, all soft volume pushed to one side. It is effortless glamour with almost no technique behind it.
Blow-dry or simply sweep everything to one side from a deep part, leaving it soft and undone, and mist a little texture spray to hold the movement without stiffness.
Disheveled French Twist
A disheveled French twist takes the polished classic and roughs it up, swapping the sleek column for loose pieces and soft texture. It is elegant and undone at the same time.
Twist the length up against the back of your head and pin it loosely, leaving wispy pieces out at the temples and nape. The undone version is actually far easier than a perfect one.
It works beautifully on second-day hair, and because it is meant to look imperfect, it forgives the slips and bumps that make a classic twist so fiddly.
Casual Crown Braid

A casual crown braid is the relaxed cousin of the formal halo, pulled loose and worn over undone hair for an easy, romantic feel rather than a polished one.
Braid around the crown loosely, pancake it wide for fullness, and leave the lengths textured below with a few loose pieces at the front. It is festival-ready and forgiving.
Purposefully Pulled-Apart Fishtail
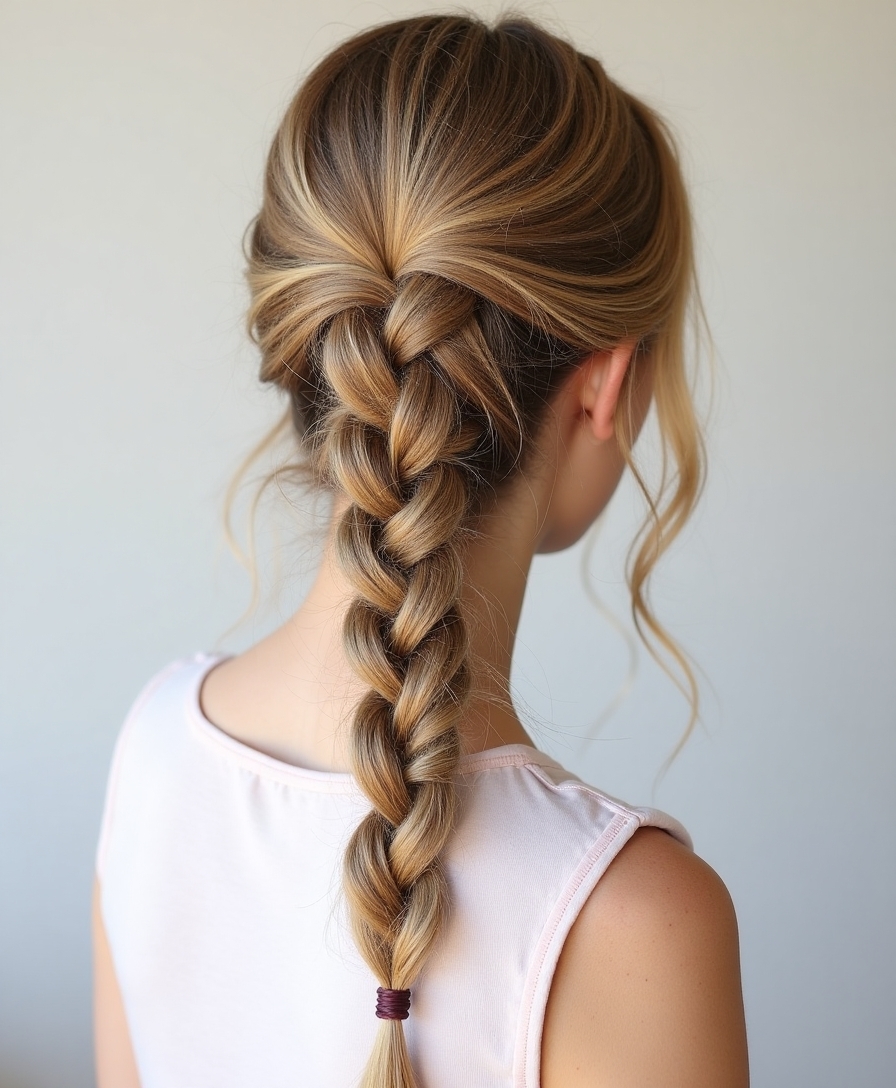
A fishtail looks intricate, and pulling it apart turns it soft and messy in the best way. The loosened weave is the whole charm, intricate but undone.
Braid the fishtail loosely with thin strands, which keeps the woven pattern visible even once you widen it. Tight strands lose the detail when pancaked.
Then gently widen each section so the braid looks full and relaxed rather than rigid, and leave wispy pieces out around the face.
It works over one shoulder or down the back, and on second-day waves it holds the loosened texture beautifully without slipping.
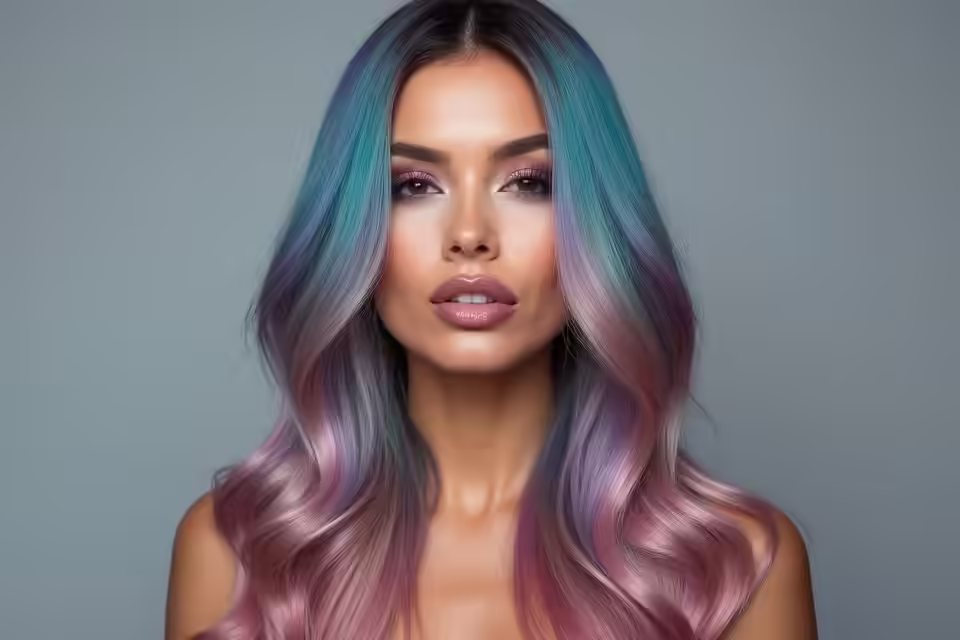
Voluminous Root Lift

Sometimes messy just means big. A voluminous root lift gives that tousled, just-left-a-photoshoot volume that reads expensive even when it is undone.
Flip your head and rough-dry at the roots, then mist a volumising spray and tousle with your fingers. Do not brush it smooth afterward, the lift and the slight mess are the point.
Wavy Shag Cut
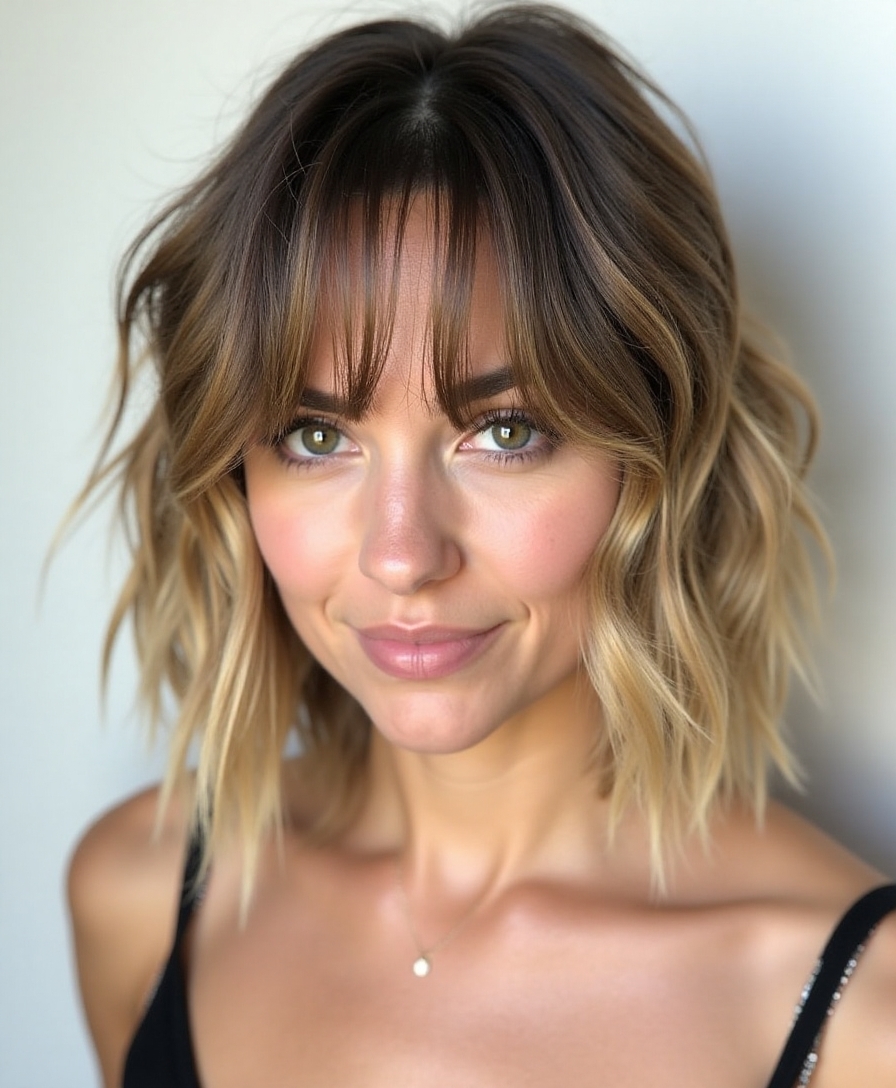
The wavy shag is messy by design, all choppy layers and piecey ends that look better undone than styled. The cut does most of the work for you.
Scrunch a wave spray through, finger-style, and let the layers fall where they want. There is no blow-dry-smooth step here; the texture is the entire appeal.
It only improves on second-day hair, which makes it one of the most genuinely low-effort messy looks, and a little paste defines the ends when you want more separation.
Artfully Scattered Bobby Pins
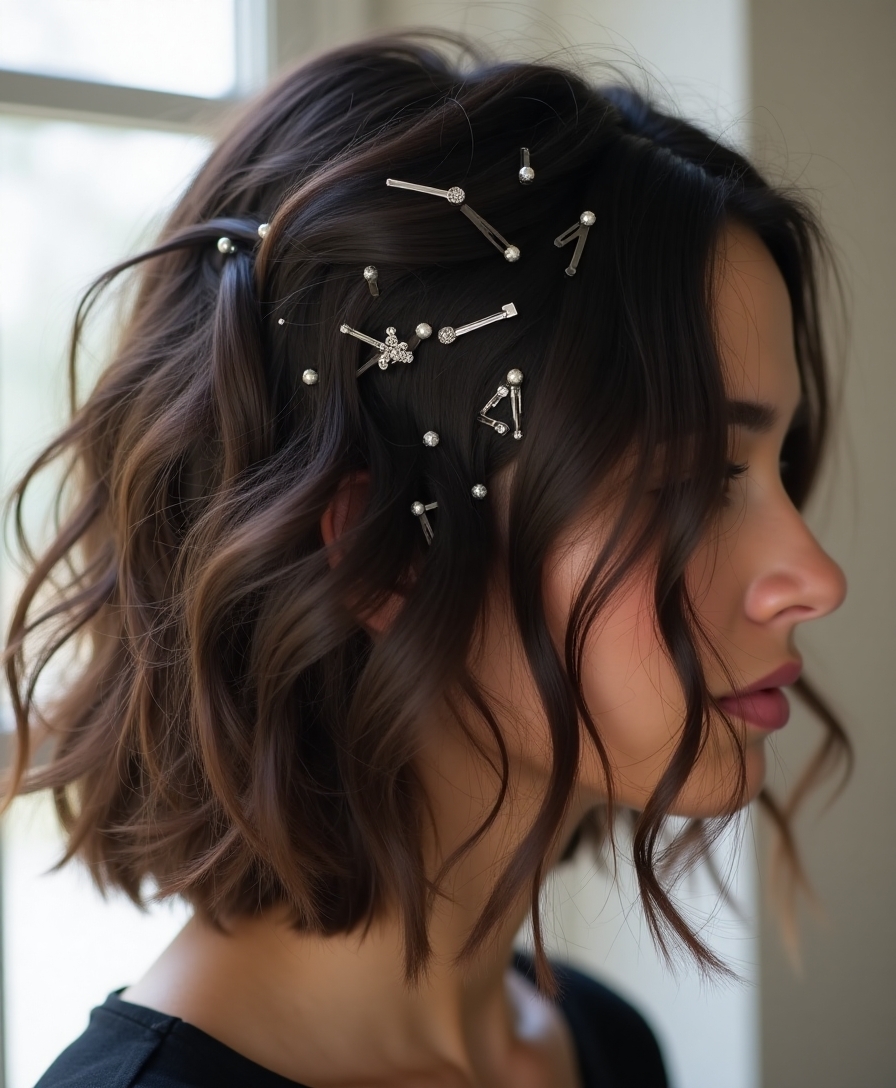
Turn the hardware into the look: scattered bobby pins across an undone style read as a deliberate, editorial detail rather than a fix. It is the easiest way to make messy look intentional.
- Pin loose pieces back at random with visible pins.
- Use metallic or coloured pins to make them a feature.
- Keep the rest of the hair undone so the pins stand out.
Messy Space Buns

Two high, deliberately messy buns are playful and a little Y2K. Loose and textured, they keep the fun without tipping into costume territory.
Part down the middle, twist two high buns, and leave them soft with pieces out. A few loose strands at the front keep the whole thing relaxed and wearable.
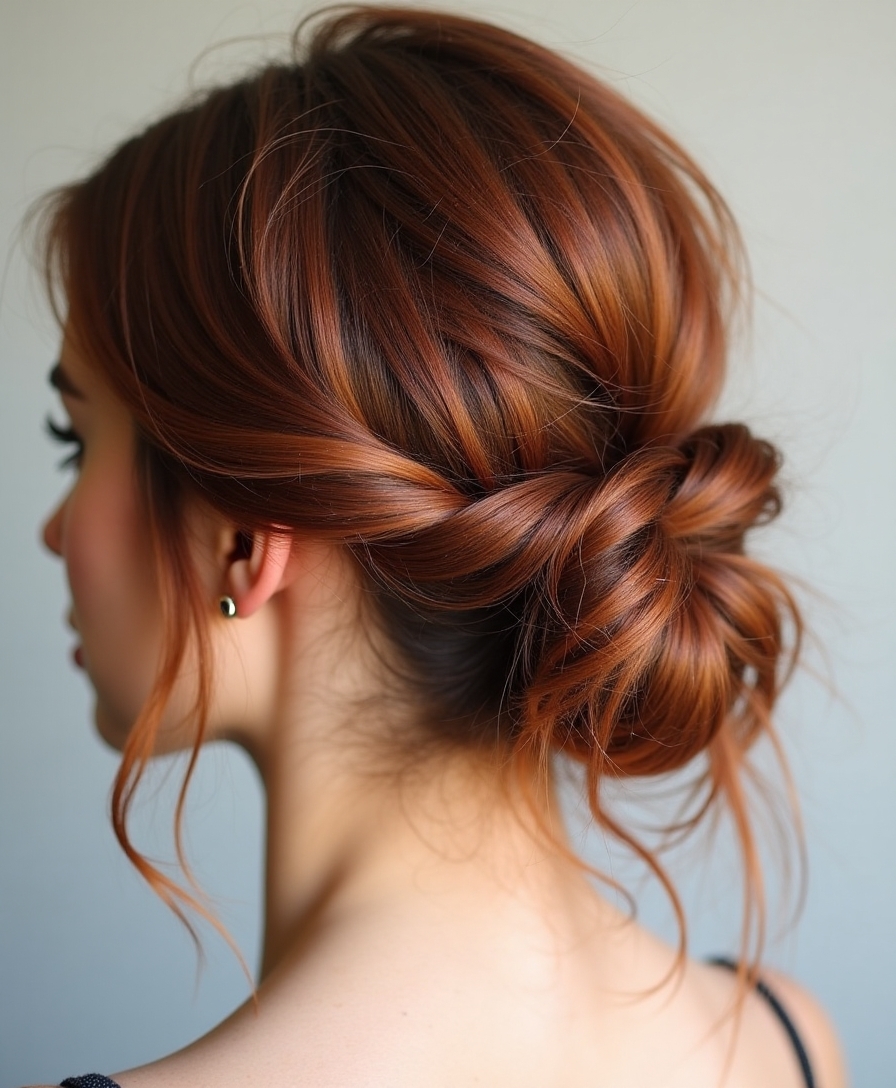
Tousled Low Chignon
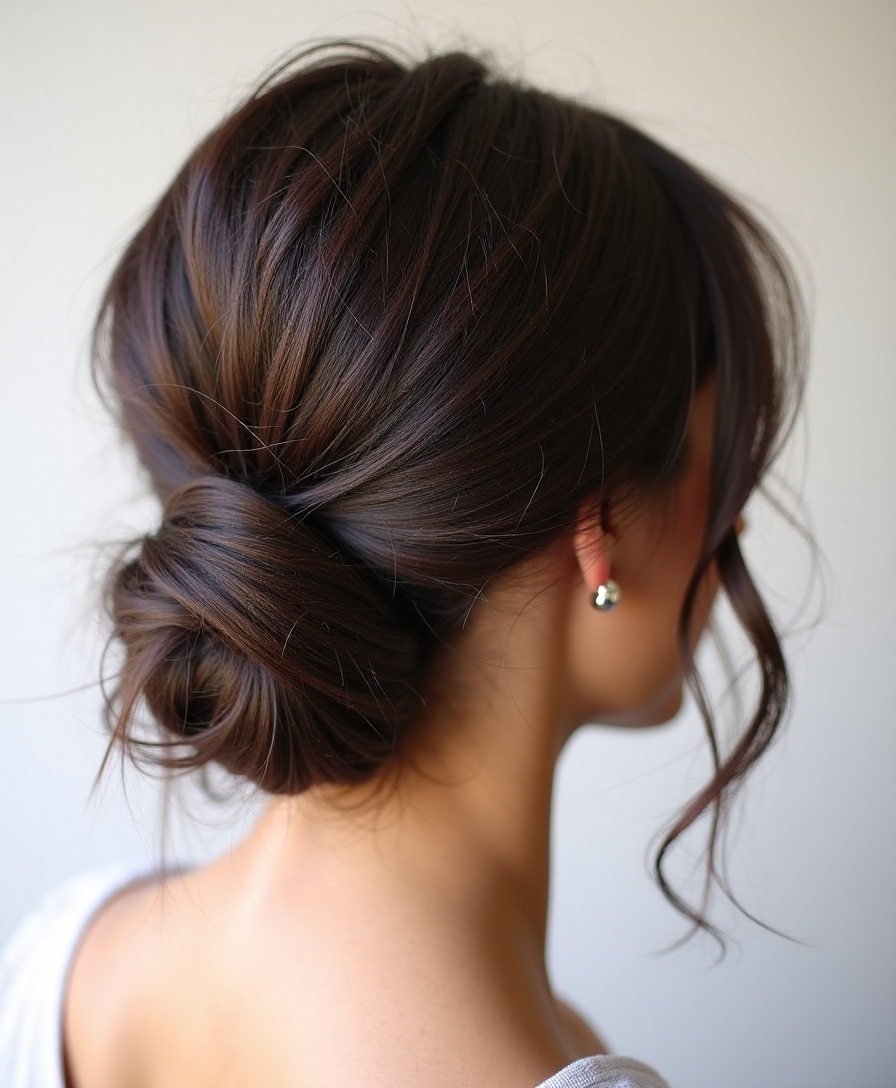
A tousled low chignon is the elegant end of messy, a soft knot at the nape that looks undone yet pulled-together. It is the messy style you can wear to work or dinner.
Coil a loose chignon on textured hair, pin it softly so it does not look rigid, and pull a few pieces out at the front. The looseness is what keeps it from reading formal.
It is proof that messy and refined are not opposites, and a flexible spray holds it soft through a long day or evening.
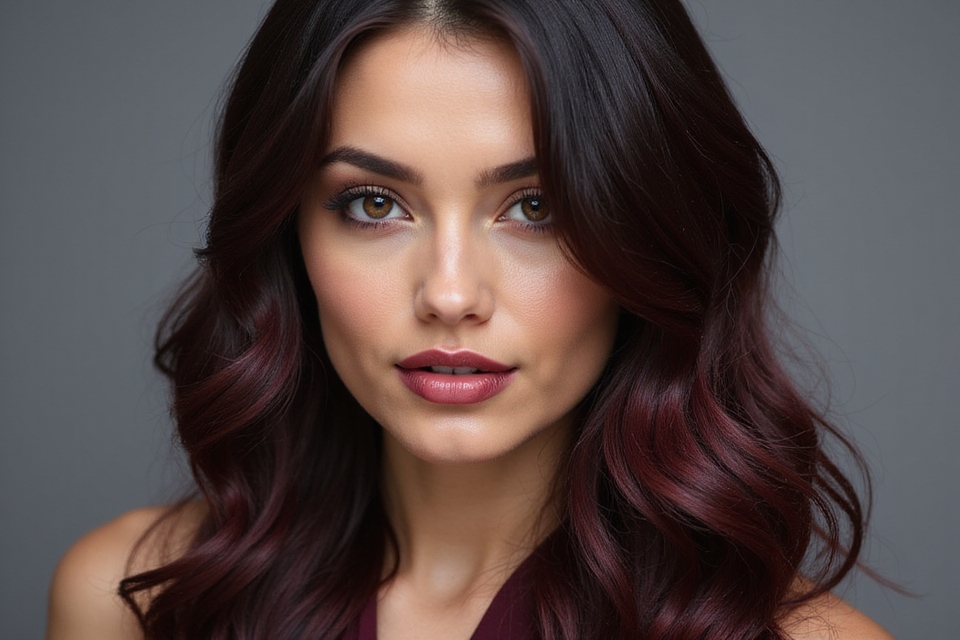
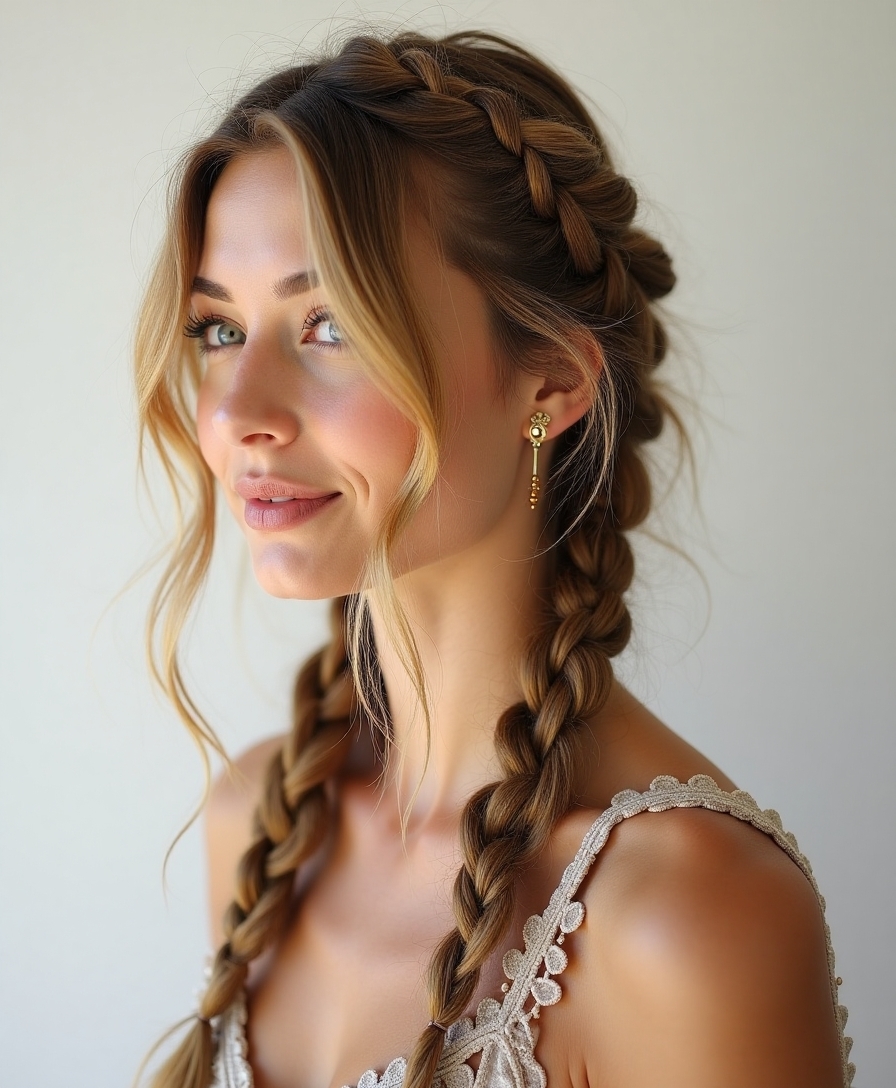
Textured Side Braid

A textured side braid brought over one shoulder is soft, romantic, and undone, especially when pulled wide and left a little loose at the edges.
Braid loosely to one side, pancake it for fullness, and leave wispy pieces out at the front. It is perfect on second-day waves, where the texture holds the undone braid in place.
How to Make Messy Look Intentional, Not Sloppy
The line between cool-messy and just-unbrushed is texture and a couple of deliberate finishes. Start on second-day hair, or build grip with salt spray or dry shampoo, since clean hair slips and falls flat instead of holding that undone shape.
Then choose your mess: pull out the right face-framing pieces, pancake braids, add a little crown lift, and wrap any visible elastic. The imperfection should look chosen. Done that way, messy hair is the most flattering low-effort look there is.
Frequently Asked Questions About Messy Hairstyles
How do I make messy hair look intentional?
Build texture first with second-day hair, salt spray, or dry shampoo, then make a few deliberate choices: pull out strategic face-framing pieces, pancake braids, add crown lift, and wrap any visible elastic. Chosen imperfection is the difference between messy-chic and just-unbrushed.
What is the easiest messy hairstyle?
A lived-in low ponytail or a tousled bun, both on second-day hair. They take seconds, hold better than on clean hair, and look intentional with just a couple of pieces pulled out at the front.
Does messy hair work on short hair?
Yes, a textured pixie or a bedhead bob are some of the easiest messy looks there is. A little matte paste worked through dry hair and left rough is all it takes; short hair practically does the mess for you.
How do I keep a messy style from falling flat?
Add grip and lift: dry shampoo or salt spray for texture, a gentle tease at the crown, and a tug to widen buns or braids. Flat, clean hair is what reads as sloppy rather than styled-undone.
Embrace the Undone
Messy hair is the rare style that rewards doing less, once you know the few tricks that make undone look deliberate. Pick a couple that suit your length, learn the texture-and-pull-pieces routine, and you have a flattering fallback for any morning.
Pin your favourites to Pinterest for your next running-late moment, and follow along for more effortless-looking styles that are easier than they appear.