The ponytail is the hardest-working style in anyone’s routine: five minutes, no skill required, and you walk out looking like you have your life together. But the gap between a basic gather-and-go pony and one that turns heads usually comes down to one or two tiny tricks.
Below are sixteen easy ponytail hairstyles, from the classic high pony to a ribbon-wrapped tail, each genuinely quick to recreate. We have included the small upgrades, hidden elastics, bobby-pin lifts, and clever sections, that turn five minutes into a wait, you look amazing moment.
Key Takeaways
- Wrapping a strand around the elastic instantly makes any ponytail look salon-finished.
- The hidden bobby-pin trick lifts a fine-hair pony higher and stops it from drooping.
- Stacking two ponytails fakes extra length and volume in under a minute.
- Day-two hair holds messy, boho, and textured ponytails far better than freshly washed strands.
- Accents like ribbons, braids, and bubbles upgrade a basic pony in seconds.
60-Second Trick: Hide the Elastic
Leave out a pencil-thin strand when you tie your pony, wrap it around the band to cover it, and pin the end underneath. This one move does more for a polished, salon-finished look than any product, and it works on every ponytail below.
60-Second Trick: Fake More Height
If a fine-hair pony droops, clip two bobby pins into the base and push them upward to lock the tail higher. A quick tease at the crown before you gather adds the lift that makes a flat pony look full.
16 Easy Ponytail Hairstyles to Try
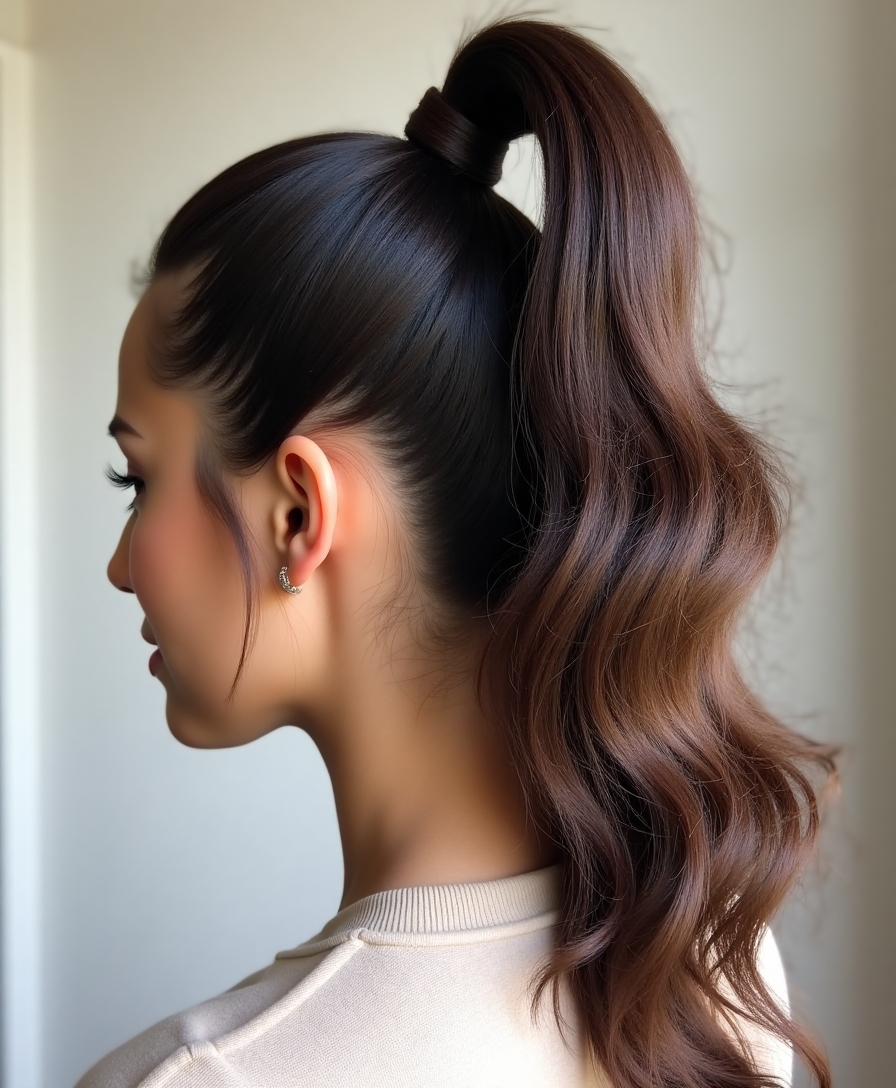
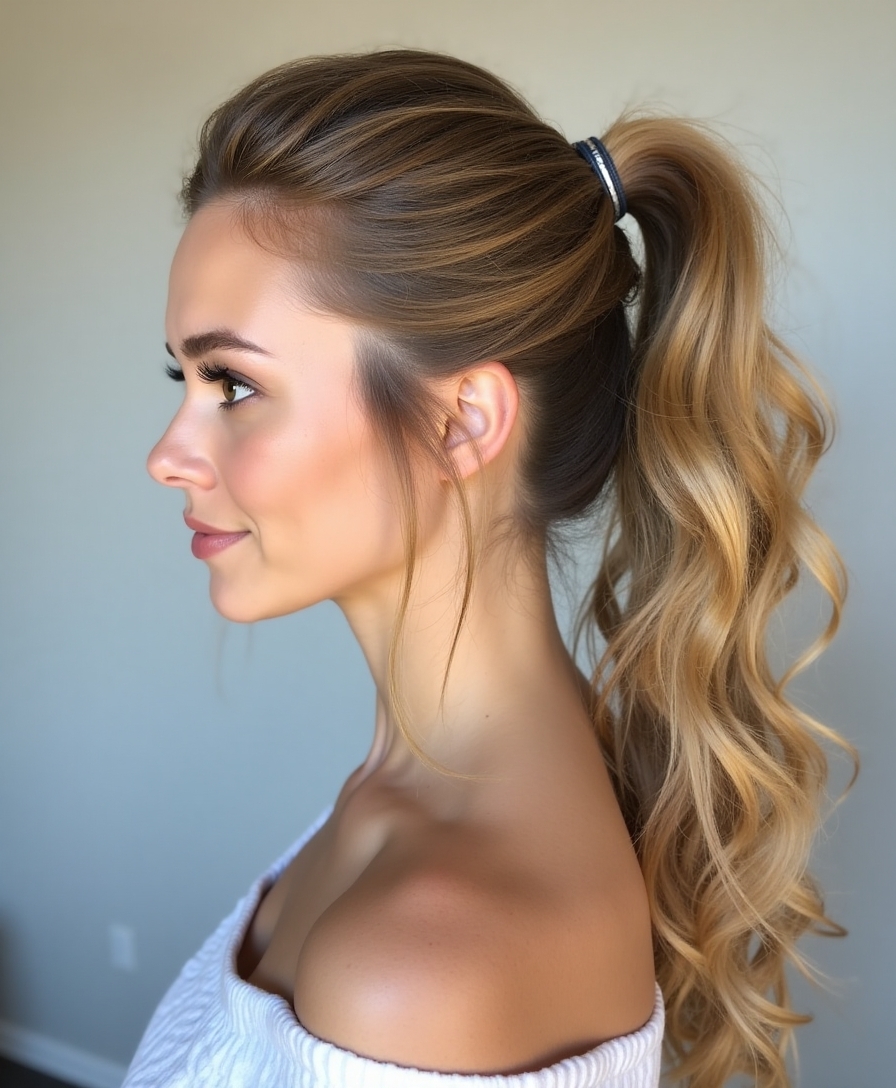
The Classic High Ponytail

The classic high ponytail is the fastest way to look instantly pulled-together, and it is the style every other ponytail builds on. Set high on the crown, it lifts the whole face and reads energetic and polished in seconds.
The one trick that elevates it: wrap a small strand of hair around the elastic to hide it, then secure underneath with a pin. That single step is the difference between a school-run pony and a salon one.
Smooth the top with a brush for sleek, or tease the crown first for volume. Either way, it takes under two minutes and works on almost every length.
Bubble Ponytail Magic
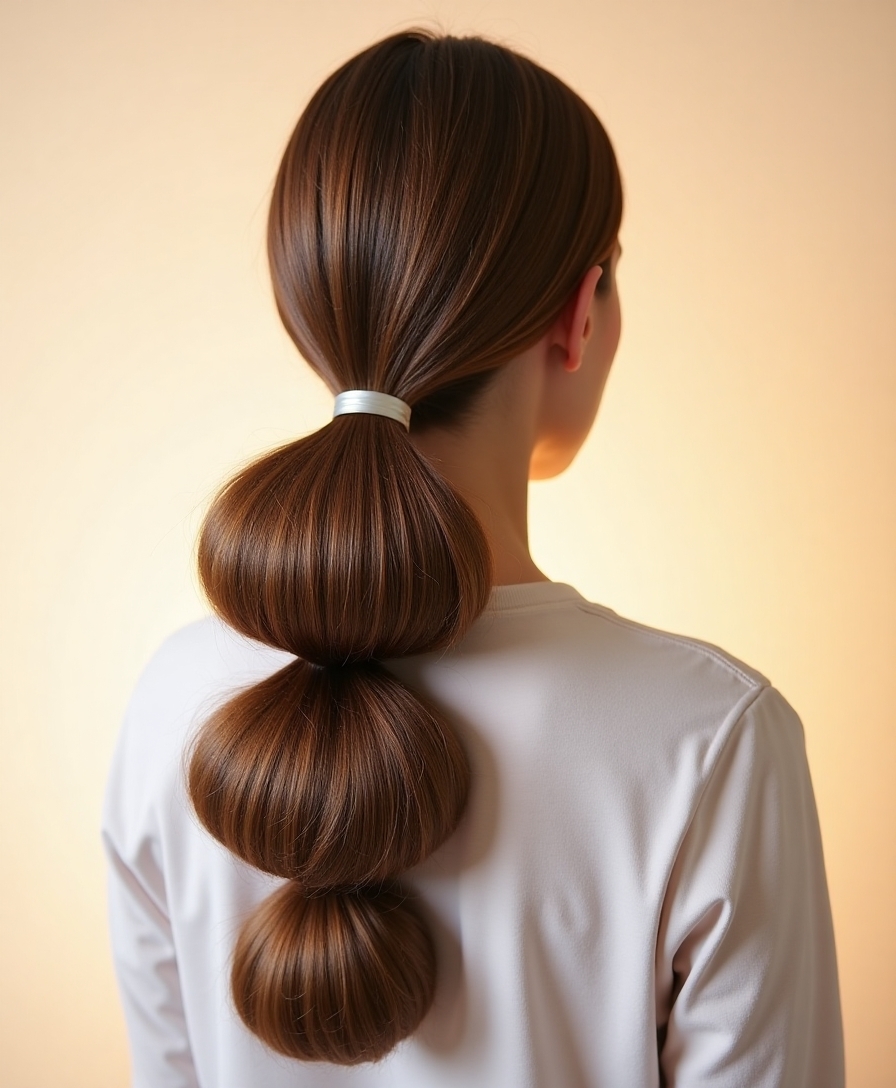
The bubble ponytail turns one length of hair into a row of rounded segments, and it looks far more intricate than the few seconds it actually takes. It is playful, modern, and surprisingly easy.
- Tie a high or low base ponytail to start.
- Add small elastics evenly down the length.
- Gently tug each section outward to puff it into a bubble.
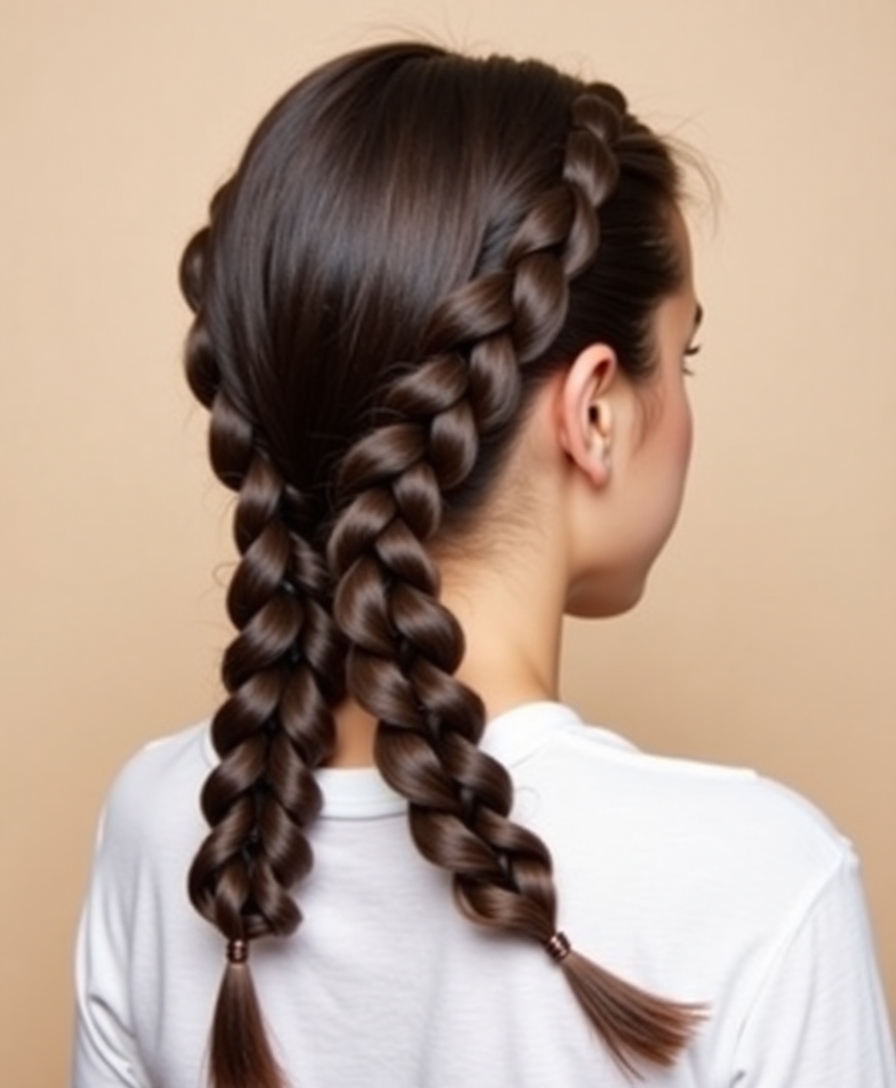
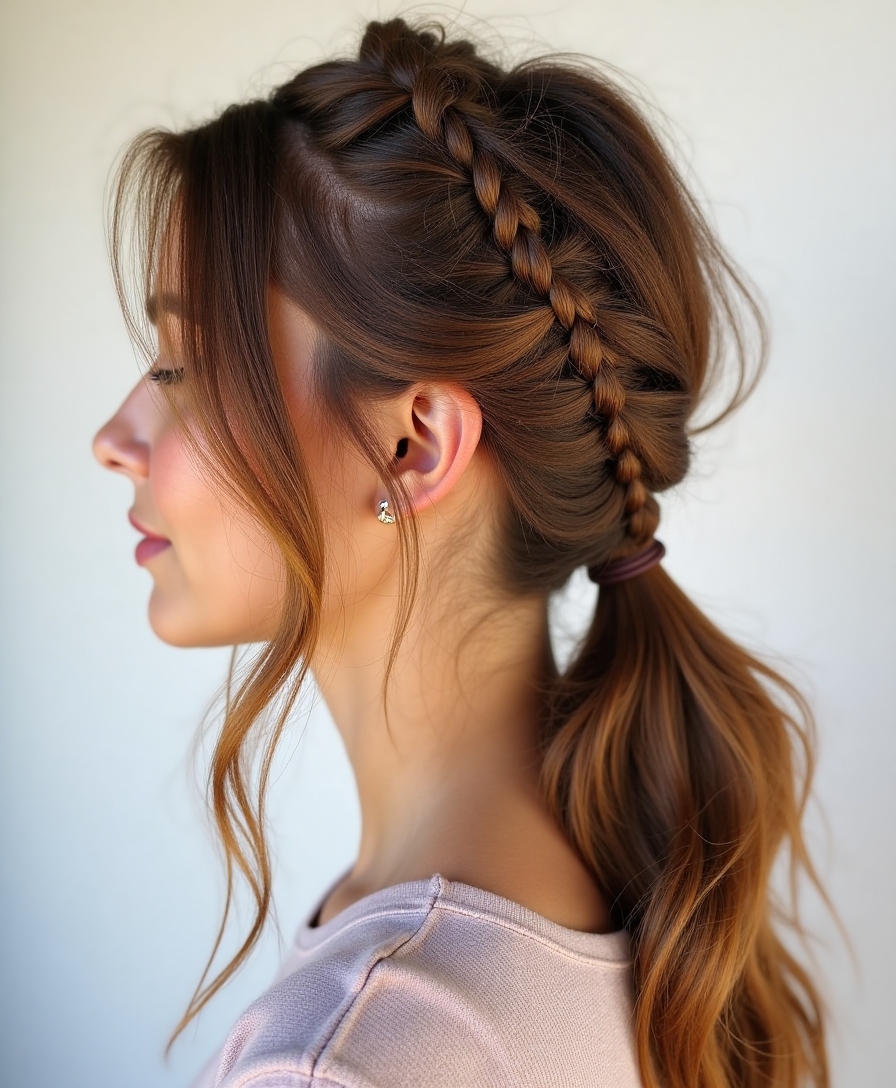
Braided Side Ponytail

Sweeping a ponytail to one side and adding a simple braid gives an everyday style instant interest. The braid can lead into the pony or wrap around its base for a handcrafted touch.
Gather everything over one shoulder, braid one section, and secure, leaving the rest loose or waved. For more, see these braided ponytail hairstyles.
Messy Low Ponytail
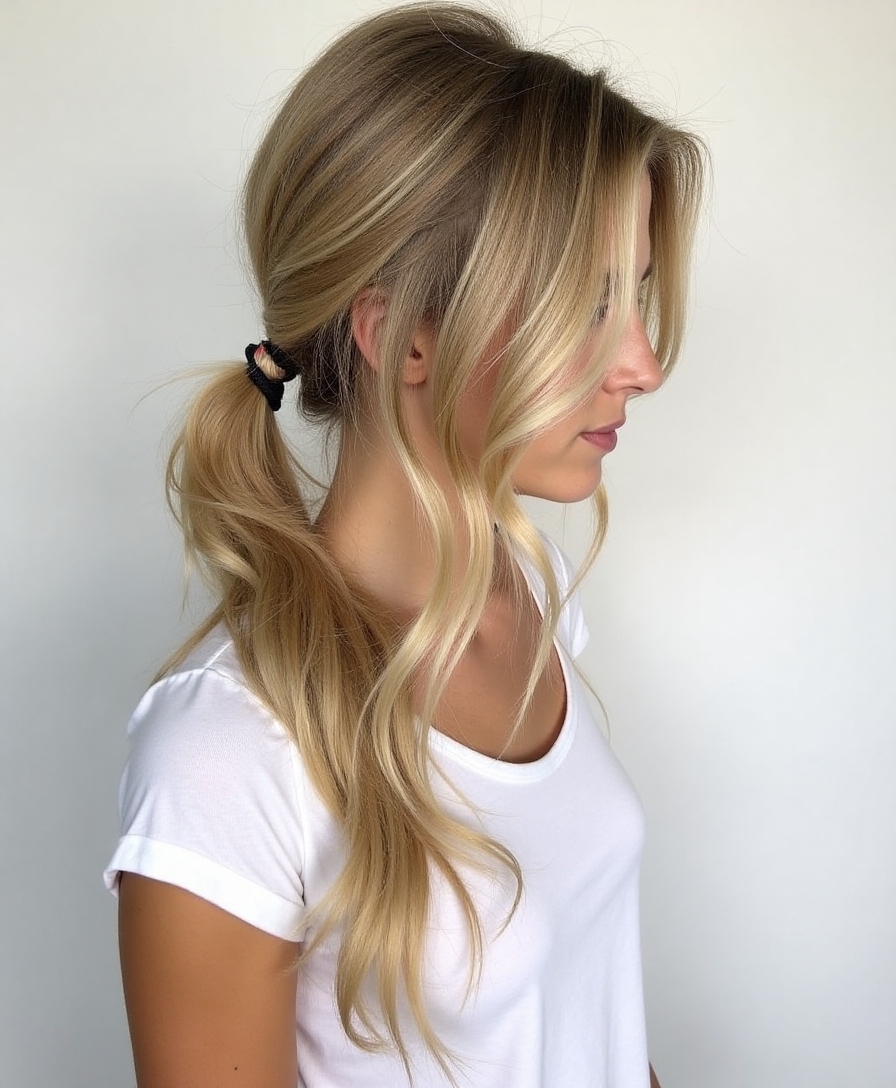
The messy low ponytail is the off-duty favourite, relaxed, undone, and perfect for second-day hair. It reads effortlessly cool without looking like you tried at all.
Gather loosely at the nape, leave a few face-framing pieces out, and gently tug the crown for softness. A texture spray gives it the lived-in grip that makes the messiness look intentional.
Double Twisted Ponytail
This clever trick creates the illusion of a longer, fuller ponytail by stacking two ponytails on top of each other. It is a genius hack for fine or shorter hair that wants more drama.
Tie one ponytail high and a second just beneath it, then tease and blend them so the lower pony hides behind the upper one, doubling the apparent length.
It looks like a single voluminous tail but takes only a minute. A little texture spray helps the two sections blend seamlessly.
Sleek Middle-Part Pony

A sleek ponytail with a sharp middle part is the picture of modern, minimalist polish. It is clean, chic, and reads as effortlessly expensive with very little effort.
The key is smoothness
Create a precise center part, smooth everything back with a brush and a little gel or serum, and gather low or mid-height. Lay any flyaways for that glassy, runway finish, much like these sleek ponytail hairstyles.
Wrapped Base Ponytail
Hiding the elastic with a wrapped strand of hair is the single easiest upgrade to any ponytail. It instantly makes the style look finished and salon-quality.
Leave out a small section when you tie the pony, wrap it around the base to conceal the band, and pin the end underneath. It takes seconds and elevates everything.
Curly Voluminous Pony
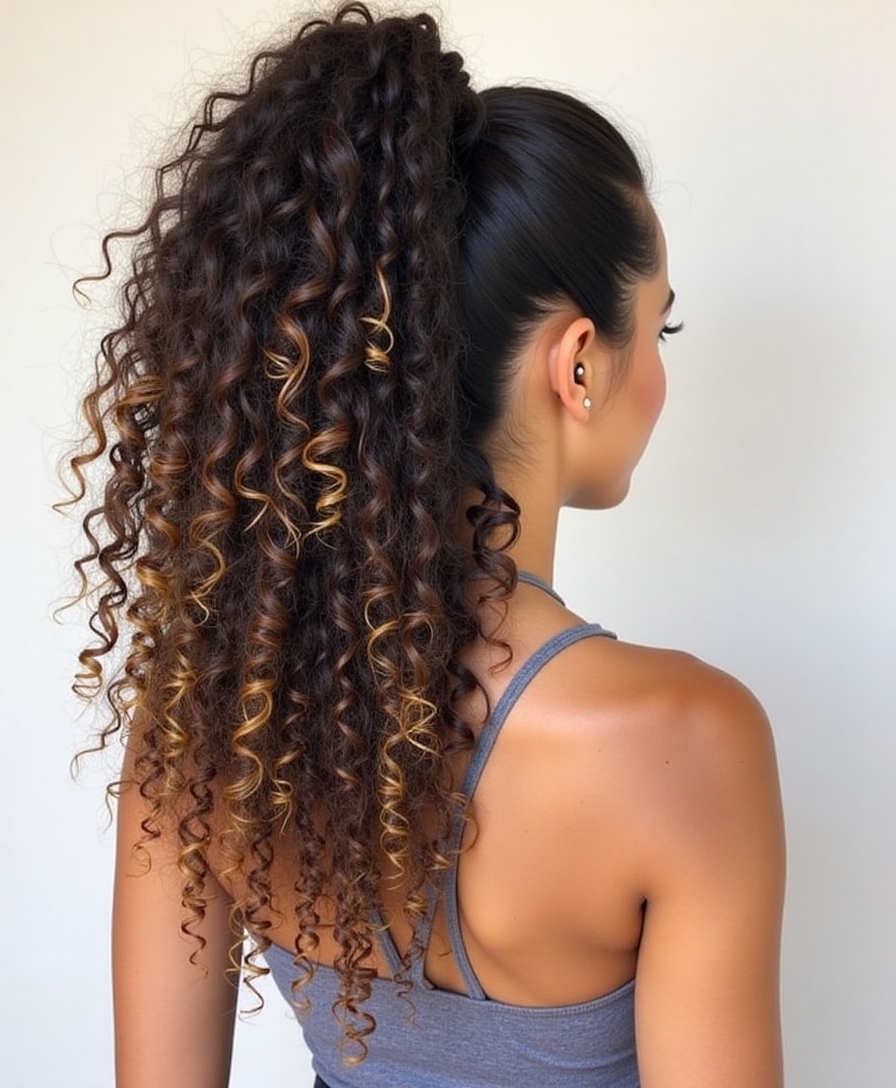
For curly and coily textures, a high ponytail becomes a glorious, voluminous puff of curls that celebrates your natural pattern. It is quick, protective of the ends, and full of personality.
Use a comfortable band or a length of stocking to gather without breakage, mist with water and leave-in to revive the curls, and pick out the pony for height. See more in these curly ponytail hairstyles.
Hidden Bobby Pin Ponytail
This viral trick uses two bobby pins clipped into the base of a ponytail and pushed upward to lift and lock the tail higher, creating instant height and a perky, voluminous shape that holds all day without slipping, a brilliant fix for fine hair that tends to droop.
Knotted Multi-Section Pony
This style links several small sections down the length with simple knots, creating a segmented, decorative tail that looks intricate but uses only your own hair, no elastics needed between sections.
- Tie a base ponytail, then split it into two and knot them together.
- Repeat down the length, adding gentle volume between each knot.
- Tug the sides out slightly so each knotted segment looks full.
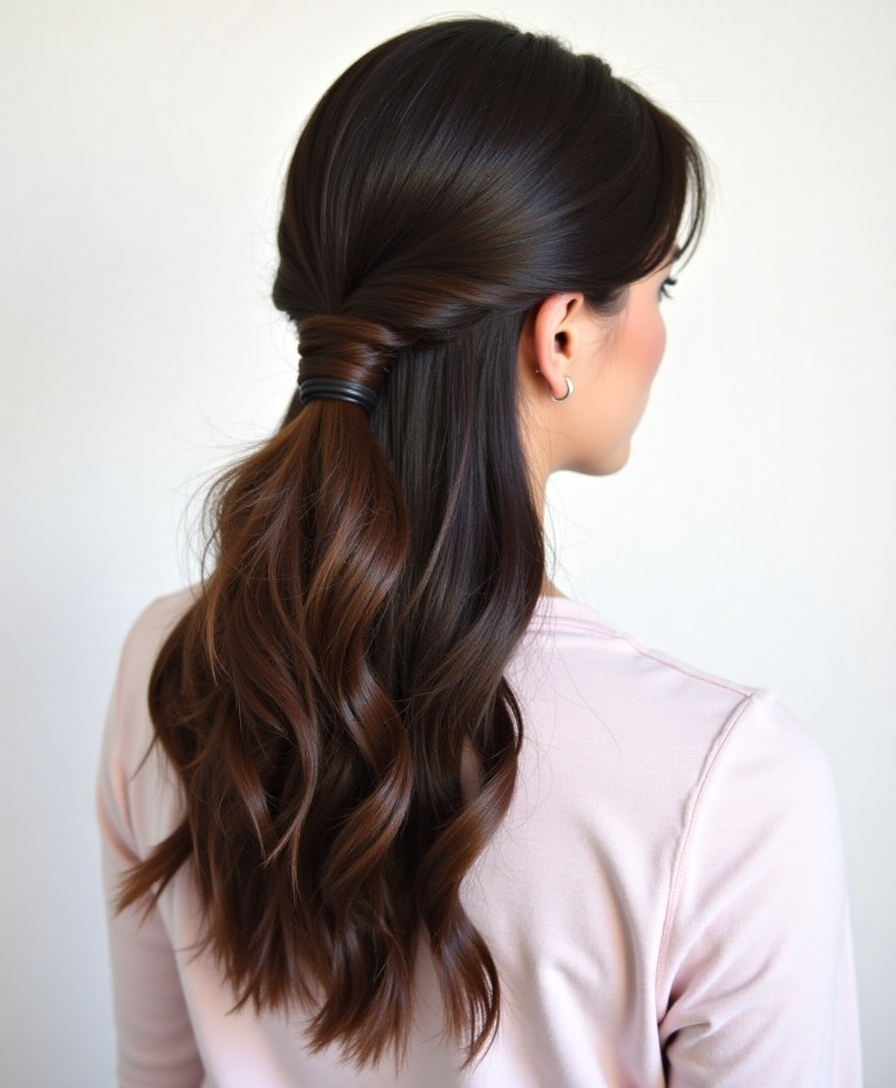
Side-Swept Romantic Ponytail
Draping a soft, curled ponytail over one shoulder is endlessly romantic and flattering. The side placement and loose waves give it a gentle, feminine elegance ideal for date nights and events.
Curl the lengths first, gather low behind one ear, and let the waves cascade forward over the shoulder. A few loose tendrils at the front complete the soft, dreamy look.
Textured Boho Pony
The boho pony is all about relaxed, lived-in texture, loose, tousled, and softened with plenty of pieces pulled free. It captures that effortless festival-ready vibe.
Wave the hair, gather a loose mid-height pony, and gently pull pieces out around the face and along the tail. A texture spray keeps everything piecey and undone.
Criss-Cross Accent Ponytail
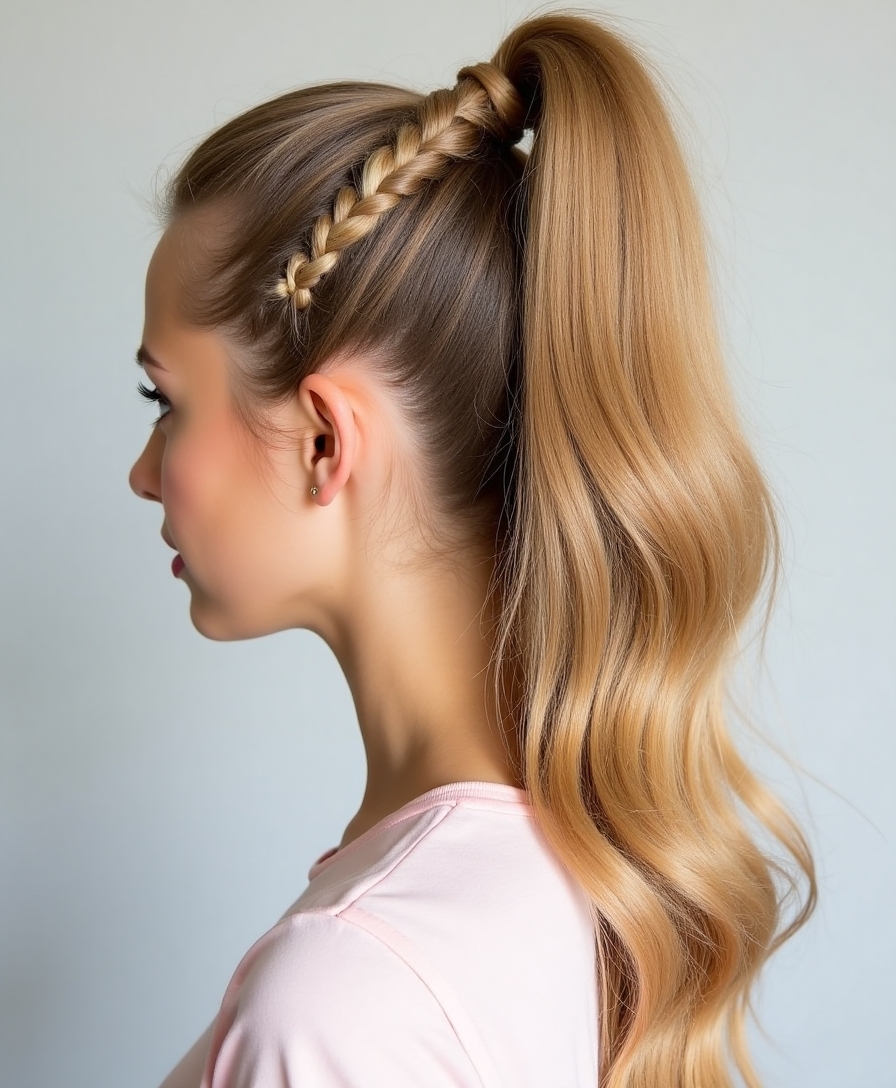
The criss-cross ponytail adds a woven, lattice-like detail at the back of the head before the hair gathers into the tail. It looks impressively intricate but relies on simple crossing of sections.
Build the lattice first
Take small sections from each side, cross them over one another and pin, working down before gathering everything into the pony. The crossed pattern becomes a pretty, unexpected focal point.
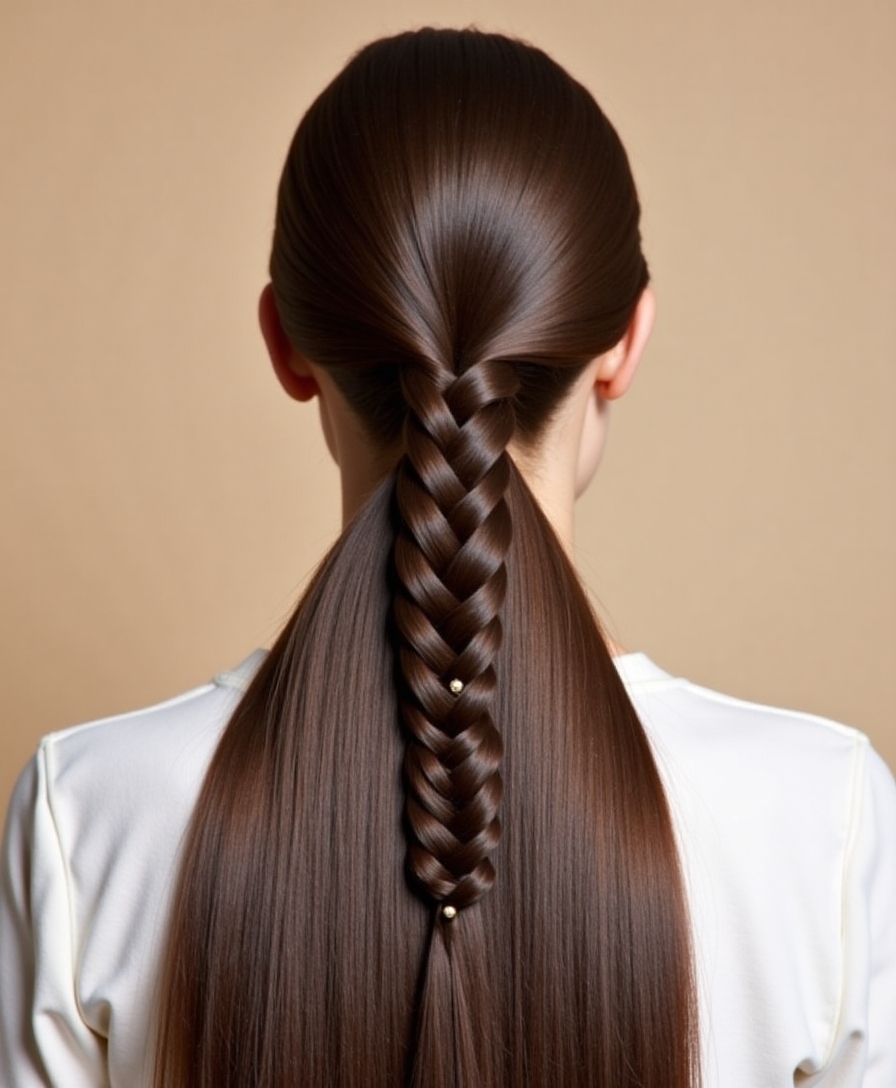
Fishtail Base Ponytail
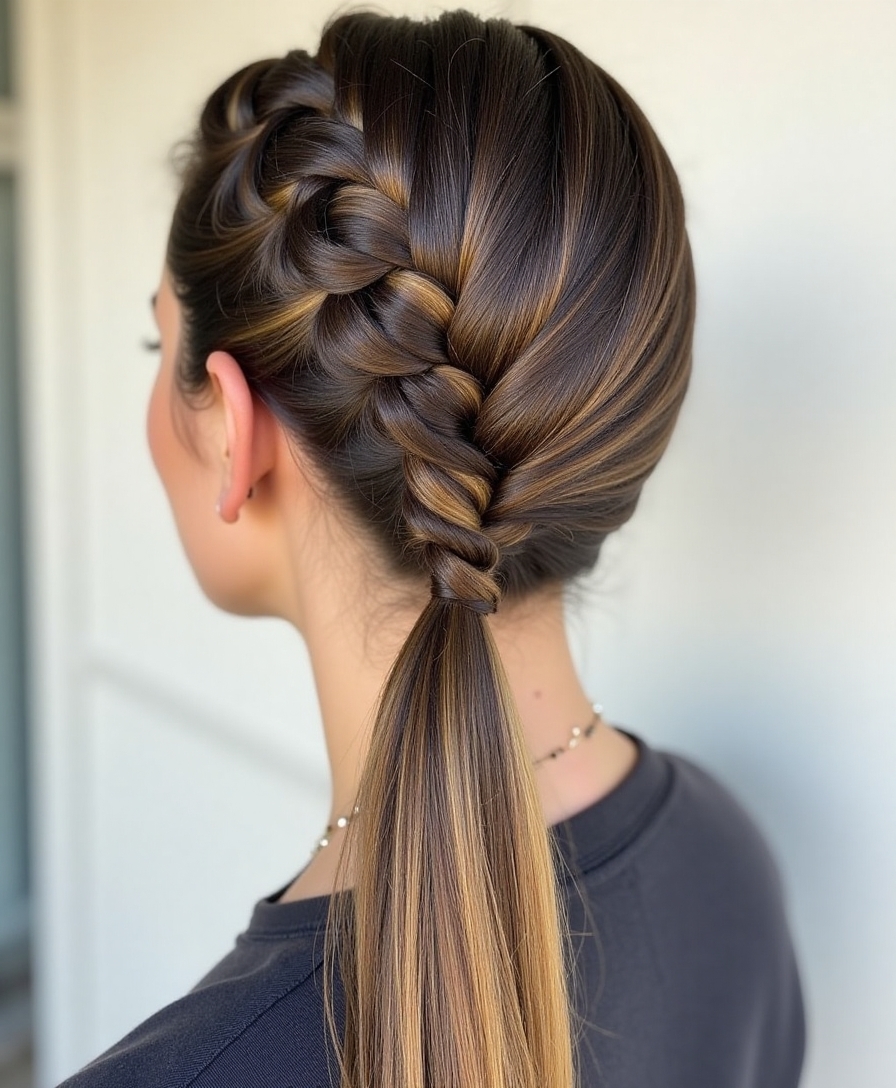
Starting a ponytail with a fishtail braid base adds intricate herringbone texture that flows into a loose, flowing tail. The detailed braid contrasts beautifully with the free-falling lengths.
Fishtail a section at the crown or side, secure it into the gathered pony, and leave the rest loose. Pancaking the braid adds fullness and makes it read even more elaborate.
Ribbon-Wrapped Pony
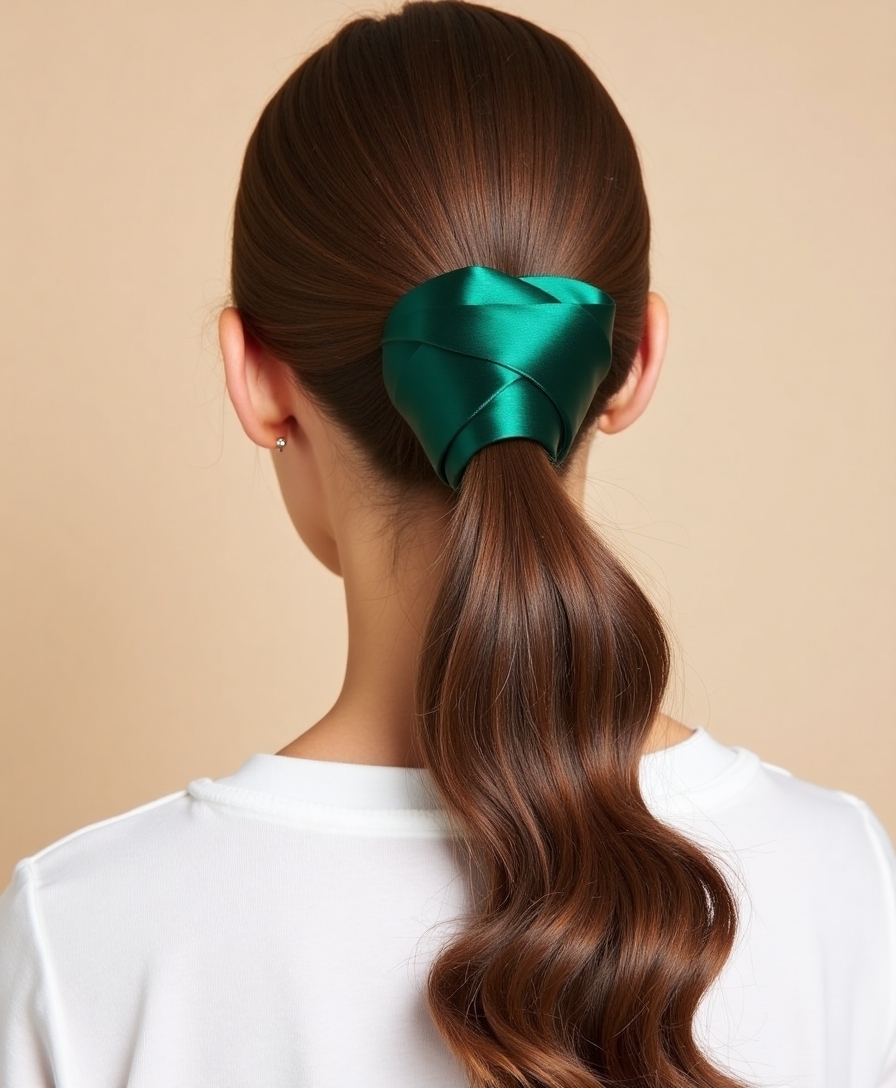
Adding a ribbon is the quickest way to make a plain ponytail feel intentional and on-trend. Whether tied in a bow at the base or wound down the tail, it brings instant softness and charm.
Choose silk or satin for a luxe finish, and match or contrast it with your outfit. It is a five-second accessory that completely transforms a basic pony.
Sporty Sectioned Ponytail
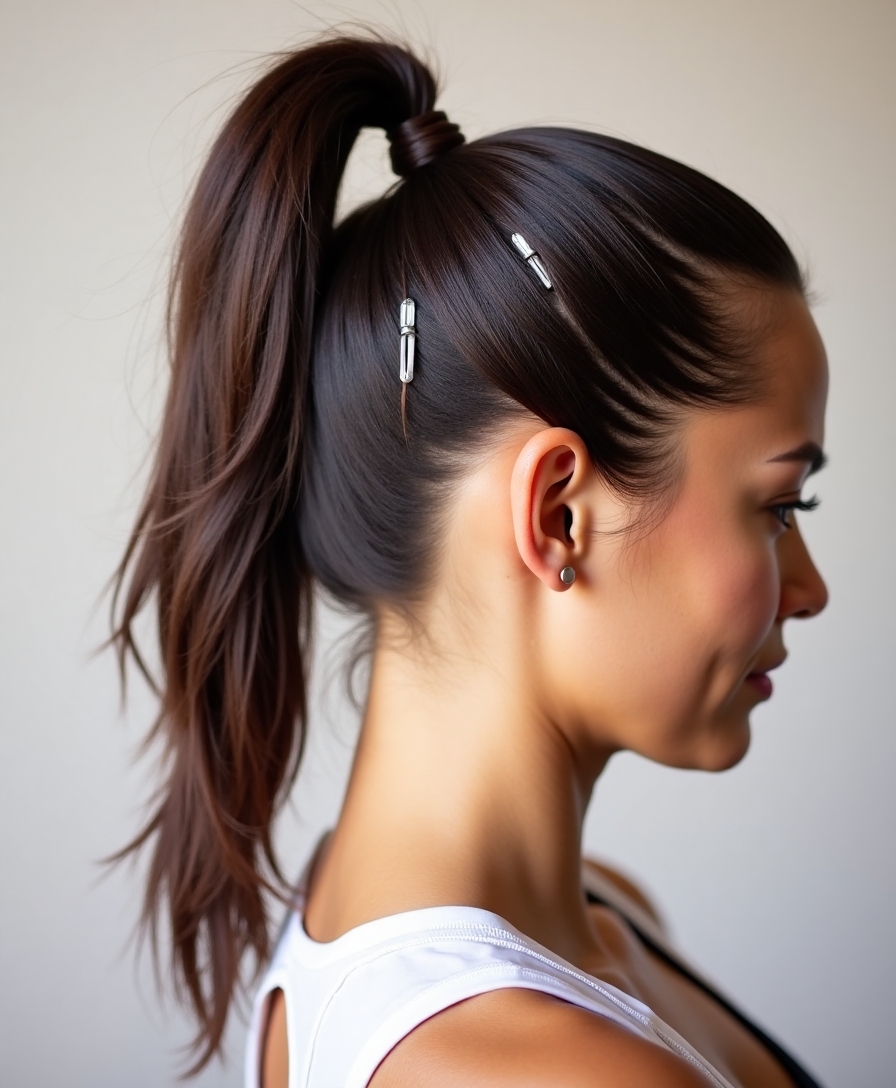
The sporty sectioned ponytail stacks two or three connected ponytails down the back of the head, keeping every strand secured for workouts and busy, active days. It is as practical as it is cute.
Because the hair is gathered at multiple points, nothing slips loose during movement, making it a go-to for the gym, sports, and long days on your feet.
Add small elastics down each connected section for the signature look, and tug gently for a little volume. For more quick everyday options, see these messy ponytail hairstyles.
Frequently Asked Questions About Easy Ponytail Hairstyles
How do I make my ponytail look fuller and longer?
Stack two ponytails on top of each other and blend them to fake length, or tease the tail for volume. Wrapping a strand around the base hides the elastic, and pulling the sections apart on a bubble or knotted pony adds width. A texture spray gives fine hair extra grip and body.
How do I stop my ponytail from drooping?
Use the hidden bobby-pin trick: clip two pins into the base and push them upward to lock the tail higher. Securing the elastic tightly, choosing a spiral hair tie, and adding a pin underneath all help, especially for fine or heavy hair that tends to slip.
What is the easiest way to make a basic ponytail look styled?
Wrap a small strand of hair around the elastic to hide it, or add a quick accent like a ribbon, a small braid, or a few bubbles. These take seconds but instantly make a plain ponytail look intentional and put-together.
Which ponytail is best for working out?
A sporty sectioned ponytail keeps every strand secured at multiple points so nothing slips during movement. A high, tightly tied pony with a spiral elastic also works well, and adding a couple of small connecting elastics down the length stops it bouncing loose.
Mastering the Five-Minute Ponytail
The real secret to a great ponytail is not skill, it is the one small upgrade you add on top of the basics. Learn to hide your elastic, lift with bobby pins, and pull sections apart for fullness, and suddenly every quick pony looks deliberate and styled.
None of these takes real skill, just one or two small habits, hiding the elastic, lifting with a pin, pulling sections apart, repeated until they are automatic. Learn the wrapped base first; it is the fastest win of all, and once it is muscle memory, every quick pony you do will quietly look like you tried far harder than you did.