Here is the irony of beachy hair: the real beach, with its salt, sun, and wind, is hard on your waves, while the look everyone wants is soft, hydrated, and undone. You do not need an ocean to get there. You need a few techniques that build that tousled, sun-touched texture without drying your curls into straw.
These seventeen curly wavy looks range from a two-minute sea salt refresh to a braided crown you could wear to a seaside wedding. I have flagged which ones suit which texture, how long each takes, and where the popular beachy shortcuts quietly damage your hair so you can skip the ones that do.
Beachy Waves at a Glance
| Look | Best For | Time |
|---|---|---|
| Heatless overnight waves | Loose 2a to 2c waves and curls | Overnight, then 5 minutes |
| Sea salt refresh | Existing waves you want to revive | About 2 minutes |
| Braided crown or pineapple | All textures, protective styles | About 10 minutes |
The Classic Sun-Kissed Beach Wave

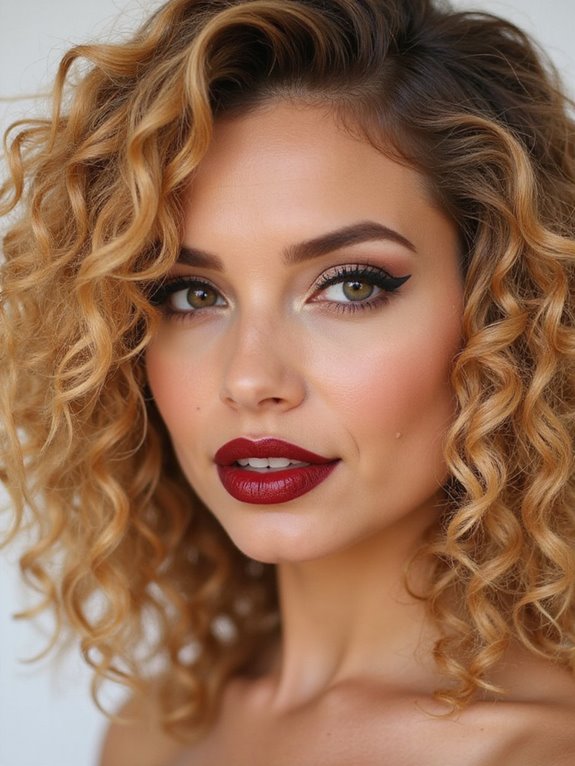
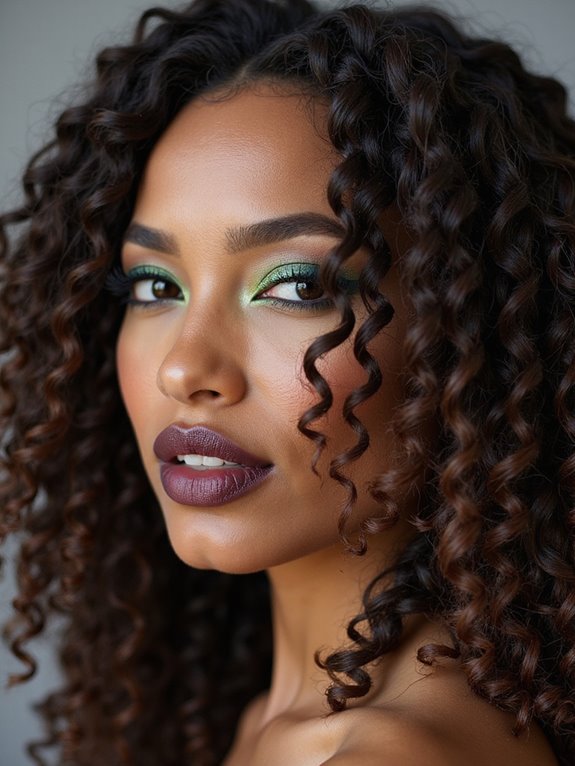
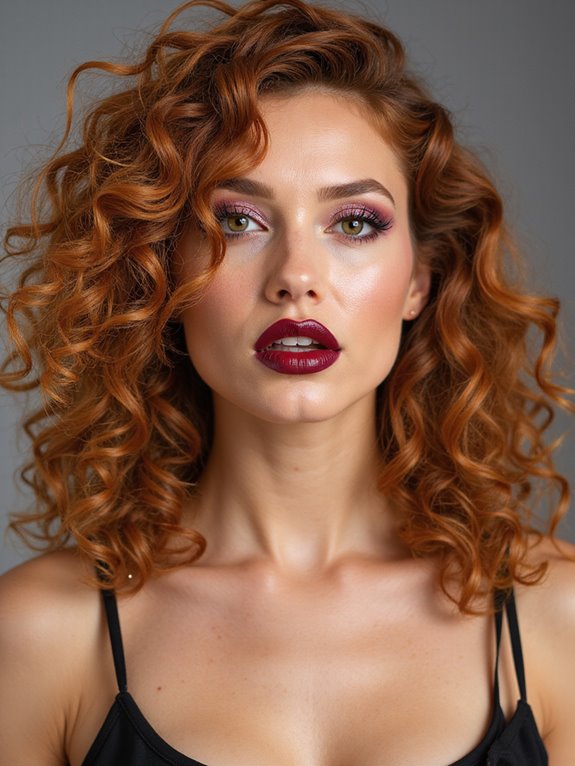
The classic beach wave is less a style than a finish: soft, loose, slightly undone bends that look like you spent the day by the water. The kindest way to get them is heatless. Braid or twist damp hair before bed, or wrap sections around a heatless rod, and unravel in the morning for waves that cost your hair nothing.
If your texture already waves on its own, you may only need to scrunch in a little product and air-dry. This is where I start every client who wants the look without the heat damage, because the best beach wave is the one that keeps your hair healthy enough to do it again tomorrow.
- Braid or twist damp hair overnight for soft, heatless waves by morning
- On naturally wavy hair, scrunch in a leave-in or light mousse and air-dry
- Break up the waves with your fingers, never a brush, to keep them undone
The Messy Top Knot With Wavy Tendrils

Some beach days you just want your hair up and off your neck, and the messy top knot is the answer that still looks intentional. Scoop your waves into a high, loose bun and pull a few face-framing tendrils free to keep it soft. The trick that separates a chic knot from a sloppy one is leaving those pieces out on purpose and giving them a quick scrunch of product.
It loves second-day hair, takes under three minutes, and the looser and more lived-with it looks, the better. Pair it with a few curly bangs or wispy front pieces and it reads polished even straight off the sand.
- Gather waves into a high, loose knot and secure with a soft band
- Pull out face-framing tendrils and scrunch them for definition
- Skip the perfection; the slightly undone version is the goal
| Product | Finish | Best For |
|---|---|---|
| Sea salt spray | Gritty, matte, undone | Fine to medium waves, used sparingly |
| Texture cream | Soft, hydrated, piecey | Drier curls and coils |
| Light mousse | Bouncy, defined, airy | Adding volume to limp waves |
Half-Up With a Twist

The half-up with a twist is the sweet spot between styled and carefree, keeping your waves out of your eyes while leaving most of the length loose to move. Gather the top sections from your temples, twist them gently toward the back, and pin or tie them where they meet. The twists add a little interest and stop the style from looking flat, and they keep their shape even in beach breeze.
It suits every wave pattern and grows lovelier as the day gets messier, which makes it ideal for a long afternoon outdoors. Leave the twists loose and soft rather than tight, and let a few pieces fall around your face for that easy, romantic finish.
If your waves are fine, mist a little texturizing spray before you twist so the sections hold their shape; if they are thick, a touch of cream keeps the twists smooth rather than puffy. Either way, the beauty of this one is that it looks better the longer you wear it.
- Twist the top sections back from each temple and meet them in the middle
- Secure with a small clip or a pin that disappears into your waves
- Loosen the twists slightly with your fingers for a softer look
A Bohemian Braided Crown

A braided crown is the dressiest beachy look here, and it carries real bohemian charm without much skill. You section hair at the temples, braid each side back along your hairline, and pin them together at the back so the rest of your waves fall loose underneath.
Why It Works at the Shore
It keeps hair off your face in the wind, which is exactly what you want at the shore, and it photographs beautifully against loose curls. The braided front also doubles as gentle protection, holding your edges tidy through a long day out. If you have never braided your own hairline, practice on dry hair first, since damp waves are slippery and harder to control until you get the feel for it.
Keep the braids soft rather than tight, both for comfort and to protect your hairline, and tug them a little wider once pinned for that full, romantic look. I tell clients to think snug, never sharp. A crown braid should never sting.
👍Sea Salt Spray Pros
- +Instant gritty, beachy texture in seconds
- +Adds grip and hold to slippery, fine hair
- +Cheap and travel-friendly
👎Sea Salt Spray Cons
- –Drying on curls and coils with repeat use
- –Can leave hair stiff if overapplied
- –Needs a leave-in or oil underneath to balance
Soft Waves in Low and High Ponytails

A ponytail sounds too plain for a beachy look until you add waves and volume, and then it turns into one of the simplest ways to look put-together when it is hot out. Wave your hair first, tease the crown gently for lift, and secure, low at the nape for something polished or high for playful bounce. The waves keep it from reading severe, and the tease keeps it from going flat by noon.
Low for Polished, High for Playful
The low version reads relaxed and grown-up, ideal for a beachside dinner, while the high version keeps your neck cool and shows off your texture. Either way, pull out a few face-framing strands and tuck a thin strand of your own hair over the elastic so it disappears. For more on lifting a curly pony, curly ponytail ideas go deeper.
Keep the tie loose enough that it never tugs your hairline, especially if you are wearing it up all day in the sun.
Heatless Waves, Step by Step
Of every method here, the heatless wave is the one worth learning. It is what I teach clients first, and it spares your hair the daily damage a curling iron does. Start with damp, not soaking, hair that has a leave-in conditioner worked through it. Then choose your set. Two or three loose braids give soft, even bends.
A bun or two gives a looser, rumpled wave. Foam rods give the most uniform result, and the tighter you wrap, the more defined the wave. Sleep on it, or let it set for a few hours if you are home, then take it down gently once it is fully dry, since unraveling a damp set leaves you with frizz instead of waves.
The unraveling is where people go wrong. Do not brush. Separate the waves with your fingers and a drop of lightweight oil to break any crunch, then shake them out from the roots for volume. If a set feels too tight, run a finger down each wave to loosen it.
Done right, heatless waves last two to three days and look softer, not worse, as they relax. That is the whole trade-off: a little patience overnight for texture that costs your hair nothing, and no scorched ends to repair later.
More Beachy Wave Looks to Try
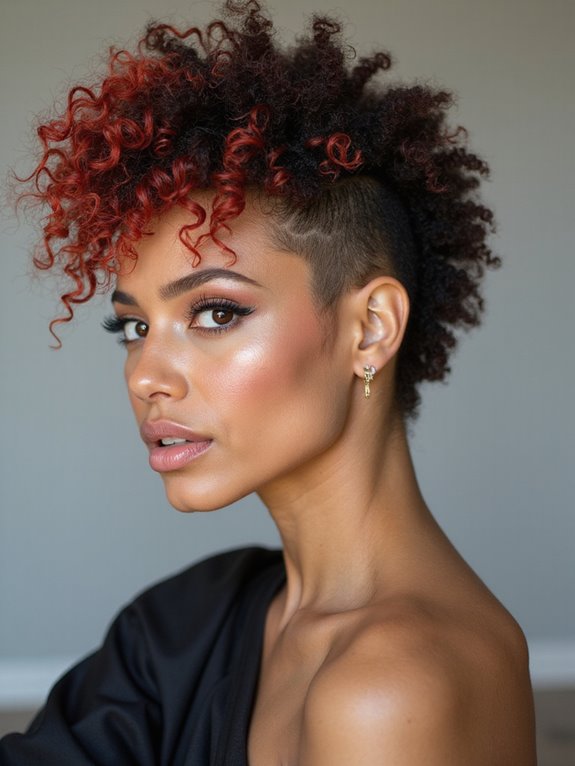
The list keeps going, and most of these take minutes. A wavy lob, the chin-to-shoulder cut, is the lowest-effort haircut for beachy texture and air-dries into shape on its own. A curly shag adds retro layers and volume that look made for salt spray. Pin-backed waves and side-swept curls dress things up with nothing but a few pins, while scarf-wrapped waves protect your hair from wind and humidity and add a pop of color at once.
For texture itself, a wet-look finish gives you that just-out-of-the-ocean gloss with a strong gel, and finger coils define individual curls for a more polished take.
When you want fun, space buns with loose wavy strands bring playful energy, and a pineapple gathers everything high to protect your curls overnight and double as a daytime style. What they all share is one recipe: build soft texture, keep the moisture locked in, and let the finish stay a little undone.
Common Mistakes to Avoid
The biggest beachy-hair mistake is leaning too hard on sea salt spray. Salt builds that gritty texture by drawing moisture out, so on curls and coils it can quickly tip from undone to dry and crunchy. Use it sparingly, layer a leave-in or a drop of oil underneath, and reach for a moisturizing texture cream instead on the days your hair feels thirsty. A good sea salt spray runs about $8 to $20, and you need only a few spritzes.
The other slips are smaller but add up. Brushing out your waves once they dry erases all the definition, so break them with fingers instead. Skipping sun and chlorine protection leaves color brassy and ends fried, so soak your hair in fresh water and seal it with a leave-in ahead of any swim.
And piling on product without scrunching leaves waves limp rather than springy. Treat beachy texture as something you protect, not just something you spray on, and it will look good far past day one.
Beachy Wave Questions
?Does weather change my beachy waves?
Yes. Humidity puffs waves into frizz, while dry air leaves them limp. An anti-humidity layer on damp days and a touch more moisture on dry ones keeps the texture steady through changing weather.
?Can I get beachy waves without heat?
Easily. Braids, twists, or buns on damp hair give you soft, heatless waves overnight, and naturally wavy hair often just needs a scrunch of product and an air-dry to fall into shape.
?How do I protect beachy hair from sun and salt?
Rinse and soak your hair in clean water before swimming so it absorbs less salt or chlorine, add a leave-in with UV protection, and deep condition after a beach day to replace lost moisture.
Build the Texture, Skip the Damage
Beachy hair is a feeling more than a single style, and the secret is that you can build it without ever harming your waves. Heatless sets, a smart leave-in, and a light hand with salt give you that soft, sun-touched texture while keeping your curls healthy enough to do it all again tomorrow.
Find the one or two looks that fit your texture and your day, keep your hydration up, and let the finish stay a little undone. The most convincing beachy hair always looks like you are not trying, which, once you have the technique down, is exactly the point.