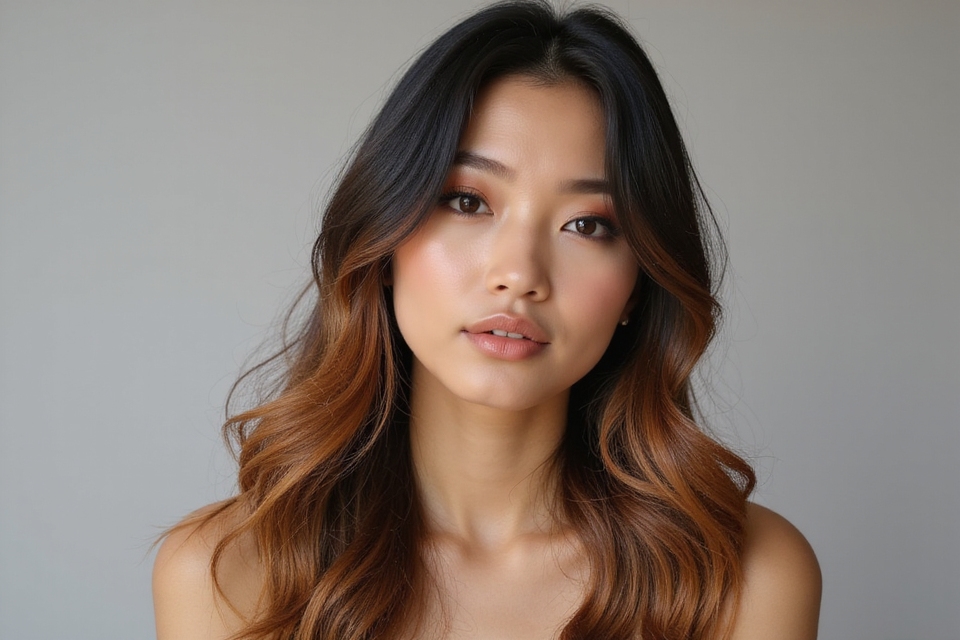
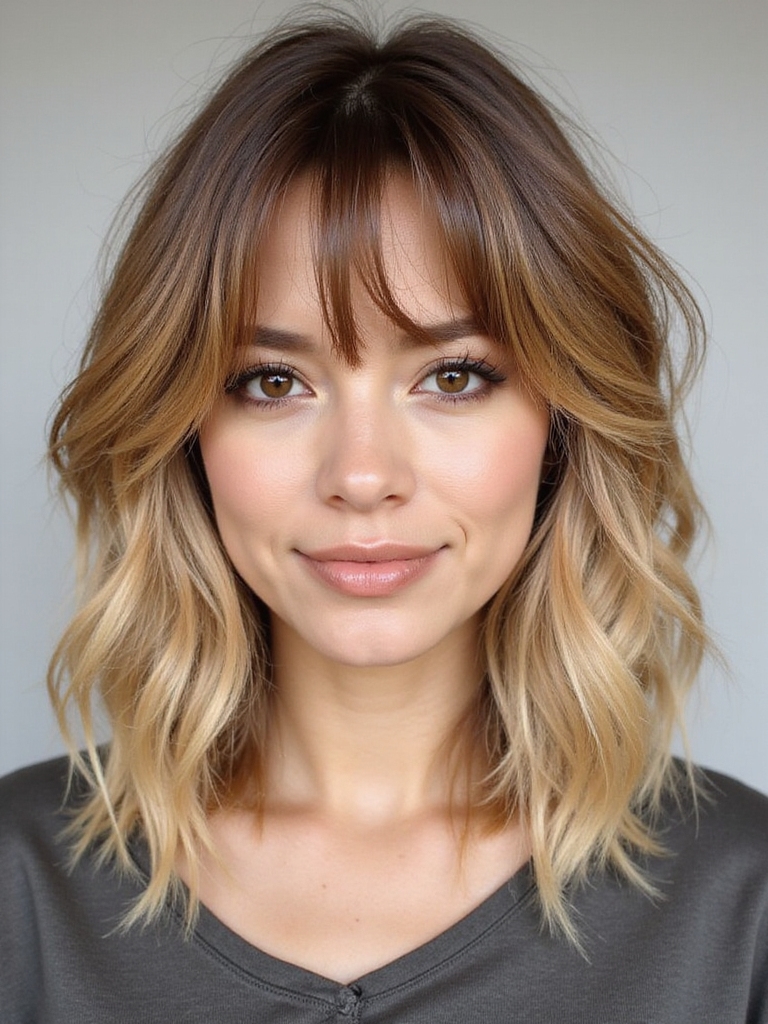
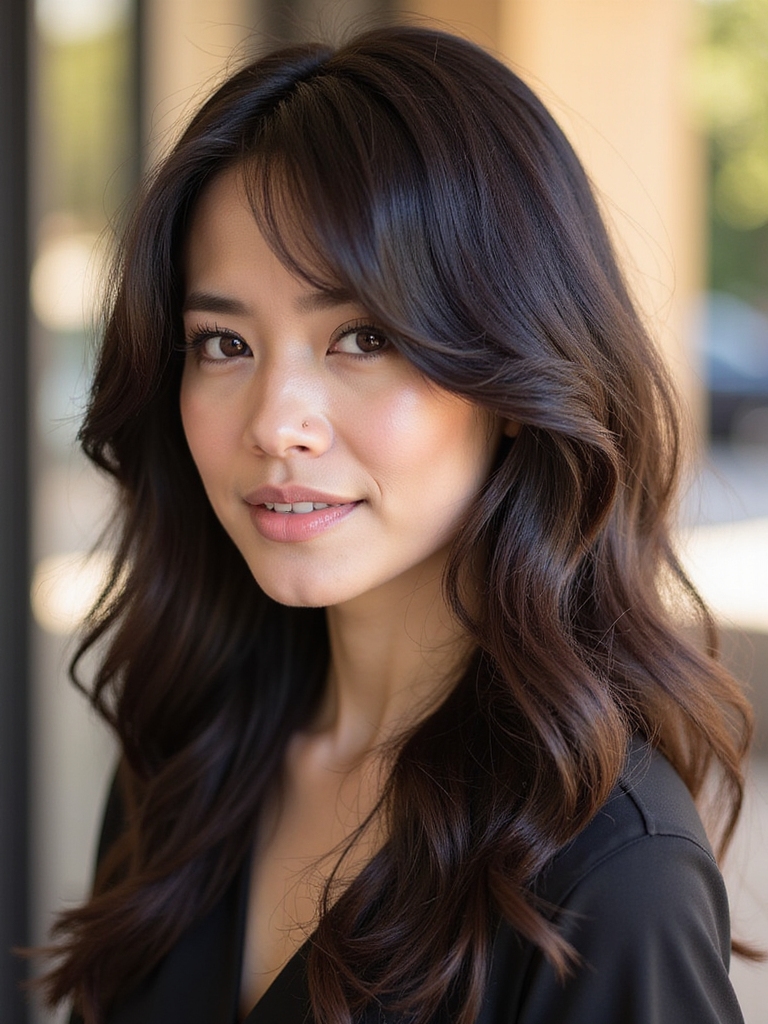
A client dropped into my chair last spring with a photo of bouncy, curtain-banged layers, sure she’d have to chop off six inches to get that volume. She walked out with all her length and twice the movement, and I watched her flip her hair in the mirror like she’d gotten away with something. That’s the butterfly haircut doing what it does best.
If the basic idea of the cut already sells you, this collection is about the fun part: the ideas. Curtain bangs, razor-cut texture, color that lights up the layers, and a dozen ways to actually wear it, from a playful ponytail to braids woven through. Here’s how to take the butterfly cut from a salon photo to a style you live in.
Butterfly Cut Ideas at a Glance
| Element | What it does | Tip |
|---|---|---|
| Curtain bangs | Soften and frame the face | Blend them into the front layers, not as a separate fringe |
| Crown layers | Add lift and volume | Keep them long enough to swing and bounce |
| Razor texture | Lighten ends for movement | Best on thick hair; ask sparingly on fine hair |
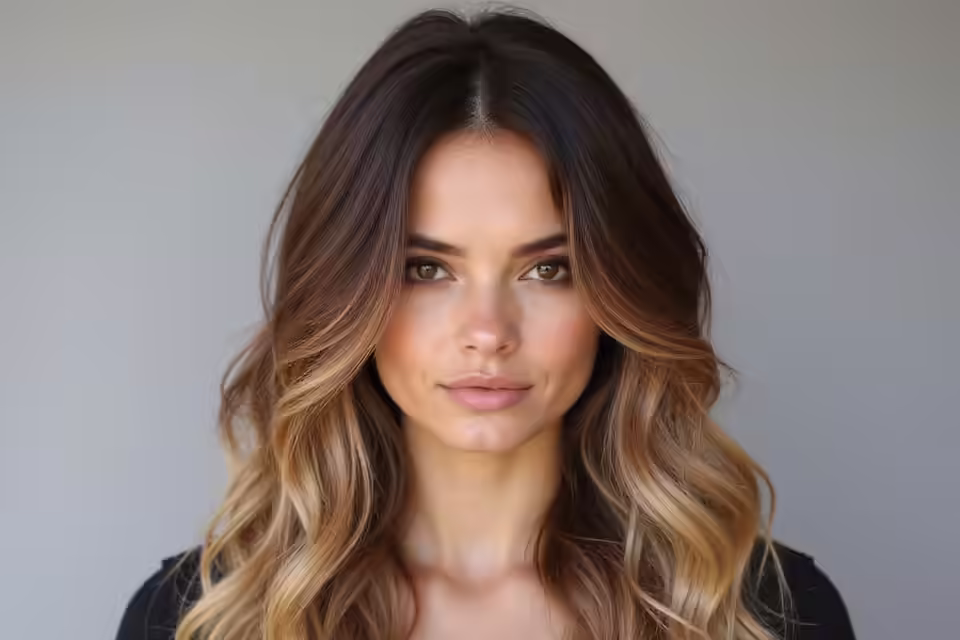
Cascading Layers and a Voluminous Crown
The signature butterfly look is all about cascading layers that pile volume at the crown and let length spill softly below. To get that effect, a few things have to line up.
- Shorter crown layers for lift, sitting above the longer lengths.
- A smooth blend so the volume flows down the length in one piece.
- Root lift when you style, since the cut sets up the volume and styling shows it off.
Choosing Your Butterfly Haircut Length
The butterfly cut lives happily at almost any length, and the length you pick changes the whole personality of the style. Longer hair gives dramatic, flowing wings. A collarbone version feels fresher and lower-maintenance. Both are the same cut at heart.
Think about your daily life as much as the look you love, since longer hair means more to style and dry. A salon cut lands somewhere around $70 to $130, scaling with your length and local rates. If you want the medium take specifically, our medium butterfly haircut guide goes deeper.
- Long: the most dramatic volume and the classic winged silhouette.
- Mid-length: easy to wear and style, the everyday sweet spot.
- Collarbone: fresh and modern, with the layers framing close to the face.
Two terms worth knowing for this cut:
📖Cascading layers
Layers cut to flow from short at the crown to long at the ends, creating that waterfall of volume.
📖Money-piece
A brighter, lighter section of color framing the face to highlight the front layers.
Layering for Maximum Volume
If volume is your main goal, the way the layers are stacked makes all the difference. A skilled stylist builds height where you want it and keeps weight where you need it.
- Ask for shorter, stacked crown layers to maximize lift up top.
- Keep the longest layers connected so the bottom doesn’t look stringy.
- On fine hair, request more layers up high; on thick hair, more around the ends to remove weight.
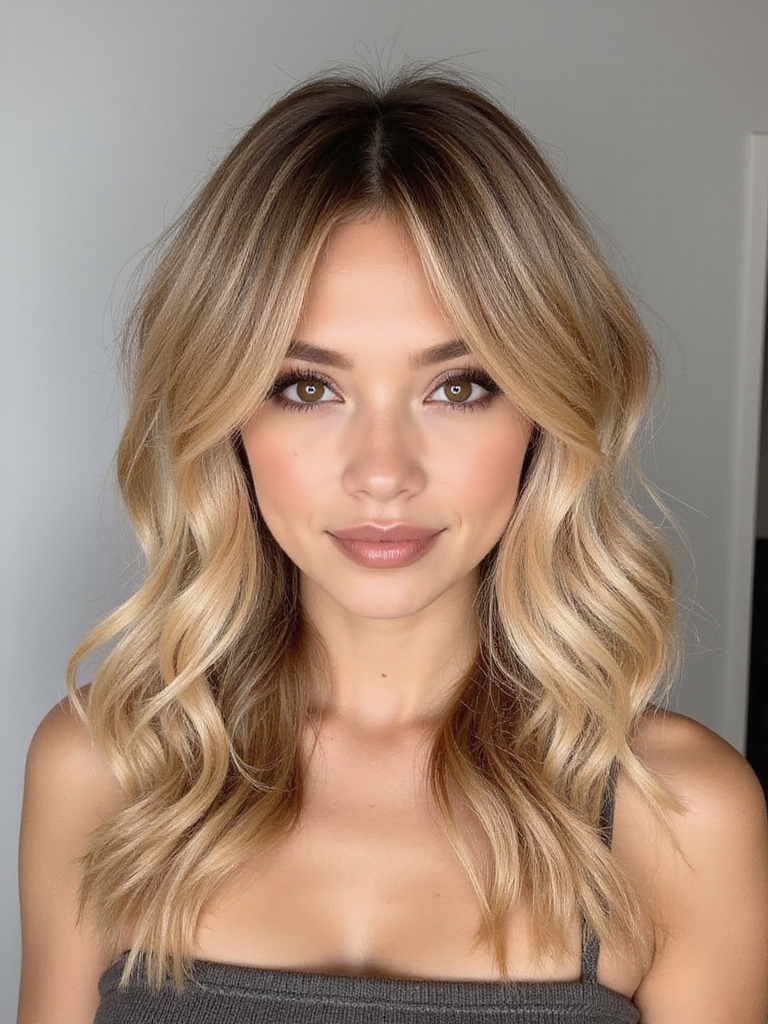
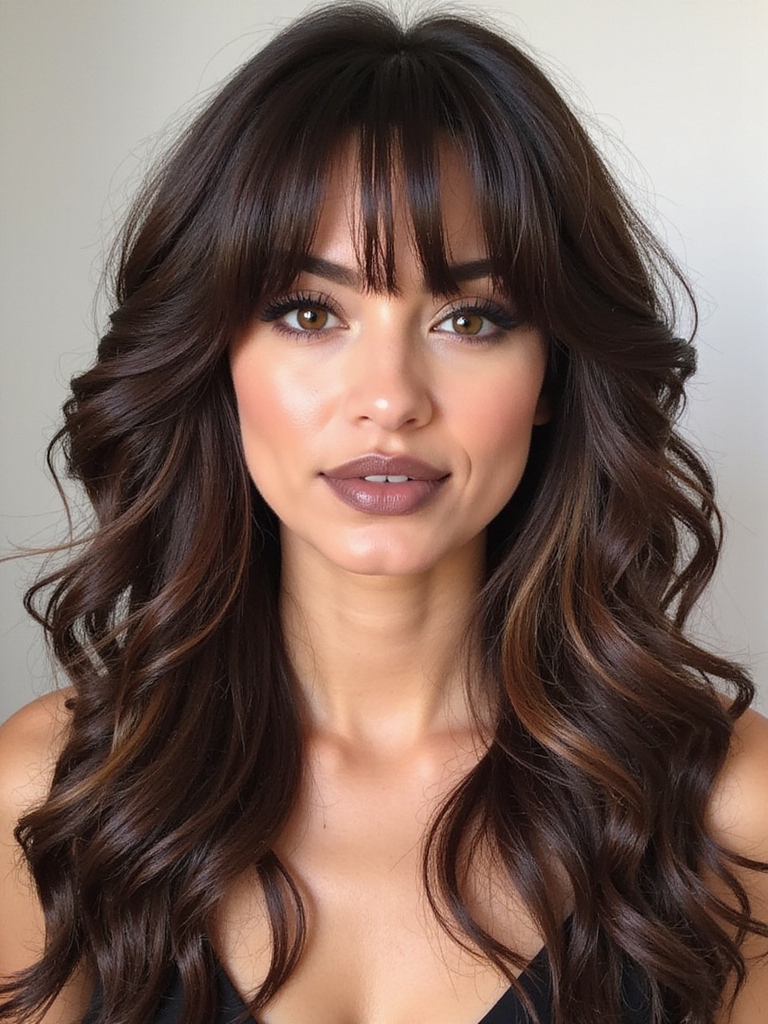
Long Butterfly Layers
Long butterfly layers are the version that lets you keep serious length while still getting movement and shape. It’s what I cut for anyone attached to their long hair but tired of it hanging flat and heavy.
- Length stays past the chest, so it still reads as long hair.
- Face-framing layers add interest without sacrificing the length.
- A gentle trim every couple of months keeps the long layers from looking ragged.
Two things people get wrong about this cut:
❌ Myth: Butterfly cuts only work on long hair
✅ Reality: Not true. A collarbone or mid-length version works beautifully, with the layers framing closer to the face.
❌ Myth: Layers will thin out my hair
✅ Reality: Done well, they remove weight from thick hair and fake fullness on fine hair. The skill is in where the layers are placed.
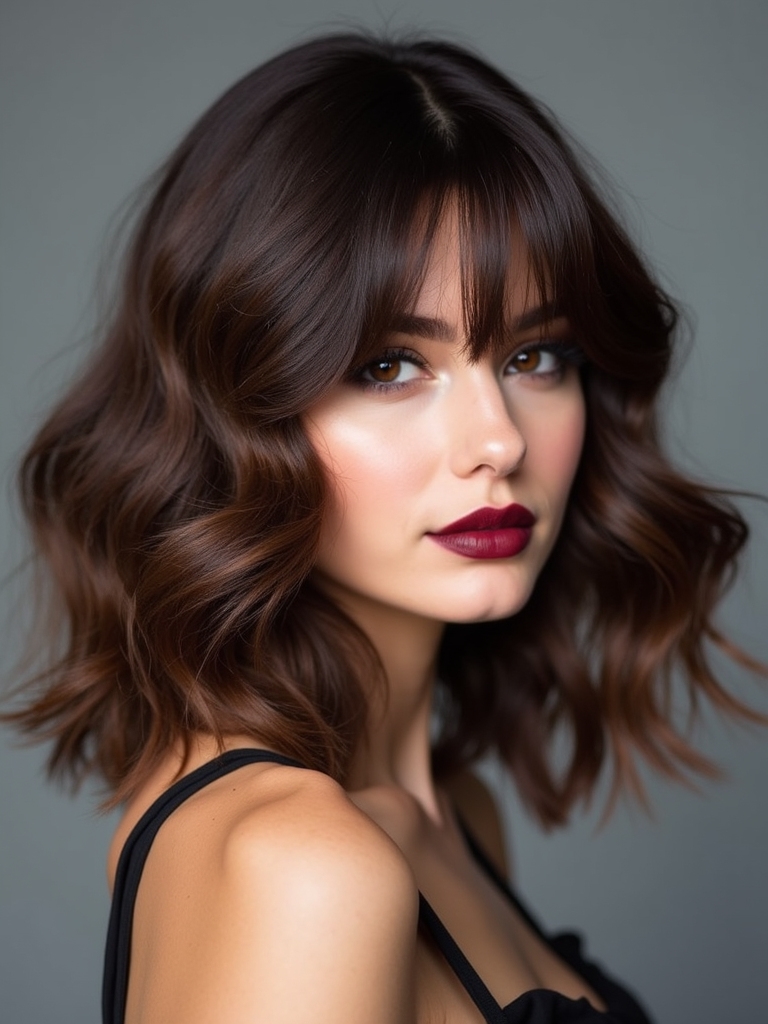
Chic and Playful Variations
One reason this cut is so loved is how easily it swings between polished and playful depending on how you finish it. The very same layers can read boardroom-sleek or beach-tousled depending entirely on whether you reach for a round brush and smoothing serum or a handful of texture spray and your own fingers.
- Sleek and smooth with a round-brush blowout for a chic, grown-up look.
- Tousled and piecey with texture spray for a playful, undone vibe.
- Half-pinned with the front layers out for something in between.
How the Layers Build Volume
Here’s the practical upshot of all those layers: the volume holds. Because the shape is cut in rather than only styled in, your hair keeps its body through the day instead of deflating by mid-afternoon the way a blow-dried-flat style does.
That staying power is exactly why fine and limp hair benefits so much from this cut. Even on a humid day or after hours at a desk, the built-in lift keeps working, so you get bounce that survives real life rather than a look that lives only for the first hour after styling.
💡Styling Tip
Style only your crown and front layers on busy days. Those are the pieces that frame your face and create the volume, so a quick pass there gives you most of the look for a fraction of the time.
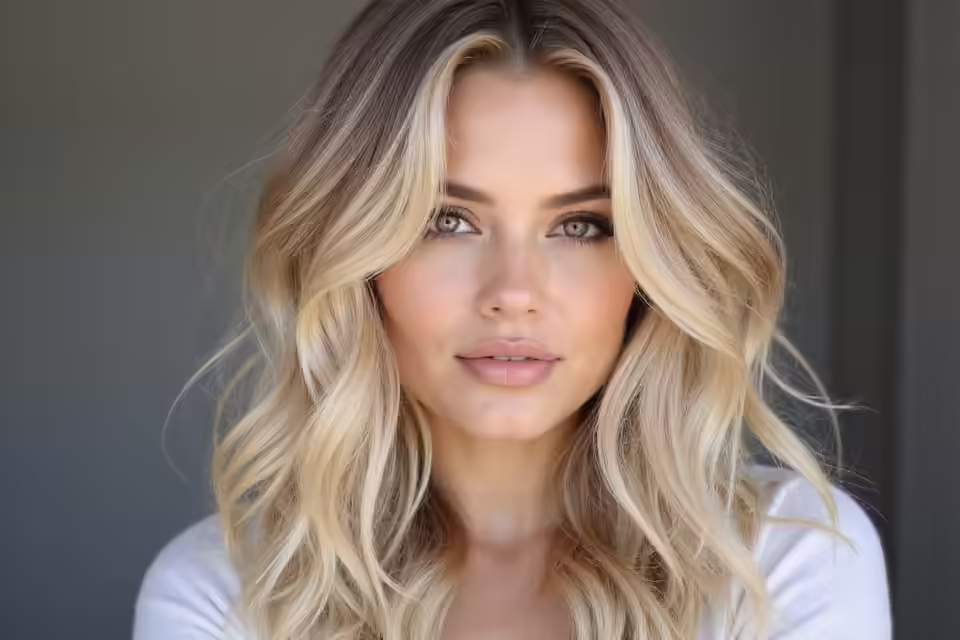
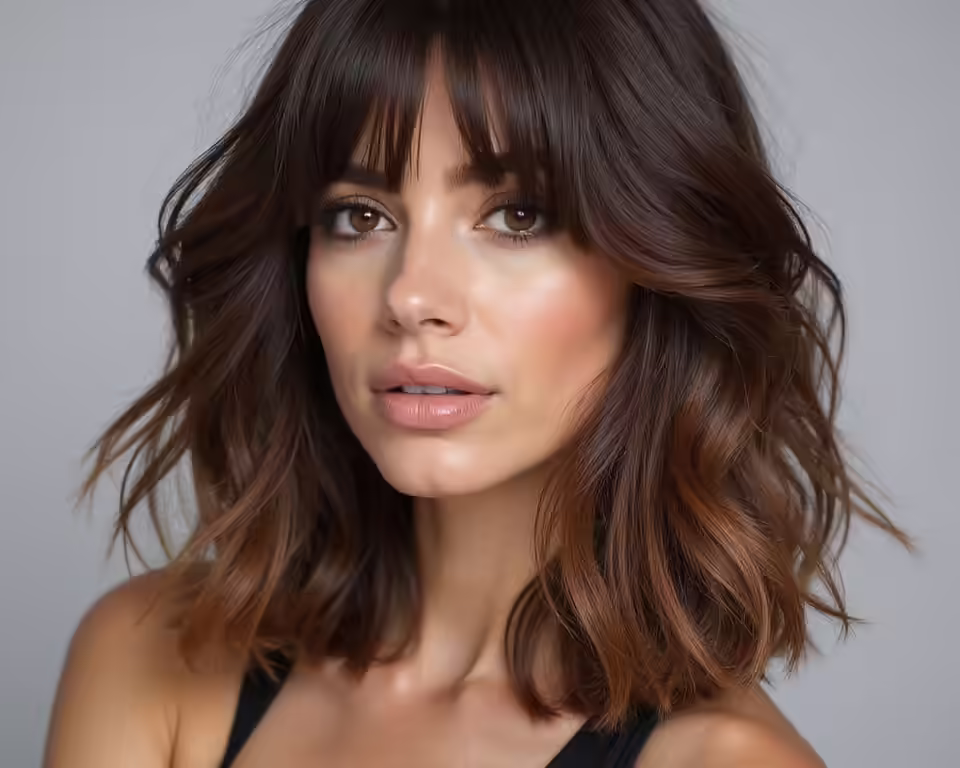
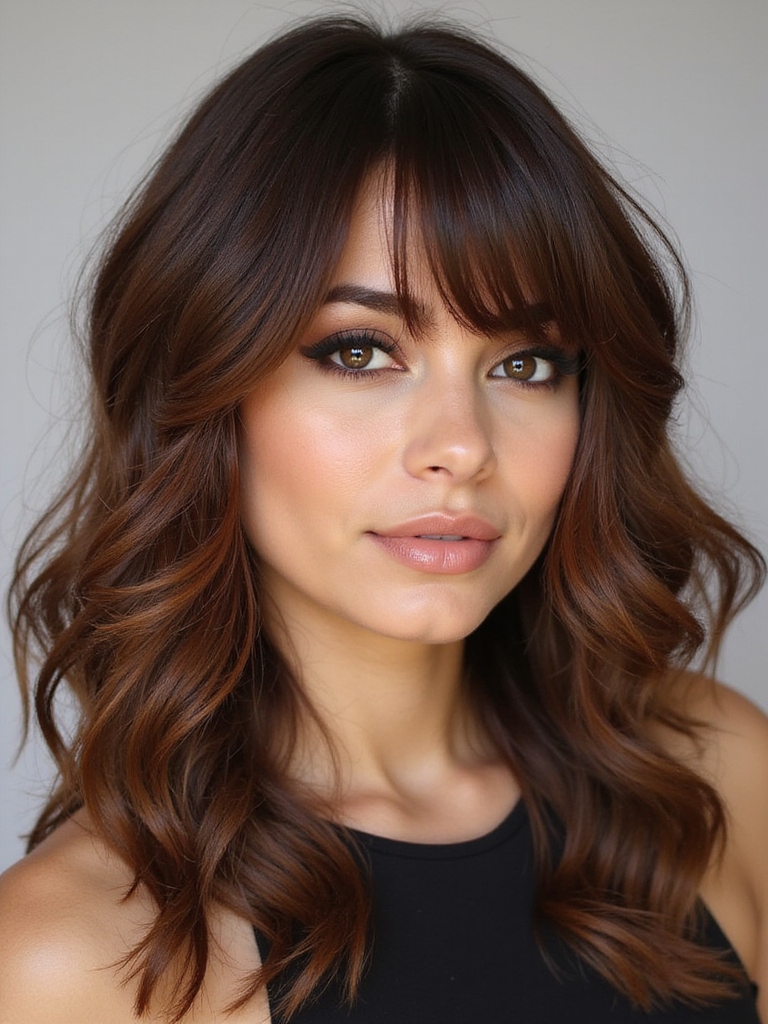
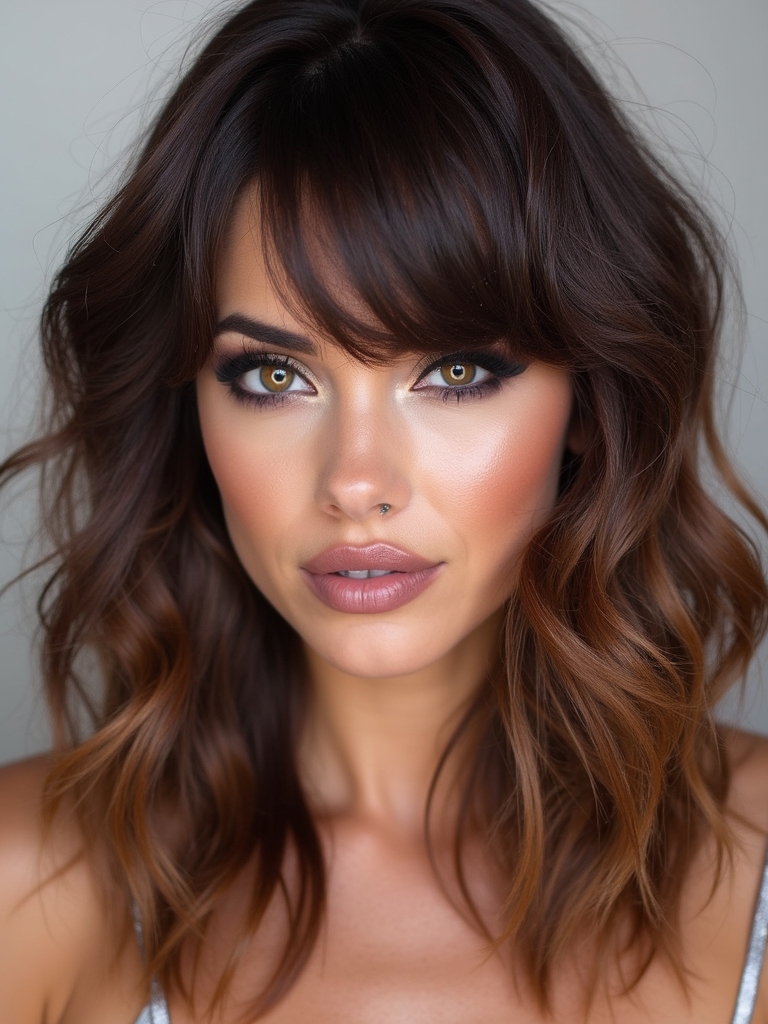
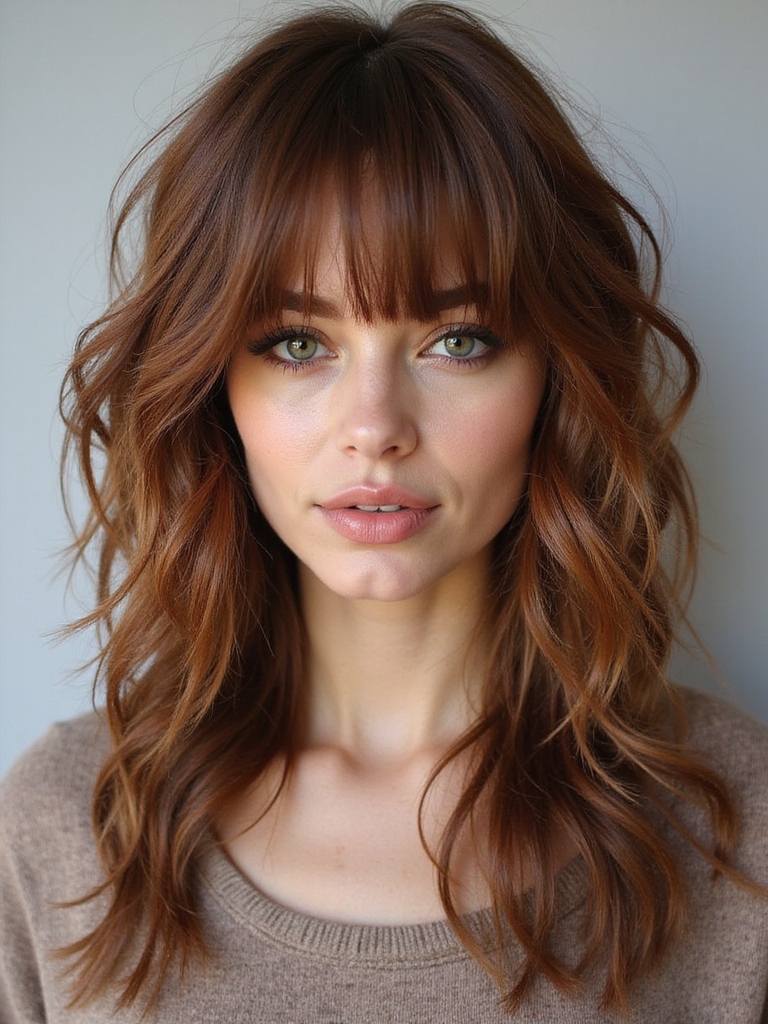
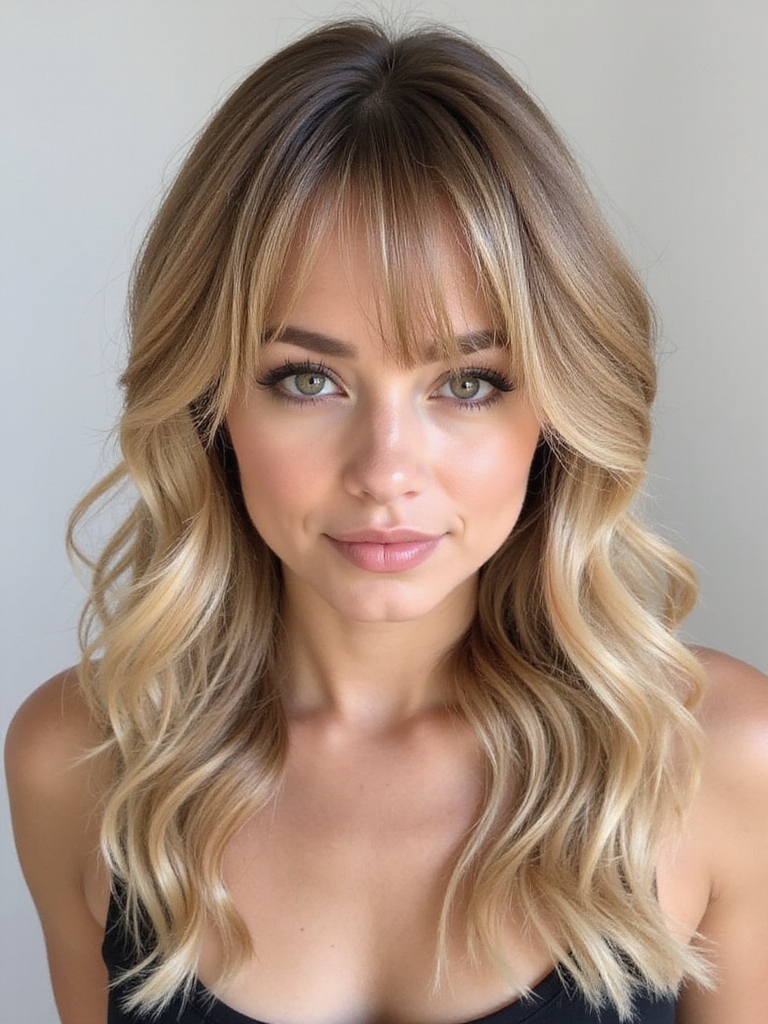
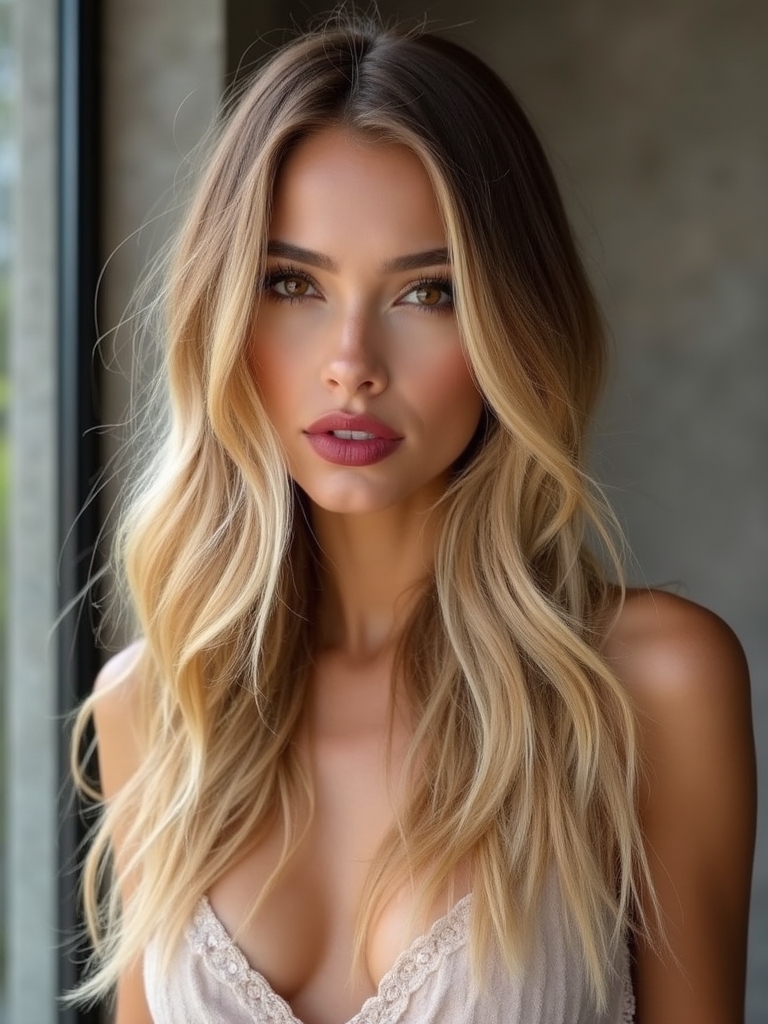
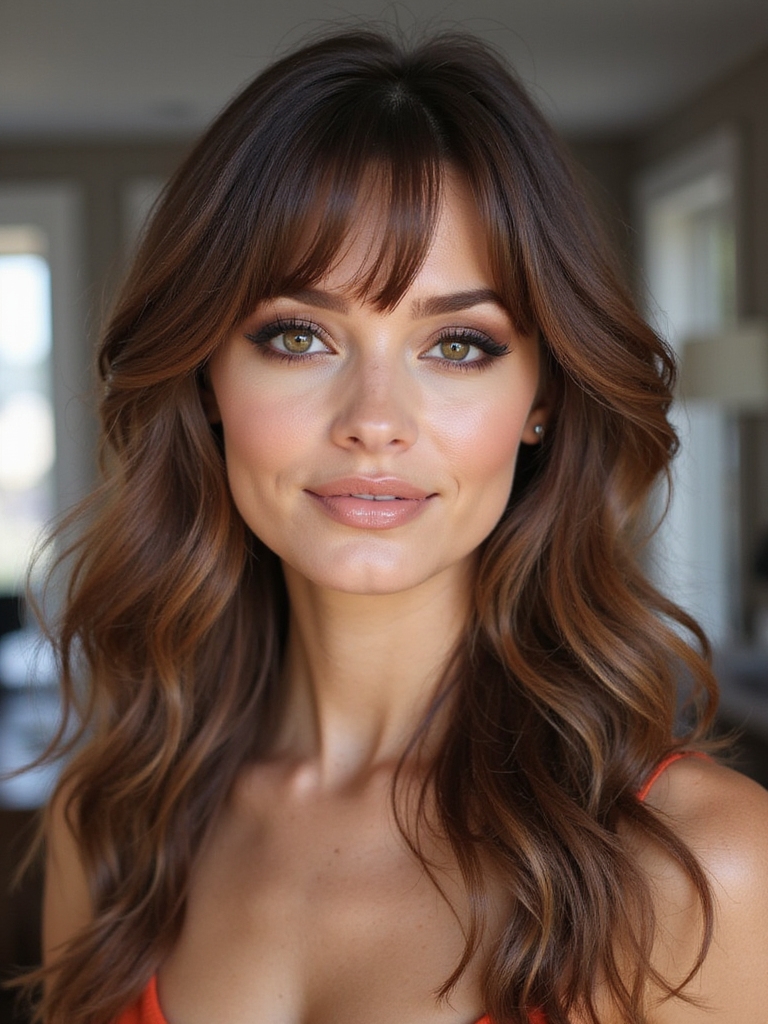
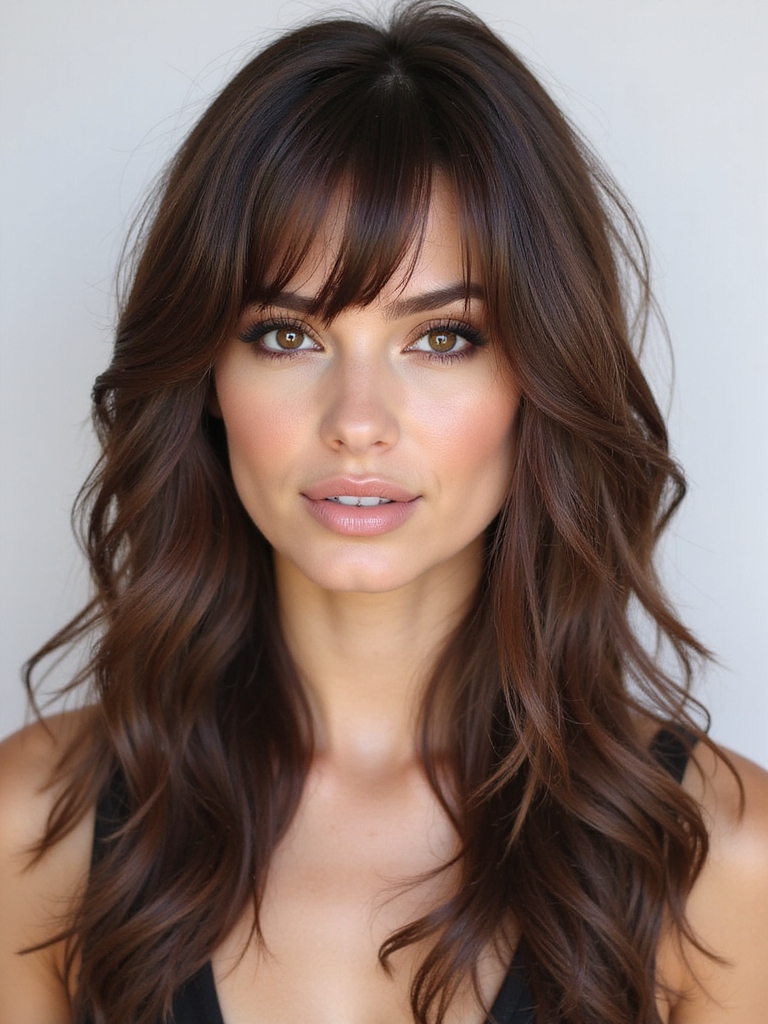
Curtain Bangs With a Butterfly Cut
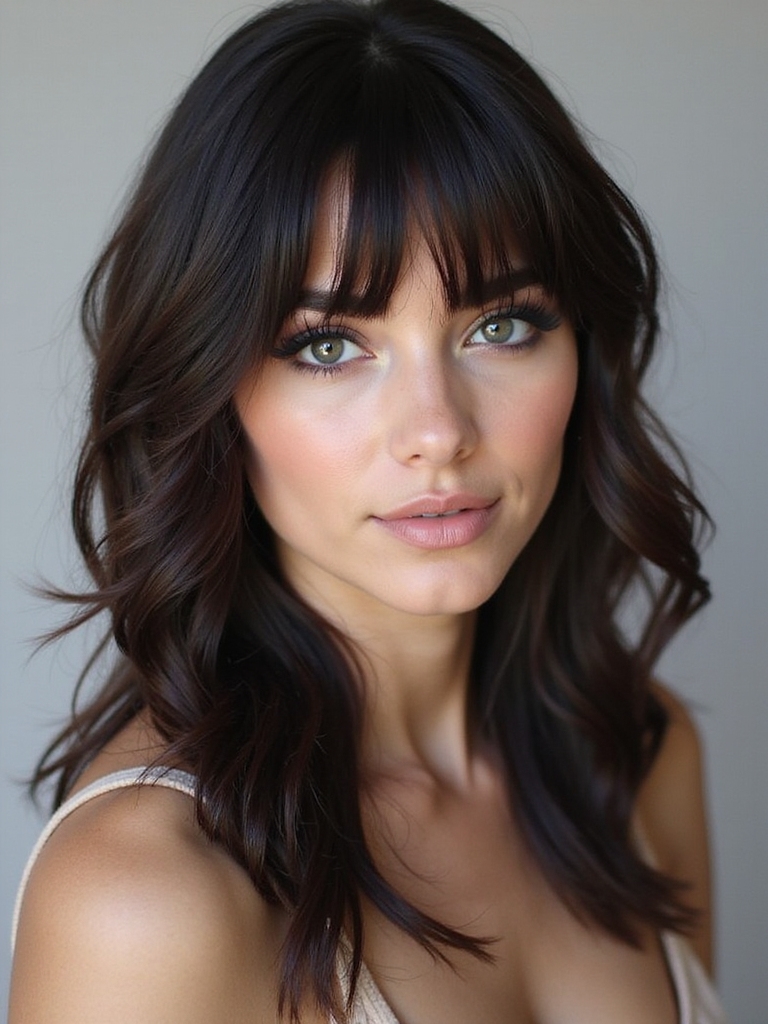
Curtain bangs and the butterfly cut pair about as well as two things can, since both lean on soft, face-framing pieces that melt into the layers. Adding curtain bangs deepens the framing and gives you a wispy, romantic front that ties the whole shape together.
- Ask for bangs that blend into the front layers, so they grow out softly.
- Keep them long, hitting the cheekbones, for the most flattering frame.
- Style them with a round brush, splitting them away from the center.
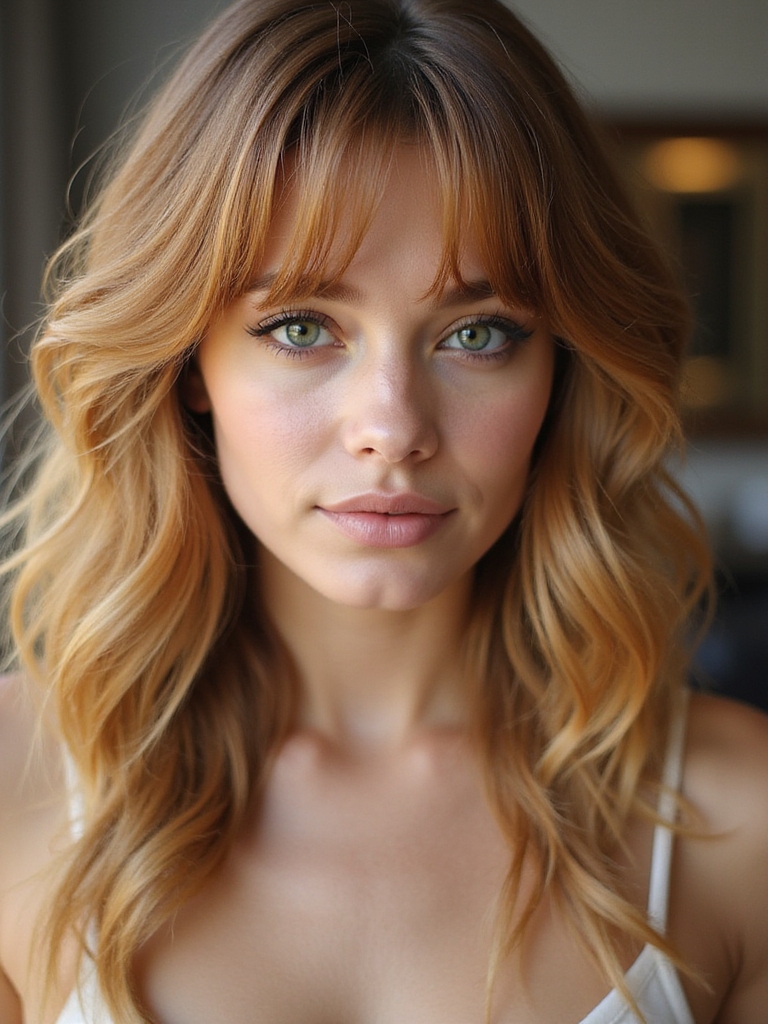
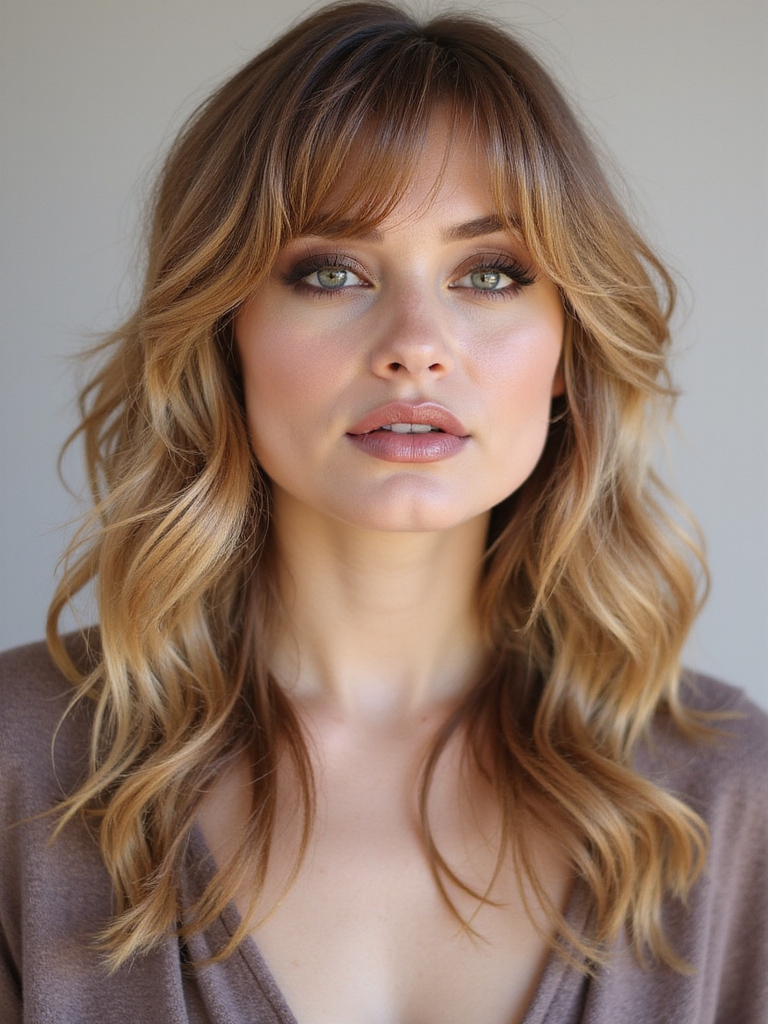
Side-Swept Butterfly Bangs
If a center-parted curtain bang feels like too much fringe, side-swept bangs give you the same soft framing with an easier, more forgiving shape. They sweep to one side and melt into the layers, which is wonderfully flattering and grows out without a fuss. No awkward stage.
Side-swept bangs especially suit anyone with a higher forehead or a rounder face, since the diagonal line adds length and balance. They’re also the lazy-girl’s bang, requiring far less precise styling than a blunt or center fringe.
To style, blow-dry the front pieces across to your chosen side while they’re damp, setting the direction early. A little of this when your hair is wet saves you fighting a cowlick later in the day.
Which butterfly cut fits you?
🎯Want low effort
Go collarbone-length with soft side-swept bangs that air-dry well.
🎯Want maximum drama
Go long with stacked crown layers and center curtain bangs, styled with a round brush.
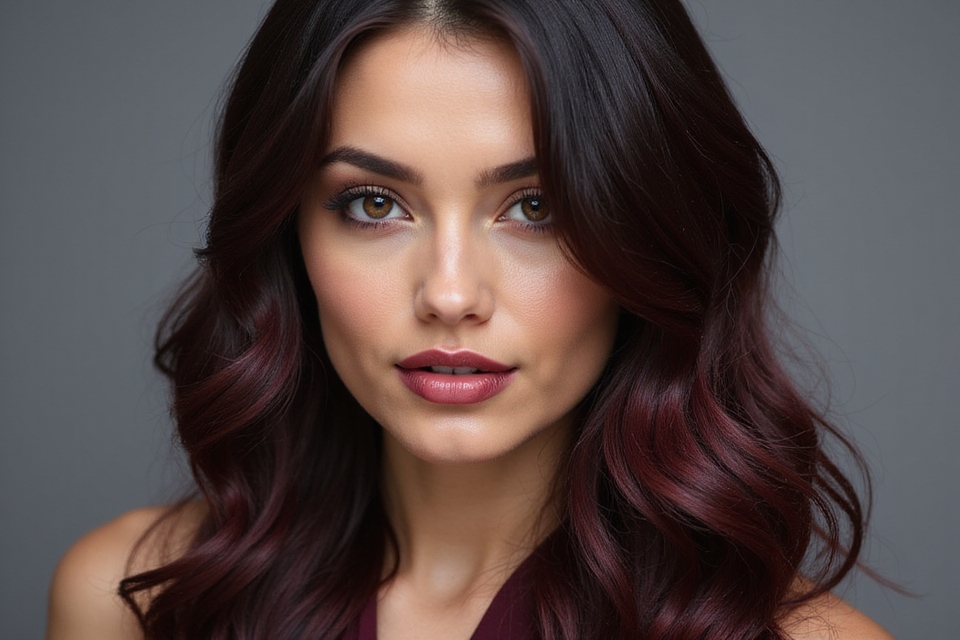
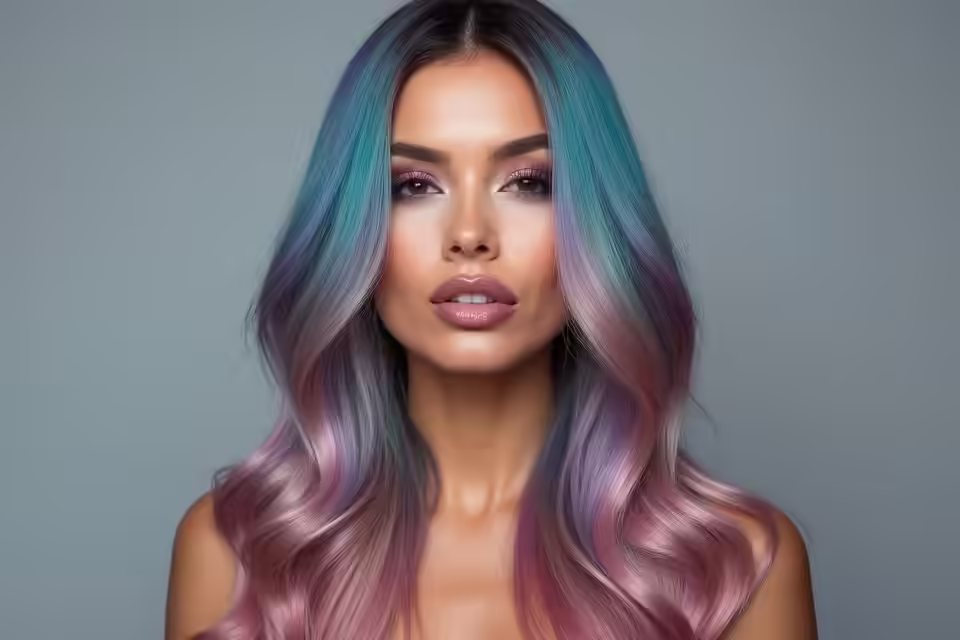
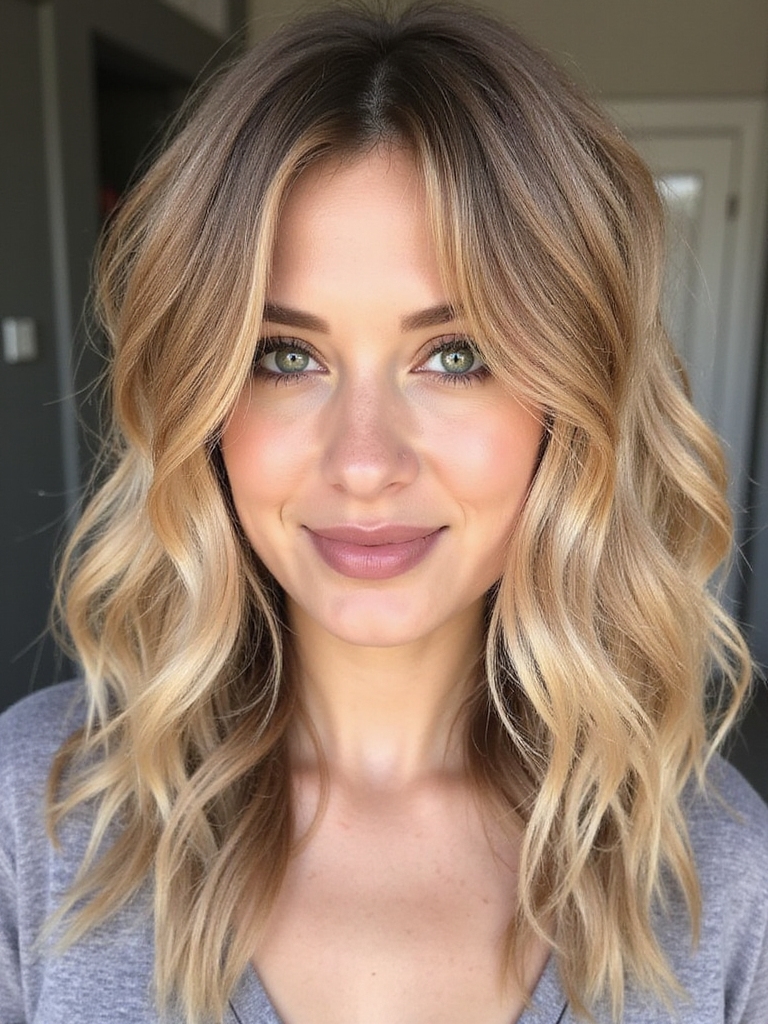
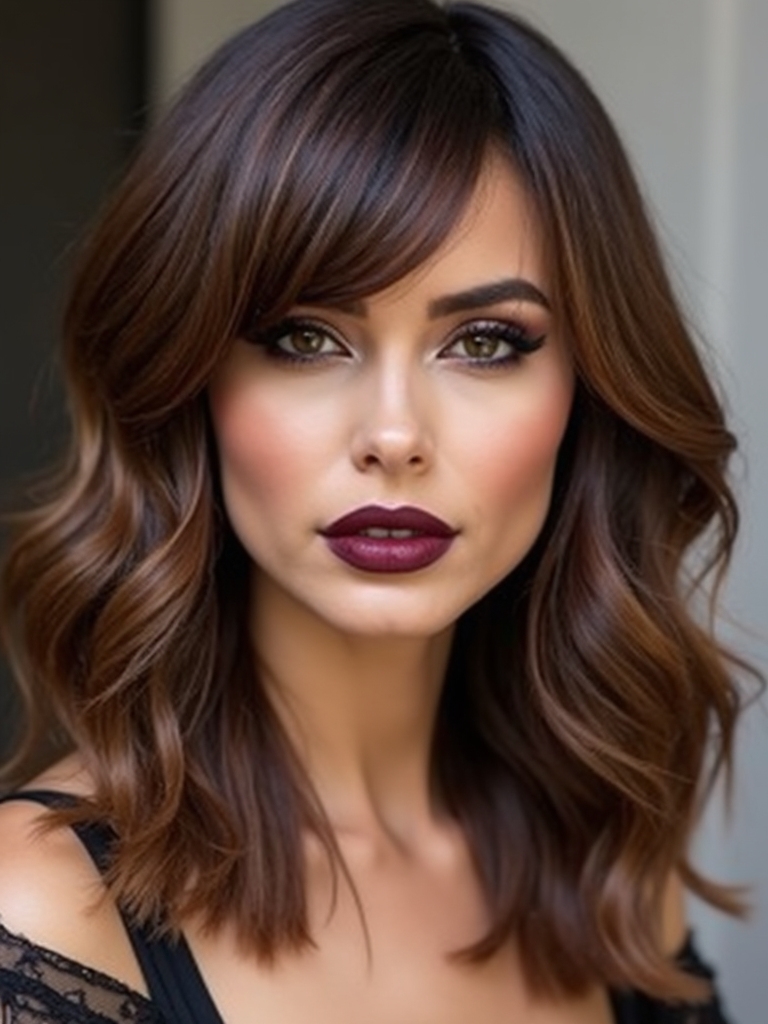
Bold Color Ideas for Butterfly Layers
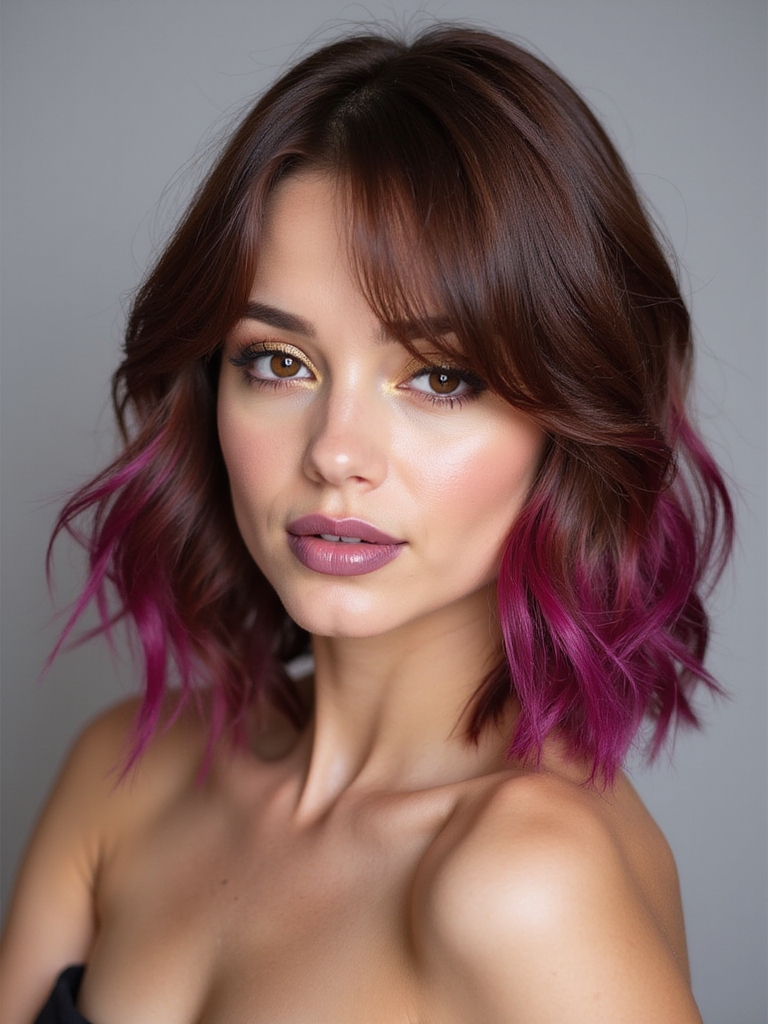
Where color really pays off on a butterfly cut is placement, since the layers give you specific spots to light up. Rather than an all-over shade, think about which layers you want the eye to land on, and aim the brightness there.
A money-piece, the brighter face-framing section, draws the eye straight to your shortest layers and is the lowest-commitment way to test a bolder shade. Balayage swept through the lengths lights up the movement, while a darker root keeps the whole thing low-maintenance as it grows.
For something bolder, peekaboo color tucked under the top layers flashes as you move and toss your hair, which plays beautifully with all that built-in motion. Browse our hair color ideas for brunettes for placement inspiration.
Everyday Styling Tips

The butterfly cut looks its best with a little styling, but everyday doesn’t have to mean a full salon blowout. For most days, a quick round-brush pass over just the crown and front layers gives you the lift and frame in about ten minutes.
When you’re short on time, a curling wand used loosely through the mid-lengths fakes the bounce in a couple of minutes, no full blow-dry required. Focus your effort on the face-framing pieces, since those are what everyone actually sees.
On wash days you want to skip styling entirely, scrunch in a little mousse and air-dry, then break up the layers with your fingers once dry. It won’t be a glossy blowout, but it reads as intentional, tousled texture. Far better than flat.
Curly Butterfly Layers
On curls and coils, a butterfly cut shows up as springy, sculpted volume, and the real joy is in how the layers fall once they’re shaped to your pattern. The shorter crown pieces give lift while the longer curls swing below, so even a wash-and-go reads as a styled shape rather than a shapeless cloud.
Refreshing is where curly butterfly layers live or die between cuts. A spray bottle of water with a little leave-in revives the curl, then scrunch and air-dry or diffuse on low to bring root volume back without rough frizz. Two minutes of refresh resets the whole shape on day-three hair.
Keep your curls well fed with moisture and the layers stay defined and bouncy instead of dry and limp. If you’re torn between this and a curly shag, the butterfly leans softer and more face-framing, while the shag goes choppier and more rock-and-roll.
Face-Framing Layer Ideas
The face-framing layers are the heart of the butterfly cut, and small choices about where they start change how they flatter you. Layers that begin at the cheekbone draw attention up to the eyes, while ones starting at the jaw soften and slim a wider face.
Where the layers start matters
You can also vary how dramatic the framing is, from a barely-there wisp to a bold, short front piece that makes a statement. The shorter you go, the more striking the frame and the more styling it tends to want.
Bring a photo and talk through where you want the eye drawn, since this is the most personal part of the cut. The right framing can highlight cheekbones, soften a jaw, or balance a forehead, all depending on placement.
Razor-Cut Texture
A razor cut gives the butterfly cut a softer, piecey, worn-in finish that suits the airy shape. Scissors leave a blunter, heavier edge by comparison. The razor tapers the ends finely, which adds that wispy, feathered movement to the layers.
This technique shines on thick and medium hair, where it removes bulk and creates separation between the layers. On fine hair, though, a razor can leave ends looking thin and stringy, so it’s worth a careful conversation first.
If you love a textured, undone butterfly cut, ask your stylist whether razor cutting suits your hair type. In the right hands and on the right hair, it gives the most naturally piecey version of this style.
Easy Elegance From the Layers
Part of the appeal of this cut is how polished it can look for the effort involved, since the layers do so much of the styling for you. Even a quick once-over reads as a pulled-together, elegant look.
A few habits keep it looking refined day to day without a lot of fuss.
- Smooth the top layer and ends with a drop of oil for instant polish.
- Tuck the front pieces behind one ear for a quick elegant moment.
- A light hairspray on the crown holds the volume through the day.
Playful Ponytail Ideas

A ponytail on a butterfly cut is its own little reward, because the shorter layers fall out around your face to frame it even when the rest is pulled back. You get a polished ponytail with a soft, pretty front built right in.
Let the front layers fall free
For a high, sporty pony, let the curtain bangs and shortest layers stay out and the effect is instantly more flattering than a severe slicked pony. For something dressier, curl those loose front pieces before you tie the rest up.
The only thing to know is that the shortest layers won’t reach the elastic, and that’s a feature here. Embrace those face-framing pieces and let them frame your face.
Elegant Half-Up Styles
Half-up styles might be the single best way to show off a butterfly cut, since they highlight both the volume on top and the layered lengths flowing below. Pulling back the crown plays straight into the cut’s natural lift, so the half-up shape almost builds itself, and the loose layered lengths underneath keep it from ever looking stiff or overdone. It’s the lazy way to look polished.
Try a half-up bun or a clipped-back crown with the curtain bangs and face-framing layers left soft around your face. It takes under two minutes, works for the office or a date, and looks like you put in far more effort than you did, which is exactly the kind of style I want for a busy week.
Butterfly Cut With Braids
Braids and a butterfly cut play together in fun ways, even though the layers mean a few shorter pieces will always slip free. Lean into that softness, give up on a perfectly sleek braid, and the result looks romantic and undone.
These work beautifully for festivals, weddings, or just a pretty everyday twist.
- A loose side braid with the face-framing layers left out to frame the face.
- Two small braids pinned back like a crown, the rest of the layers flowing.
- A half-up Dutch braid into the crown volume for a soft, boho look.
Caring for the Layers
Layers only look their best when the ends stay healthy, so a little care keeps a butterfly cut from going wispy and dry at the tips. Reach for a lightweight conditioner that won’t weigh the layers down and flatten the volume you cut them for.
Light at roots, rich on ends
Heat protectant is essential if you’re using a brush or wand regularly, which most people with this cut are. And a weekly mask focused on the mid-lengths and ends keeps the longest, oldest layers from looking frayed.
Keep the products light at the roots, where heaviness kills volume, and save the richer treatments for the ends. That balance keeps the cut full on top and smooth at the bottom.
Tips for the Perfect Butterfly Cut
After years of cutting this style, the advice I give clients most often is to be patient in the consultation and honest about your routine. The cut can be dramatic or soft, high-maintenance or wash-and-go, and the only way your stylist knows which you want is if you tell them.
The second tip is to invest in one good styling tool, whether a round brush or a wand, since this cut rewards a few minutes of volume. Master that single tool and you’ll get far more out of the cut than any cabinet of products could give you.
Why It’s So Versatile
When you add it all up, the butterfly cut’s real superpower is versatility: it flatters nearly every face shape, suits fine and thick hair alike, and bends from polished to playful with a change of styling. Few cuts give you that much range from one trip to the salon.
That adaptability is exactly why it’s stayed popular while quick trends came and went. Whatever your length, texture, or daily routine, there’s a version of this cut that fits, which is about as close to a universal flattering haircut as it gets.
How to Ask Your Stylist
Since this is the ideas article, bring the ideas to your appointment, not just the cut. Pull photos of the specific touches you want, a center curtain bang versus a soft side sweep, a money-piece at the front, the razor-textured ends, so your stylist can build them in from the start rather than retrofit them later. A bang or a face-frame planned into the first cut sits far better than one added on a second visit.
It also helps to be clear about which look from this list pulled you in. If it was the flowing, dramatic length, say you want to keep every inch; if it was the playful, piecey texture, ask for the razor finish; if it was the easy half-up styling, mention that you want pieces that fall free around the face. The more specific the idea, the closer the result lands to the photo that made you book.
Butterfly Cut Idea Questions
?Do I have to get curtain bangs with a butterfly cut?
Not at all. Curtain bangs pair beautifully with the cut and deepen the framing, but the layers stand on their own. Side-swept bangs or no bangs both work, so choose based on how much fringe you want to style.
?What’s the best butterfly cut for fine hair?
A version with more, shorter layers stacked at the crown, which fakes fullness and lift. Skip heavy razor texturing, which can thin fine ends, and use a light root-lift product to support the volume.
?How do I keep my butterfly layers from looking flat?
Style the crown and front layers with a round brush or wand for lift, keep products light at the roots, and refresh with a little dry shampoo or texture spray. The cut sets up the volume; a few minutes of styling shows it off.
Take the Butterfly Cut and Run With It
The beauty of the butterfly cut is how much room it leaves for you to make it yours. Once the layers are in, you get to play with curtain bangs, color, braids, ponytails, and half-up styles, all from the same versatile base that keeps your length and gives you volume.
So pick the idea that pulled you in, whether it’s wispy curtain bangs or a peekaboo color, and bring it to your next appointment. Start with one change you love, and let the cut grow with you from there into a style that feels completely your own.