Walk through any summer festival or scroll a feed for five minutes and you’ll spot them: long, soft, slightly undone braids with a fluffy, cloud-like texture rippling down their length. That fluff is the whole point of butterfly braids, and it’s also where most people go wrong, ending up with frizz where they wanted those signature airy wings.
The name comes from that distressed, winged effect, where loops of hair are gently pulled out so the braid looks like it’s mid-flutter. Done right, butterfly braids are a beautiful protective style that tucks your natural hair away for weeks. This guide covers the technique, the tools, the honest cost and upkeep, and how to keep your edges happy while you wear them.
What Makes a Butterfly Braid
The look starts with a secure braided base, usually a two-strand twist or braid done with wavy or curly extension hair, and the soft fluff comes from gently pulling loops out along the length afterward. A firm root and a fluffy body are the two halves that give the style its name.
Treat them as the protective style they are. A good install runs roughly $150 to $250 and lasts six to eight weeks, but only if you keep tension gentle at the hairline, moisturize your scalp, and protect the braids at night so the fluff stays soft rather than matting into frizz.
The Cultural Significance of Butterfly Braids

Braiding is one of the oldest and richest traditions in Black hair culture, passed down through generations as both an art form and a practical way to protect and style natural hair. Butterfly braids sit within that long lineage, a modern, expressive take on the protective braiding that has always carried meaning beyond looks.
Wearing them well means honoring that context. These braids are a celebration of texture and heritage, and the soft, winged style has become a favorite for festivals, vacations, and everyday wear because it manages to feel both relaxed and intentional.
Understanding where a style comes from also makes you a better wearer of it. You’ll care for it properly, talk about it with respect, and appreciate the skill of the braiders who spend hours creating something this intricate.
Mastering the Braiding Technique
At its heart, a butterfly braid is built on a two-strand twist or a simple braid worked with wavy extension hair, then distressed to create that fluffy texture. The technique itself isn’t the hardest braid to learn, but getting the fluff even and the base secure takes practice.
Whether you do your own or sit with a braider, knowing the steps helps you communicate what you want and spot when something’s off.
- Section cleanly, since neat parts are what keep the finished braids looking tidy.
- Keep the base twist or braid firm but comfortable, easing off before it ever stings.
- Pull the loops out gradually as you go for an even, soft fluff down each braid.
A butterfly braid is two things at once: a firm, secure root and a soft, fluffy body. Get both right and the style holds for weeks while looking like it took flight.
Essential Tools for Butterfly Braids

Having the right tools laid out before you start makes the whole process smoother and faster. You don’t need much, but each item earns its place.
- A rat-tail comb for clean, precise parting and sectioning.
- Wavy or curly braiding hair in a length and color you like.
- Hair clips to keep unworked sections out of the way, plus edge control and a mirror.
Choosing the Right Hair Products

The products you use before and during braiding set up both how the style looks and how your natural hair fares underneath. Start with clean, moisturized hair, since braiding over dry or dirty hair leads to itching and breakage down the line.
Prep your natural hair first
A good leave-in conditioner keeps your hair pliable as you braid, edge control smooths the hairline, and a light oil or mousse adds the slight texture that helps the fluff hold. Avoid anything heavy or greasy, which weighs the braids down and attracts buildup.
Quality of extension hair matters too. A soft, pre-stretched wavy hair distresses into fluff far more easily than a stiff, cheap one, so it’s worth spending a little more on the hair itself.
| Base | Texture | Best for |
|---|---|---|
| Two-strand twist | Round, full, cloud-like fluff | Faster installs and softer volume |
| Three-strand braid | Defined, patterned under the fluff | A crisper, more structured look |
Butterfly Braids Step by Step

If you want to try them at home, the process is repetitive once you find the rhythm, which is good news for a style with this many braids. Start by parting a clean section and securing the rest out of the way.
Patience beats speed
Add your wavy braiding hair at the root, braid or twist down a couple of inches to anchor it, then continue down the length. As you go, gently pull small loops of hair out from the braid at intervals to build that signature fluff.
Repeat across the whole head, working in even rows. It’s slow, often a few hours for a full head, so put on a show and take breaks to save your hands and your edges.
Classic Butterfly Braid Technique
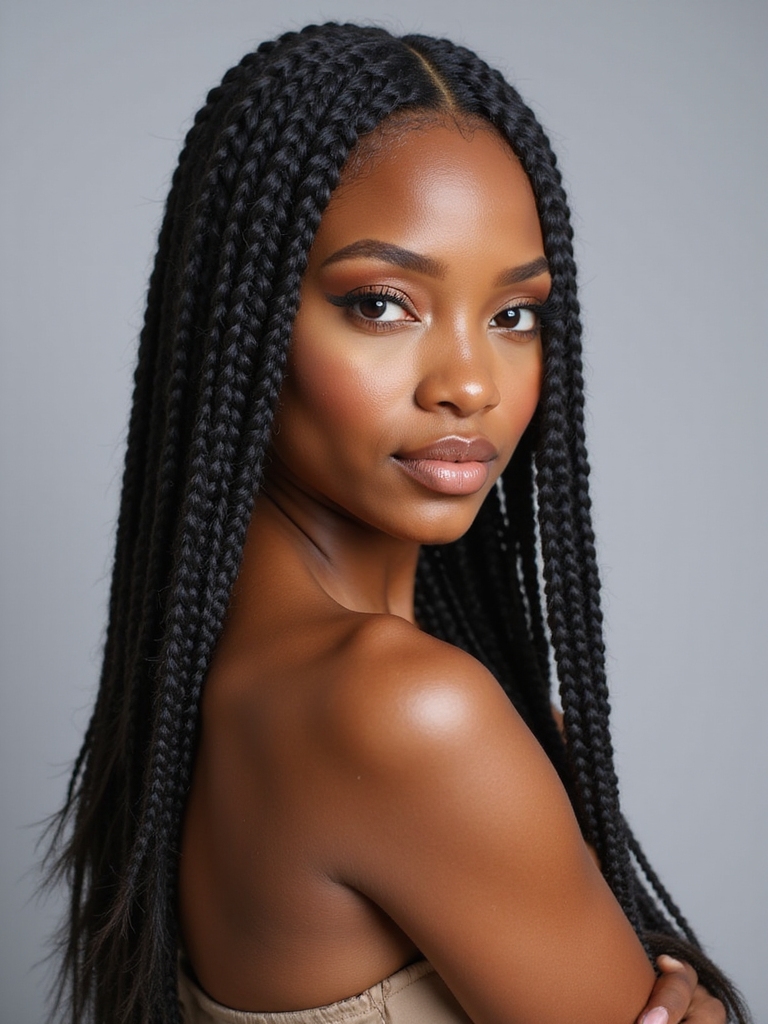
The classic version keeps the fluff moderate and even, giving you that recognizable soft, full braid without going overboard on the distressing. It’s the most versatile take and the one I’d point a first-timer toward.
Medium-sized braids strike the best balance here, big enough to install in a reasonable time, small enough to look refined and move nicely. They also put less weight on your scalp than very chunky braids.
This timeless version flatters almost everyone and suits any occasion, dressing up for an event or down for a beach day with nothing more than how you wear them. It’s the foundation every other variation builds on.
📋Before you book or start
- ✓Clean, moisturized natural hair
- ✓Soft, pre-stretched wavy extension hair
- ✓Edge control and a satin scarf for upkeep
- ✓A plan for gentle root tension
Getting a Tight, Secure Grip
A butterfly braid only looks soft on top of a secure foundation, so the root needs a firm anchor even though the body is fluffy. The first inch of braiding at the scalp is what holds everything in place for weeks.
There’s an important balance, though. Secure is good; painfully tight is not, and crossing that line is the fastest way to stress your edges and your scalp. I’ve taken down enough too-tight installs to mean that.
- Anchor the extension hair firmly in the first inch so the braid won’t slip.
- Keep the grip at your hairline gentle; if it stings, it’s too tight.
- Choose knotless-style starts where you can for less tension at the root. Compare in our knotless braids guide.
Transforming Braids Into Fluffy Wings

The magic step that gives these braids their name is pulling out the loops, the butterfly effect that turns a plain braid into soft, winged texture. This is what separates a flat braid from a true butterfly braid, and the technique is simple once you see it.
Work gently and gradually, since yanking loops out roughly just creates frizz. I tell everyone to go slow here, because patience is what keeps the fluff airy.
- Gently tug small loops outward from one side of each braid at even intervals.
- Keep the loop size consistent so the fluff looks deliberate and even.
- Pinch and fluff lightly with your fingers to soften and blend the loops together.
“Speak up the moment an install feels tight. A braider can almost always loosen the root without losing the style, and protecting your edges is far more important than a slightly neater part.”
Mixing Braids and Twists

You can build butterfly braids on either a braid or a two-strand twist base, and each gives a slightly different texture worth knowing about. Twists tend to fluff into a rounder, fuller cloud, while braids give a more defined, patterned look under the fluff.
Many braiders mix the two across a head for dimension, or use twists for speed since they work up faster than a three-strand braid. Trying both helps you find which texture you prefer.
- Two-strand twists: faster to install and fluff into a soft, round body.
- Three-strand braids: more defined and patterned, with a crisper base.
- A mix of both adds depth and lets you cover more head in less time.
Accessorizing Your Butterfly Braids
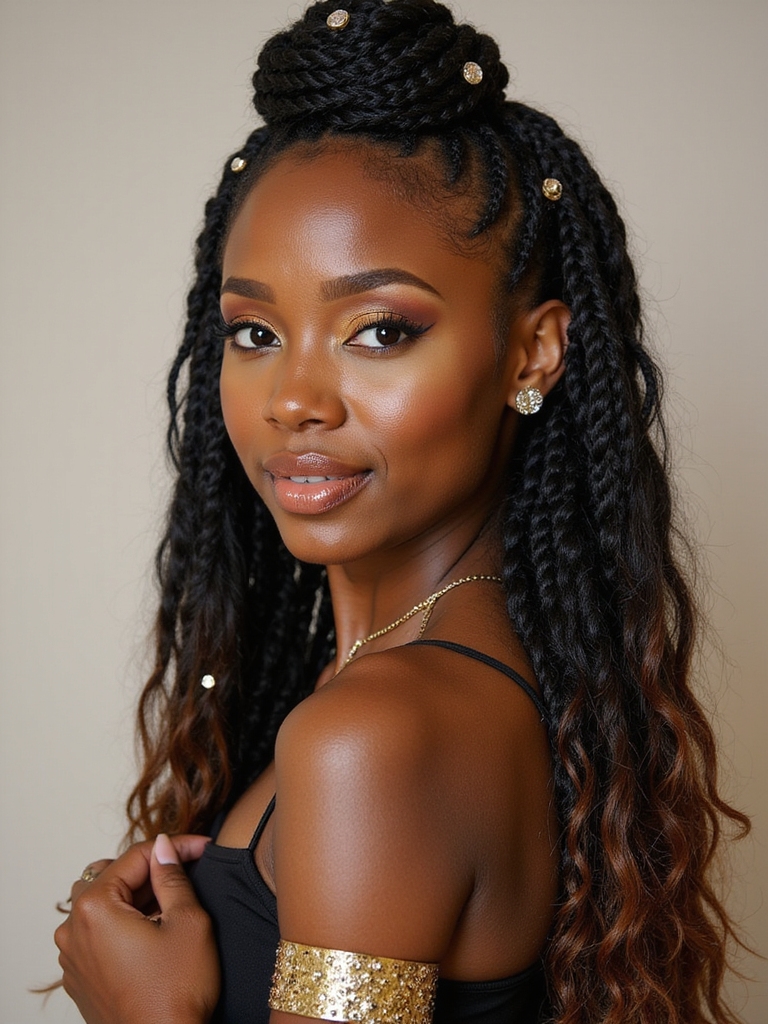
Accessories turn butterfly braids from a beautiful style into a personal statement, and the soft texture holds them beautifully. Gold cuffs, beads, cowrie shells, and thread wraps all nestle into the braids and catch the eye against the fluff. Each one carries its own little nod to traditional adornment, which adds meaning along with the sparkle.
Balance is everything: place accessories on a handful of braids, not all of them. A few cuffs near the face and a scattering of beads through the length reads chic, while loading every braid tips it into heavy and distracting. Let the fluff stay the main event and use the hardware to accent it.
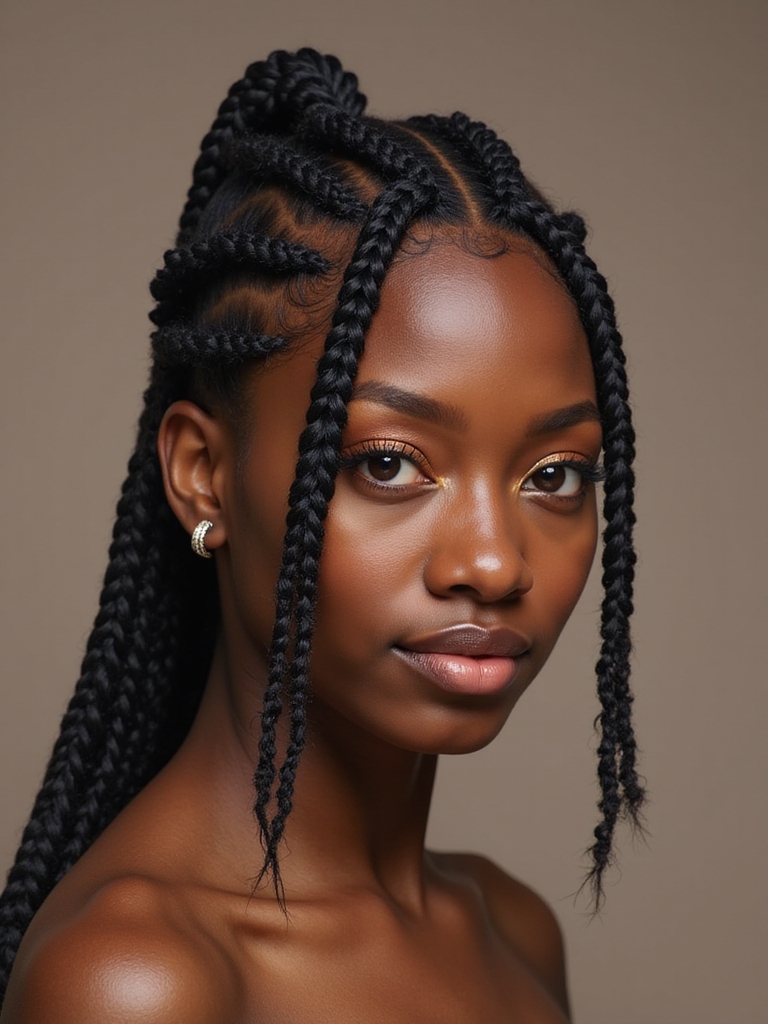
The Masterpiece Butterfly Braid

For a special occasion, you can take butterfly braids to an intricate, standout level with patterned parts and mixed sizes. This is the version that turns heads at a wedding or a milestone celebration. I save it for clients who want real drama.
- Start with a designed parting, like triangle or curved sections, for visual interest at the scalp.
- Mix braid sizes, using finer braids around the face and fuller ones through the back.
- Add coordinated accessories sparingly to finish the polished, refined effect.
Butterfly Braids for Your Face Shape

Like any style, butterfly braids flatter most when you tailor the length, volume, and parting to your face shape. A few small choices make the soft braids work with your features.
- Round face: longer braids and a center or side part to lengthen and slim.
- Long face: more fullness and volume around the cheeks to add width.
- Square or strong jaw: soft face-framing pieces and a curved part to gentle the angles.
Adding Braid Extensions

Extensions are how most people get that dramatic length and fullness, and they’re standard for butterfly braids since the wavy hair is what creates the fluff. They also mean you can wear the style on any natural length, even short hair.
Choosing the right hair makes all the difference between braids that look soft and natural and ones that look stiff. Pre-stretched, wavy human-blend or soft synthetic hair distresses most beautifully.
- Match the extension texture to the fluffy look, so wavy or pre-curled hair.
- Pick a length you’ll actually manage day to day, since very long braids are heavier.
- Soak synthetic hair in a vinegar-water rinse first to cut any itch-causing coating. See more long braided styles.
Caring for Braids to Last
Good care is the difference between braids that look fresh at week six and ones that look rough by week two, and the routine is quick once it’s a habit. The fluff especially needs gentle handling to stay soft.
- Tie the braids up in a satin scarf or bonnet every night to stop frizz and matting.
- Moisturize your scalp and refresh the length with a light braid spray a few times a week.
- Wash gently every couple of weeks with diluted shampoo squeezed along the scalp.
Adding Color to Your Braids

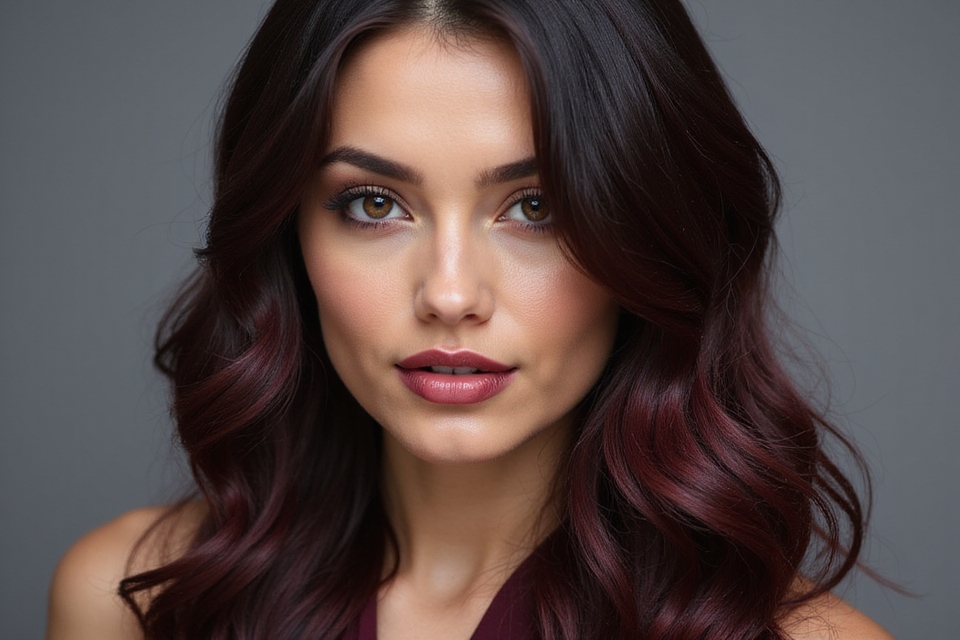
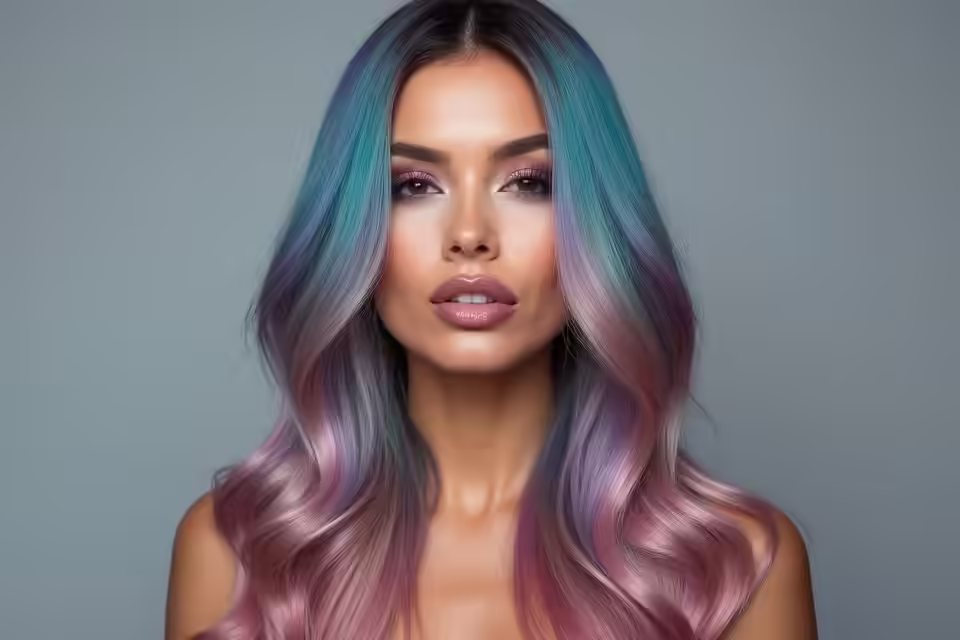
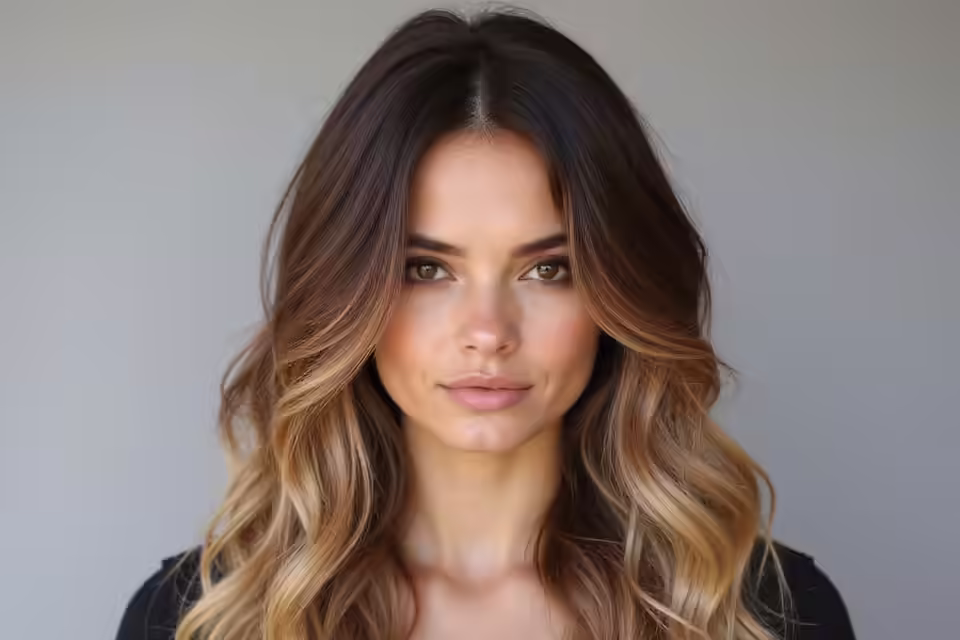
Color is one of my favorite ways to make butterfly braids your own, and because it lives in the extension hair, you get to experiment with zero commitment to dyeing your real hair. Burgundy, honey blonde, copper, and even pastel pieces all read beautifully against the soft texture.
You can go all over for a bold statement, add a few peekaboo braids in a pop color, or blend two shades for a sun-kissed, dimensional effect. Since the color washes out of your life the day the braids come down, it’s a low-risk way to try a shade you’d never commit to. Browse our burgundy braided styles for one rich option.
Weatherproof Butterfly Braid Styles

One of the best things about butterfly braids is how well they hold up to weather that would wreck loose styles, which is why they’re a vacation and festival staple. Humidity, sweat, and even ocean water don’t undo them the way they would a blowout.
A little planning keeps them looking their best through heat and water, so you can actually enjoy the pool instead of guarding your hair.
- Tie braids up or back for swimming, and rinse with fresh water afterward.
- Carry a travel braid spray to refresh and re-moisturize after sun and salt.
- Smooth flyaways and the fluff with a touch of light oil, and skip re-wetting everything.
Versatile Ways to Wear Them

Part of why people love butterfly braids is how many ways you can rock the same install, which keeps a six-week style feeling new. The length and flexibility give you real range, so you can switch the look up daily without ever touching the braids themselves.
- Down and loose to show off the full fluffy length and movement.
- In a high bun or ponytail to get them off your neck on hot days.
- Half-up with a few face-framing braids left down for an easy, pretty middle ground.
Whimsical Butterfly Braid Styles

If you love a more playful, creative look, butterfly braids are a wonderful canvas for whimsy, from heart-shaped parts to braids wrapped with colorful thread. This is where you can let personality lead.
These imaginative touches are especially popular for festivals, photoshoots, and anyone who treats their hair as self-expression. The soft base makes even bold ideas feel approachable.
- Heart or star-shaped parts at the crown for a sweet, eye-catching detail.
- Thread or yarn wraps in fun colors twisted down a few braids.
- Mixed pastel or jewel-tone extension pieces scattered through for a dreamy effect.
An Elegant Butterfly Braid Updo

Butterfly braids dress up beautifully into updos, which makes them as event-ready as they are everyday. Gathering the soft braids into a sculpted shape feels romantic and refined.
- Sweep all the braids into a high or low bun, letting the fluff add soft volume.
- Keep a couple of front braids out to frame your face and soften the shape.
- Add a single gold cuff or a fresh flower for a wedding-ready finish.
A Celebration of Cultural Identity

For many who wear them, butterfly braids are more than a pretty style; they’re a connection to heritage and a daily act of self-expression. Braiding traditions carry history, community, and pride, and choosing a protective braided style is part of that ongoing story.
That depth is worth holding onto whoever you are. Wearing butterfly braids with knowledge and respect, caring for them properly and appreciating their roots in Black hair culture, lets the style be what it has always been: a celebration of texture, artistry, and identity.
Common Braiding Mistakes to Avoid
A few avoidable mistakes are what separate butterfly braids that look incredible from ones that disappoint, and most of them are simple to avoid once you’ve seen them. The biggest is braiding too tightly at the root, which hurts and can stress your edges over time, so always speak up if an install feels painful. Clients ask me about this one constantly.
Tension and over-fluffing
The second common slip is creating the fluff too aggressively, yanking loops out so hard that you get frizz where you wanted soft wings. Gentle, gradual loop-pulling is what gives that clean, airy texture.
Finally, plenty of people skip the upkeep, then wonder why their braids look rough after two weeks. A satin scarf at night and a little scalp moisture go a long way toward keeping them fresh for the full wear.
Red-Carpet Butterfly Braid Inspiration

Butterfly braids show up on red carpets and music stages styled in ways that are well worth borrowing, since the high-glam versions are mostly about scale and finish. The braids you see in those photos lean into either dramatic length or sculptural updos.
Borrow the scale, keep your own look
What makes the polished versions look so expensive is precise parting, soft even fluff, and minimal but deliberate accessories. None of that is out of reach at home or with a good braider.
Use the looks as a mood board to spark ideas. Note the length, the part pattern, and how the braids are styled, then adapt the parts you love to suit your own face and lifestyle.
Dazzling, Expressive Braids

In the end, what makes butterfly braids so beloved is how expressive they are, a style that holds for weeks yet lets you show exactly who you are. Between length, color, accessories, and how you wear them, no two heads of butterfly braids look the same.
That combination of protection and personality is rare in a hairstyle. You get to give your natural hair a real rest while wearing something that turns heads and feels completely yours.
- Protective for your natural hair, with weeks of low-effort wear.
- Endlessly customizable through length, color, and accessories.
- Equally at home at a festival, a wedding, or a regular Tuesday.
Wearing Your Wings
Butterfly braids reward a little knowledge: understand the firm-root, soft-body balance, treat them as the protective style they are, and they’ll carry you through weeks of festivals, workdays, and lazy weekends looking soft and intentional the whole time.
If you’ve been tempted by those fluffy, winged braids on your feed, now you know what goes into them and how to keep them looking their best. Pick your length, choose your color, find a braider you trust or set aside an afternoon, and give your natural hair the rest while you wear something that feels like you.