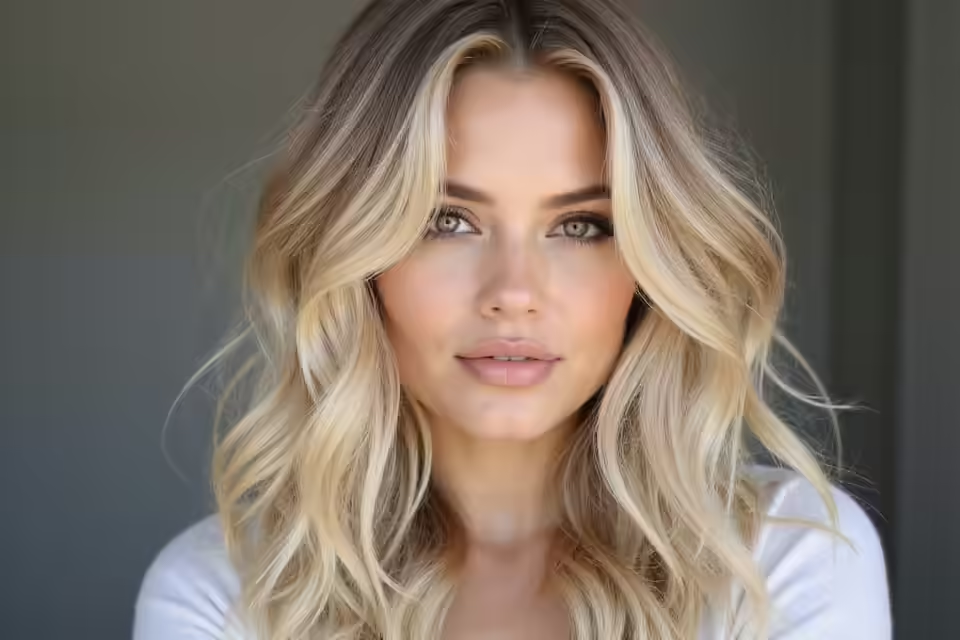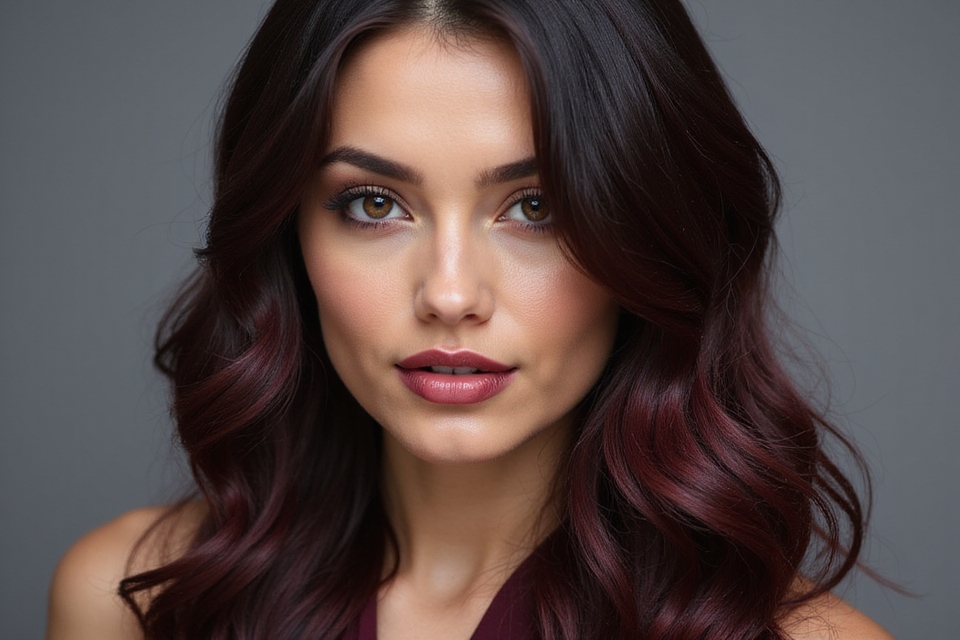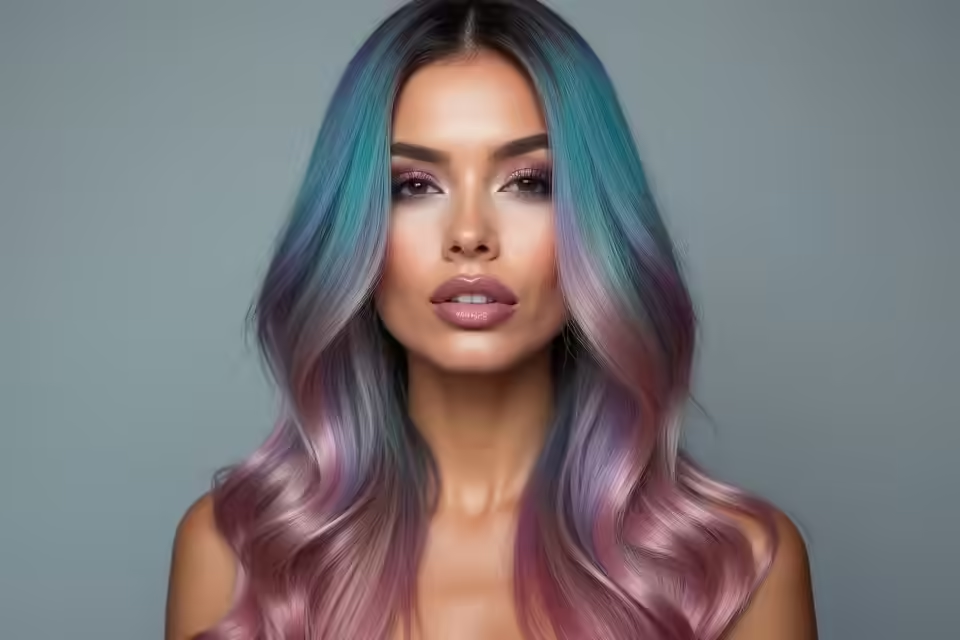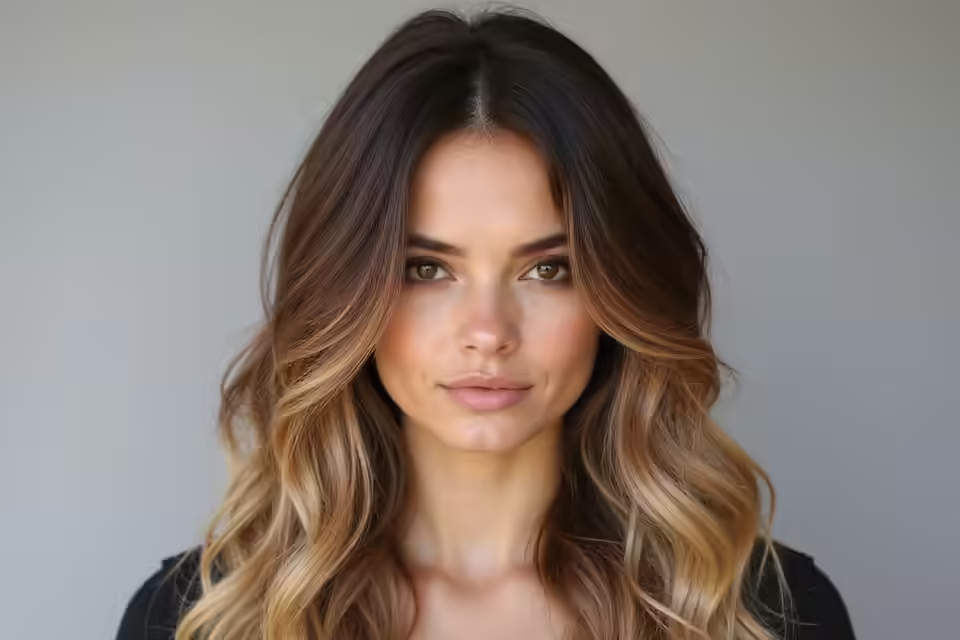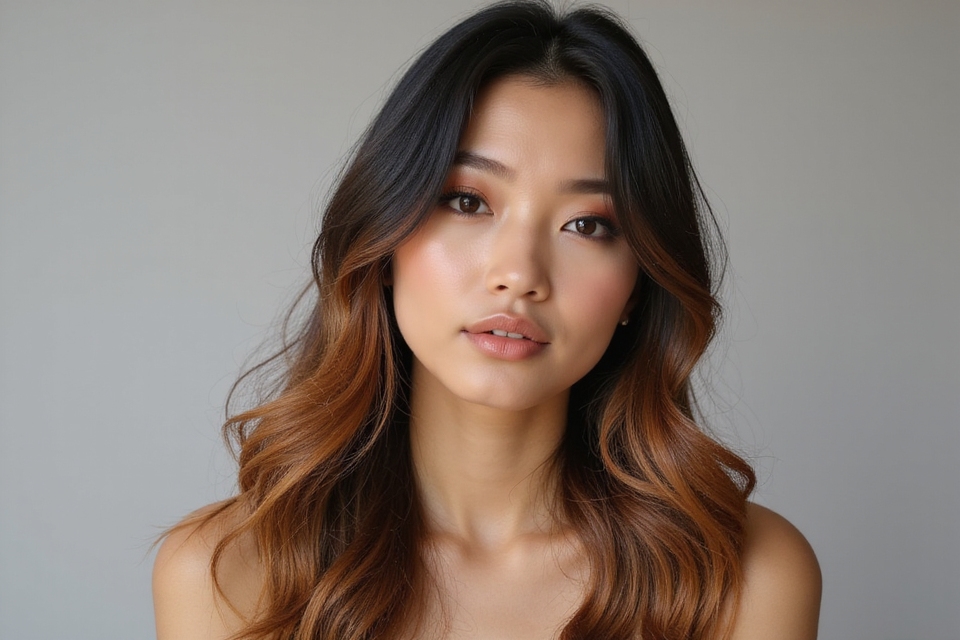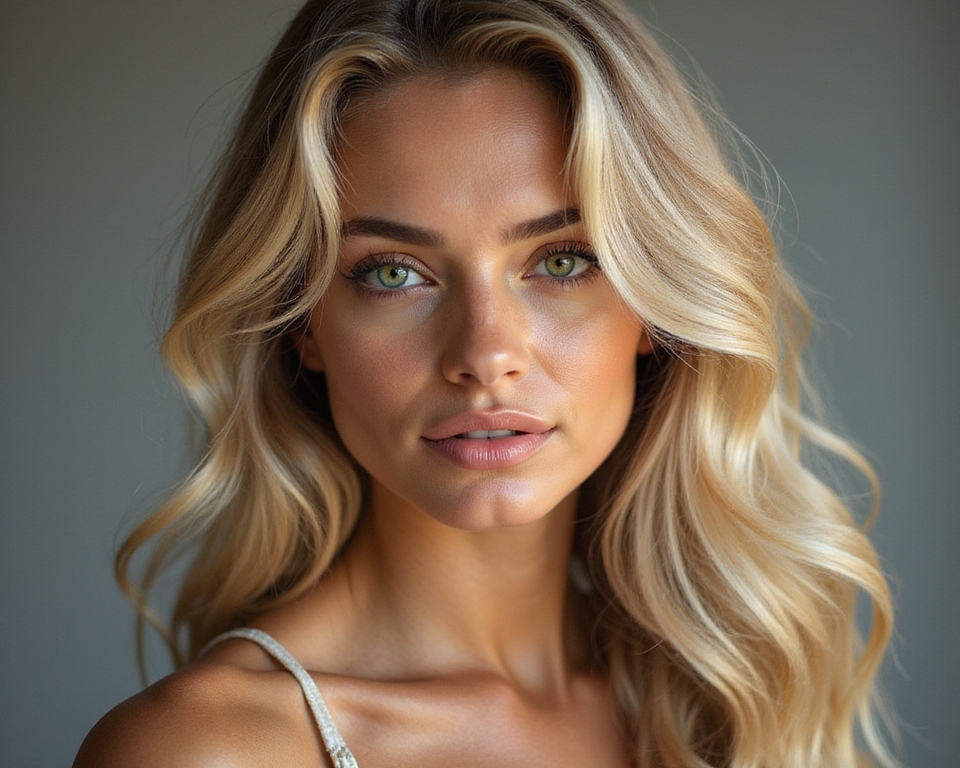
Fairy waves are the loose, undone waves that look like you slept on a soft braid and woke up with romance in your hair: relaxed at the roots, bending gently through the mid-lengths, always soft and a little uneven. The whole point is that worn-in, just-happened feeling, not a set of matching curls.
They look like no effort, which is exactly why people assume they are hard. They are not. This guide covers the tools, how to prep, both heat and heatless ways to get fairy waves, how to make them last, and how to adapt them to your hair texture and face, so you can wear that ethereal, romantic look any day you like.
Fairy Waves in Brief
Do I need heat to get fairy waves? No. Overnight braids, twists, or foam rollers give soft heatless waves, while a wand or curling iron is faster and lasts longer. Naturally wavy and curly hair can simply enhance its own pattern.
How do I stop them falling flat? Let each wave cool fully before you touch it, brush through with fingers or a wide comb rather than a brush, and set with a light-hold spray. A little sea salt spray adds grip and that undone bend.
What tool gives the softest waves? A 1 to 1.25 inch wand or curling iron, alternating the direction of each section. Leaving the ends out keeps them looking modern and undone.
The Charm of Fairy Waves
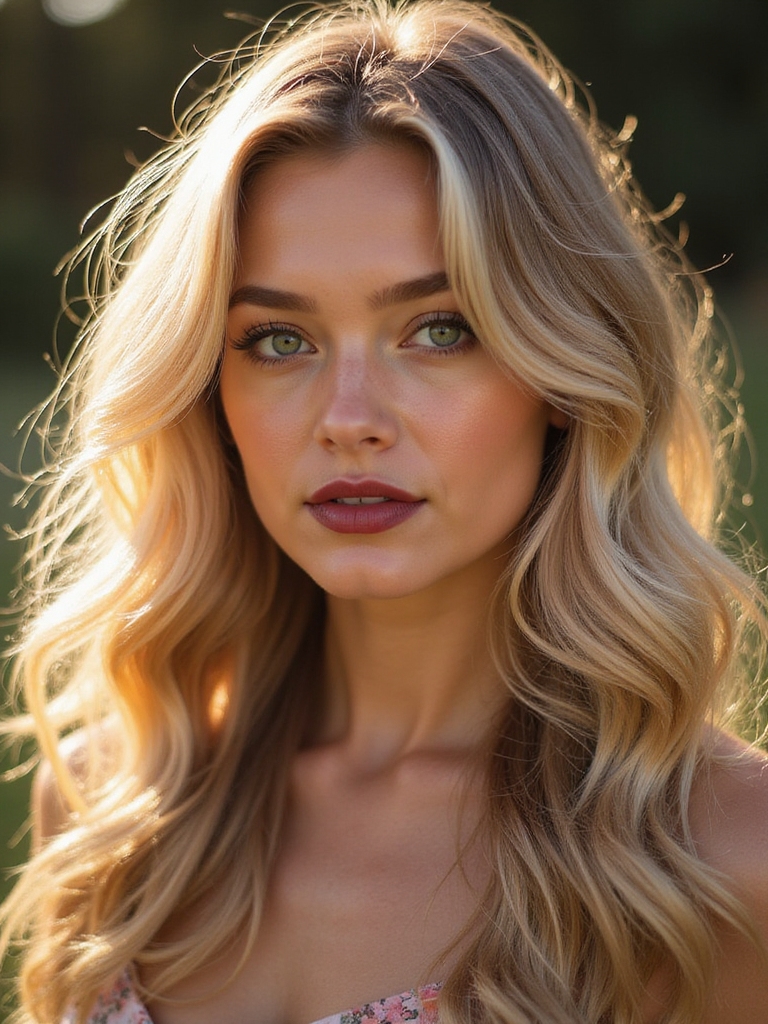
What sets fairy waves apart from a polished curl is how loose and irregular they are. They are meant to look soft and a little undone, which is why they come across as romantic and easy. A few things define them:
- Loose roots, with the wave starting around eye level or lower, well below the scalp.
- An S-bend through the lengths, softer and wider than a tight curl.
- Ends left straighter, which keeps the whole look modern and airy.
The Styling Tools You Need
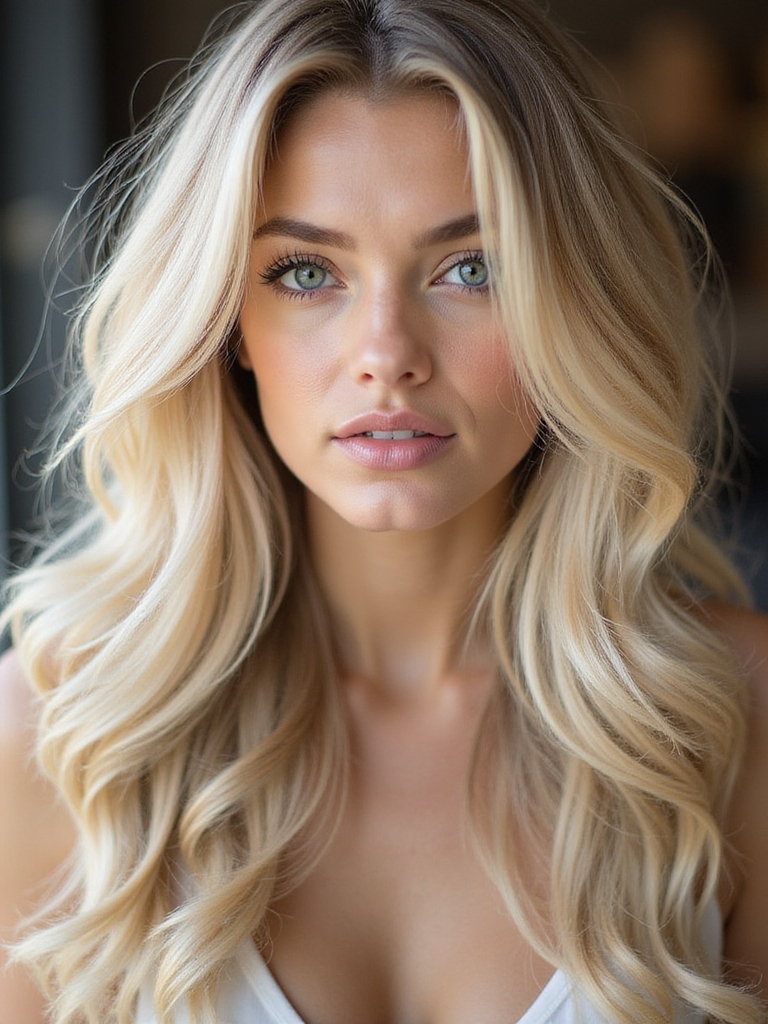
A short, focused kit is all fairy waves take. The core item is a curling wand or iron in a medium barrel, which gives that loose, open bend.
Heat Protectant Comes First, Always
Beyond that, a good heat protectant is non-negotiable before any hot tool, usually $10 to $25 for a bottle that lasts months. A sea salt or texture spray adds grip and the slightly gritty, undone feel that makes waves look natural.
A wide-tooth comb and your fingers do the rest. Skip a fine brush, which pulls the waves out into frizz.
Prepping Hair for Fairy Waves
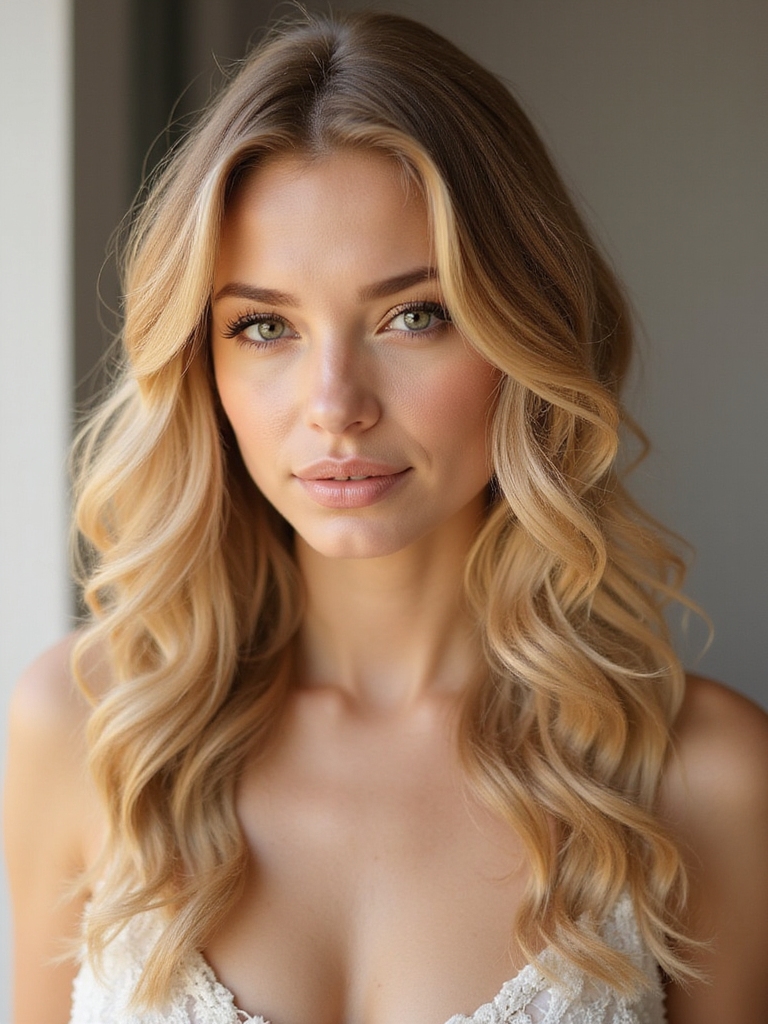
Waves hold far better on prepped hair, and the prep starts before you ever pick up a tool. Clean, fully dry hair with a little texture takes and keeps a wave best:
- Start with day-old hair or add dry shampoo, since freshly washed hair is too slippery to hold.
- Apply heat protectant through the mid-lengths and ends before any hot tool.
- Add a light mousse or sea salt spray to give the waves grip from the start.
Choosing the Right Curling Iron
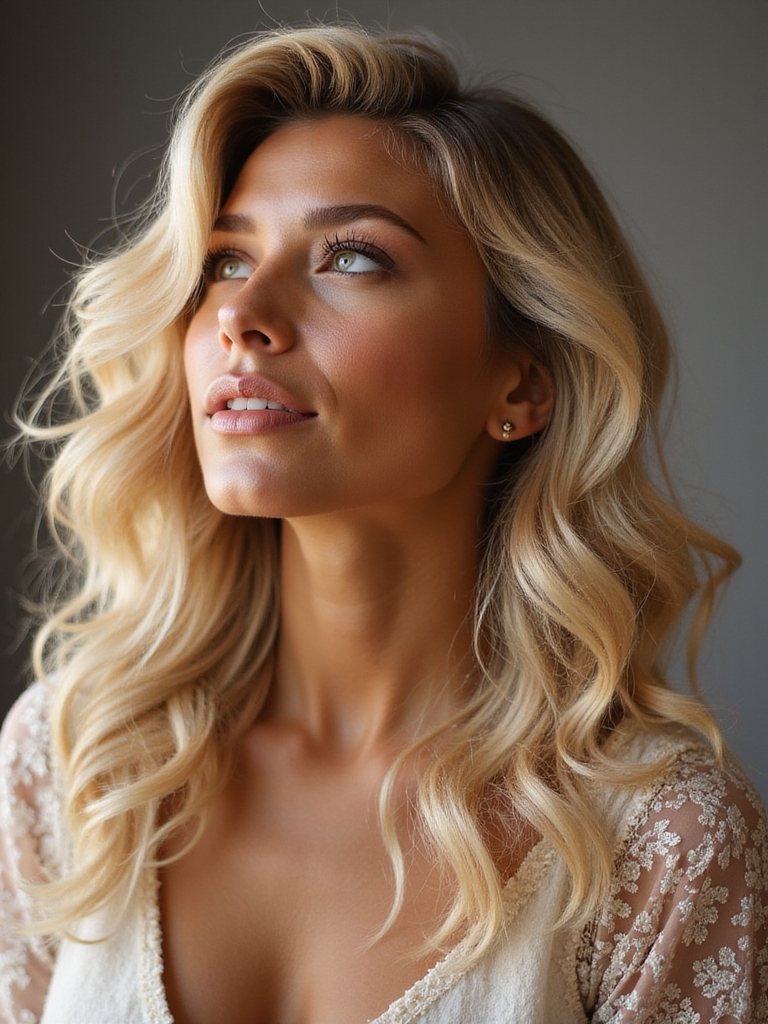
Barrel size decides the size of your wave, and for fairy waves you want something on the larger side. A 1 to 1.25 inch barrel gives a loose, open S-bend, while anything smaller turns into defined curls that look too set for this style.
A clipless wand is the easiest choice because it lets you leave the ends out naturally, which is key to the undone look. A traditional clamp iron works too; you just open the clamp at the ends so you do not wrap all the way down.
Temperature matters as much as size. Fine hair waves at a lower heat around 300 degrees, while thick or coarse hair may need closer to 375, so start low and only go up if the wave will not hold.
Creating the Waves, Step by Step
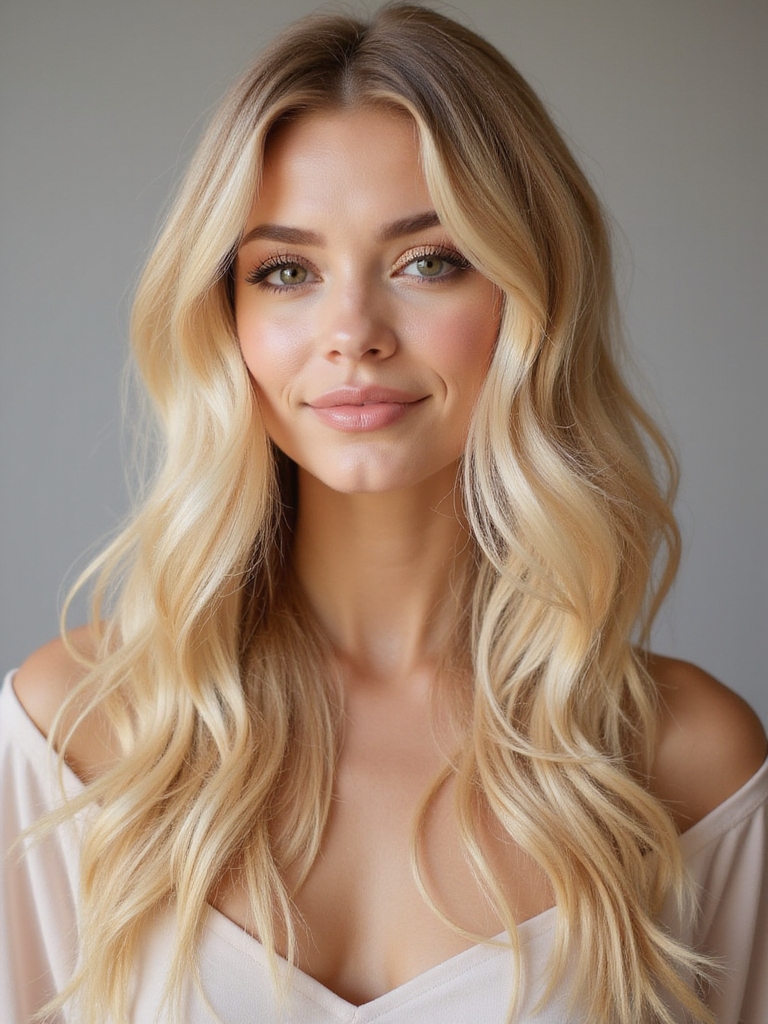
The technique that gives waves their loose, undone shape is alternating direction. Take a section, wrap it away from your face, then wrap the next section toward your face, and keep alternating all the way around.
Alternate Every Section’s Direction
Leave the last inch or two of each section out of the iron so the ends stay straight and undone. Hold each wrap for only a few seconds, since you want a soft bend, not a tight spiral.
Work in larger sections than you think for a looser result, and once everything is waved, let it cool completely before you touch it. That cool-down is what sets the shape.
Making the Waves Last
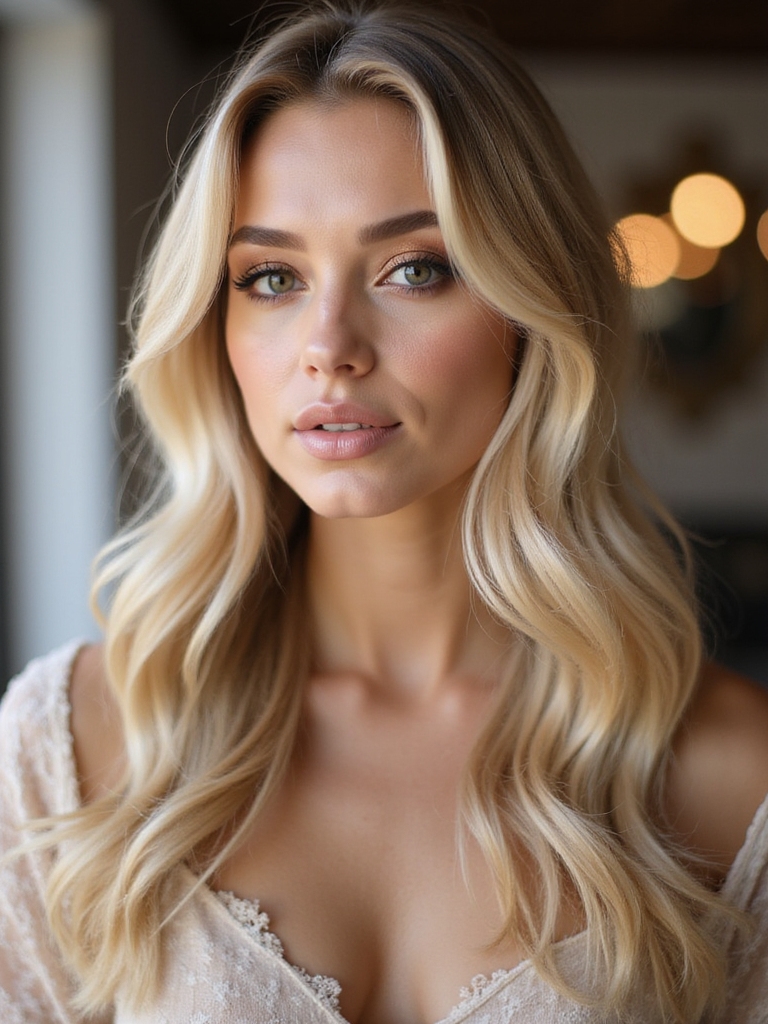
Soft waves can drop faster than tight curls, but a few habits keep them bending well into the evening.
- Cool before you touch, clipping each warm wave up to set if you have time.
- Break them up with your fingers, then mist with a light-hold spray.
- Refresh with a little sea salt spray and a scrunch if they loosen during the day.
A Lightweight Hold That Moves
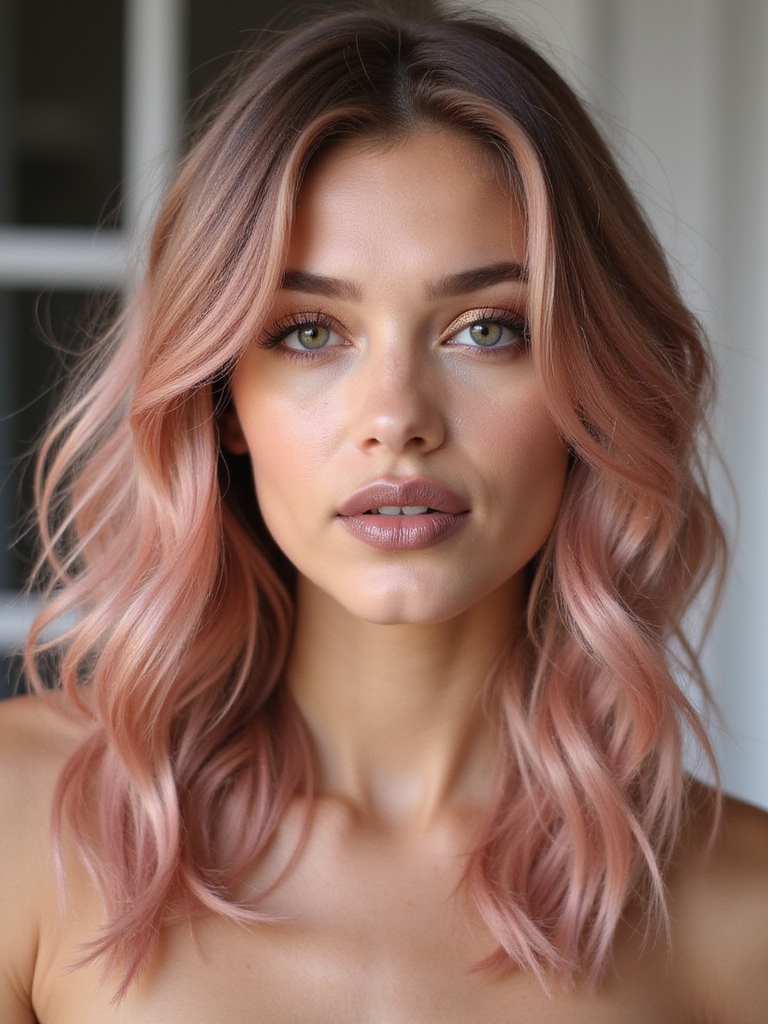
The wrong product can flatten fairy waves into a crunchy, stiff shell, which kills the soft movement that makes them pretty. The goal is a hold light enough that your hair still moves and catches the light.
Reach for a flexible-hold hairspray or a light texture spray, and skip strong-hold formulas and heavy gels. A working spray that lets you rescrunch is ideal, since you can reshape the waves through the day.
If your hair tends to fall flat, mist the spray underneath the top layers, where it adds hold without coating the surface.
Boho-Chic Fairy Wave Styling
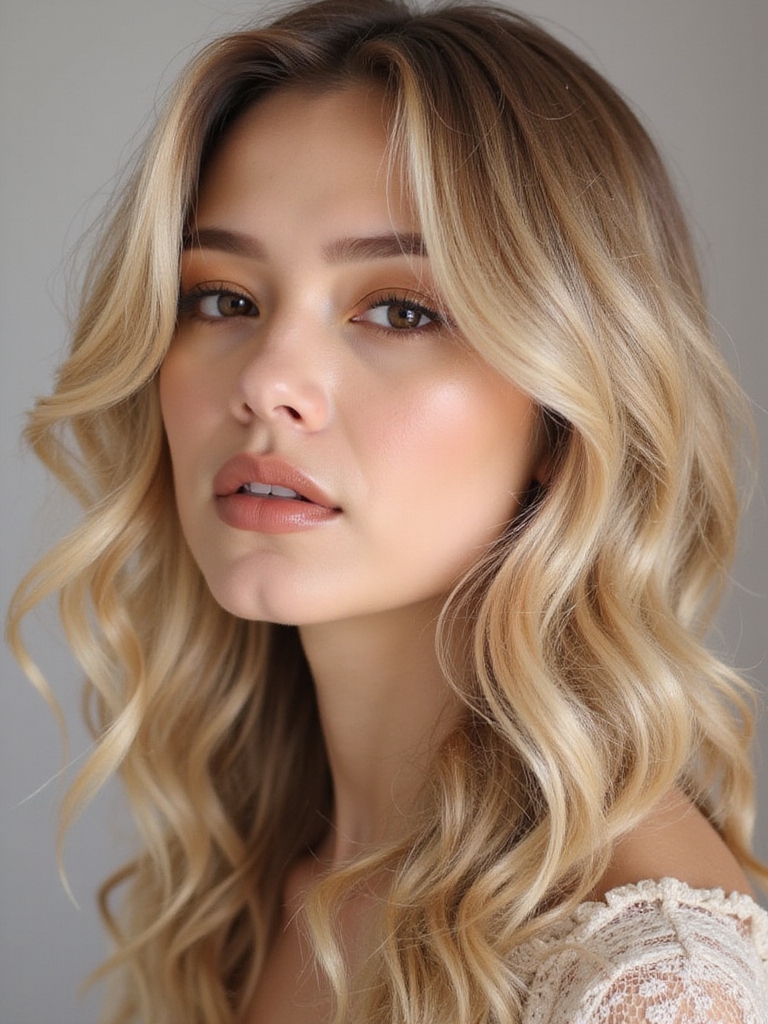
Fairy waves are the natural partner to a boho look, all soft texture and easy movement. Styled a little more undone, they suit festivals, outdoor weddings, and lazy summer days.
Ways to take them boho:
- Add a few thin braids scattered through the waves for a free-spirited feel.
- Tuck in a single flower or a thin chain for a soft, free-spirited touch.
- Rough up the texture with extra salt spray so it looks wind-tousled.
Fairy Wave Hairstyles to Try
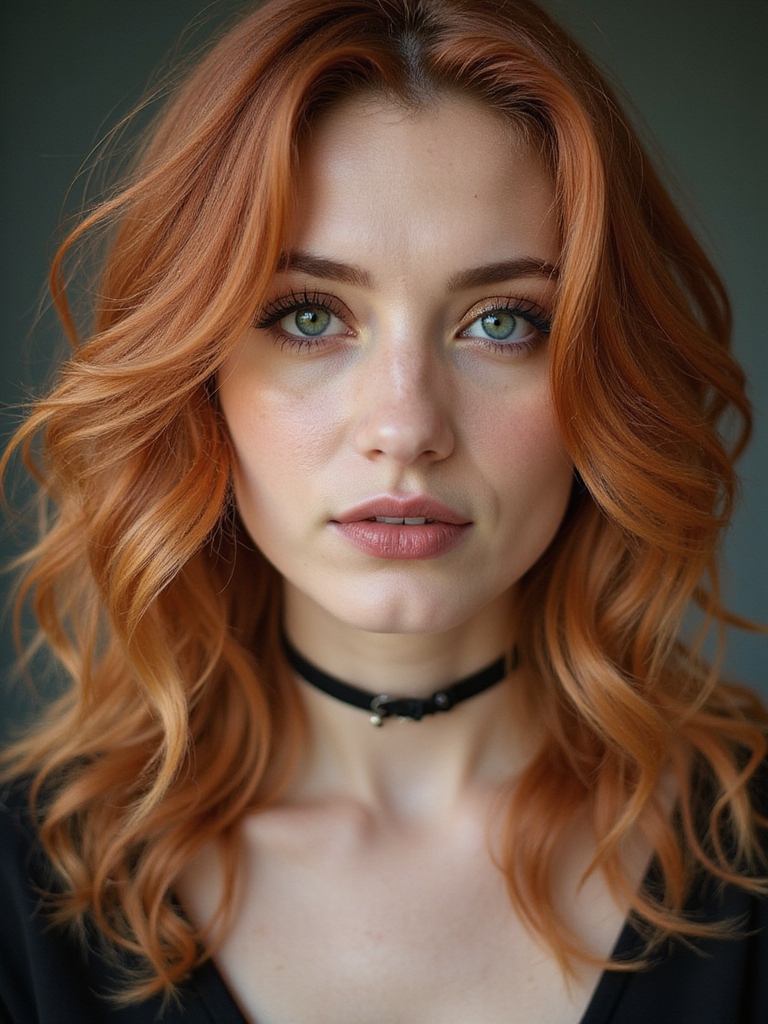
Fairy waves are a texture more than a single hairstyle, so they slot into plenty of looks. A few of my favorites to build on that soft wave base, and you can see more in any wavy hairstyles gallery:
- A half-up twist that pulls the front back and lets the waves fall loose behind.
- A loose, low bun with face-framing waves left out around the face.
- An all-down style with a deep side part for that soft, romantic drape.
ℹ️Good to Know
Waves drop because warm hair is still soft and reshaping as it cools. Clipping each curl up while it cools, or even waiting ten minutes before you touch anything, sets the bend far longer than spraying alone.
Braids and Whimsical Accessories
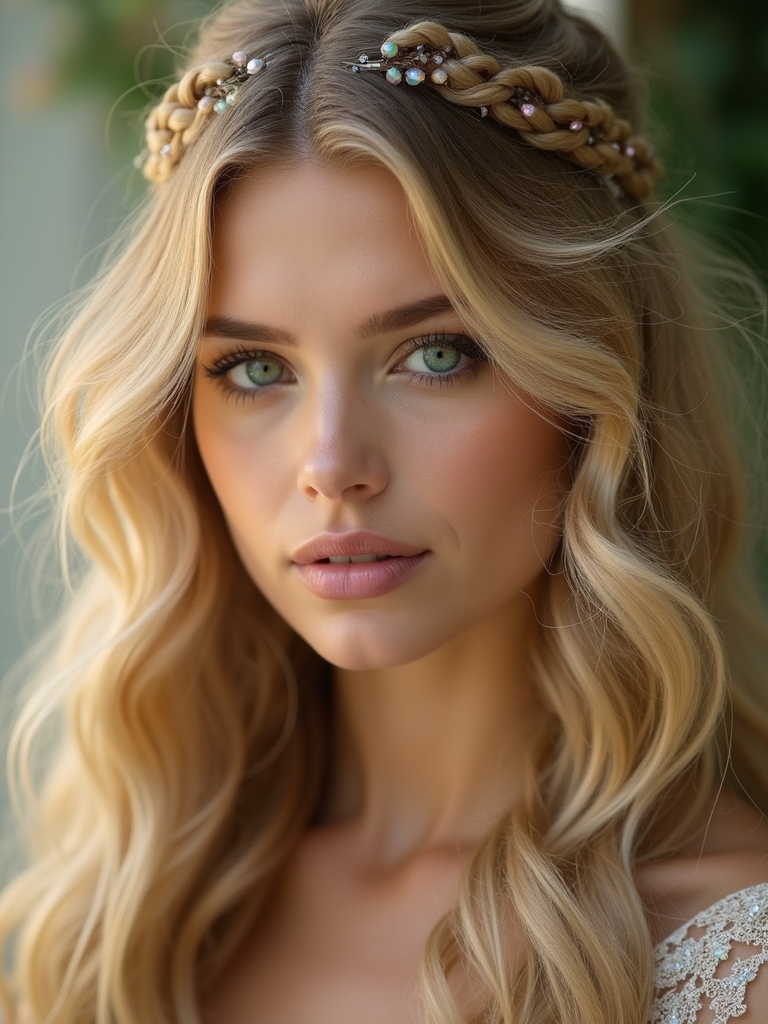
Waves and a few delicate touches turn an everyday look into something a little magic. What matters is keeping accessories light so they do not weigh the soft texture down.
- A small braid into the side that disappears into the waves keeps it subtle.
- Tiny pearl or star pins scattered near the crown add a fairy-tale glint.
- A thin ribbon or hair vine woven loosely reads romantic without crushing the waves.
Soft, Romantic Fairy Waves
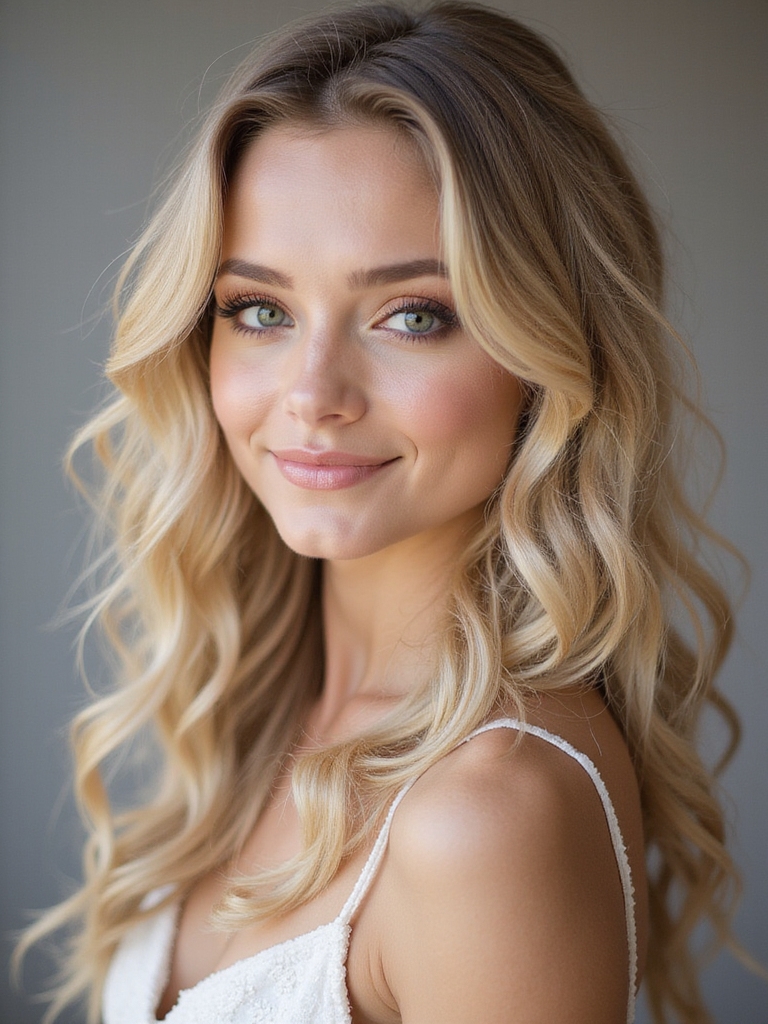
For the most romantic version, you want the waves at their softest and most diffused, barely-there bends that look like they happened on their own. This is the look I steer brides and anyone after a dreamy, photo-ready finish toward.
To get there, use a larger barrel, leave more of the ends out, and brush the waves out more than you think, with your fingers or a soft paddle, so they blur into a single soft wave. The more you loosen them, the more ethereal they look.
🅰️Curling Wand
Clipless, so you naturally leave the ends out for an undone finish; a small learning curve to avoid burning your fingers.
🅱️Clamp Iron
Easier to handle and great for the twist-and-glide method; just open the clamp at the ends so they stay straight.
An Easy Beachy Wave
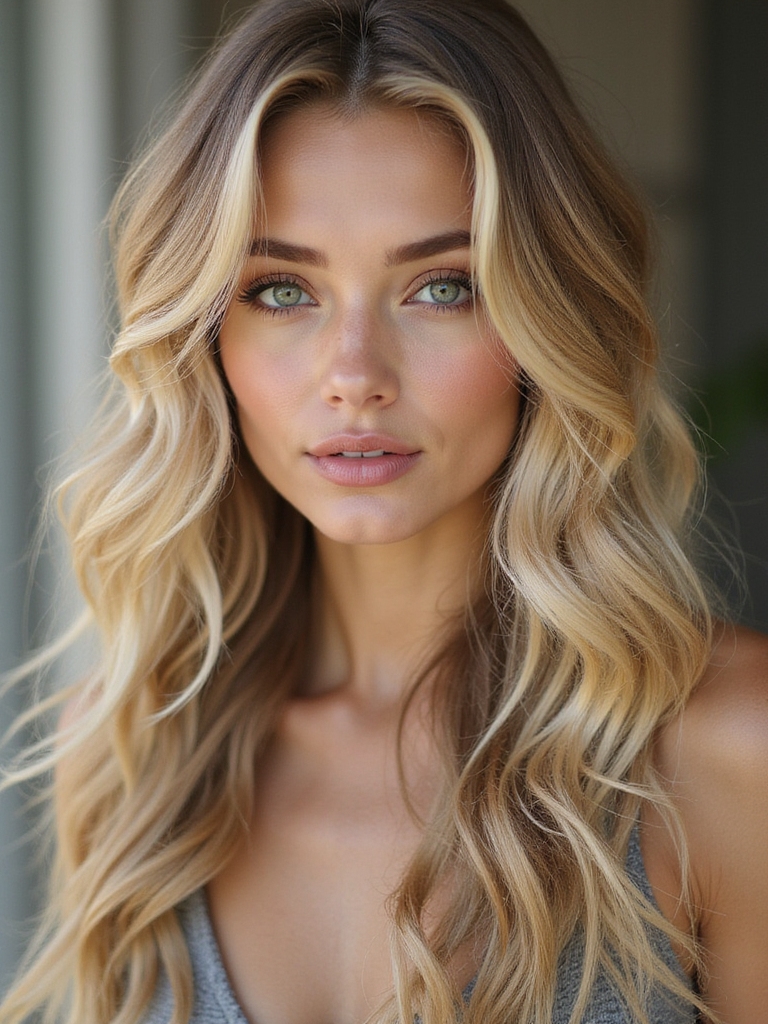
The beachy cousin of fairy waves is even more relaxed, the kind of texture you get from a day by the sea. It is the quickest version and the most forgiving, and since it is built on damp hair, the wet wavy hair method is a great place to start if you are new to waves.
Spray damp hair with a sea salt spray, then let it air-dry, or speed it up under a diffuser while you twist sections in your hands. For a little more shape, wave just a few face-framing pieces with a wand and leave the rest to the salt spray and air.
Overnight Care for Your Waves
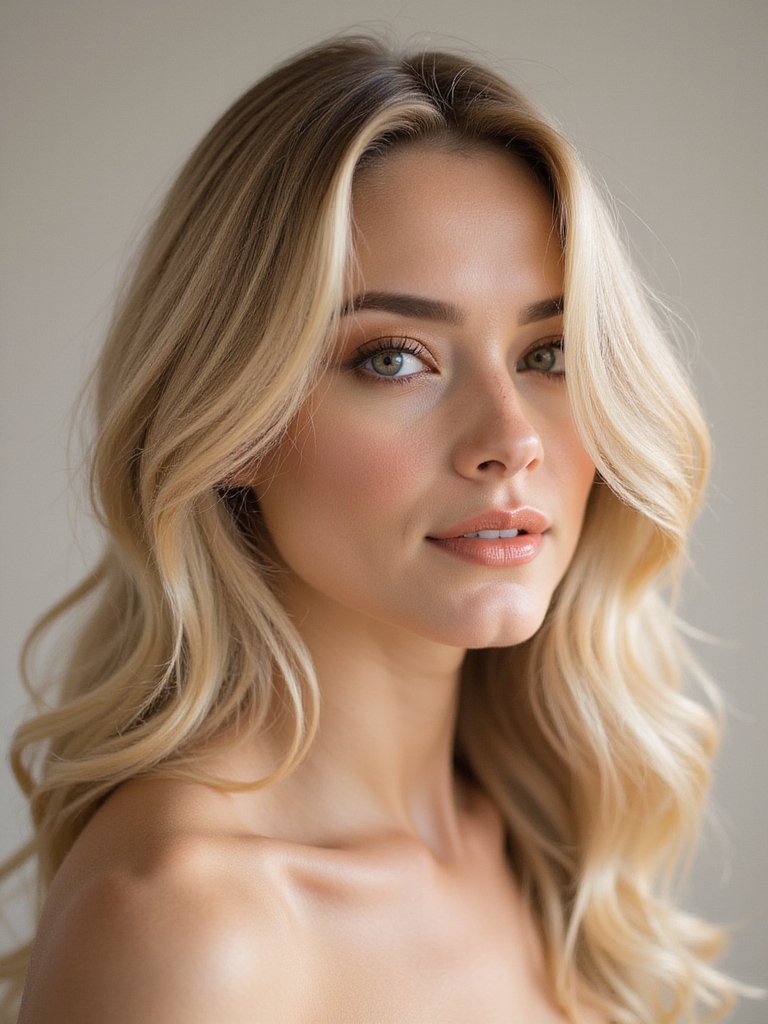
A little care overnight means your waves are still wearable the next morning, which doubles the life of your styling. Sleep can either preserve soft waves or flatten them, depending on how you protect them:
- Loosely pineapple long hair on top of your head or tie it in a soft, high, loose bun.
- Switch to a silk or satin pillowcase, which reduces the friction that causes frizz.
- Revive them next morning by misting a little water or salt spray and scrunching.
Dressing Fairy Waves Up
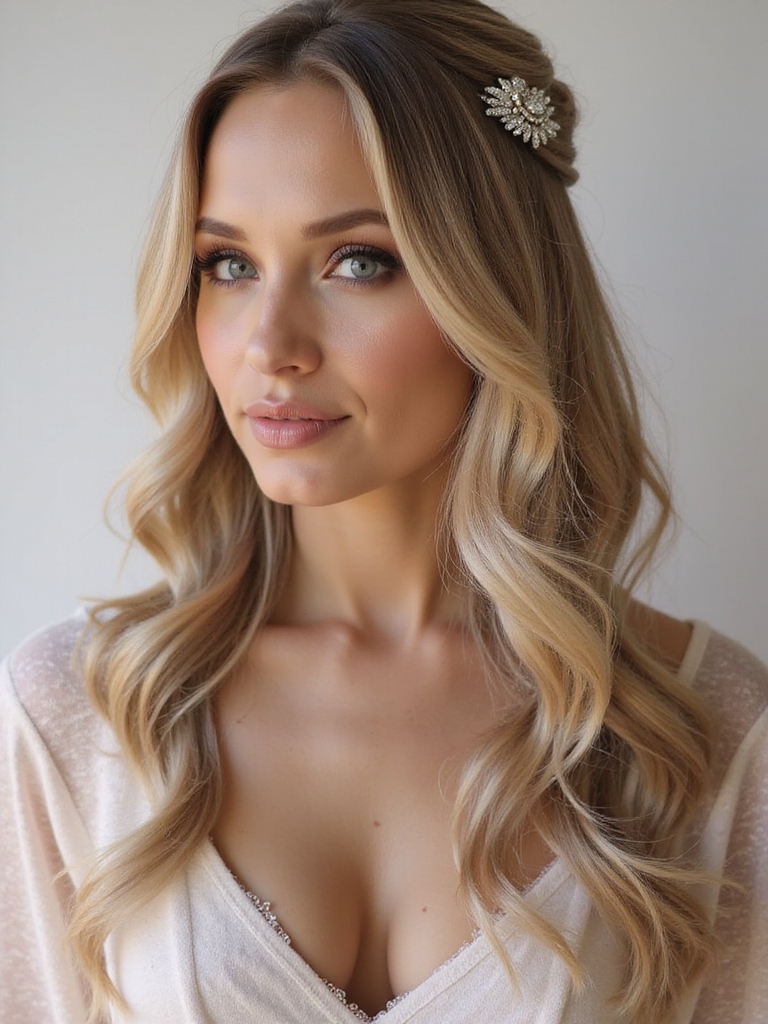
Fairy waves go well beyond casual days; with a few tweaks they dress up beautifully for weddings, parties, and special evenings. The soft texture actually photographs more flattering than a stiff, formal set.
To dress them up for an event, add a bit more polish at the crown with a smooth, slightly teased root, and pin one side back with a pretty clip to show your face. A shine spray over the top catches the light for that finished, special-occasion look.
Pairing waves with face framing curtain bangs is a lovely way to frame the face for a dressier moment, since the soft fringe echoes the soft waves.
Fairy Waves With a Straightener
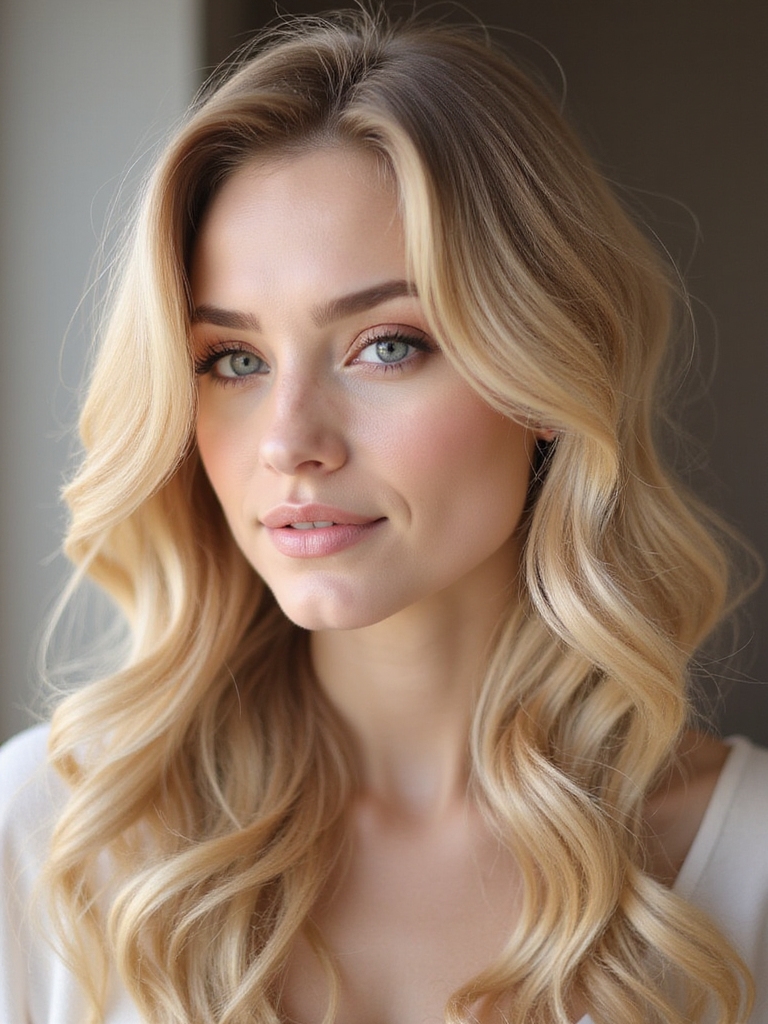
If a wand intimidates you, a flat iron can make beautiful fairy waves with a simple twist-and-glide motion. Clamp a section near the root, turn your wrist to roll the iron a half-rotation, and ease it downward, repeating that motion as you travel down.
The bends come out softer and more S-shaped than a wand’s, which actually suits fairy waves well. Alternate the direction of the turn on each section, just as you would with a wand, for that undone, irregular look.
Go slowly and keep the iron moving the whole time, and leave the ends out for that signature soft, straight finish.
A few fairy-wave terms worth knowing:
📖S-bend
The loose, open wave shape, wider and softer than a spiral curl, that defines fairy waves.
📖Pineapple
Loosely gathering hair high on the head at night to protect waves and curls while you sleep.
📖Texture or sea salt spray
A light product that adds grip and a slightly gritty, undone feel so waves look natural.
Fairy Wave Mistakes to Avoid
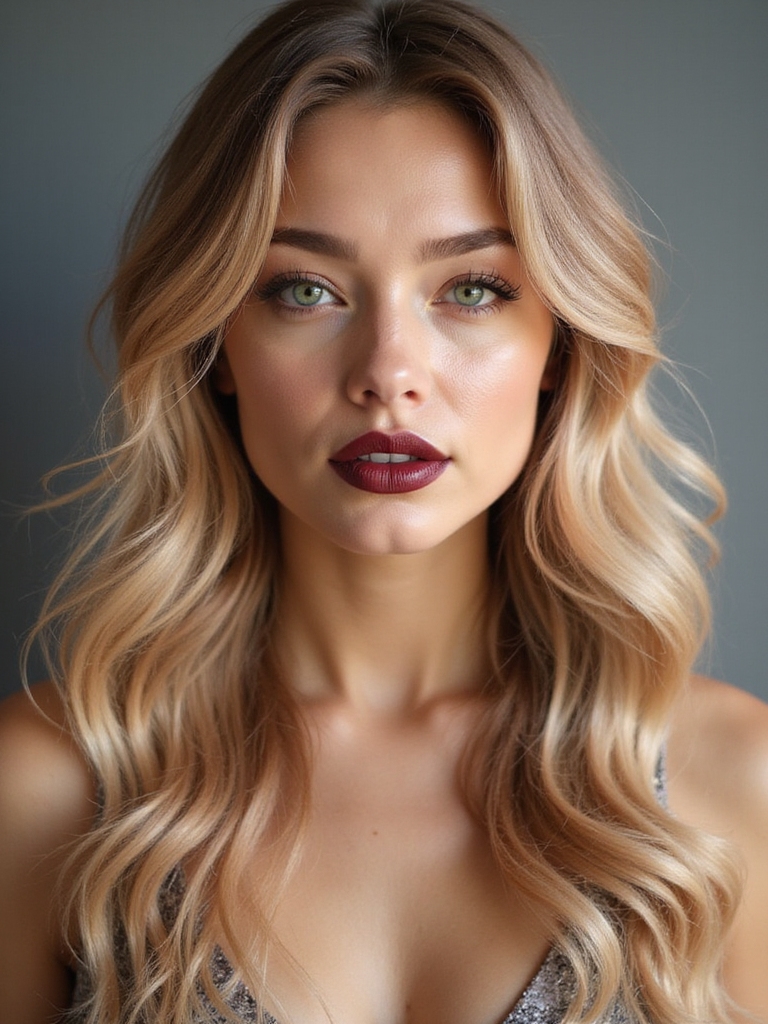
Most fairy wave fails come from a handful of fixable habits, and avoiding them is half the battle. The mistake I see most is brushing the waves out hard right after curling, which drops them flat in minutes.
- Touching the waves while hot, before they have cooled and set.
- Using too small a barrel, which gives tight curls instead of soft waves.
- Loading on heavy product, which weighs the soft texture down and kills the movement.
Where to Find Fairy Wave Inspiration
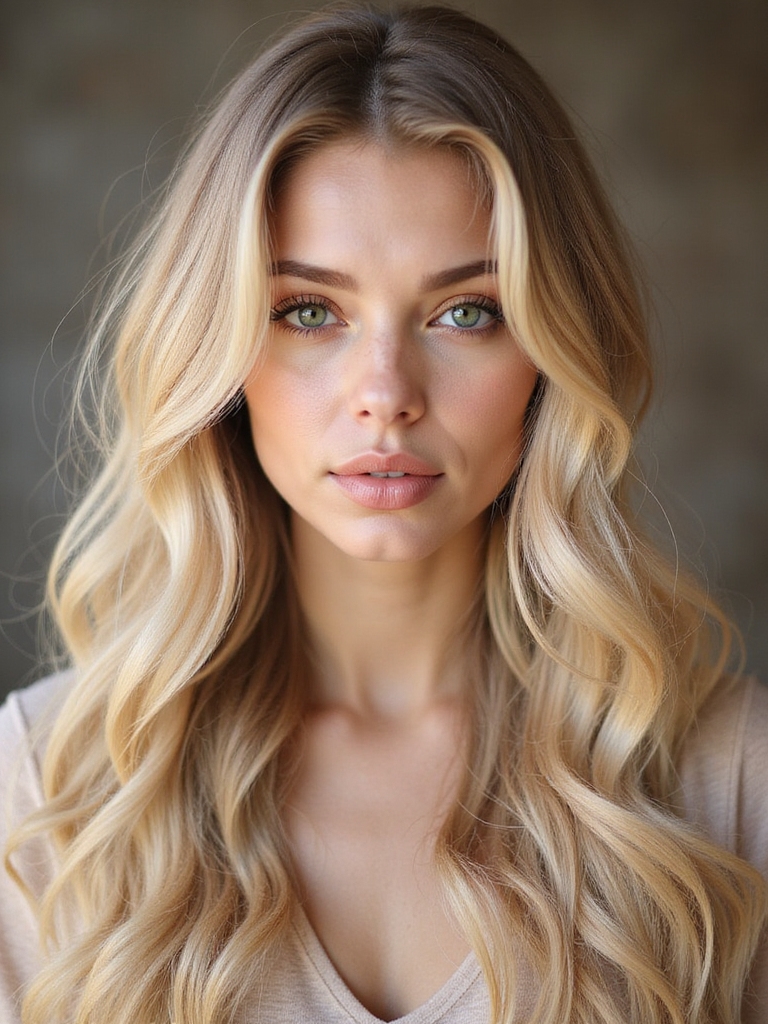
Good inspiration helps you communicate what you actually want, whether you are recreating a look yourself or showing a stylist. Save several photos and look closely at the details that define the wave.
Pay attention to where the wave starts, how loose the bend is, and whether the ends are left out, since those three things change the whole feel. Collecting shots on hair length and texture close to yours gives you a far more realistic picture of how it will turn out.
Most of all, look for waves that match your patience level. A barely-there, undone wave is far easier to maintain than a structured, glossy one, so be honest about which you actually want day to day.
💡Pro Tip
Curl the two pieces framing your face away from you first and a touch looser than the rest. They show most in photos and in the mirror, so getting them right makes the whole look feel finished even if the back is imperfect.
Fairy Waves on Any Hair Color
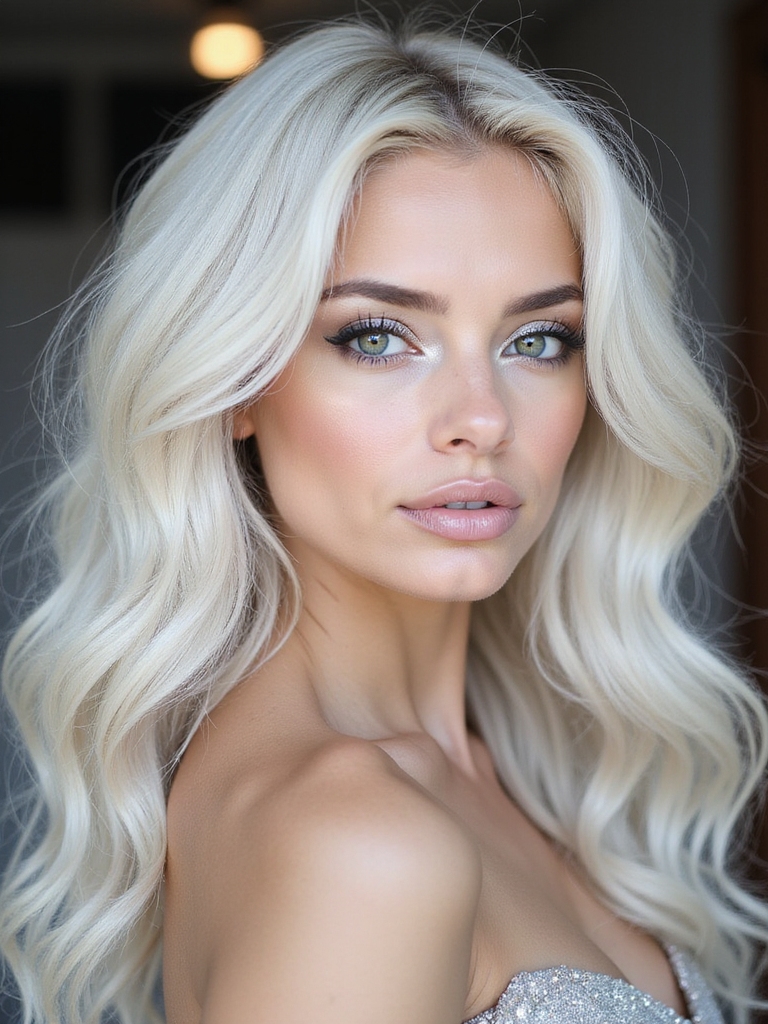
One of the best things about fairy waves is how they show off color, since the S-bends catch the light and reveal every tone in your hair. They flatter any shade, and a few in particular:
- Dimensional and balayage color comes alive as the waves move light through it.
- Solid colors gain depth and the illusion of dimension from the wave’s shadows.
- Pastel and fantasy shades look extra dreamy with soft, romantic waves.
Customizing Waves for Your Face
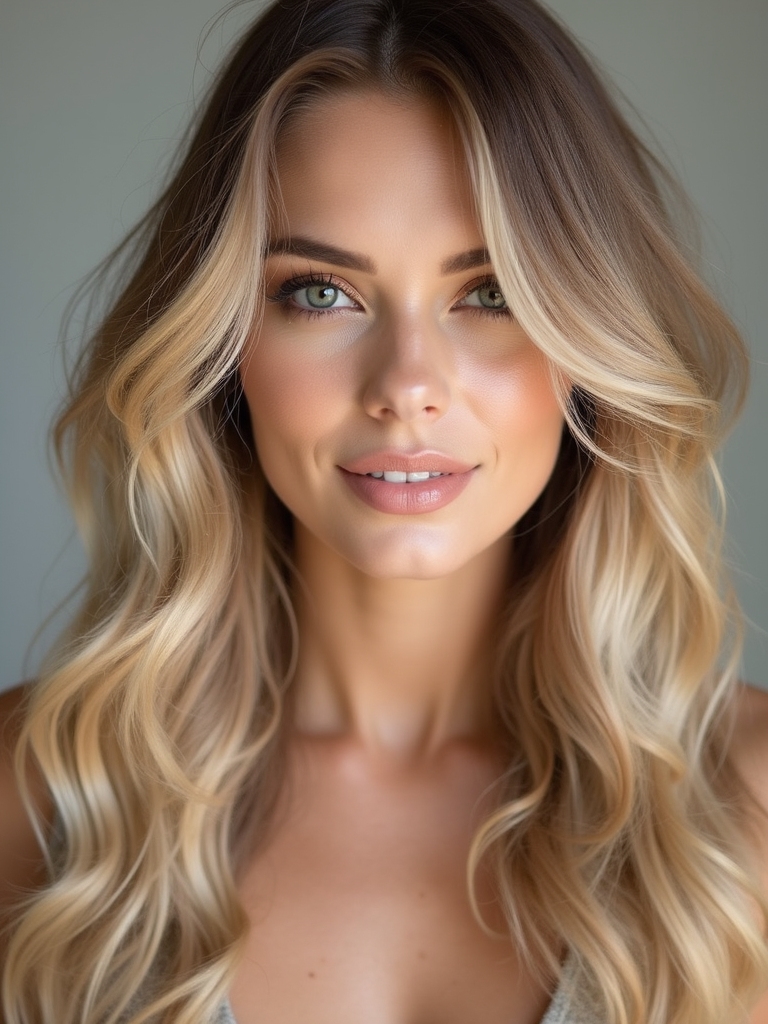
Where you start the wave and how you part your hair can quietly flatter your face shape, which is the kind of detail that separates good waves from great ones. Your face-framing pieces carry most of that flattery.
For a rounder face, start the waves a little lower and keep the front pieces sweeping outward to lengthen and slim. For a longer or narrower face, begin the bend higher to add soft width around the cheeks.
A deep side part adds asymmetry that flatters almost everyone, while a center part suits balanced, oval faces. Curling the front pieces away from your face is the universal move that opens up your features.
Borrowing Fairy Waves From the Red Carpet
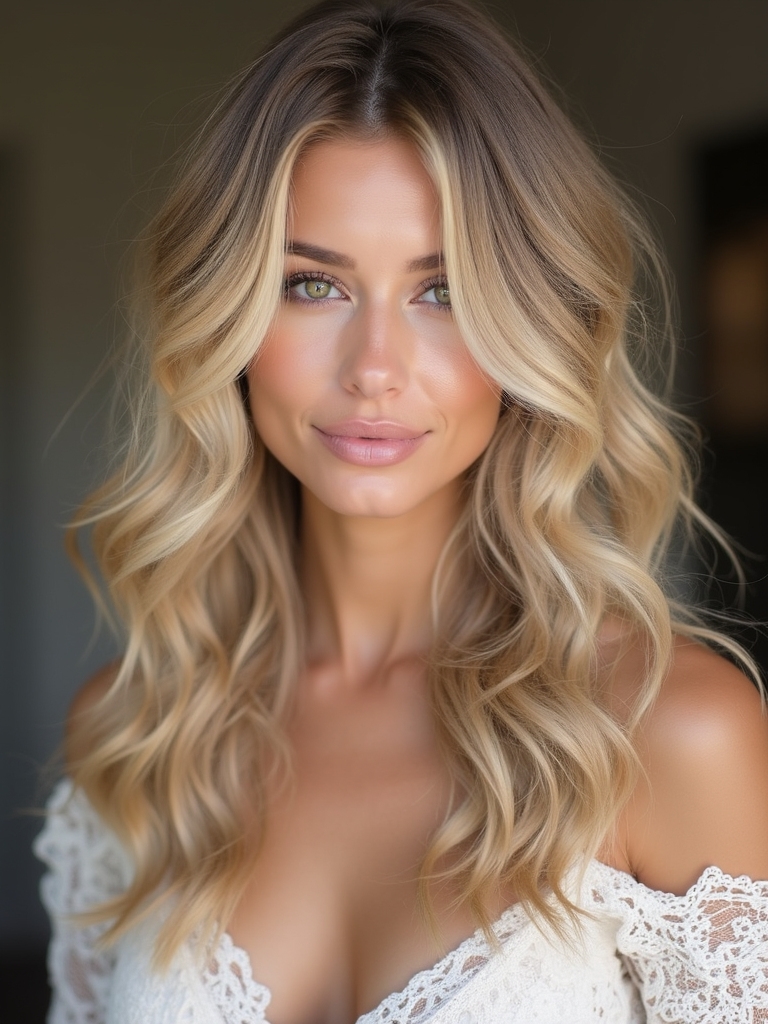
Soft, romantic waves show up constantly on red carpets, and the good news is the real-life version is more forgiving than the freshly-styled one you see in photos. You can borrow the effect with a few key moves.
What makes those event waves work:
- A glossy finish, since shine is what makes them look expensive, so add a shine spray.
- Soft, brushed-out bends, achieved by loosening the waves well after they cool.
- Face-framing pieces curled away from the face to open up the features.
What to Expect
How fairy waves behave depends a lot on your hair type, so set your expectations there. Fine hair takes a wave quickly but drops faster, so it needs the cool-down and a light hold spray; thick or coarse hair holds for days but may need a touch more heat to bend.
If your hair is naturally wavy or curly, you may not need heat at all, just enhance your own pattern with a curl cream, scrunching, and a diffuser, and protect those coils from daily heat so they stay healthy.
Plan on 15 to 30 minutes for a full set with a wand, less once you have the rhythm, and almost no time for the heatless and beachy versions. Most of all, remember that fairy waves are supposed to look undone, so a little irregularity is the goal, not a flaw. The more relaxed you are about perfection, the more naturally romantic they look.
Fairy Wave Questions, Answered
?How are fairy waves different from regular curls?
Fairy waves are looser, softer, and more irregular than curls. They start lower down the hair, form a wide, open S-bend instead of a tight spiral, and leave the ends straight, which gives that undone, romantic feeling.
?Can I get fairy waves without heat?
Yes. Sleeping in loose braids or twists, using foam rollers, or scrunching damp hair with a sea salt spray and air-drying all create soft heatless waves. Naturally wavy and curly hair can enhance its own pattern with curl cream and a diffuser, no hot tools required.
?How do I keep fairy waves from falling out?
Let each wave cool completely before touching it, break them up with your fingers, and set with a flexible-hold spray. Day-old hair holds far better than freshly washed, and a little sea salt spray adds lasting grip.
?Do fairy waves work on curly or coily hair?
Absolutely, and often with no heat needed. Enhance your natural wave or coil with a curl cream, scrunch, and diffuse on low, shaping soft, loose pieces around the face. If you do use heat, keep it minimal and always use a heat protectant to keep the curl pattern healthy.
Make the Waves Your Own
Fairy waves come down to a few simple ideas: a loose, alternating bend, ends left out, a light hand with product, and the patience to let them cool and set. Once those click, you can dial the look anywhere from barely-there beachy texture to a polished, romantic event wave.
Save this guide and play with the version that suits your hair and your patience, and remember that the undone, imperfect quality is the whole charm. A soft set of waves paired with curtain bangs for long hair or worn with long layered haircuts is one of the prettiest, most flattering looks you can wear.